Happy Sunday, bakers. I promised I’d do a step-by-step sourdough thread with explicit-everything for people having trouble baking. SO here we go. (I’m working on a nasty math problem while I do this so there might be odd pauses.) 

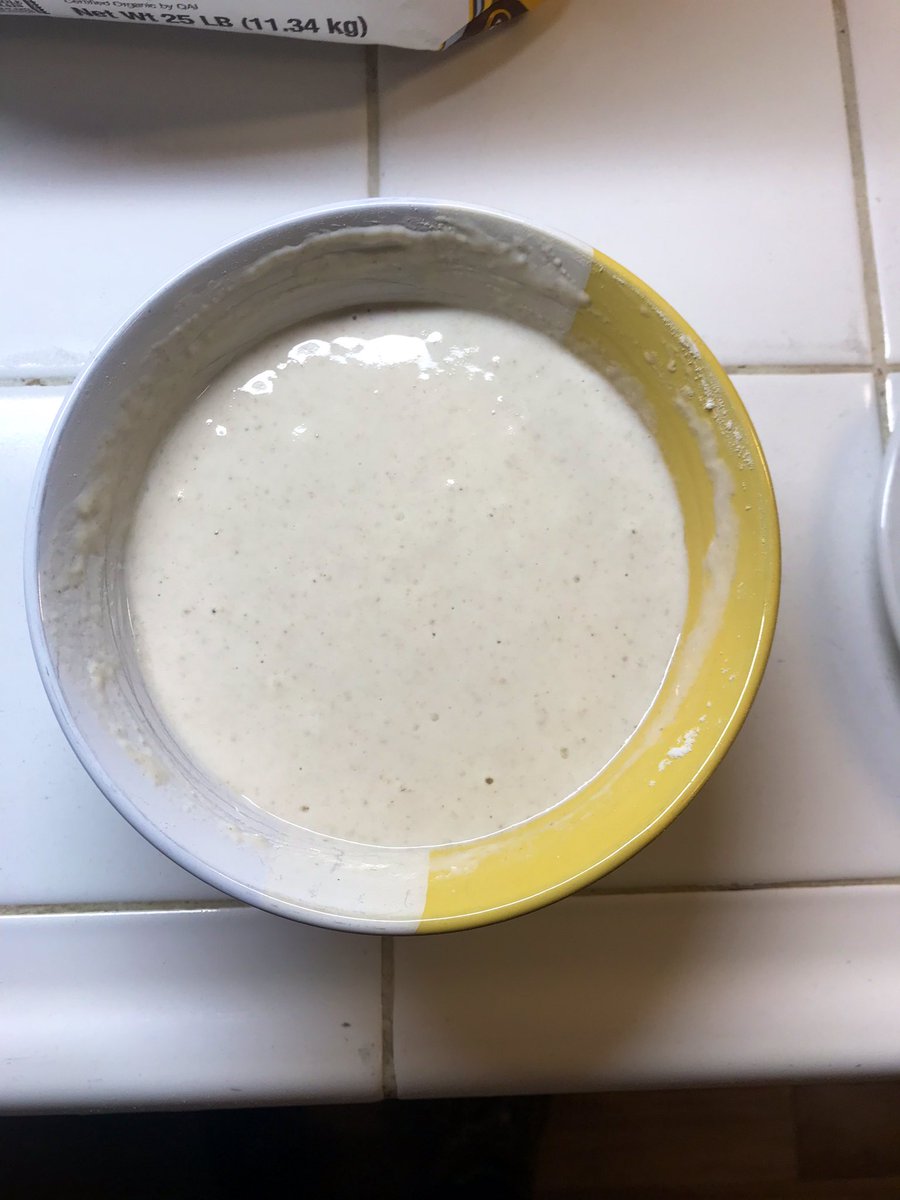
First, you need to have a very active (technical term: BANGIN’) yeast culture ready. We will need 150g of culture for this loaf, so put 80-90g flour in a bowl, pour 20g of your main culture in, and mix with enough pure water to get the constancy shown here. Now wait.
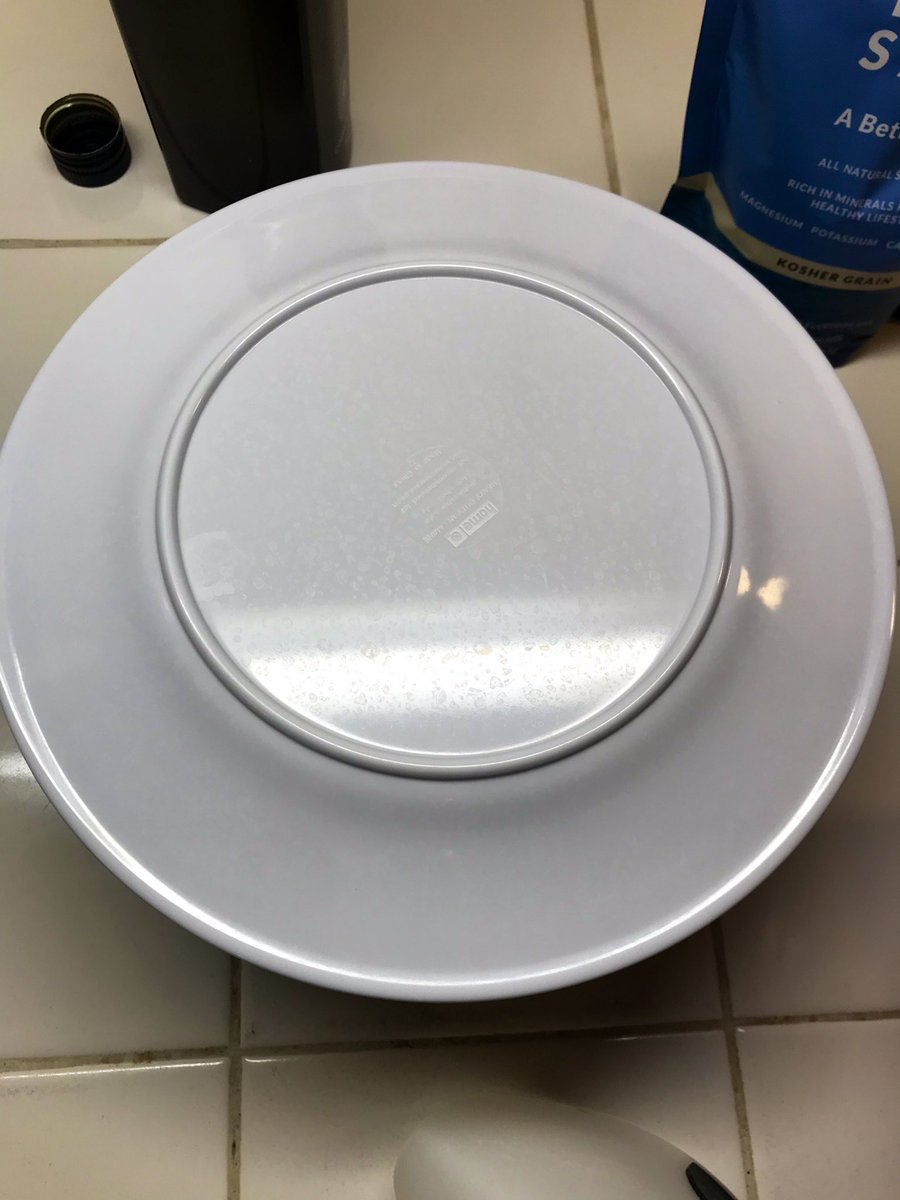
These are all examples of when you need to KEEP WAITING. By the way, use a small plate to cover the bowl while the yeast parties.


This right here is the level of excitement that you can expect from baking with natural yeasts.

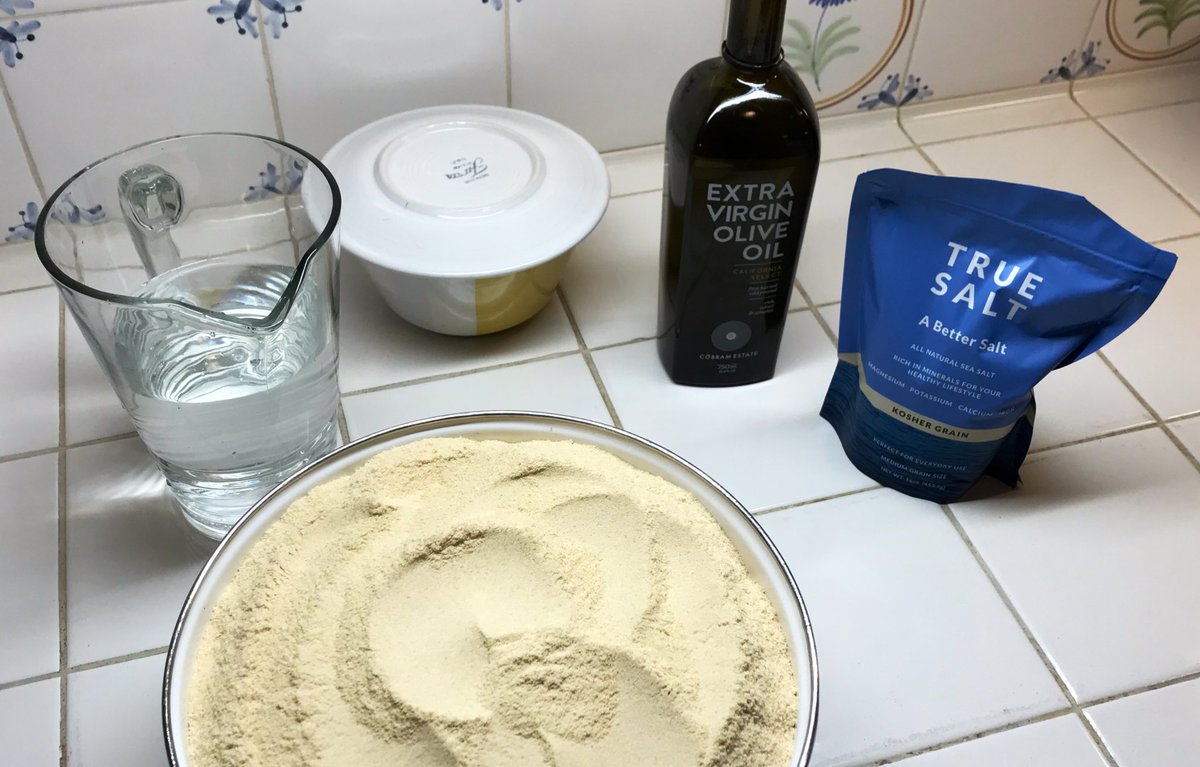
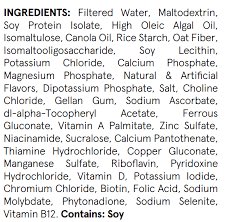
While-U-Wait, take a moment to get your shit together. You’re going to need: 300+g of filtered water that you let sit for 30+ minutes, pure sea- or mined-salt, really good EVOO, and the best flour you can find. I milled this because I’m a NERD, but to start use commercial white.
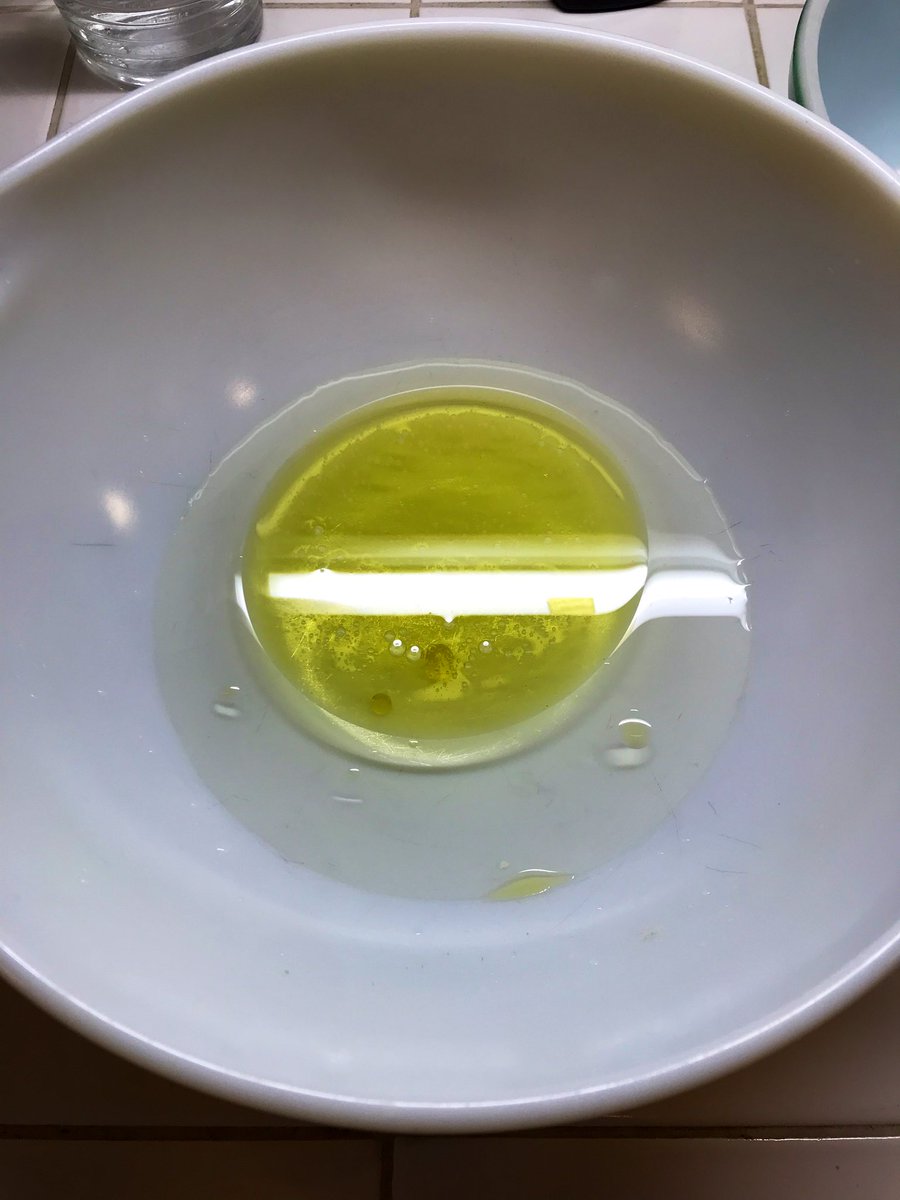
Here are the actual amounts, per loaf, that we need. Bear in mind that we will need to adjust as we go to get the right result, so have some extra ready:
500g Flour, plus 50g extra
250g Water
150g Bangin’ starter
25g EVOO
10g Salt
500g Flour, plus 50g extra
250g Water
150g Bangin’ starter
25g EVOO
10g Salt
Other things you need to have ready:
•An oven that can really get to 500F/260C
•Good kitchen scale
•A whisk
•Big main bowl
•Medium Bowl
•Baking Sheet
•Some ice cubes
•Plastic wrap or waxed cloth
•The ability to stay sane while nothing seems to happen
•An oven that can really get to 500F/260C
•Good kitchen scale
•A whisk
•Big main bowl
•Medium Bowl
•Baking Sheet
•Some ice cubes
•Plastic wrap or waxed cloth
•The ability to stay sane while nothing seems to happen

If your counter looks vaguely like this, you’re set. Go check your yeast. (The funny whisk is basically a pretentious spoon. We will use it to mix the flour into the water.)

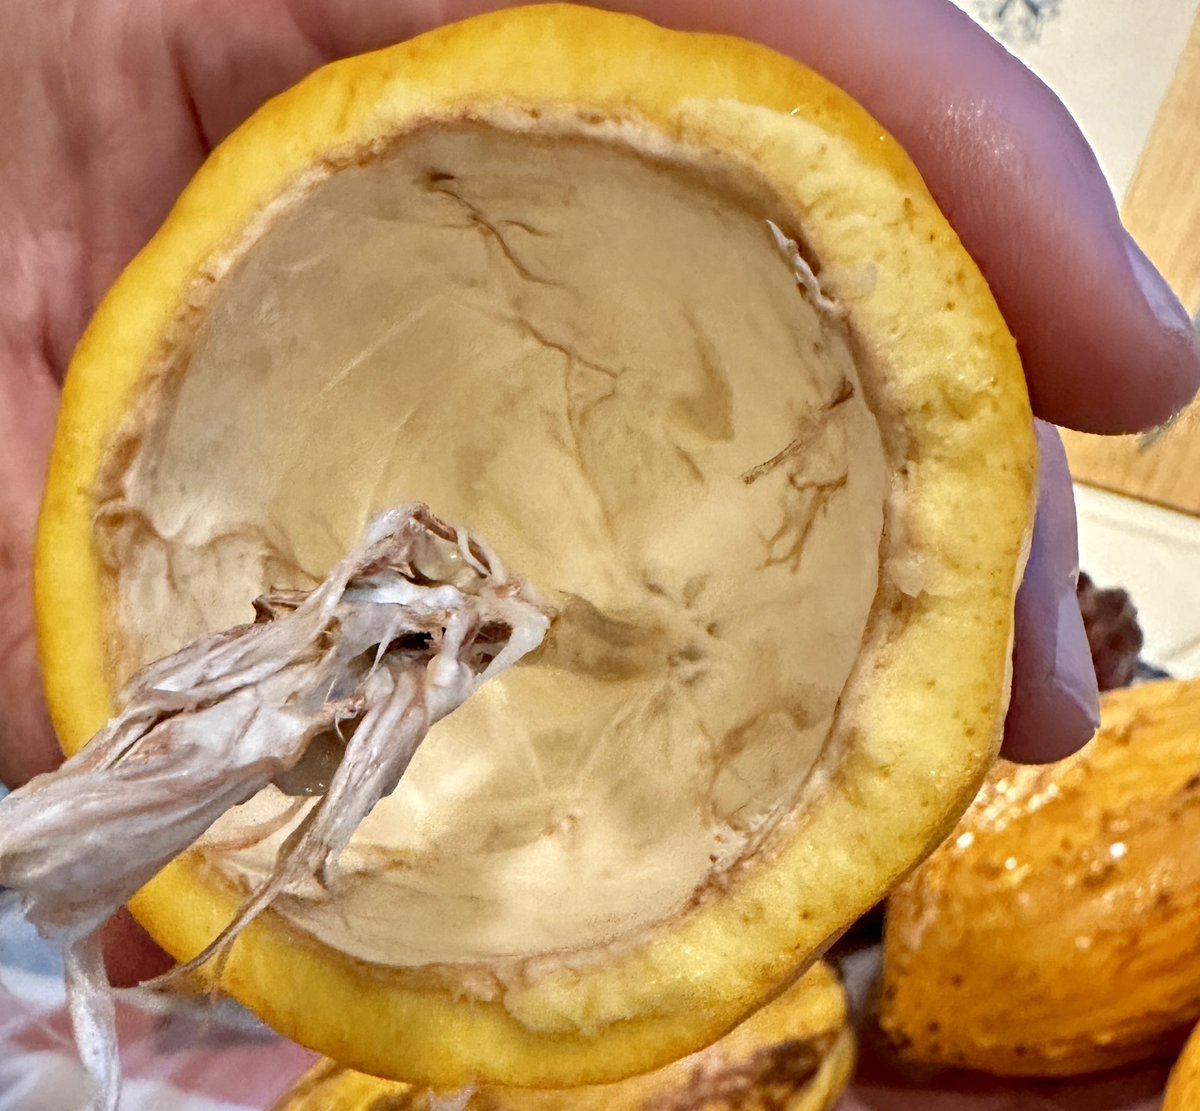
Here’s what your culture looks like when it’s just about ready! And...

...it will have a 3D surface, and will be kinda jello-o like, have a look.
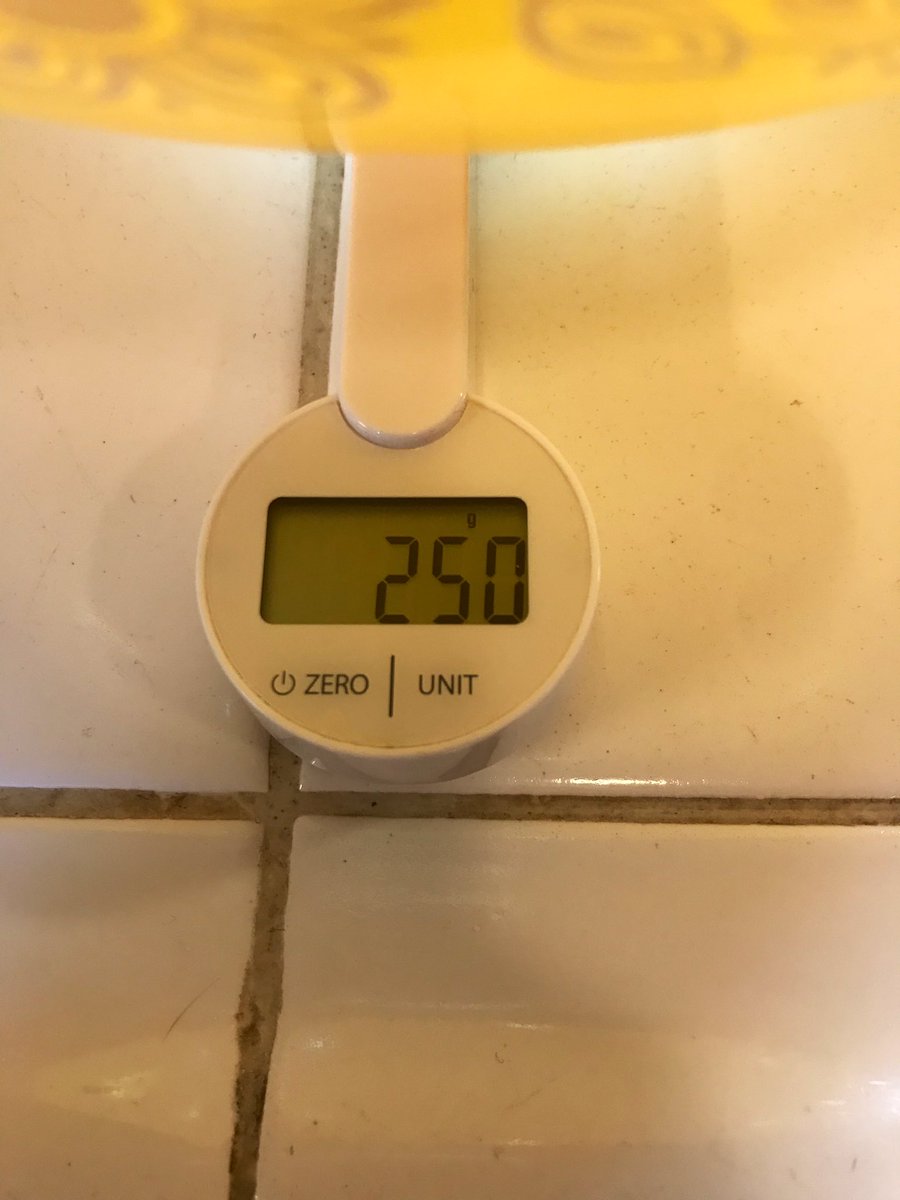
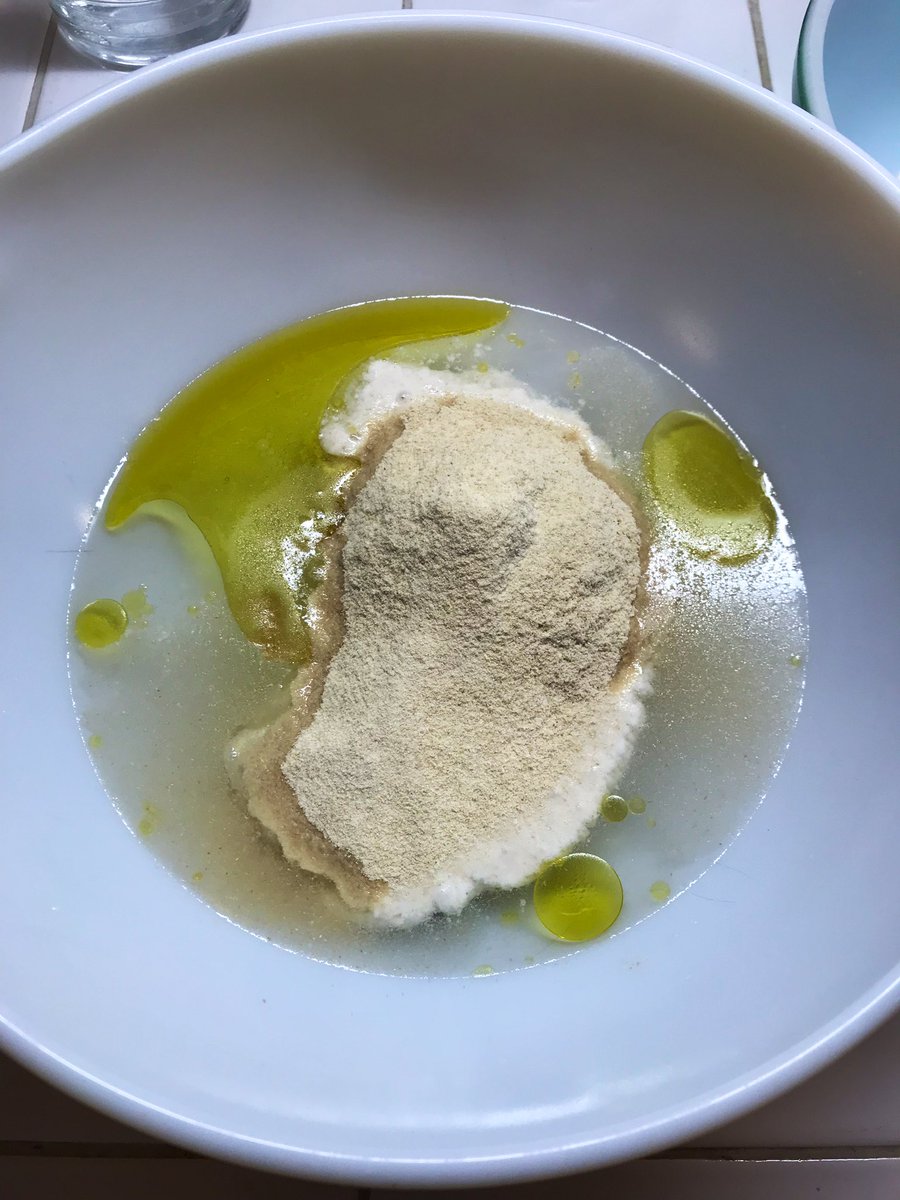
Now we are ready to begin. Using your scale, and being as exact as you can, add 250g water, 25g oil, and 150g culture to your bowl. The culture should FLOAT!

Now, add 100g of the flour. Remember that mine is Kamut, so your flour may look different.

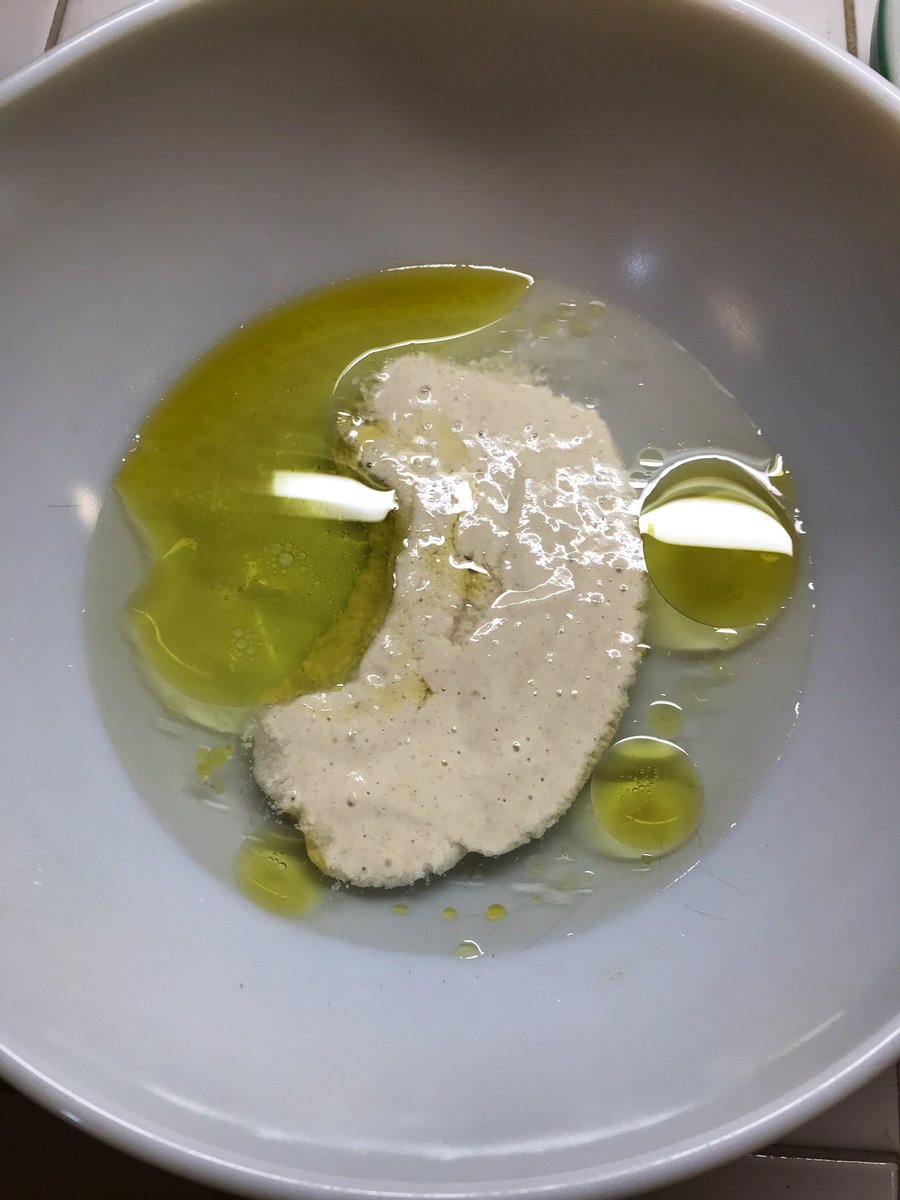
Now, whisk everything together. It should look and feel like this. Whisk until its smooth. We want a lot of air in the mix for the yeast to respirate.
Next, add the remaining 400g of flour to make a total of 500. Get out your spoon...

...or your fancy bread mixer, and do some of this...
When it looks like the image below, clean the rest off the spoon and start kneading it together with your hands...


...like this. This is the consistency you’re looking for. If it’s too dry, add a little water and knead it in. Too wet, use flour. It should be just on the edge of sticky, but not actually coming off on anything. This is where some practice helps, but it’s not hard!
Now very lightly oil your other bowl. People usually use too much oil; it needs to look like this:

It should react like this, as a dough ball.
Now cover it, and... WAIT for half an hour. What’s happening is that the water is moving around and filling all the flour, dragging the yeast along with it.
Next, we either:
A) Die of boredom, or
B) Prepare the bowl for the next step.
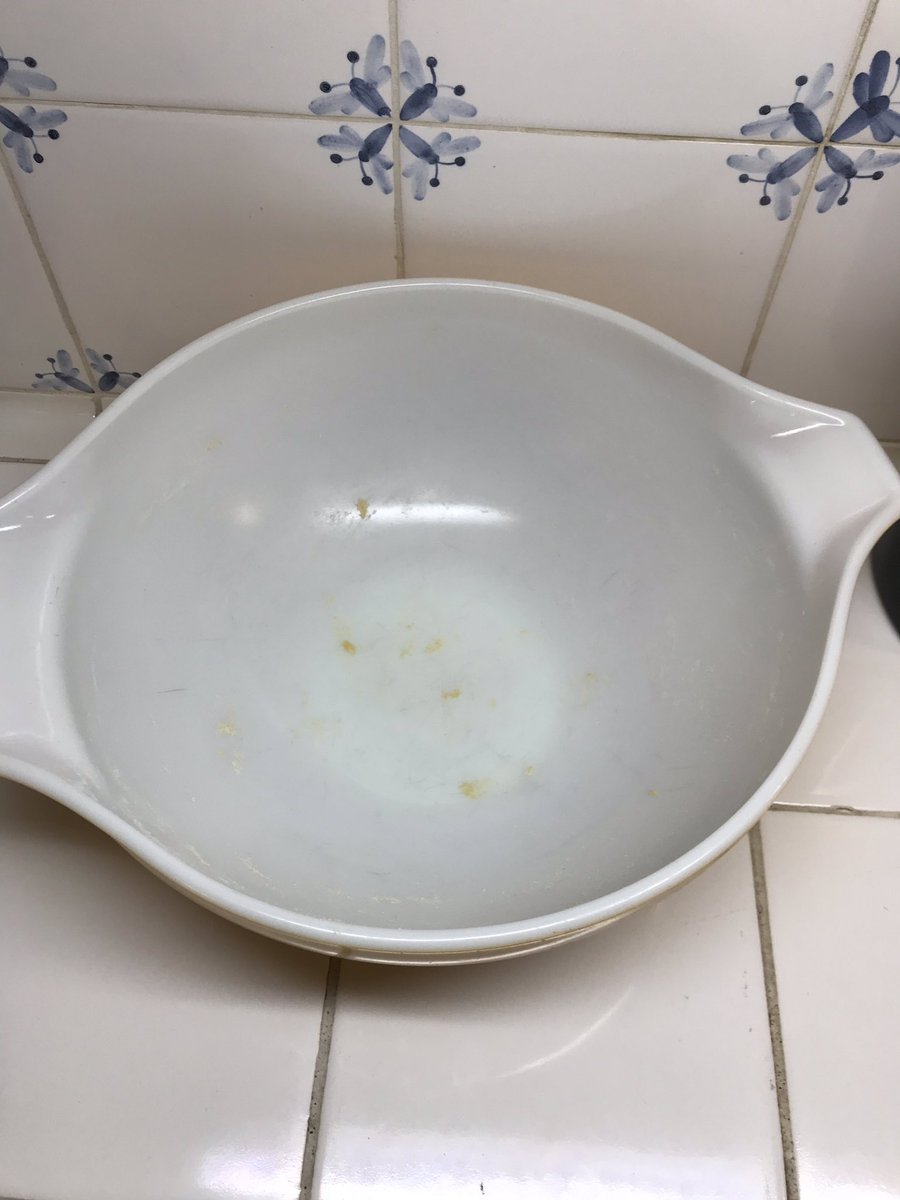
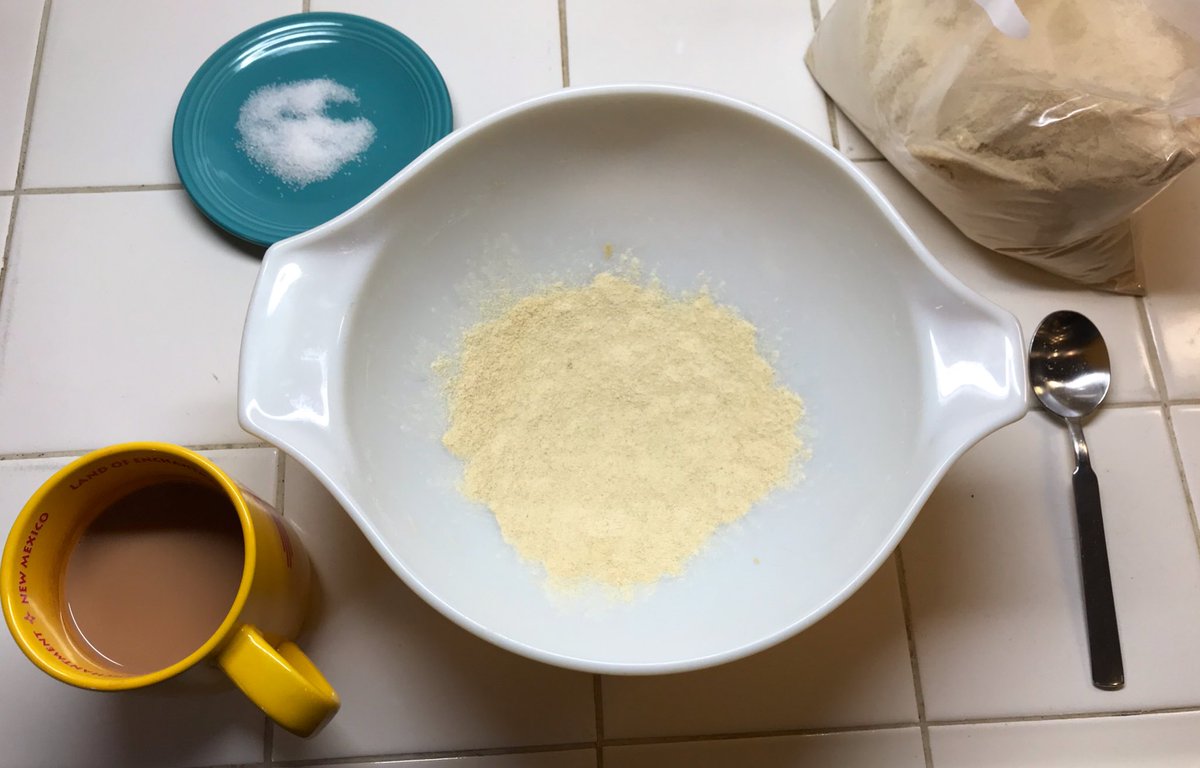
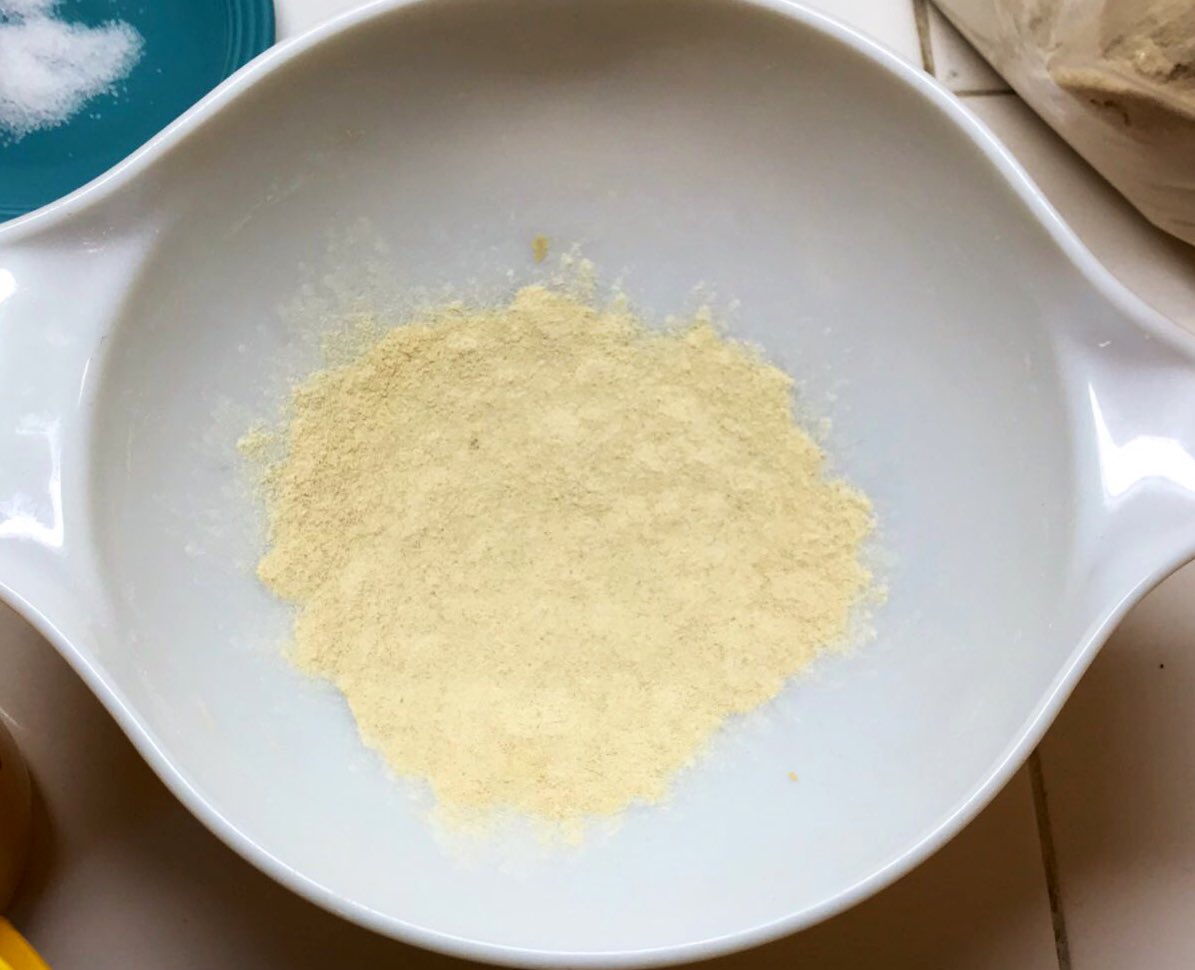
Don’t wash the big bowl! Put some flour in the bottom. We will be kneading the salt into the flour using the bowl.
A) Die of boredom, or
B) Prepare the bowl for the next step.
Don’t wash the big bowl! Put some flour in the bottom. We will be kneading the salt into the flour using the bowl.
OK. Did you really wait 1/2 hour? If not, go back to rewatching Friends.
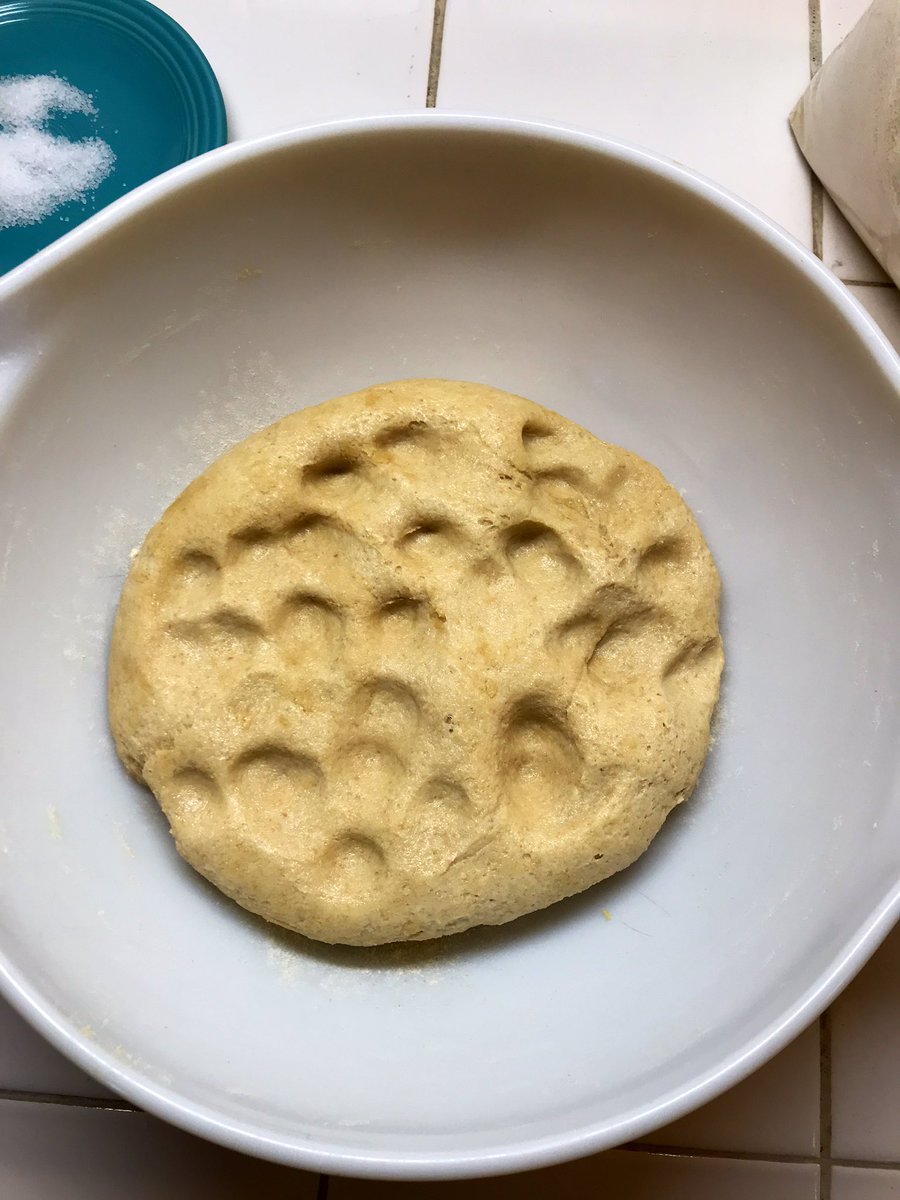
Pick up your dough ball, and put it upside down (oily side up) into the big bowl with the dusting of flour on the bottom. Make some dents in the top with your fingers. These will help hold the salt.
Sprinkle 1/2 (5g) of the salt onto the dough. Now roll it up as shown. You will get a cigar shaped thing.

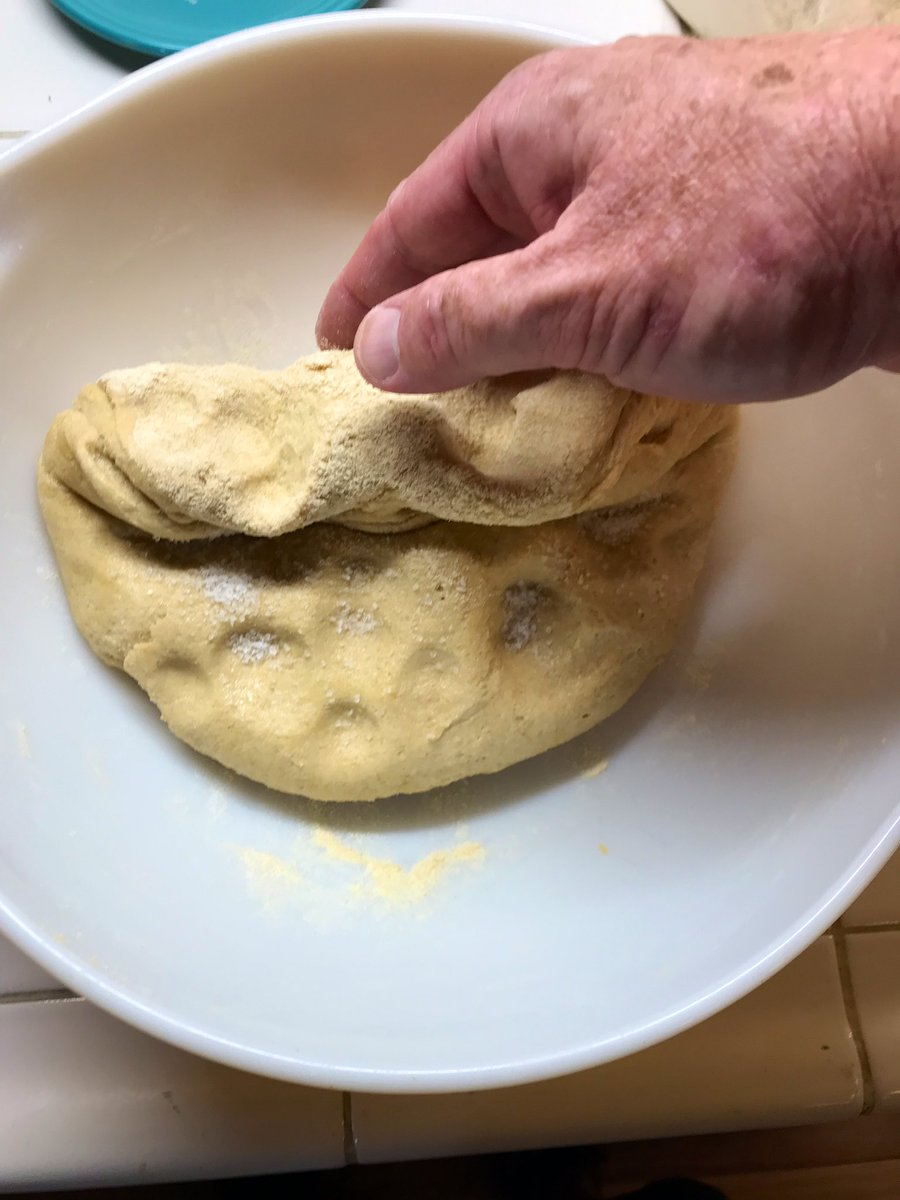
Now flatten the cigar shaped thing out, and put some finger holes in it. Cover with the remaining salt and roll it up. We have thus cleverly used some Topology (look it up- awesome stuff) to give us a leg up evenly distributing the salt.

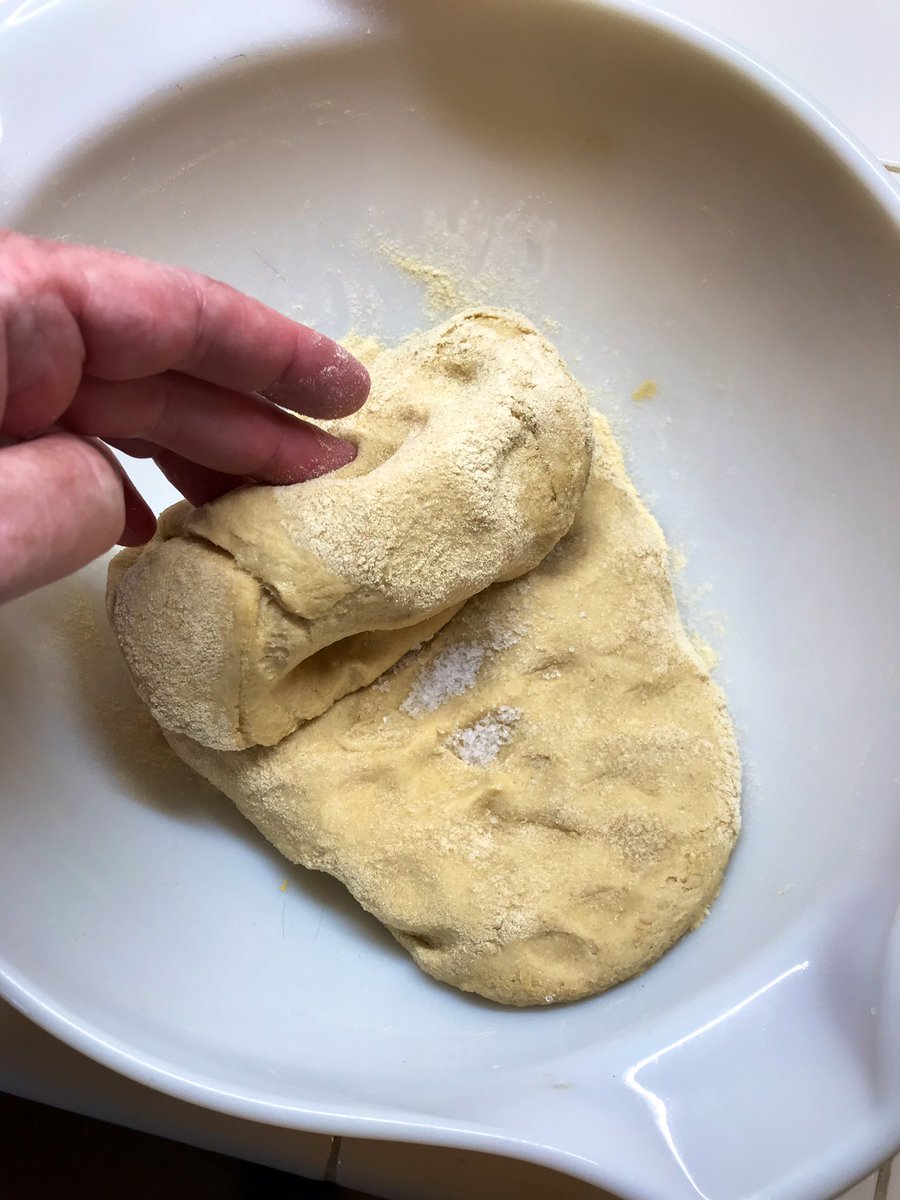
Now, start folding and pressing the dough, like below. Yes this is kneading. Keep doing this for a minute or so, you will feel the dough suddenly tighten up, get hard to fold, and kind of change character. At that point you’re done!
The dough should, again, feel slightly tacky but not sticky. Feel free to carefully add flour but by bit until it’s not sticking to anything as you knead. Re-oil the small bowl, form the dough into a ball, and pop it in. It should act just like this. Now cover it up and WAIT 30.
Isn’t this exciting?

The movie playing the in background is GRETA, which is v. cool. Question for @ChloeGMoretz, what would happen if a new girl shows up with a bag while the current girl is out of the box?

After 30 minutes, do this. It’s not hard. If the dough is still too sticky, just add a little flour again in the big bowl and knead it in. The little white spots at the beginning are the salt grains, which gather water to them through OSMOSIS (look it up!)
Now wait for another 30 minutes.

Now do the foldy thing again, like this. Wait another 30. Then do it ONE LAST TIME.
To recap:
•mix all the stuff together
•wait, like an abandoned dog
•knead in the salt, like a slave
•wait, like an unwanted lover
•do the foldy
•wait
•foldy
•wait some more
•foldy
•nearly perish from ennui
•mix all the stuff together
•wait, like an abandoned dog
•knead in the salt, like a slave
•wait, like an unwanted lover
•do the foldy
•wait
•foldy
•wait some more
•foldy
•nearly perish from ennui

If wondering what we’re doing with all this, it’s pretty simple. We are redistributing the nutrients and the yeast so that we get maximum biomass (for flavor). We’re also aerating the yeast, helping them make CO2, helping the bread to rise. Finally we are adding dough structure.
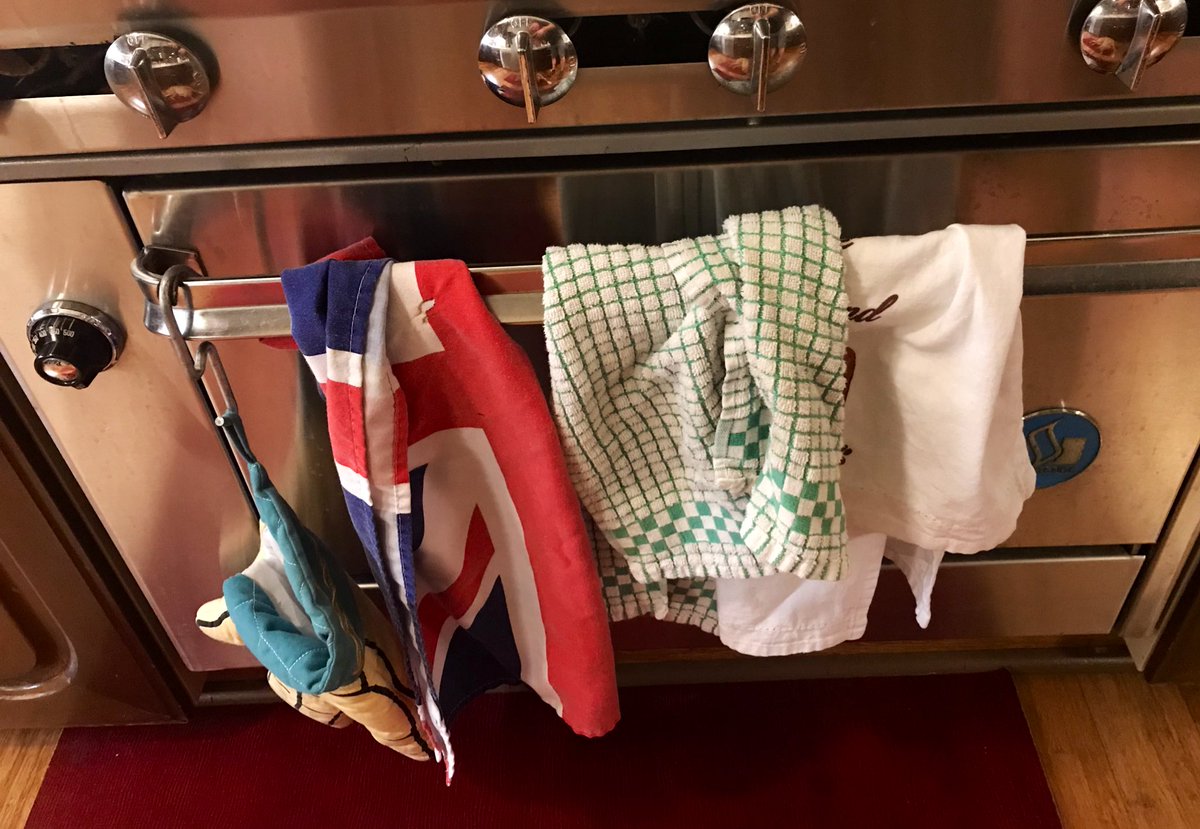
You’re still here? What’s wrong with you? Well, now we are nearly ready for the final proofing. We are going to need to shape the dough into loaves. Historically baskets and jars were used. Here are bread baskets and a bowl with a cloth. Both work well. Union Jack somehow helps.
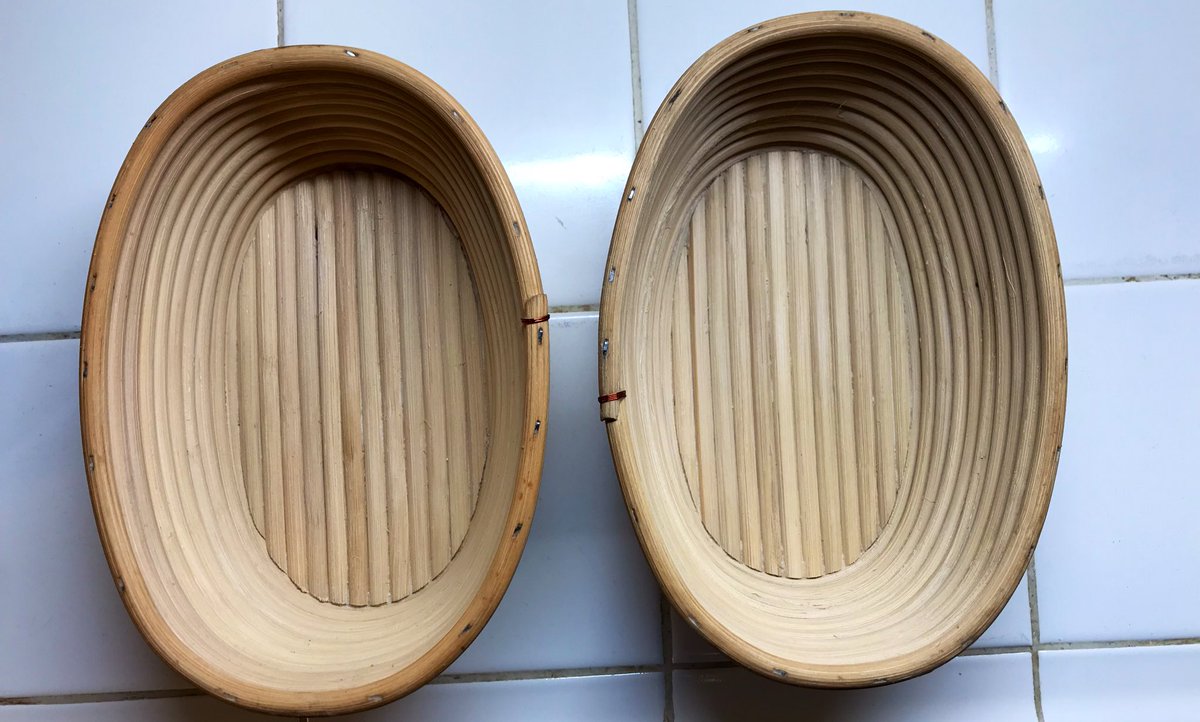


We now need to apply ancient nonstick technology, and it’s... flour.
I’m using the baskets, but flour worked a bit onto the cloth in the bowl is also good. After waiting 30 mins after the last foldy, and with some loose flour in the big bowl, do this:
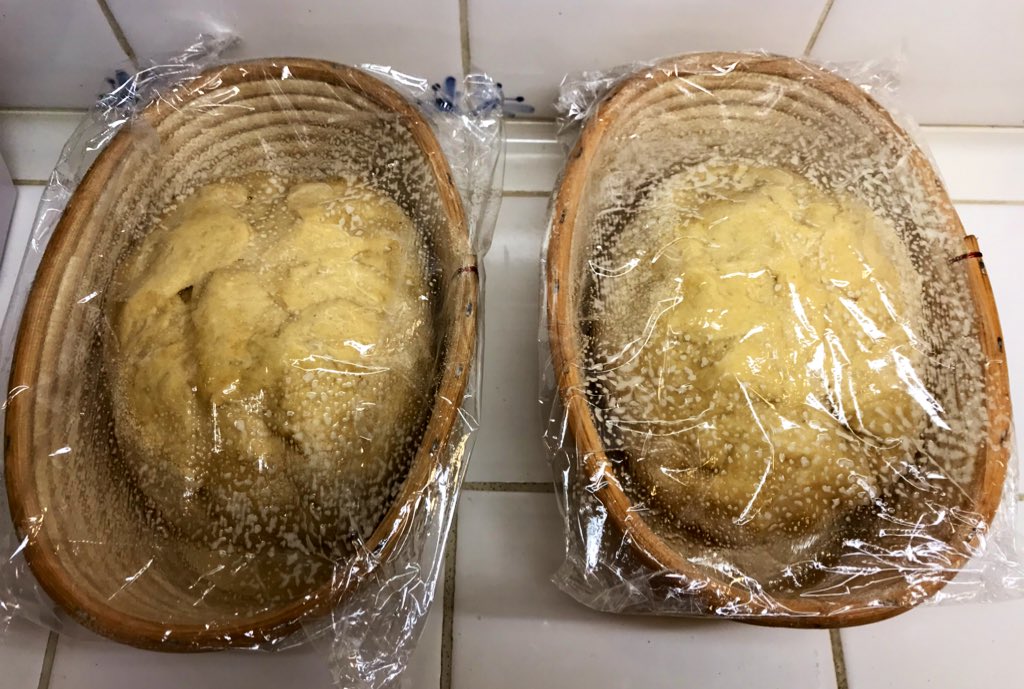
Now we need to cover the basket, or bowl. Usually I use waxed cloth (Trader Joe’s) but here for photos I used plastic wrap (but I feel guilty). Make sure to put some oil on the bottom of the cover so it doesn’t stick. These guys need to DOUBLE in volume. However long it takes.
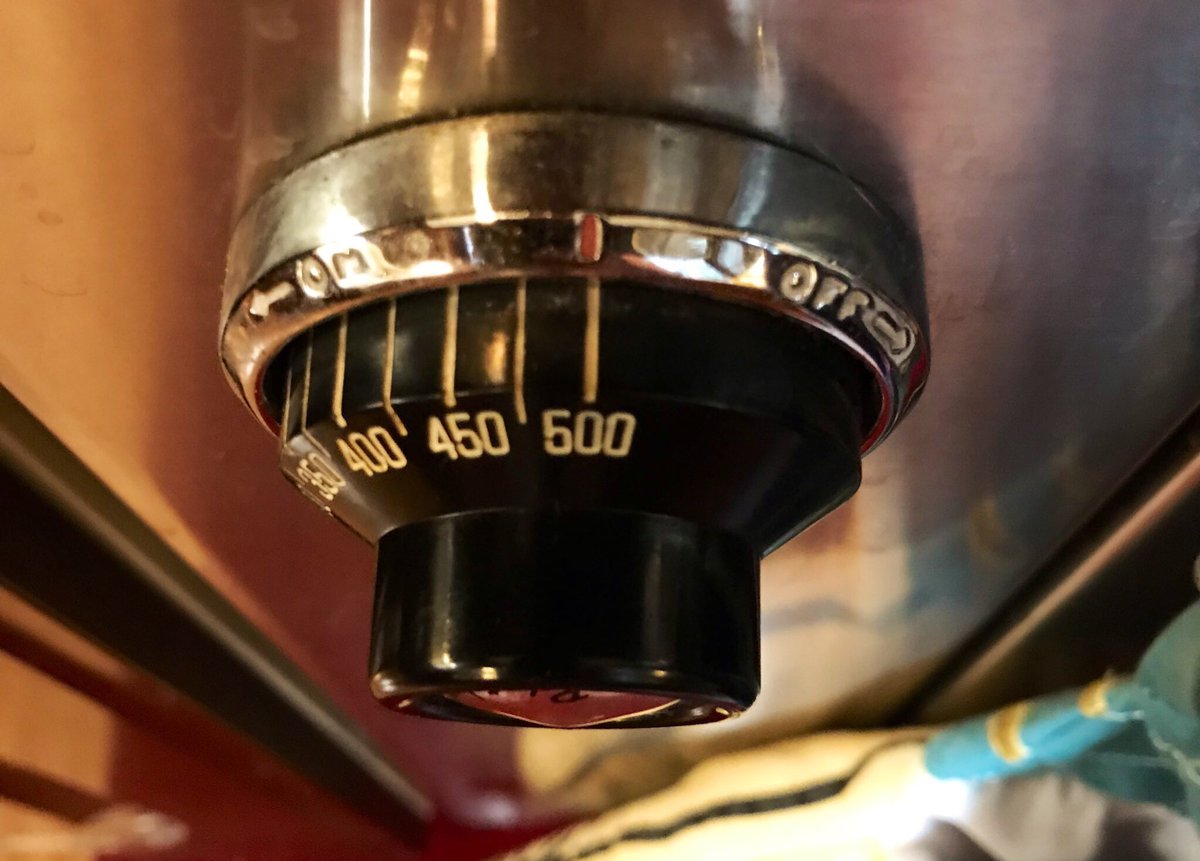
If your oven is slow, or your brain is slow, now is a good time to set it to 500. It can take a while. If you know what I mean.
Also now is a good time to clean up all your damn bowls and shit, you slob!

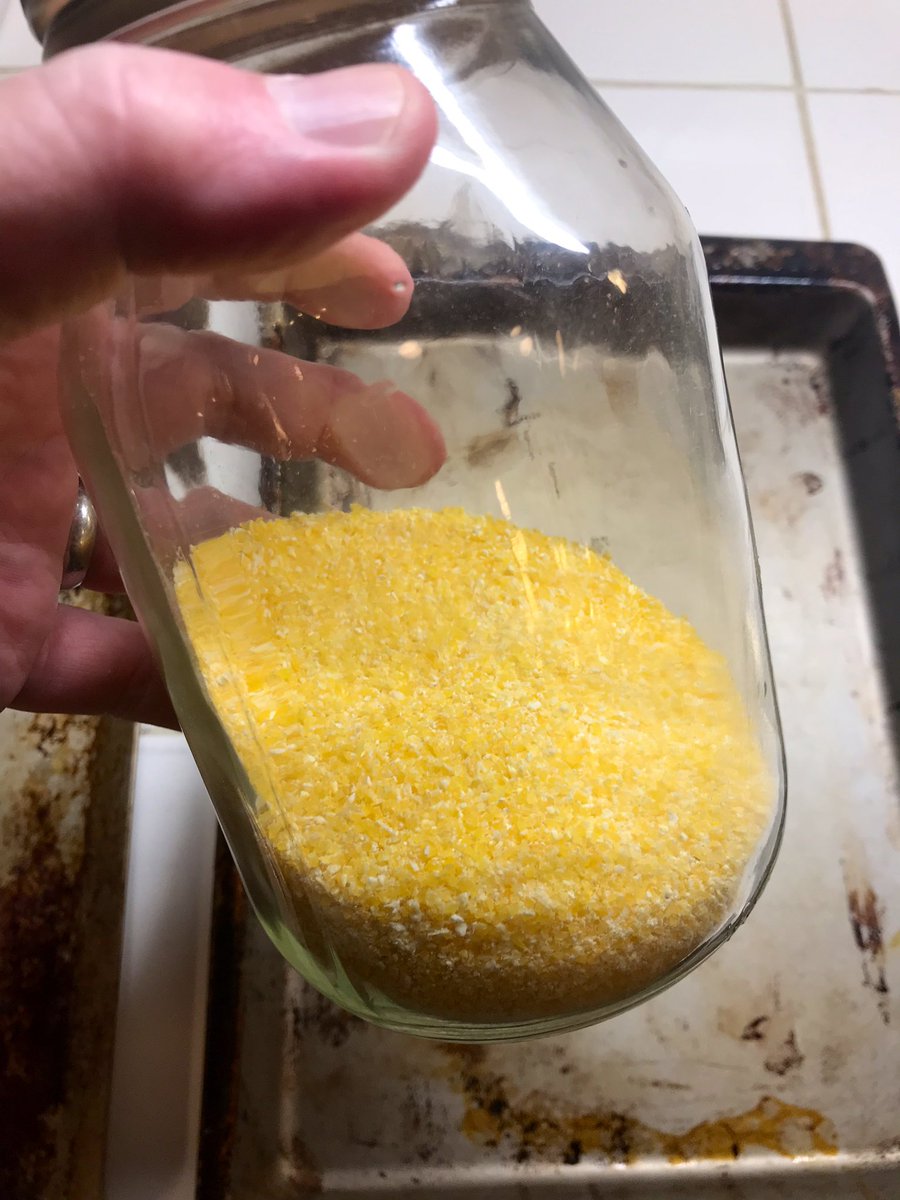
Ok! The dough has doubled in size. Let’s get some cornmeal (or flour) and dust the bottom of a baking sheet.

CAREFULLY turn the basket or bowl onto the baking sheet. The last step before popping it into the oven is to SCORE the top of the dough, as an expansion joint so that when the loaf expands it doesn’t split or warp. To do that we use a razor blade, but anything sharp will do.


Just to be ridiculously geeky, a couple notes on scoring the dough:
•make at least enough cuts to be the equivalent of the whole length of the loaf, meaning if you make three slits, make them each at least 1/3 of the total length of the loaf
•make the depth between 1/4 and 1/2”
•make at least enough cuts to be the equivalent of the whole length of the loaf, meaning if you make three slits, make them each at least 1/3 of the total length of the loaf
•make the depth between 1/4 and 1/2”
Now, QUICKLY, pop the dough into the 500F oven. Close the door. Don’t burn yourself. Immediately do two things: set a loud timer for 10 minutes, and throw a good handful of ice cubes into the bottom of your oven. Door open, ice in, door shut.
WHEN THE TIMER GOES OFF, Reset it for 25 minutes, and LOWER THE OVEN TEMPERATURE TO 450F/230C. Do NOT open the oven. Just have some patience. Let’s not screw this up right at the end.

NERVOUS TIME

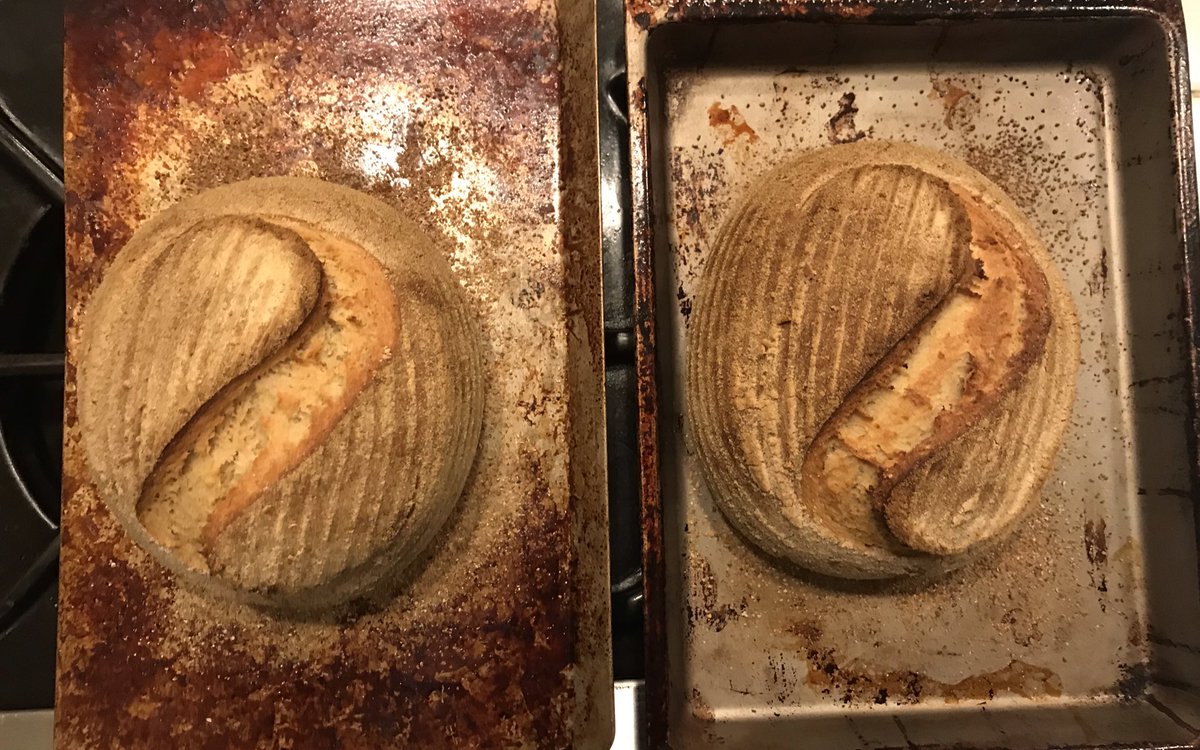
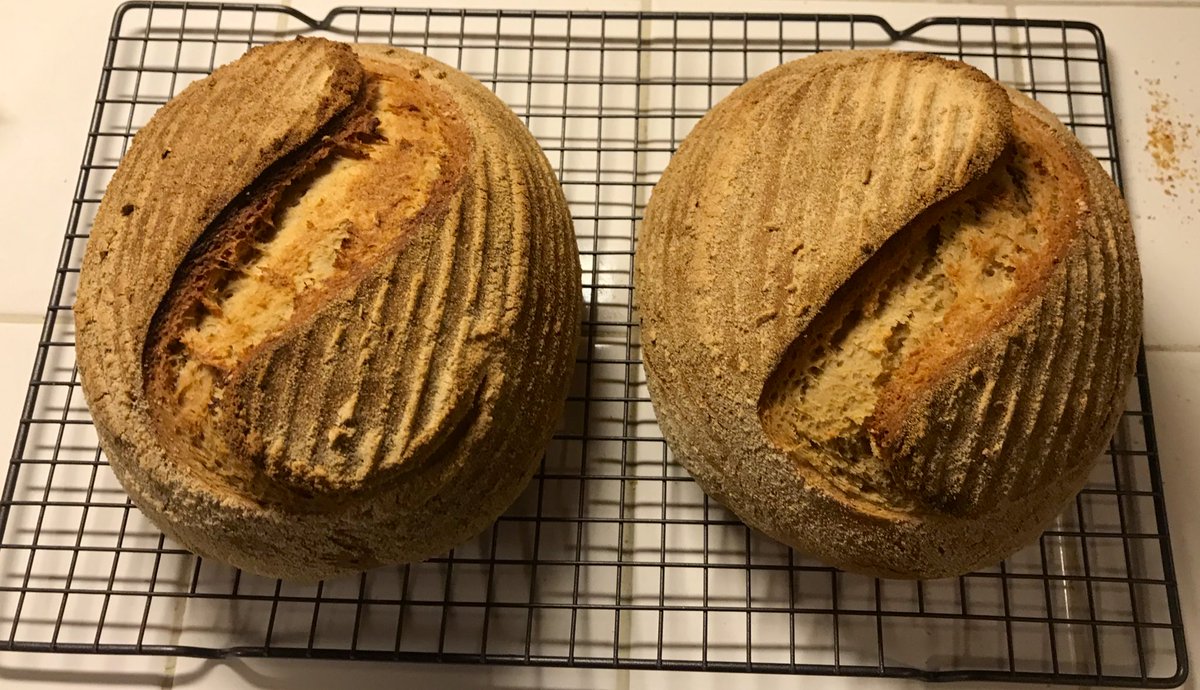
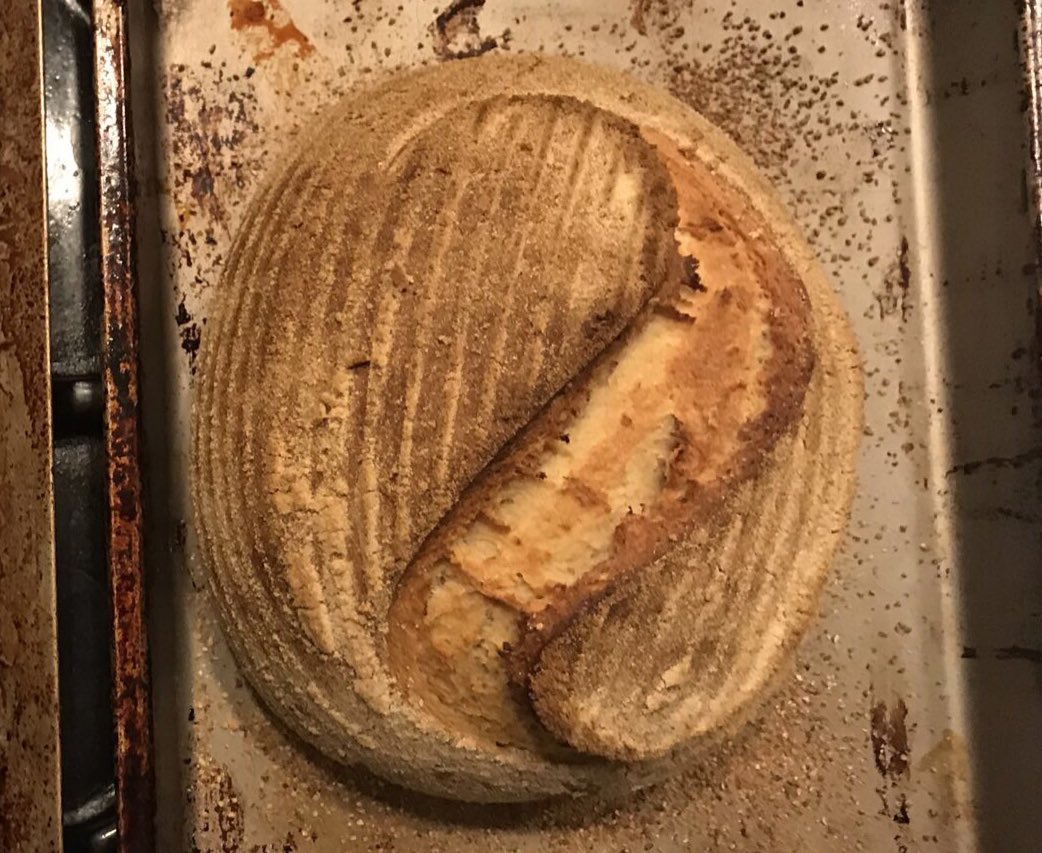
When the timer goes, have a look! Here’s what we got here tonight! REMEMBER TO TURN THE OVEN OFF. I move the loaves to a cooling rack, because drying is as important as cooling. DO NOT CUT THEM FOR 25 MINUTES no matter how curious you are. It’s NOT BREAD YET! 😘
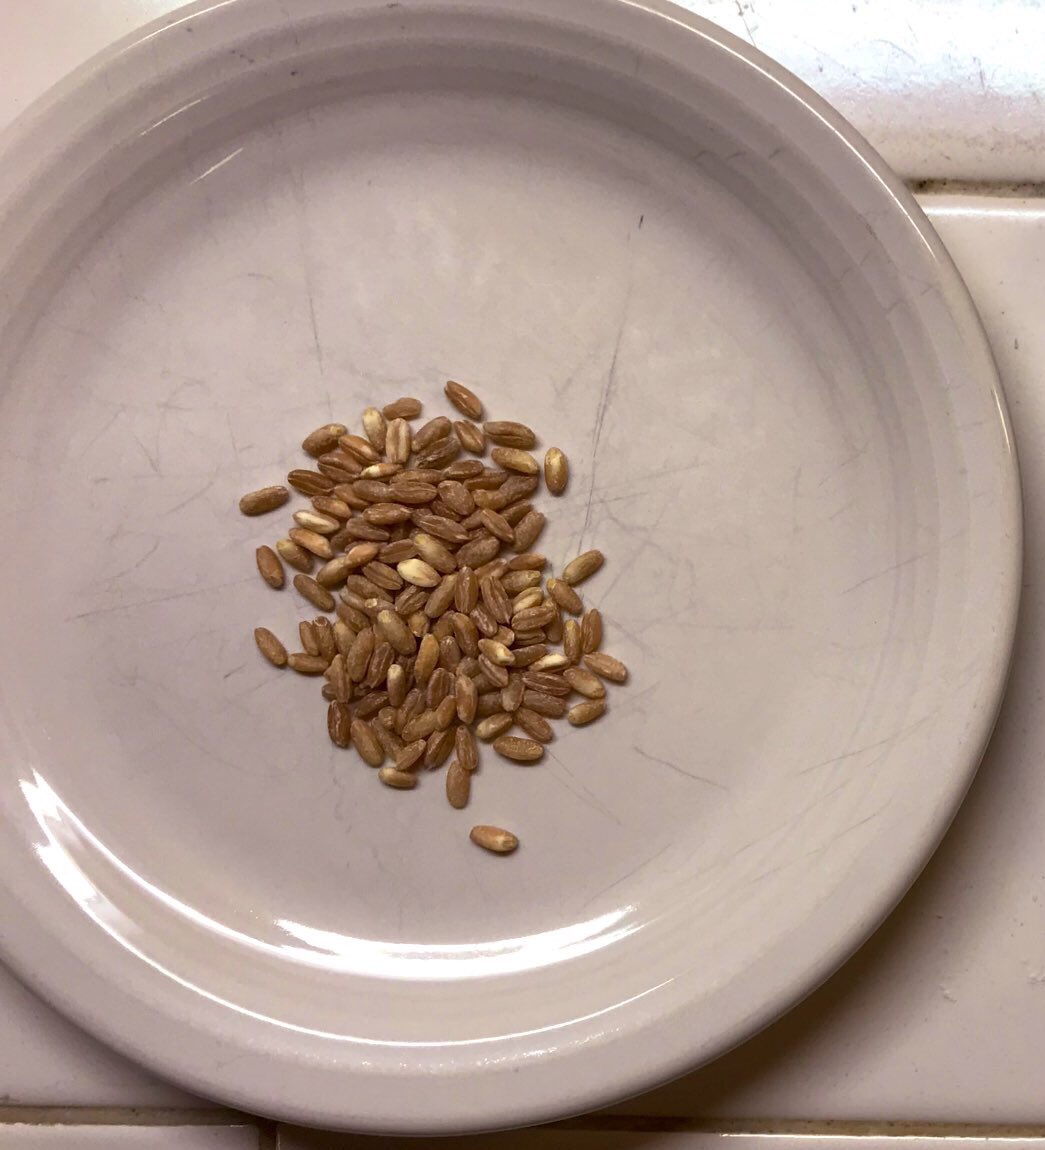
Thank you for reading all this crap. It’s amazing to me that, using spores from the air, humans for more than seven thousand years have been able to convert seeds into glorious loaves of bread. It’s not hard, it just takes practice. And you get to EAT your MISTAKES!
• • •
Missing some Tweet in this thread? You can try to
force a refresh