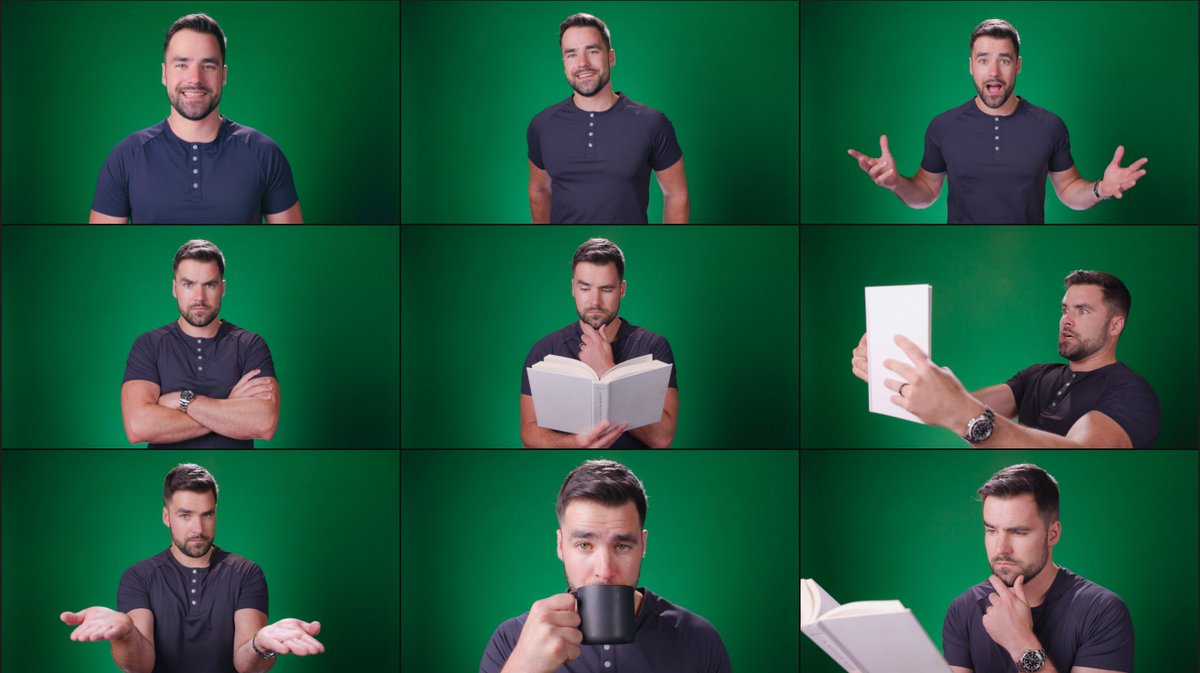
Today I will learn how to PROPERLY do a cinematic lighting setup.
Take 1:
Take 1:

Take 2 - actually putting thought into background lighting:

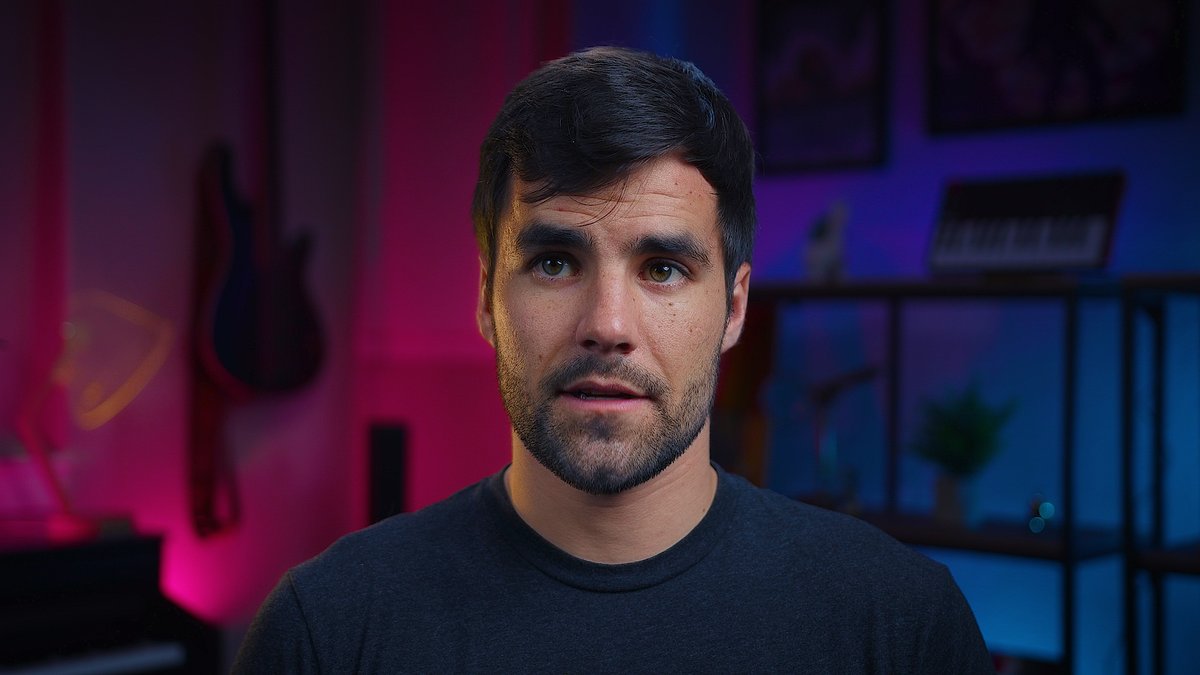
Take 3: Added a fourth hue light to balance out the left side, moved some props, back-lit some props, added wall art, and added a reflector to fill in the right side of my face a bit better.
Color grading is the exact same from Take 2 to Take 3.
Color grading is the exact same from Take 2 to Take 3.
Shoutout to @silentcitynyc and @mondobytes for the guidance - specifically this video
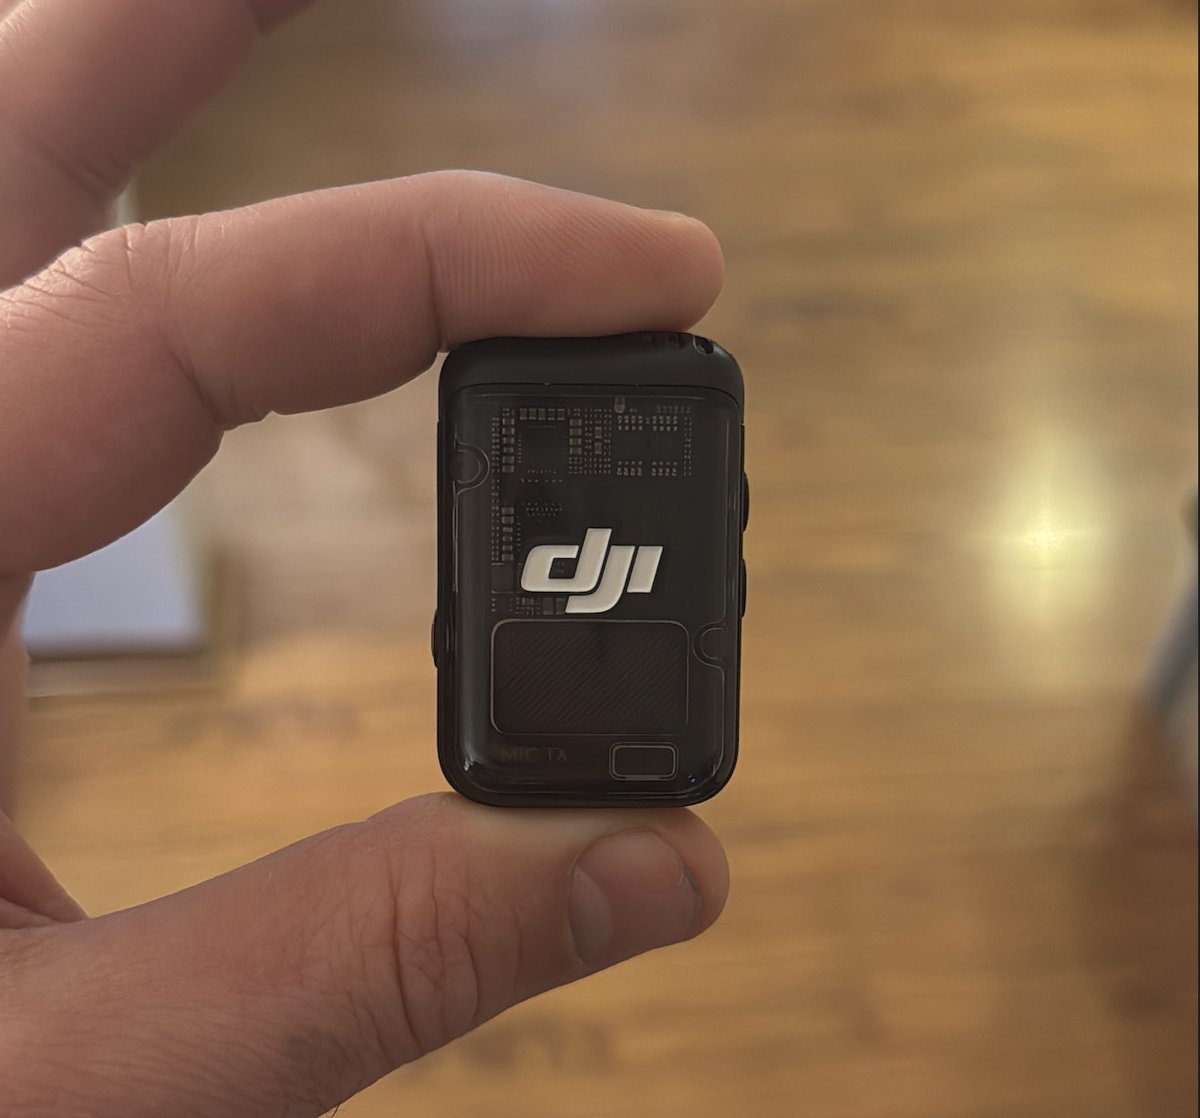
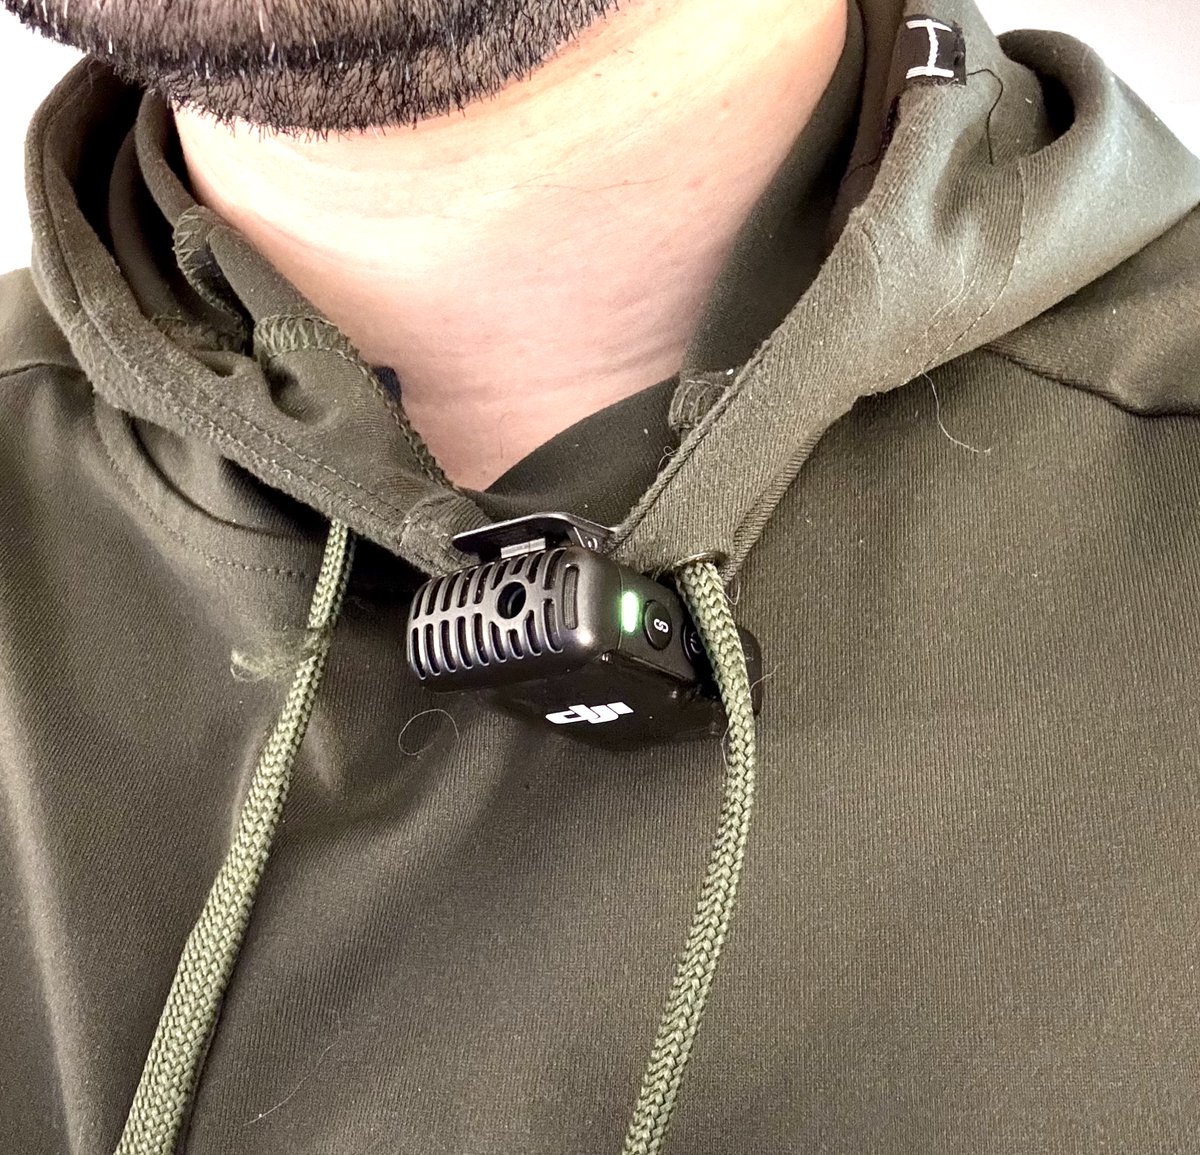
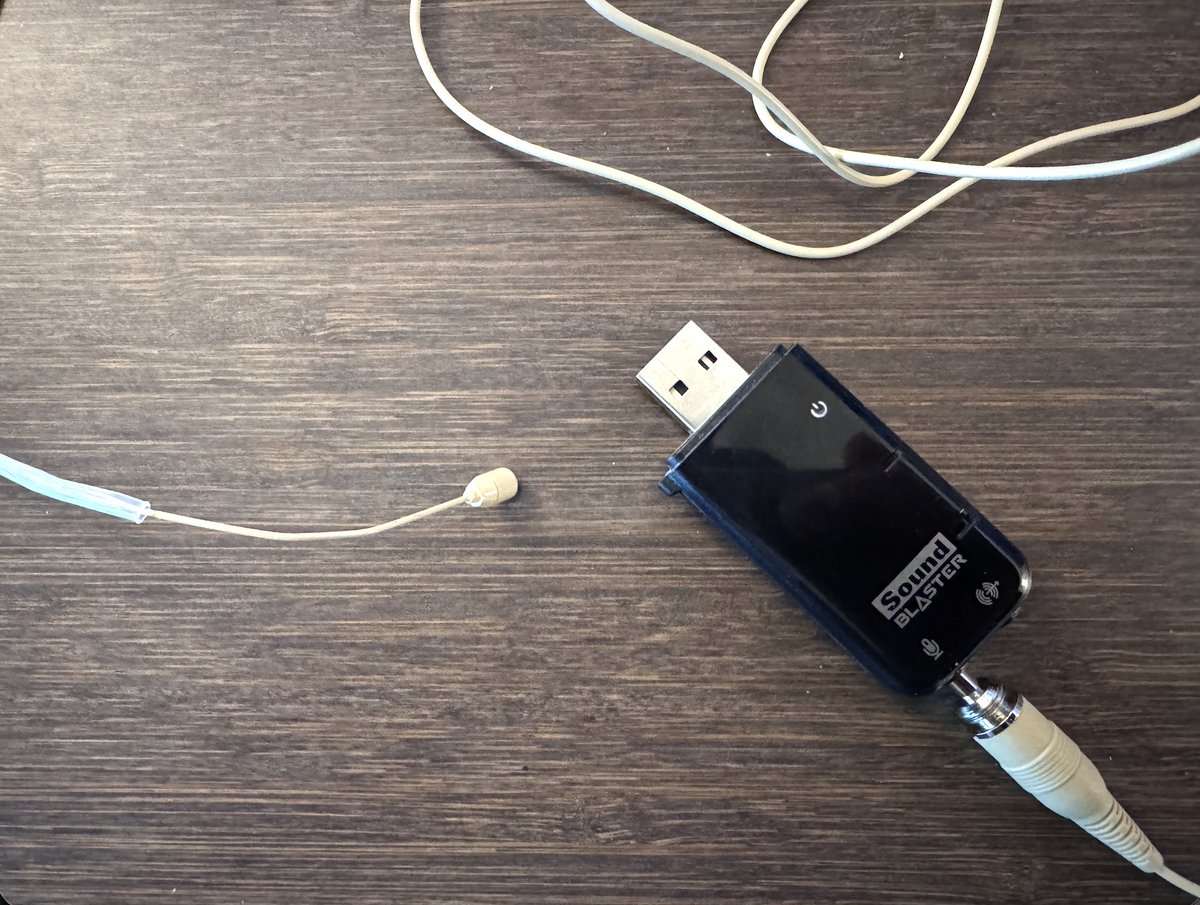
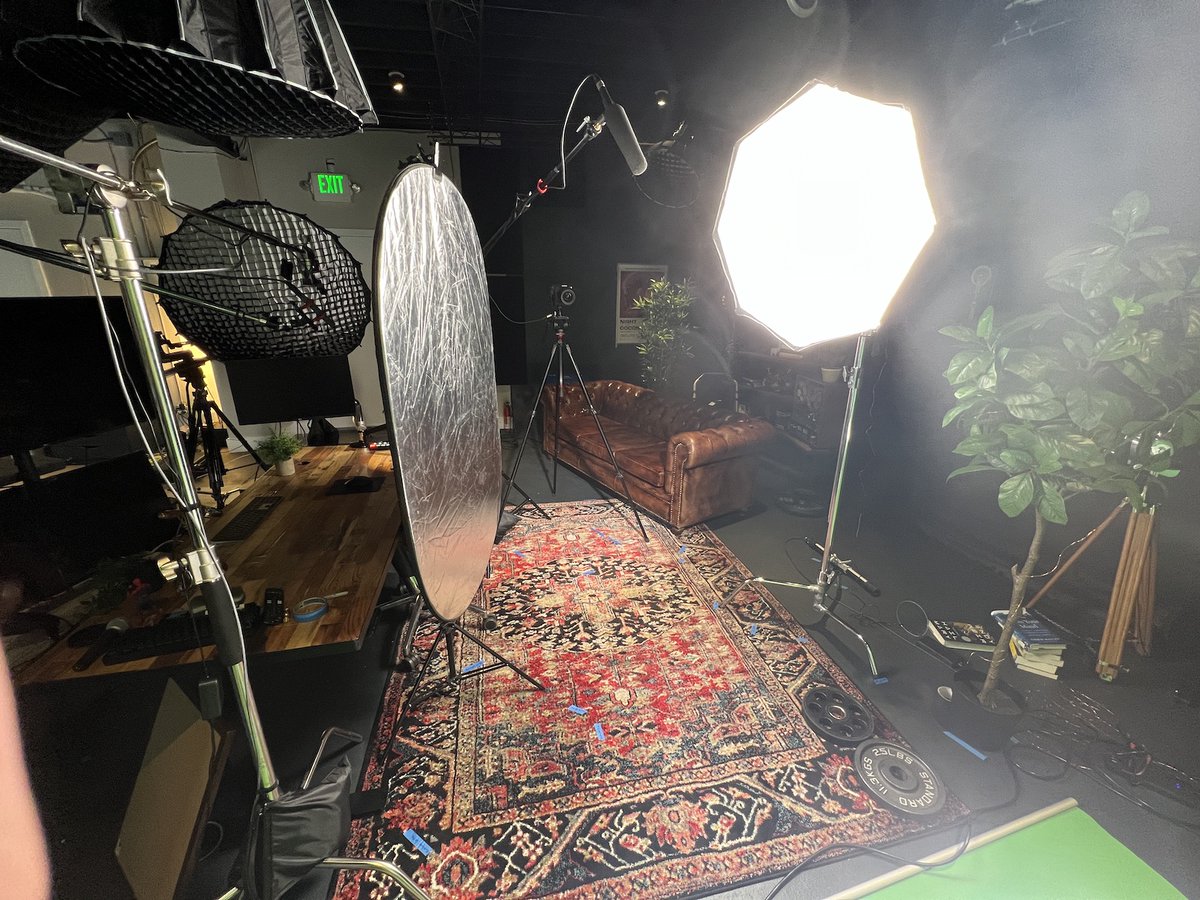
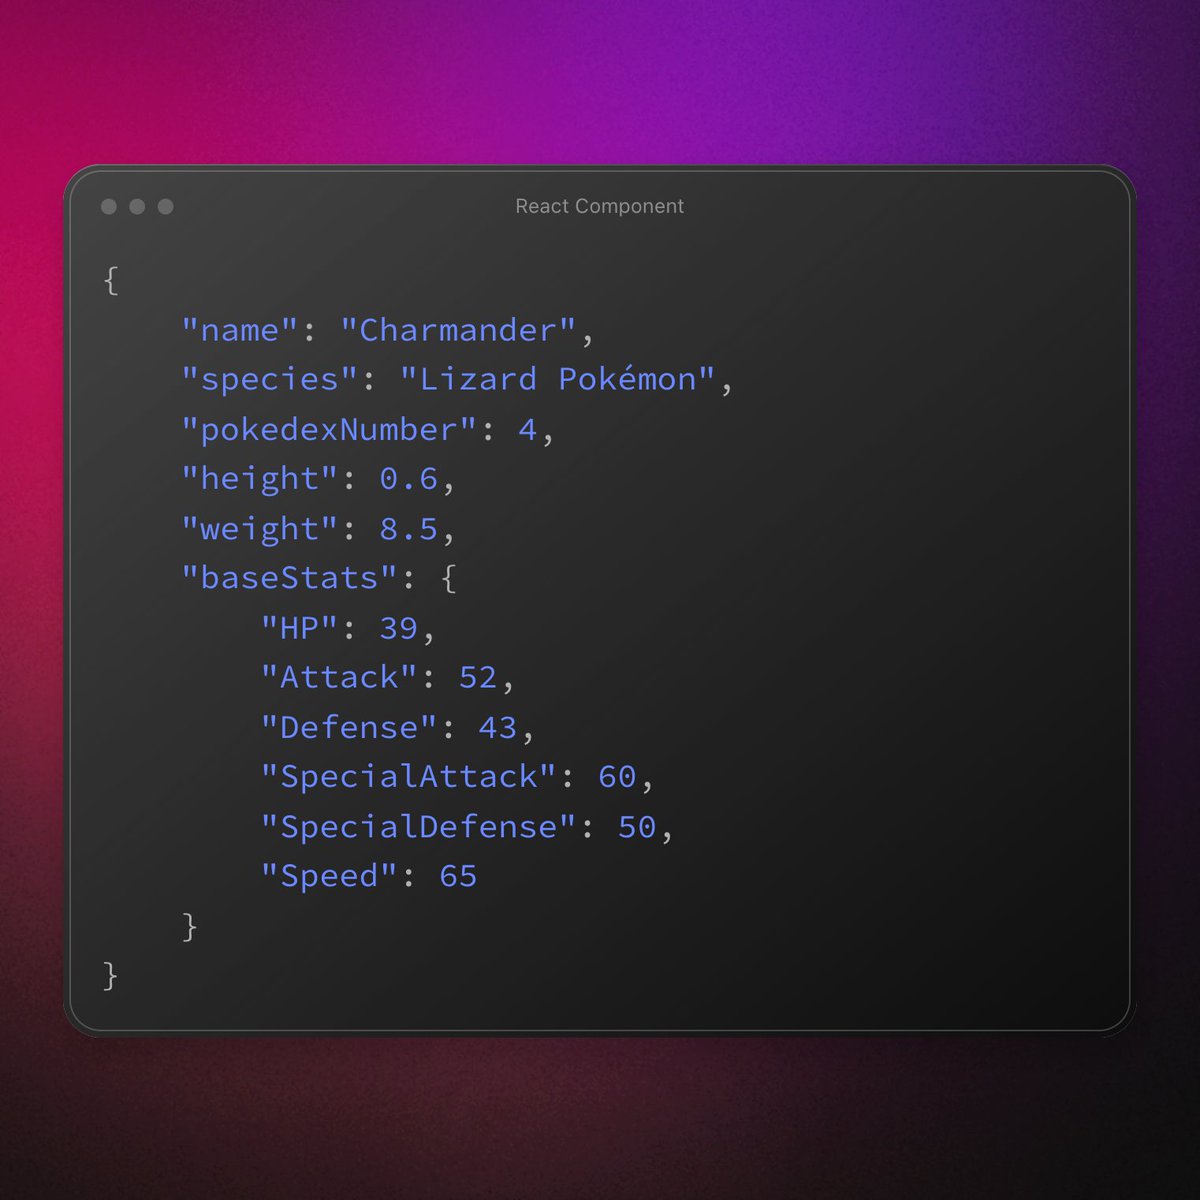
How this was done, part 1: Lighting setup and gear
Part 2: Color grading
• • •
Missing some Tweet in this thread? You can try to
force a refresh