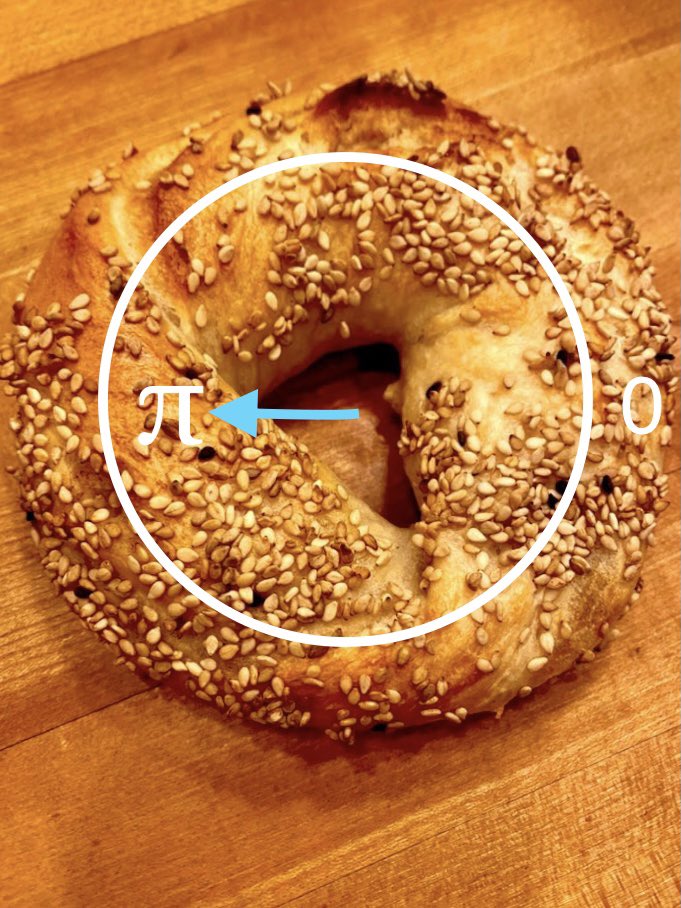
Welcome to my Pi day historical bagel tutorial! We are going to learn how to make the kind of bagels that were brought by Polish Ashkenazi Jews as they emigrated to the United States in the late 19th century (1880s). Let’s go! 
Before we start, a few comments. Bagels are emotional. They are like few other foods, in that they inspire so much passion not only in their consumption but in the argument over what’s “real,” and what’s “proper” and such. The toppings, the water, the schmear, etc. etc. etc.
My weird hobby is historical baking. Usually I’m doing obscure things with microbiology and archaic pottery technique, as you can see below. I’m interested in bagels because I wanted to make the thing that our ancestors brought with them to America as a way of connecting to them.
https://twitter.com/nowthisnews/status/1362281441401458693
So, before we start: I AM NOT CLAIMING THESE ARE “THE PROPER” BAGELS. Whatever bagels you love best IS best and I love you for it. Montreal bagels are awesome. Regional bagels are awesome. If you love supermarket bagels I say FUCK YEAH This is all about FUN and LEARNING. OK? 🥯
THAT SAID, what I have happily realized is that these brave immigrants were *genius bakers.* As I worked on this project the reasons for procedures and techniques became clear, and the result is really terribly delicious. These people really knew how to bake. So let’s get going!

NOTA BENE: This is a pretty involved project/recipe, that needs a lot of technique and practice to get right. Lots of you have sent pictures of super beautiful bagels and I’m not here to gainsay your skills and recipes. Last time I’ll say it but the goal is a history experiment!
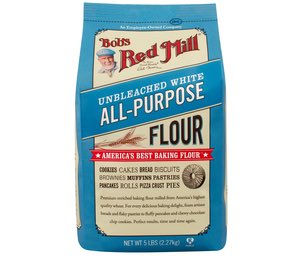
Let’s talk flour. Unusually for me, we are using white extracted flour here. The reason is really interesting- in the 18th and 19th centuries, the Polish government actually regulated which bakers could use white flour (a luxury item), and our bagels grew out of this environment.
Next, there’s an ingredient that’s absolutely organic and historical but that sounds “chemical” to the modern ear...“diastatic malt.” Yep sounds like the kind of thing you’d conclude was an industrial food additive in Twinkes, but it’s not...

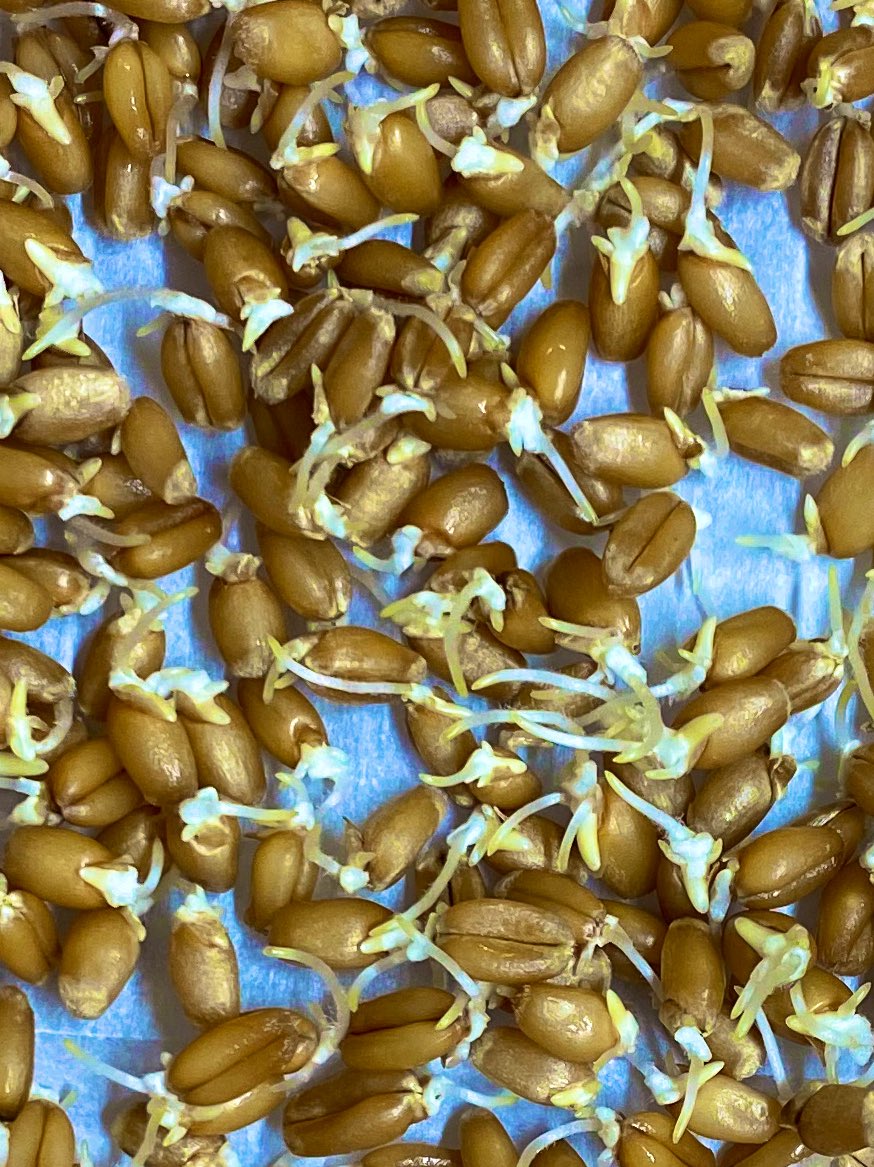
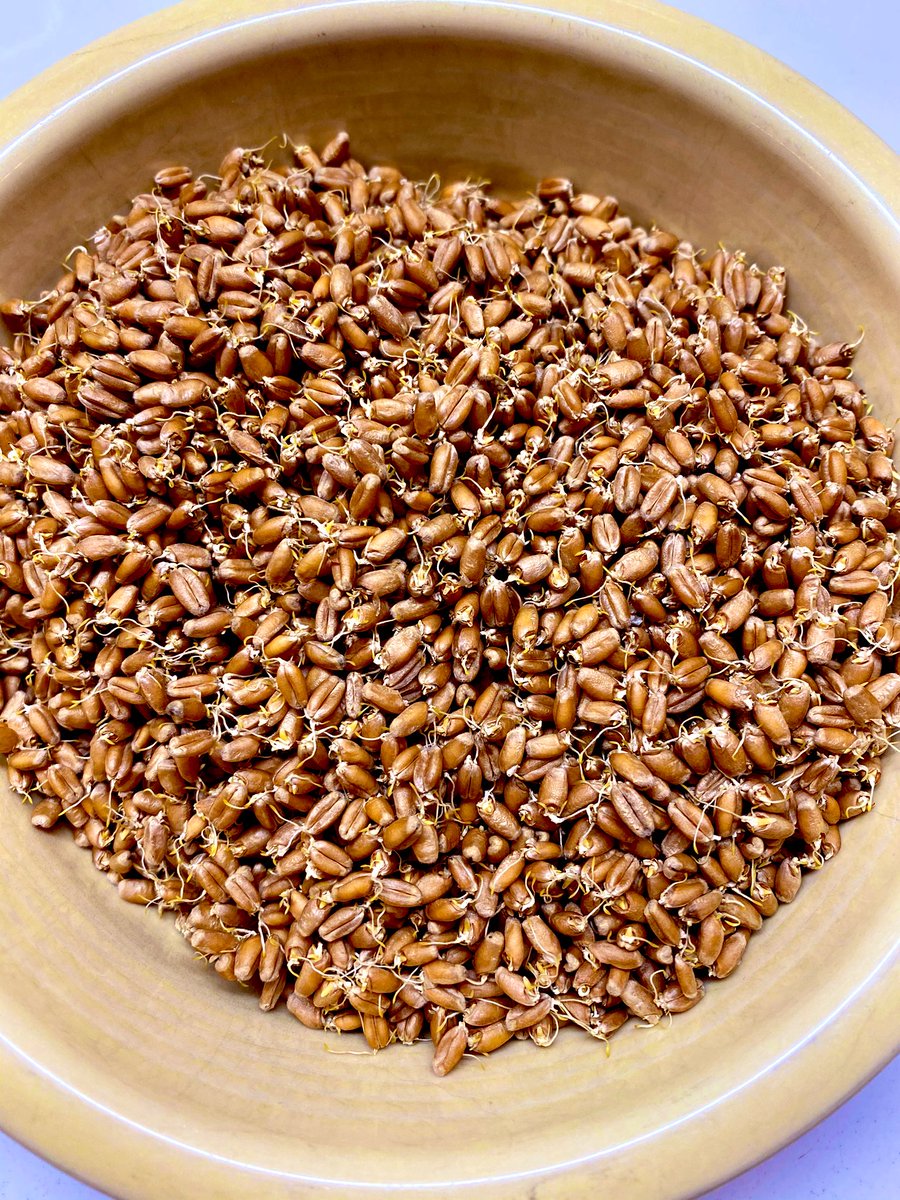
Here is some Diasatic Malt. Yep, it’s sprouted grain! (The fancy name makes you sound smart though) For more than a thousand years, bakers and brewers have known that adding some sprouted grain to the mix improves flavor and character. But why and how?
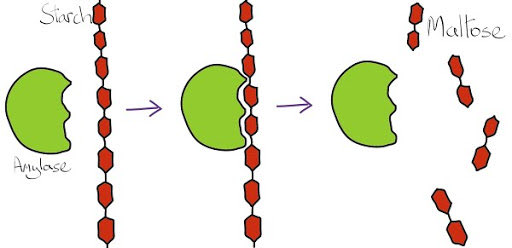
The most important way that carbohydrates (huuuge molecules) in the wheat are split into the simple sugars that the yeast need to grow is through an enzyme called Amylase. The more amylase that’s present in a dough, the more yeast action, rise, and flavor you’ll get.
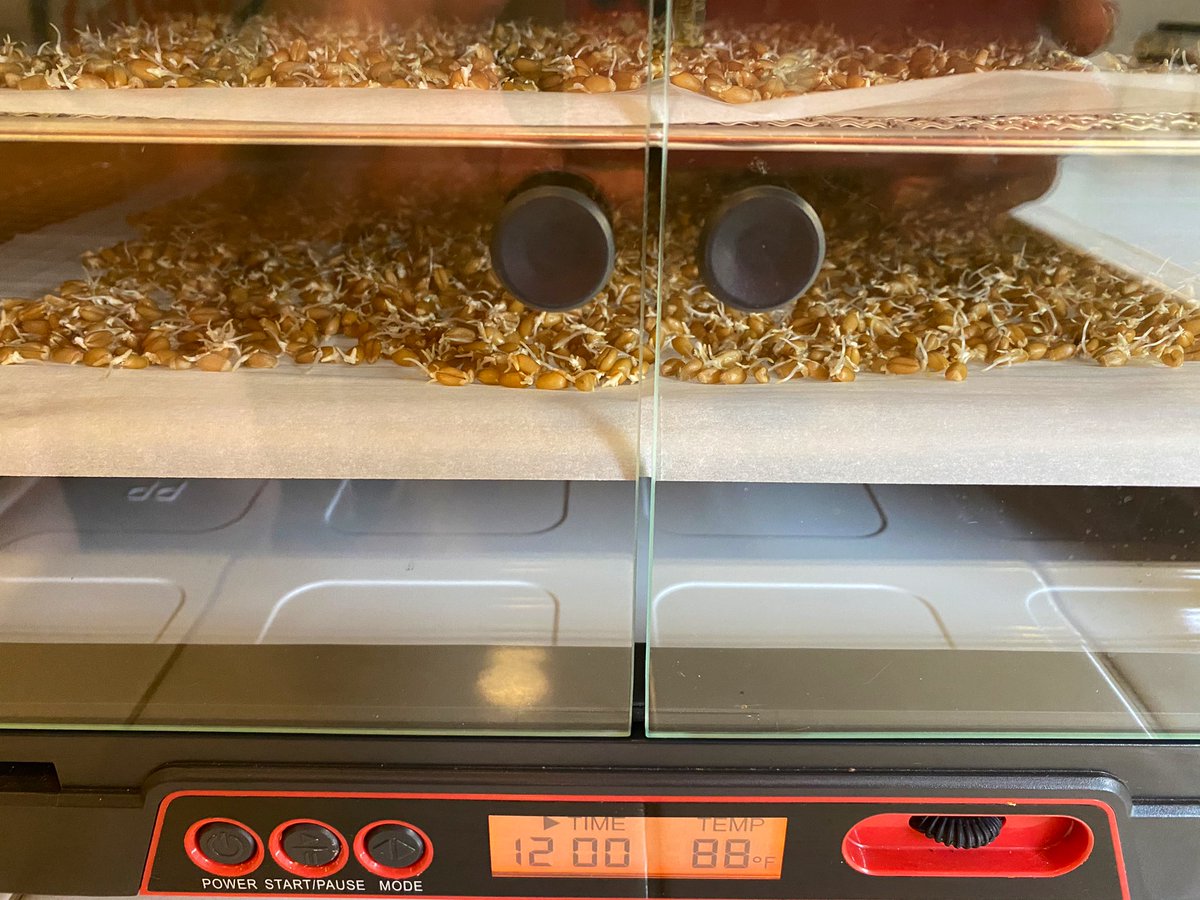
But the reason the starches are there in the first place is that these are seeds: it’s there to feed the baby plant! The baby plant also needs sugar though, so it turns out when it begins to sprout, it produces lots and lots of... Amylase. So our goal is to sprout JUST ENOUGH...

...to get a lot of amylase without adding other flavors we don’t want. This turns out to be when the little root is about the length of the grain. We then carefully dry the sprouts at a low temp (88F so as not to denature the amylase) and mill it into powder.


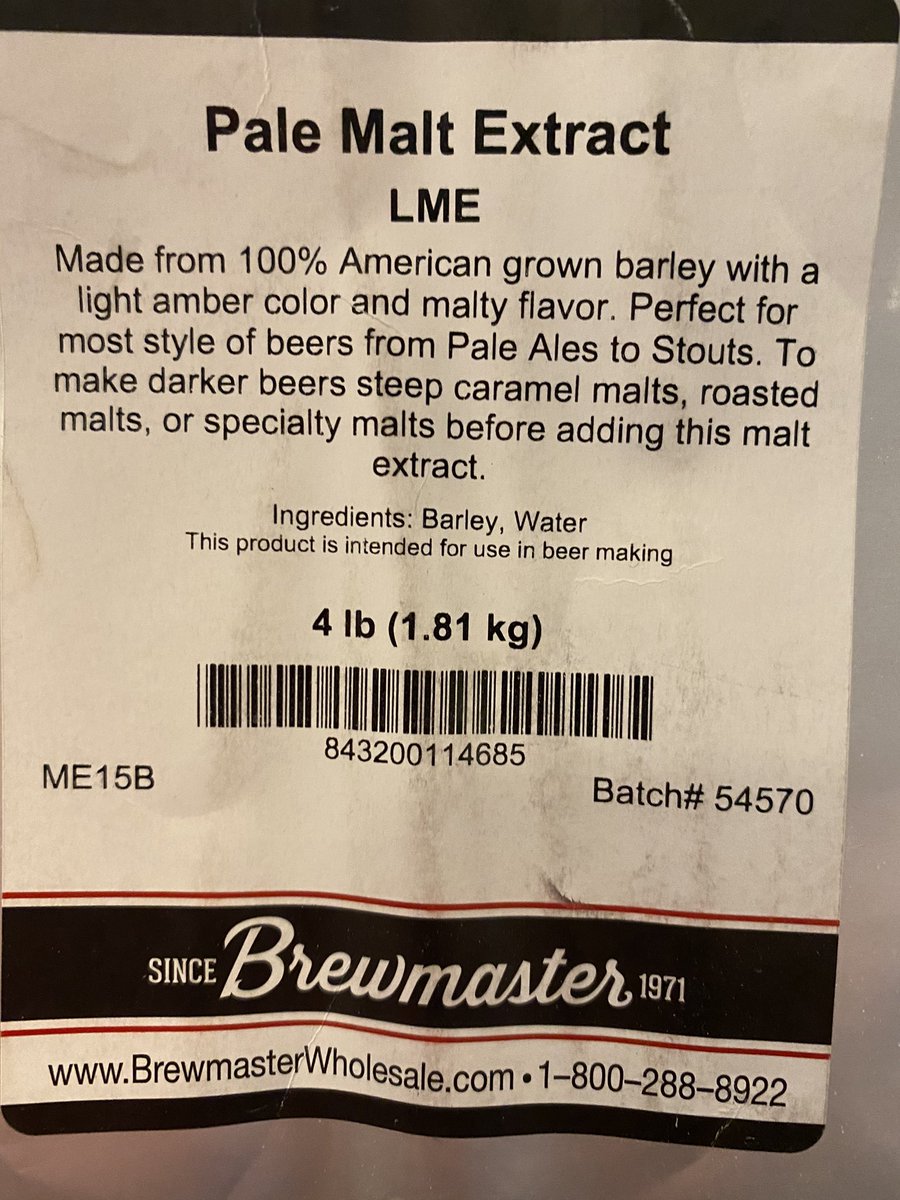
Why do all this yourself? It’s fun, and you can ensure it’s right and pure. In any case, you will need to make or buy some Diastatic Malt powder, and also a different product of the same process, Malt Syrup, which is what you get if you boil your malted grain down in water.

I managed to avoid making my own malt syrup by savagely curtailing my nerd impulses. But it was hard to stop myself, because brewers do this all day long. Anyway you’ll need some of this too. Here’s what I got. But I should have made it. Now I feel dirty.
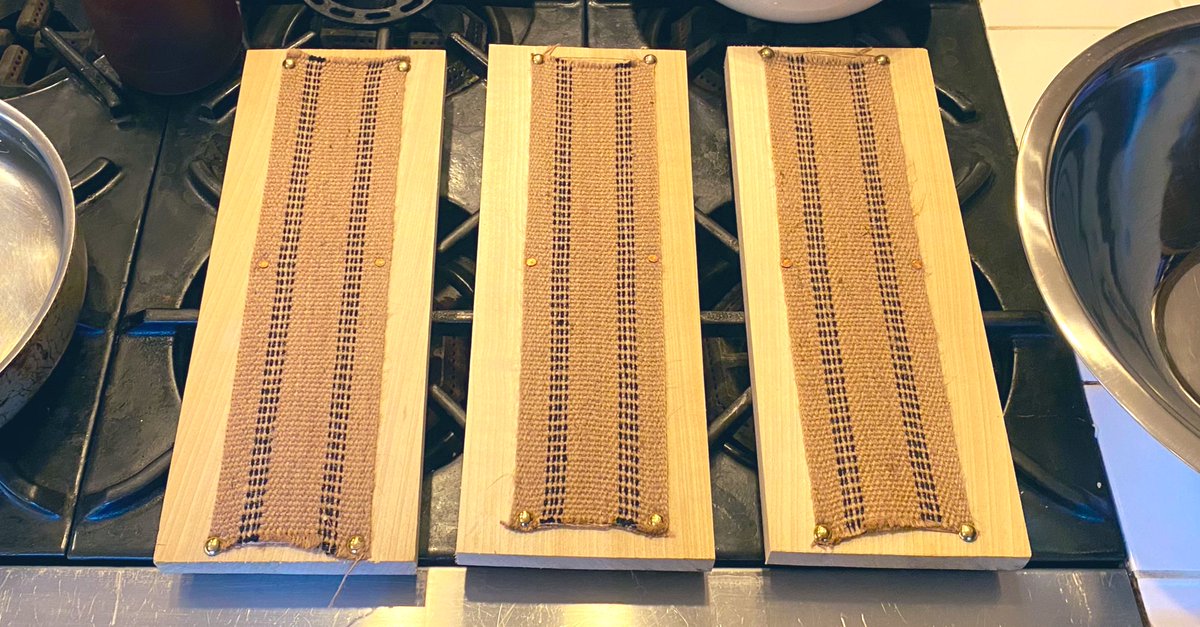
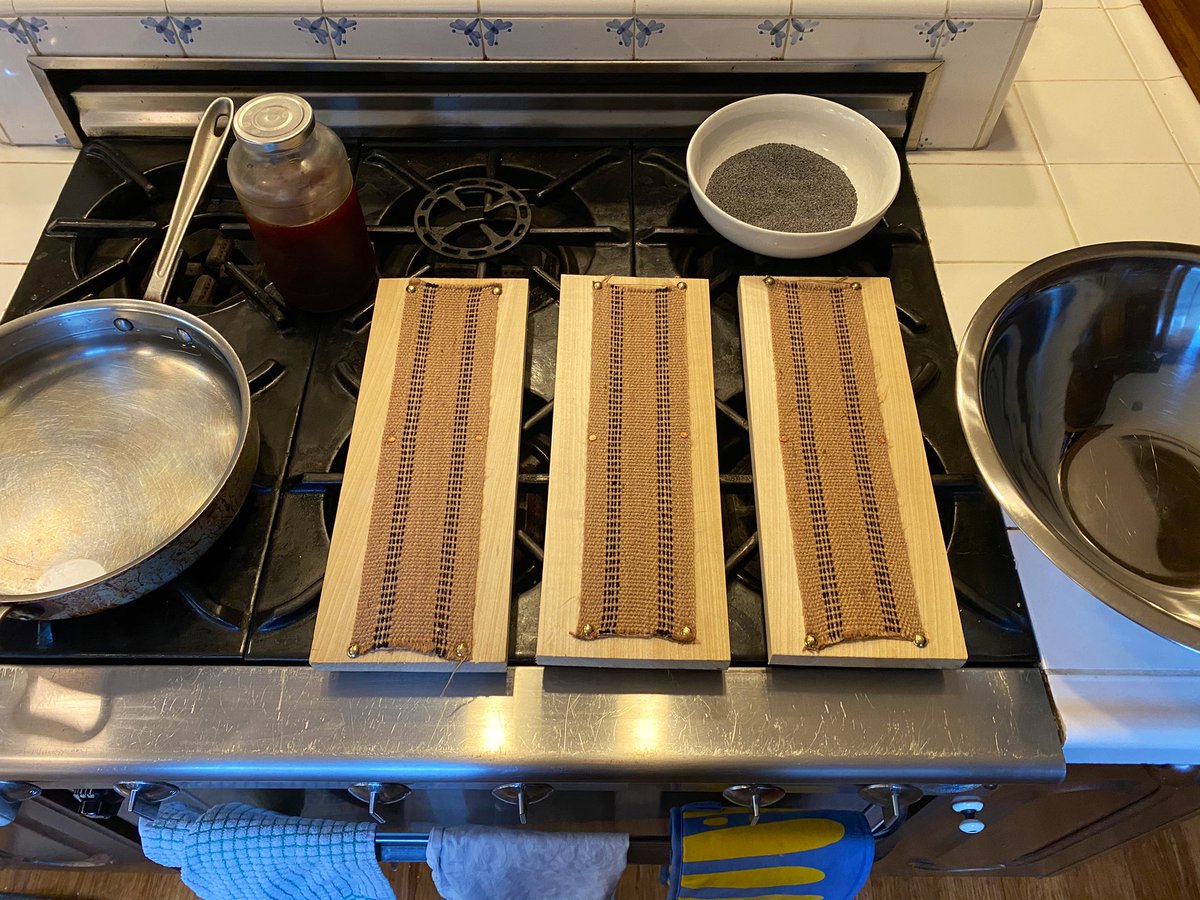
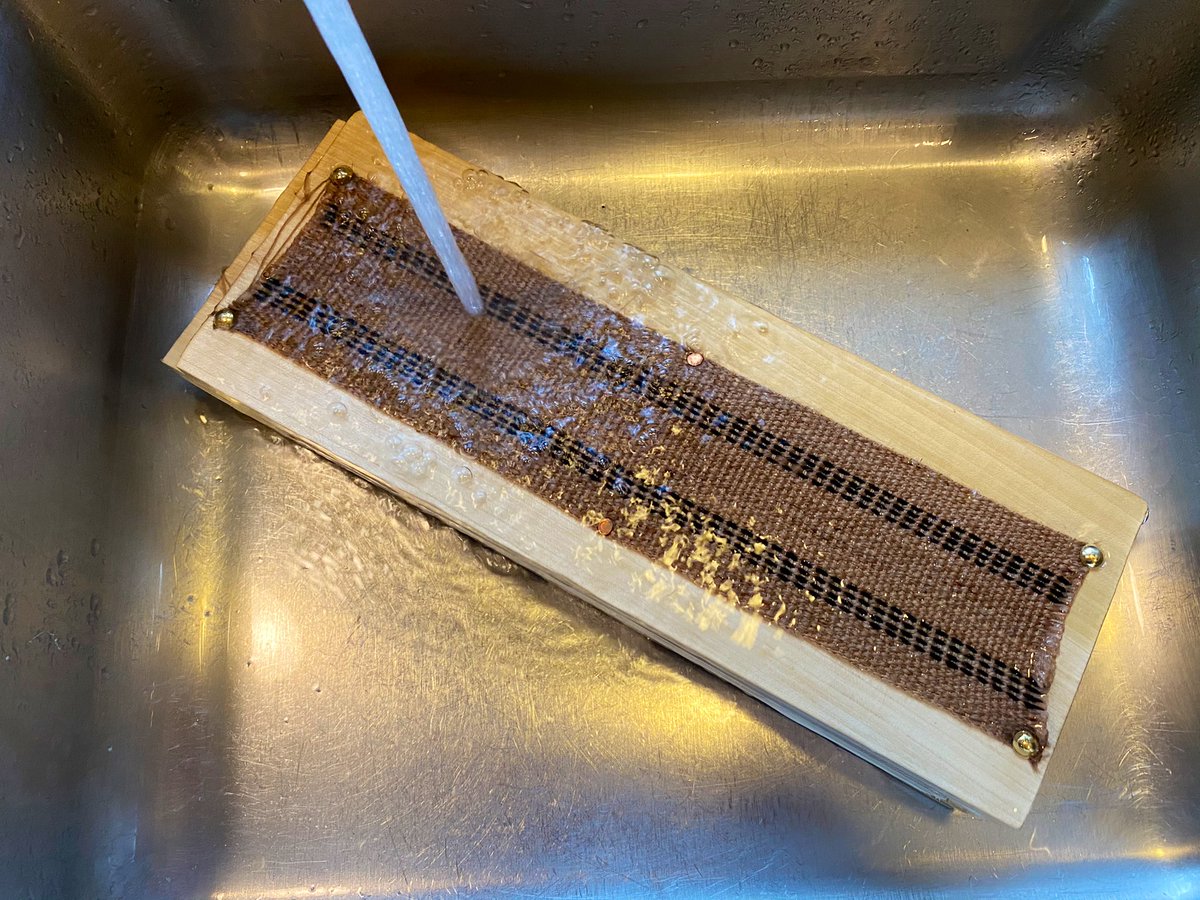
Now the one other thing you’ll need is one you will need to make yourself. These, my friends, are BAGEL BOARDS. You must have these. Sorry. These are legitimate ultra-old school baking implements. Get psyched. To make them you will need...
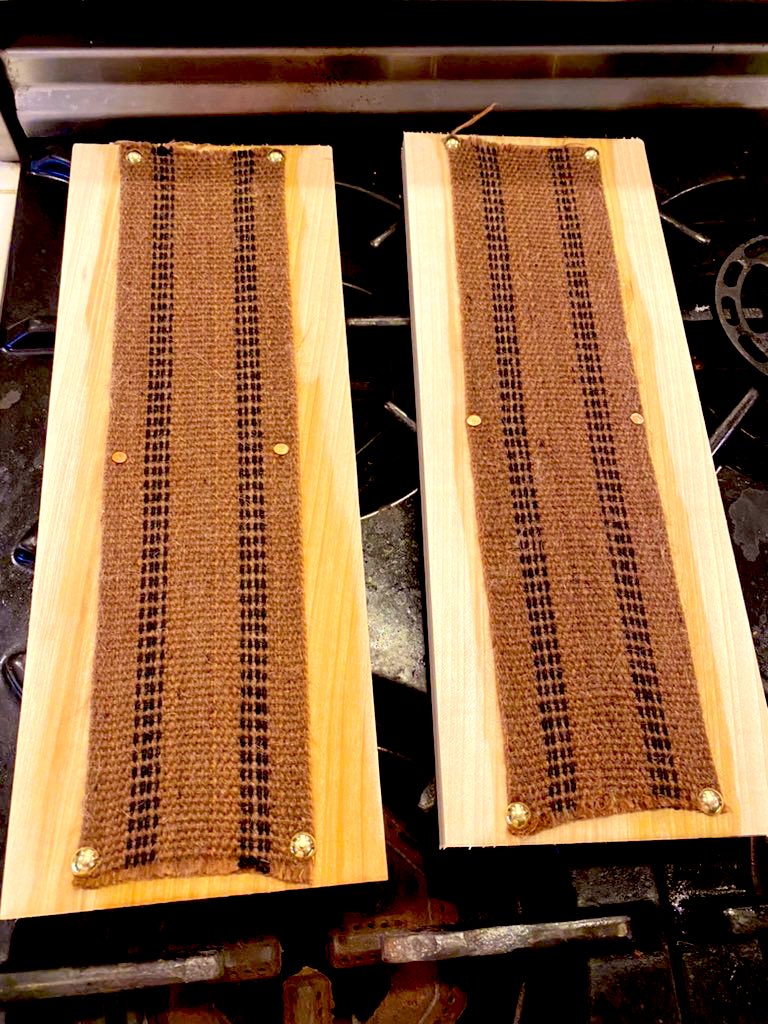
...some scrap wood planks, copper nails (or something that won’t rust- IMPORTANT as it will get wet and hot) and a roll of burlap about 4”/10cm wide. Simply nail the burlap to the board, don’t be too precious about it. They will need to fit your oven and baking stone...
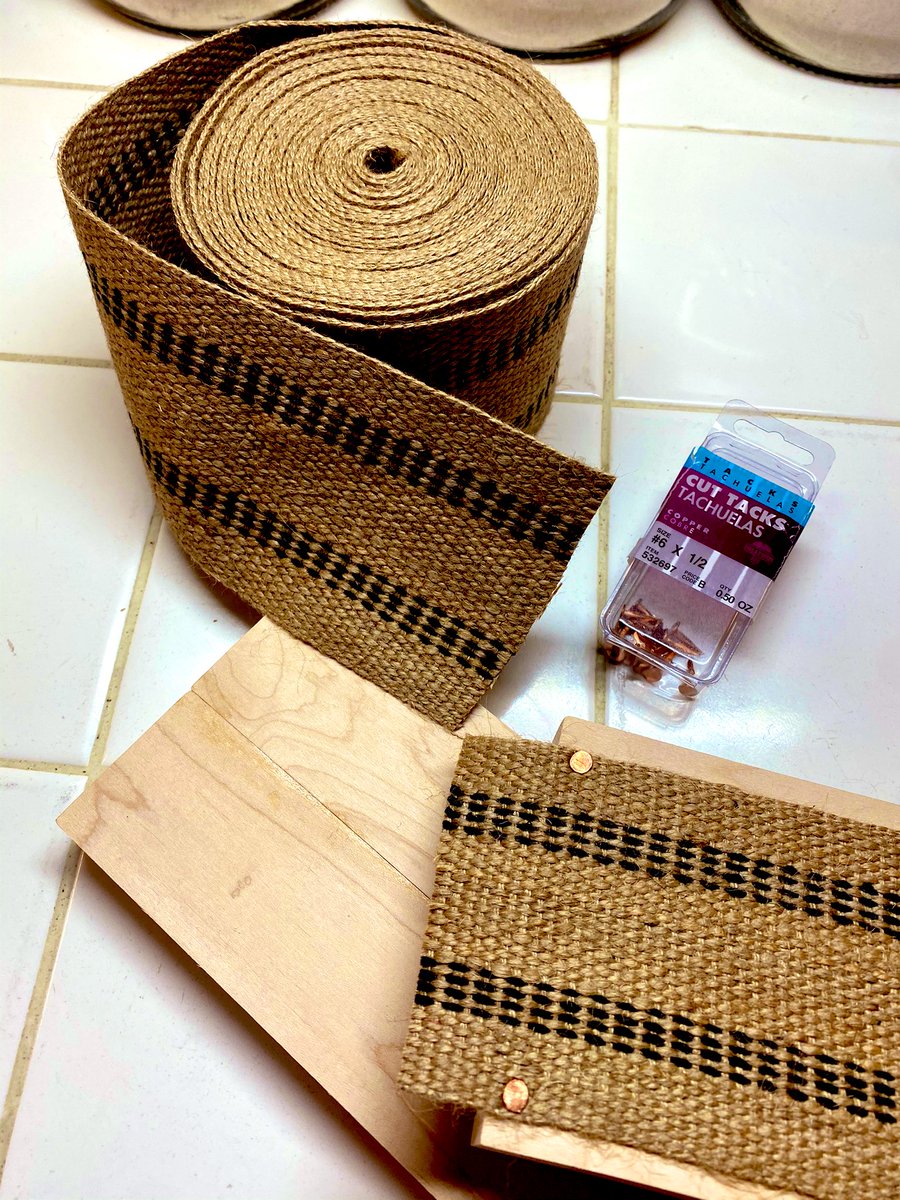
...which is why making your own is probably best. You will need to read to the end and see how they are used to decide how many, and how long you want yours. You will also make changes to improve them! Evolution engineering! Mine are aging nicely, but still embarrassingly clean.
We have the homework out of the way. Pat yourself of on the back (don’t use the bagel boards as it would hurt). Have a beer. Get ready to make the bagels...

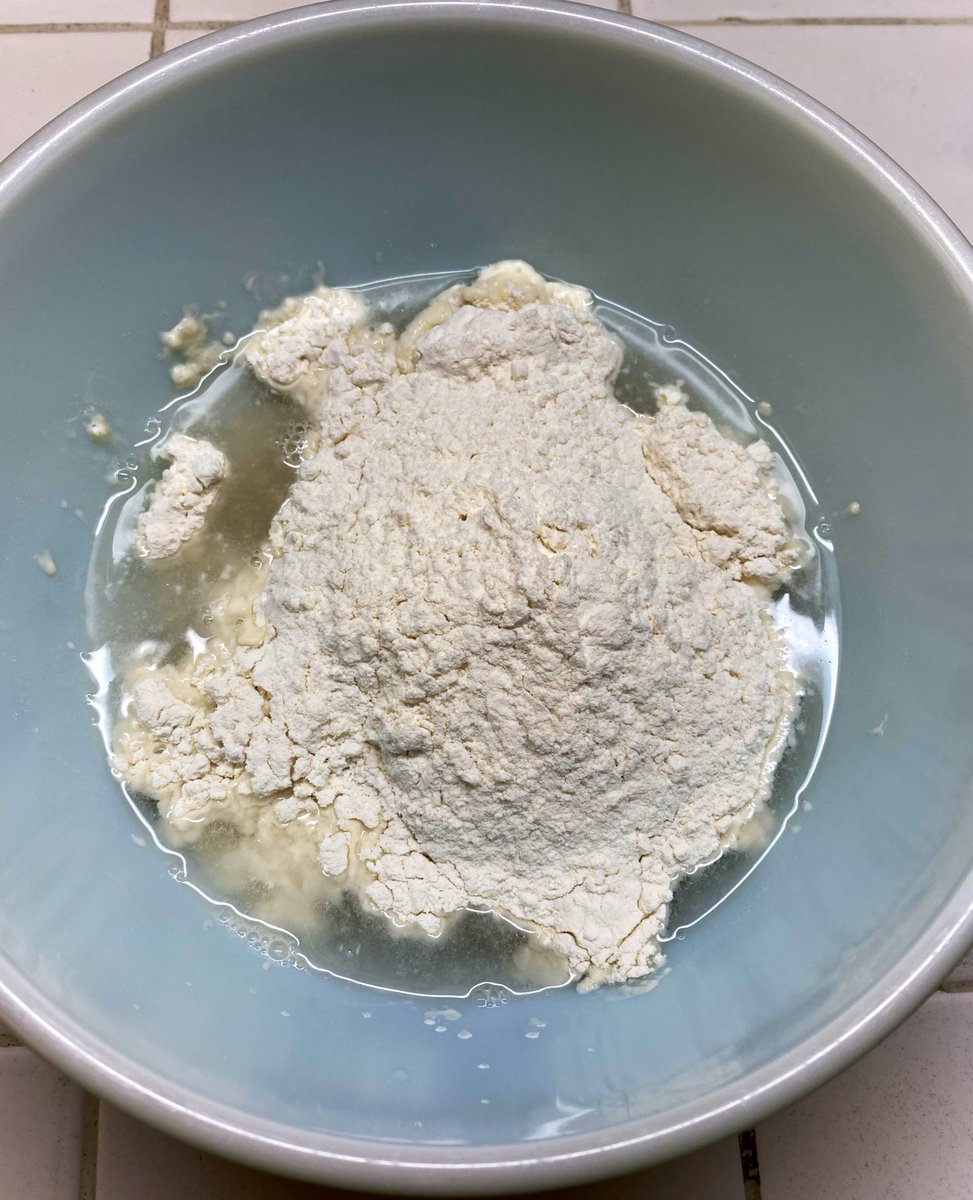
Normally I’d use wild yeast here, but given everything else, let’s use commercial. Nonetheless, this is old school baking, so we are starting with a poolish: a 1:1 mixture of flour and water, to which we add dried yeast. 275g each of flour and warm water, 5g dry yeast. Mix well.
Cover, put in a cool place, and WAIT FOR EIGHT HOURS.
Like, sleep. Or read a book. But probably sleep, because you’ll need to actually do the hard part next. Actually not next but after the next part. Whatever. Have a break. Good night.
Like, sleep. Or read a book. But probably sleep, because you’ll need to actually do the hard part next. Actually not next but after the next part. Whatever. Have a break. Good night.
Good Morning! Here’s what your poolish looks like when it’s ready. It should smell wonderful. It’s ready to make the dough...

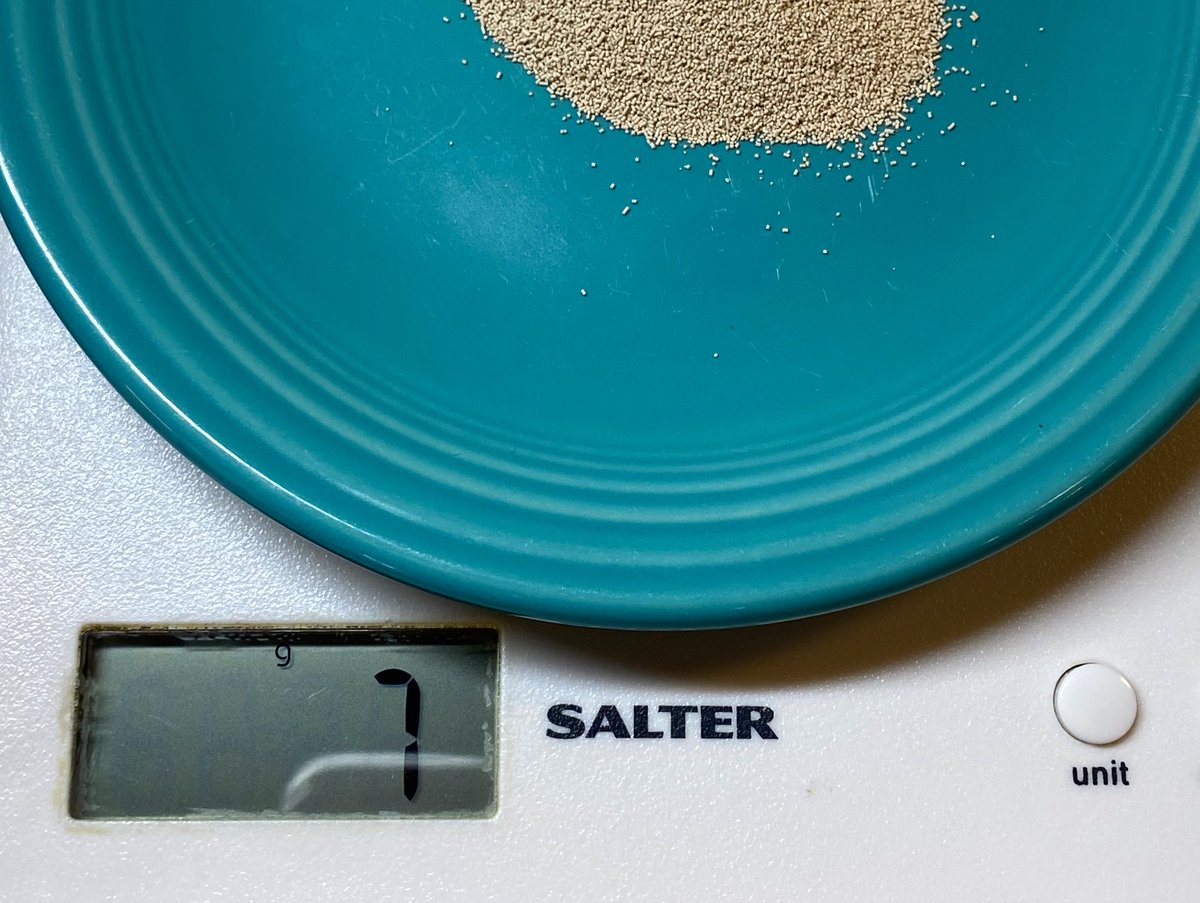
Start with 275g warm water. Add the poolish. Add 10g diastatic malt powder, and 7g more dry yeast. OK so far?


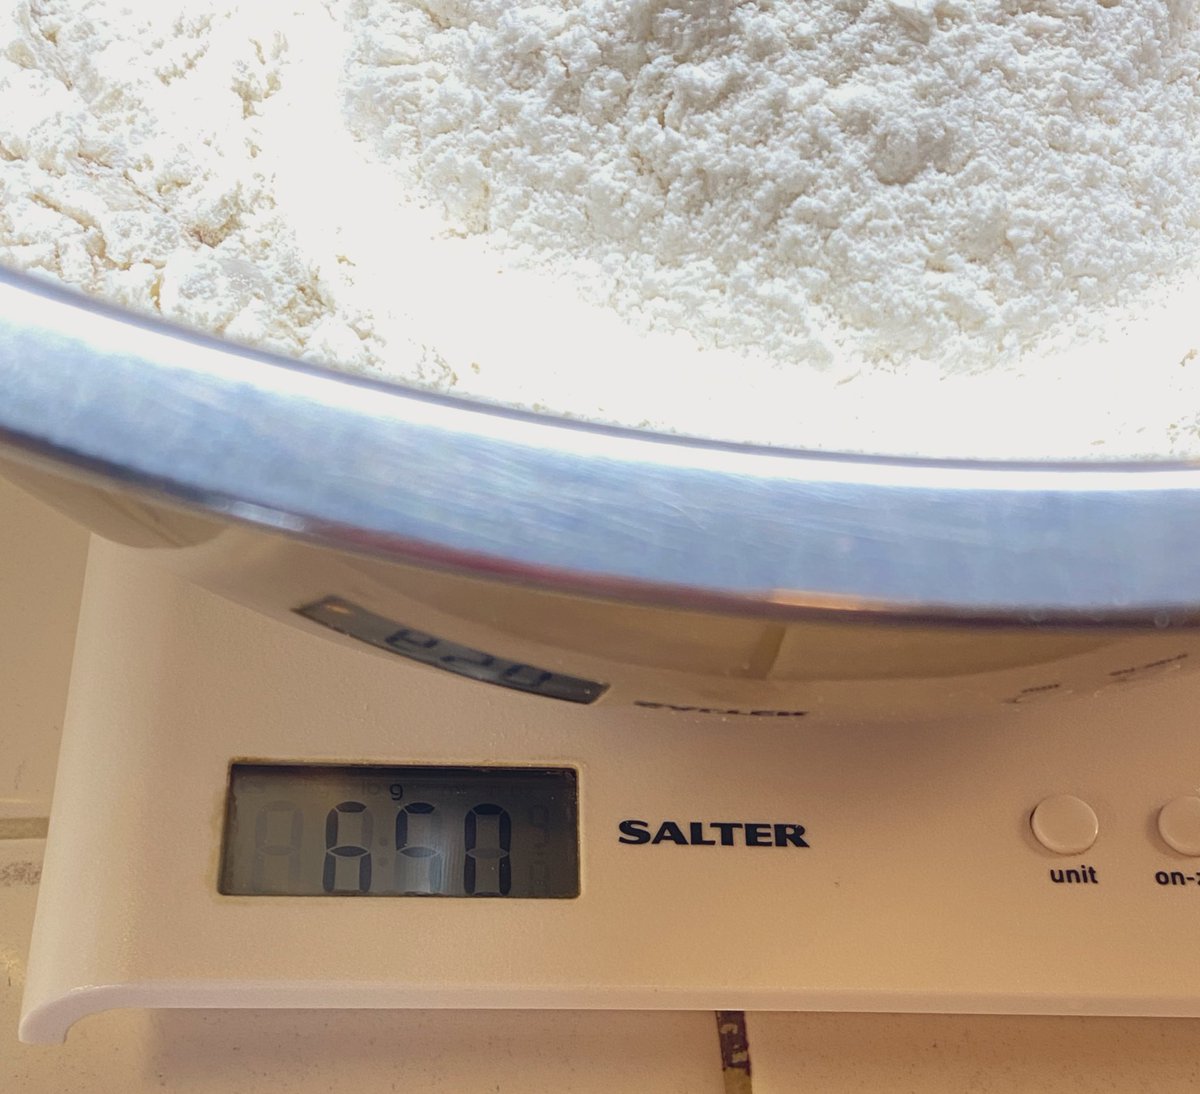
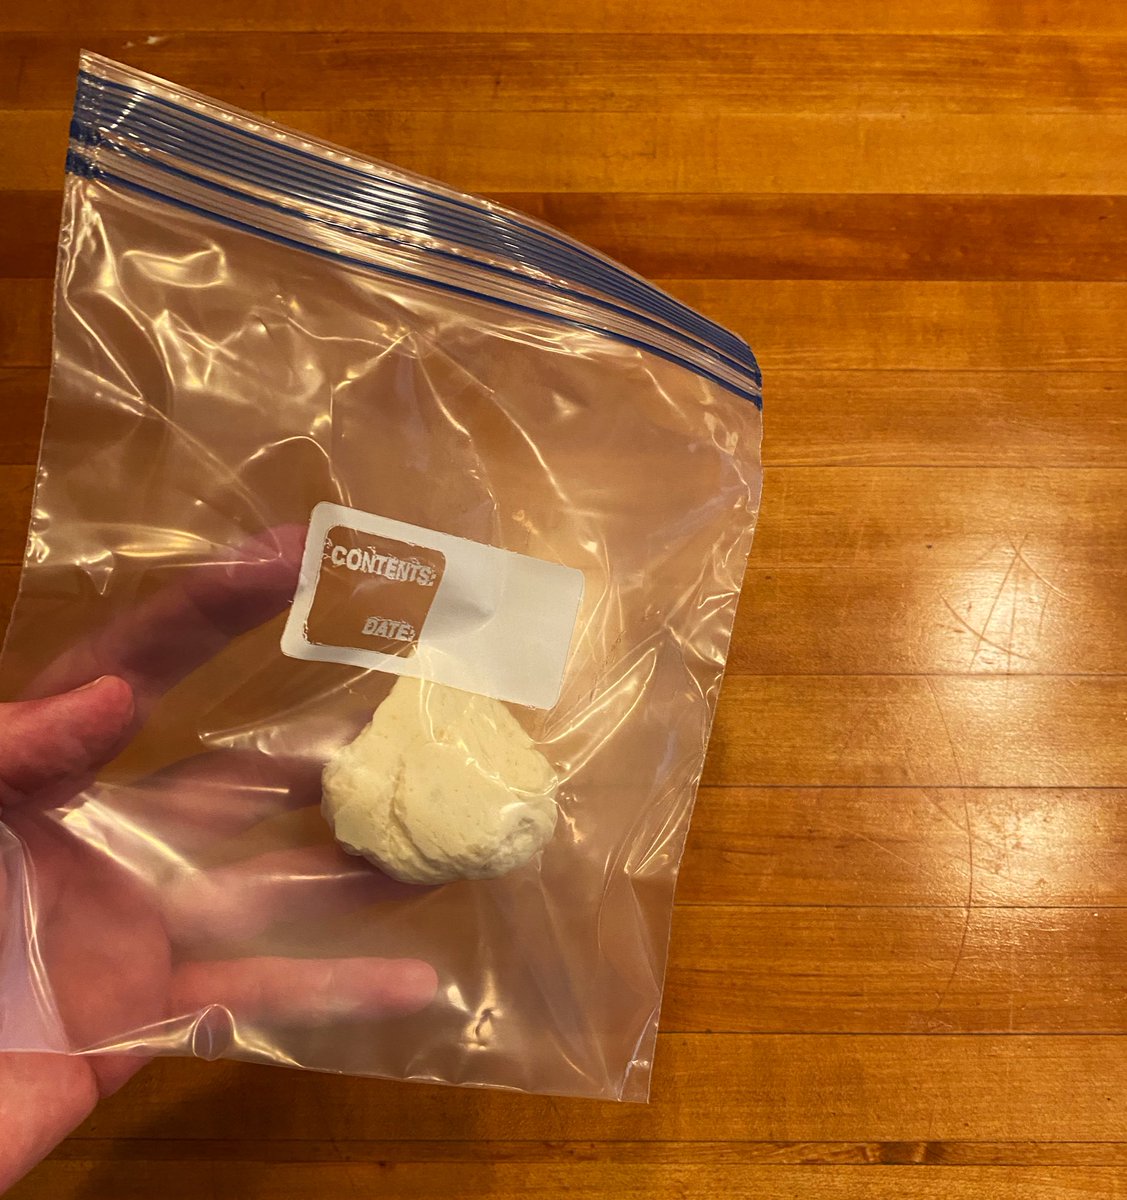
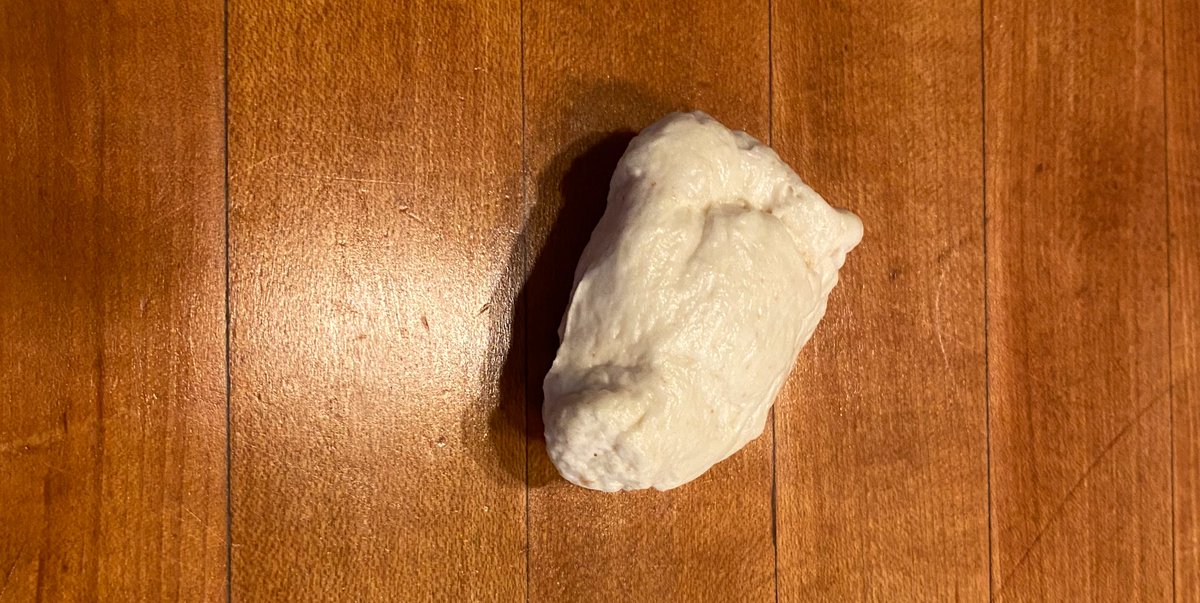
Next add 650g flour, and, any and all dough you have saved in the fridge from the last batch. Don’t worry I’ll remind you later where in the process to save some.

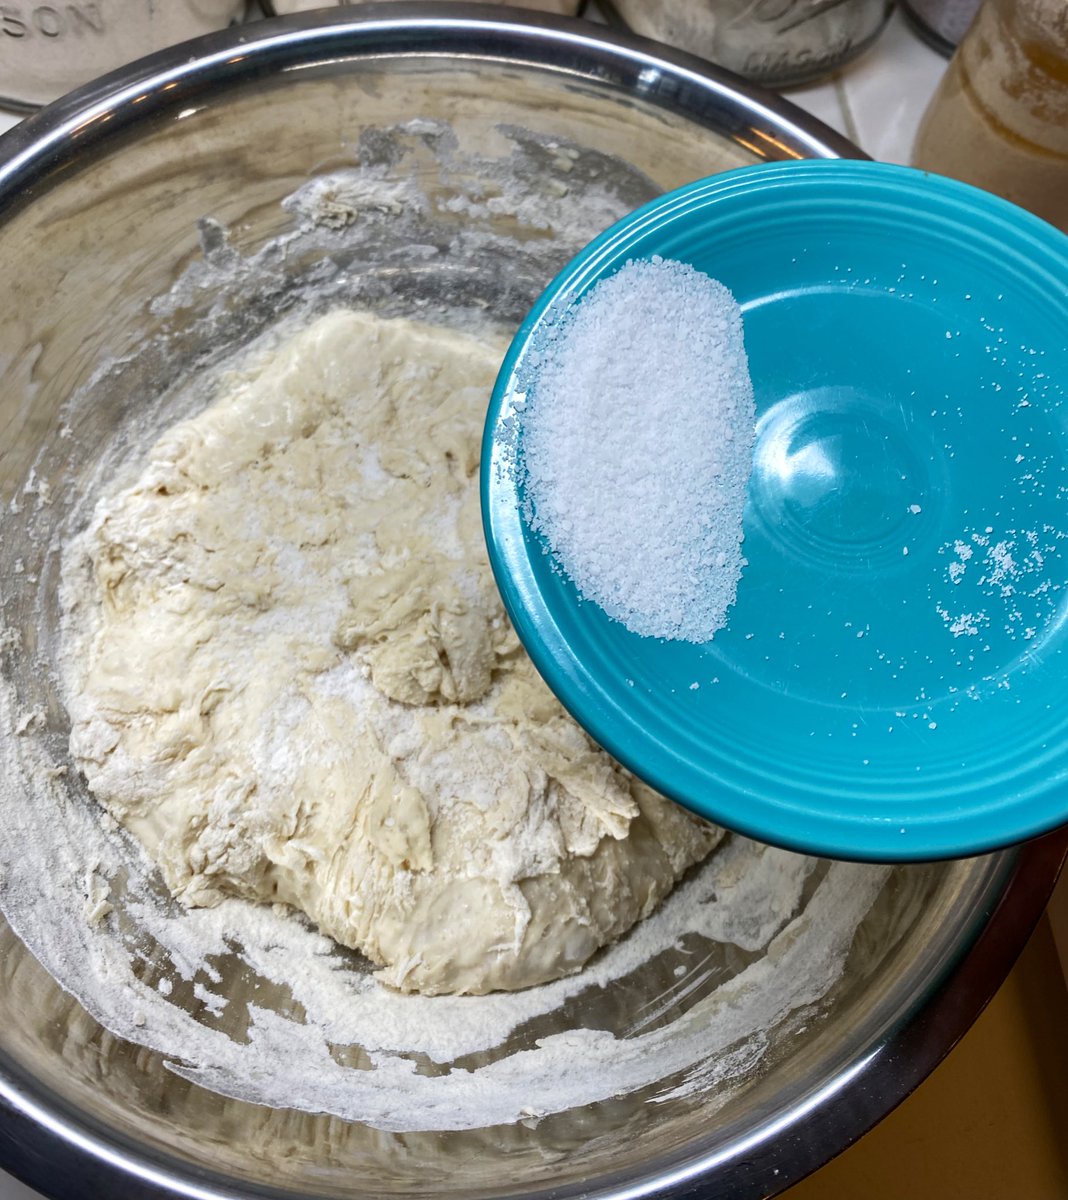
Mix this mess together loosely. Just enough to look like this. Then LET IT SIT, covered, for 25 minutes. PROMISE ME you’ll do this. We are giving it a chance to kickstart microbial growth before adding the last ingredient...
...kosher salt, which is delicious but also is poison to microbes. This is why it’s a preservative. 15g will do the trick. Sprinkle it on top of the shaggy dough. Apologize to the yeast.

Now do some of this. You’re just mixing and folding. It will be sticky and a little ornery. That’s OK. Be patient, but you can sternly tell it to behave if that helps. About 2-3 minutes of this and you will see it change into a more dough-like object.
Now knead like this for FIVE MINUTES. People are afraid of kneading. It’s no big deal. It is actually great exercise and has been shown in studies to increase your sec appeal. Also, the dough will transform under your palms, magically, into...
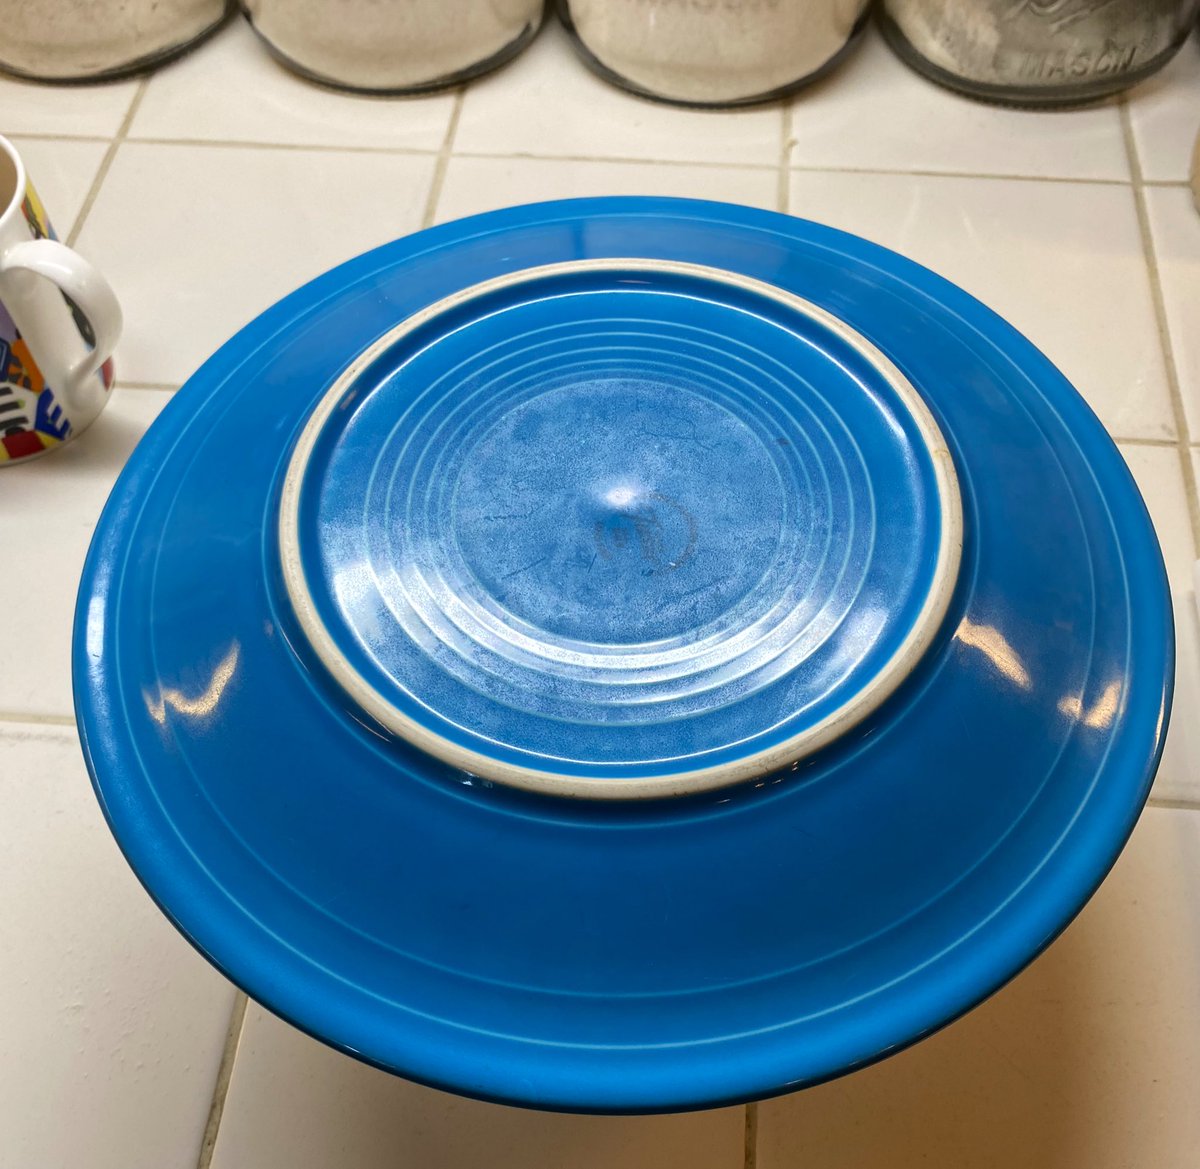
...this. I have put the dough ball into a lightly oiled bowl. I have lightly oiled a plate and put it over the top, and we will put this in the same cool place that the poolish was in, for TWO HOURS. No peeking. Go do something useful.


*sex
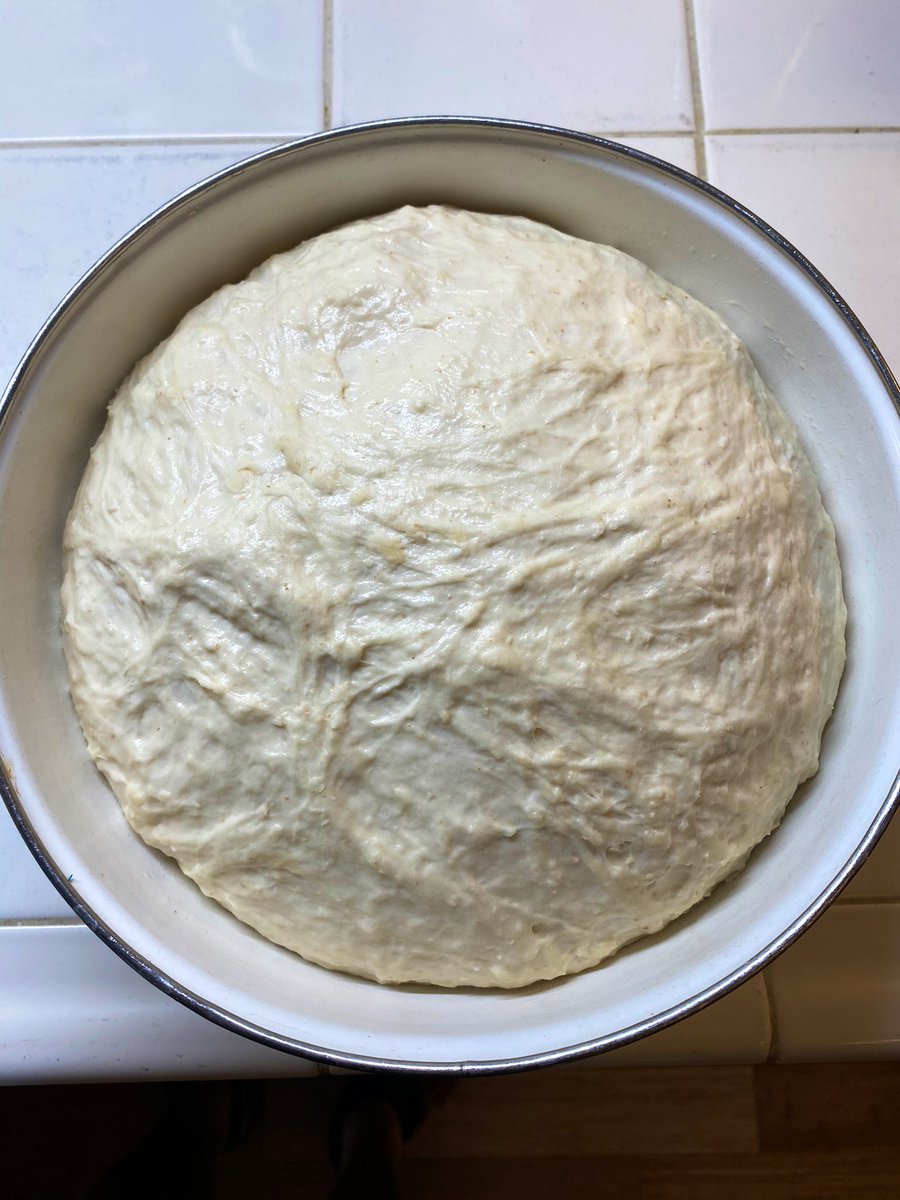
And BOOM GOES THE... uh, enzymatically enabled aerobic respiration. Anyway you should see this when the timer goes off. Now cover it again and put it in the fridge for AT LEAST TWO MORE HOURS. Because while it rests you have work to do...
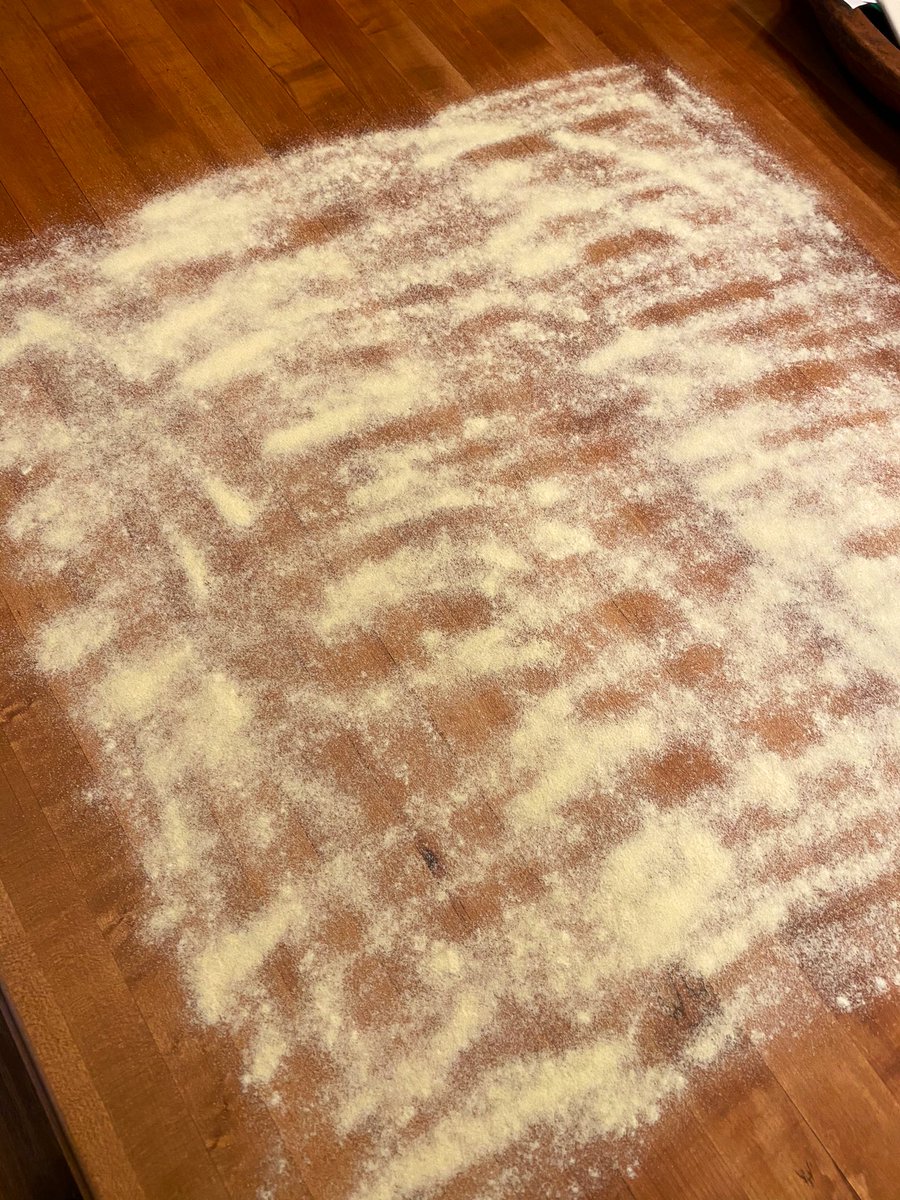
...which is to prepare to make bagels out of a big wad of dough. You need a nice work surface that you can lightly oil. You also need space to let the bagels rose again after you form them, and you’ll need to sprinkle some semolina on that area so they don’t stick...

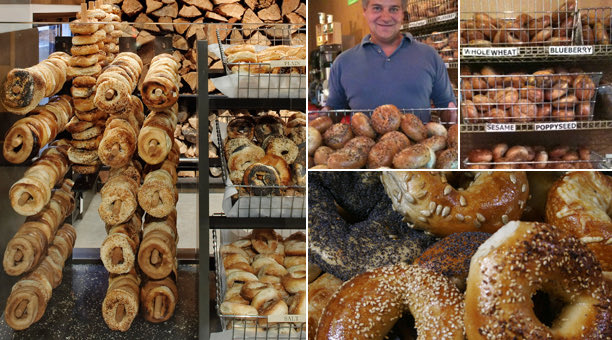
I’m going to add something emotional here. What you’re about to do is what used to be called being a “bench man.” It was a proud career, a skill and craft. It was a 100% Jewish profession, there was a powerful union, and everything and all business was carried out in Yiddish.

The bagels you’re about to make aren’t going to be uniform and perfect like modern bagels, even when with lots of practice. This is the old way, and it tensions the dough in a way that produces and INCREDIBLE bite and texture. It takes lots of practice and skill. It’s worth it.

Finally, the era of large scale handmade bagels came to an end, obviously, with the advent of machinery. But the story of the struggle to perfect a bagel machine is also fascinating, even though it ended an era. Read here: bagelproducts.com/bagel_formers/…
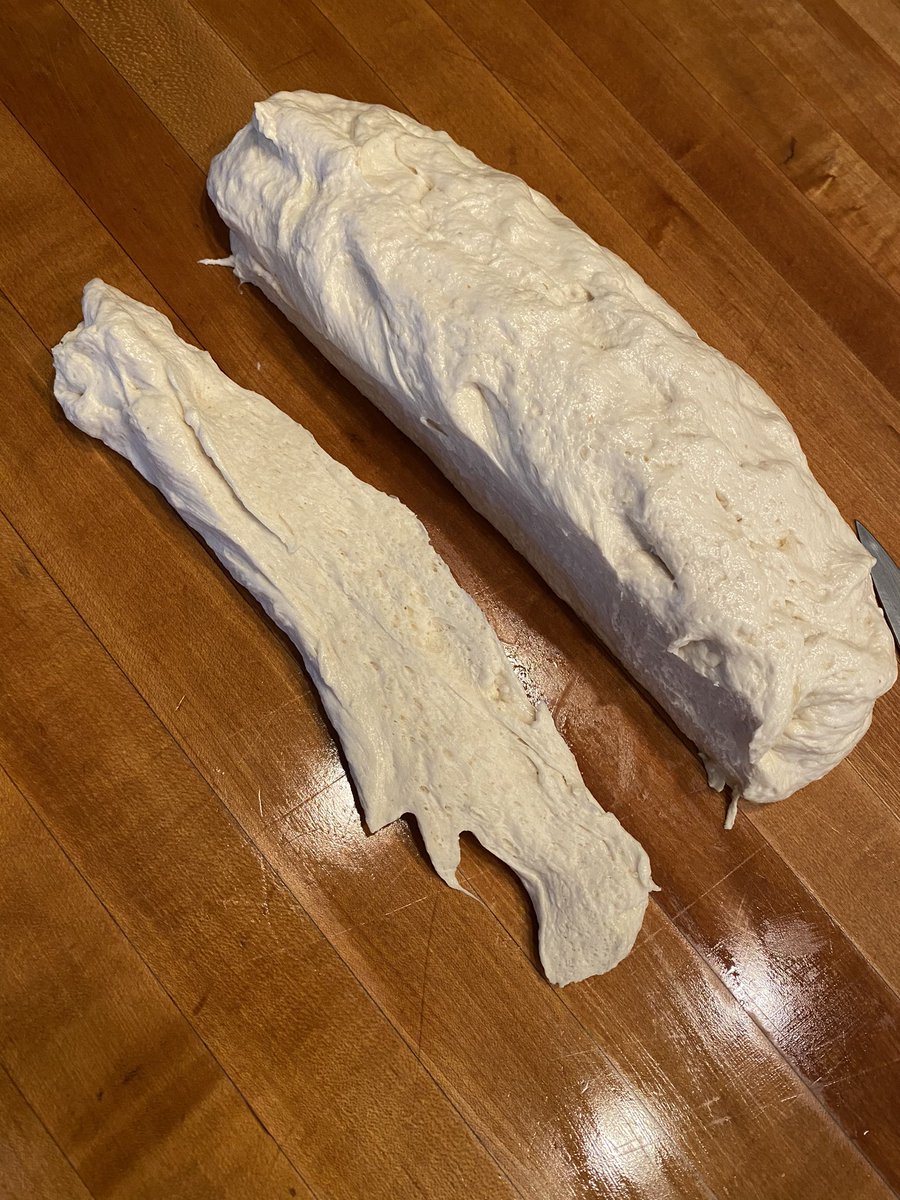
OK let’s get that bench going. Get the dough out of the fridge. It should look like the photo. Get a knife that looks like this. Oil the bench. Oil the knife. Put the dough into a lozenge shape as below. Have an espresso shot. Here! We! Go!


Cut a strip of dough like such. Don’t be shy. Don’t worry about getting it perfect. You won’t. I don’t. It takes years. Just go for it. Nothing bad will happen. Mistakes are still delicious. Next...
Do. This.
Keep going. Don’t worry. Don’t do anything but feel it, and enjoy it. You are connecting down generation after generation, you are joining so many of our ancestors and so try to feel that, and how awesome it is.
Keep cutting strips. Join them. Experiment. Feel it. Don’t worry about perfection. The twisting, the rolling, and the joining, combined with the yeast and its microscopic processing of the dough, will make these wonderful no matter how they look. Trust me. Just go. 👊❤️
You will make a fleet of awesome bagels. Cover them with plastic wrap, so that a pellicle, or dry crust, doesn’t form. We will leave them to rose for 40 minutes, but it will be a busy time as we get ready to boil, top and bake. Keep moving!
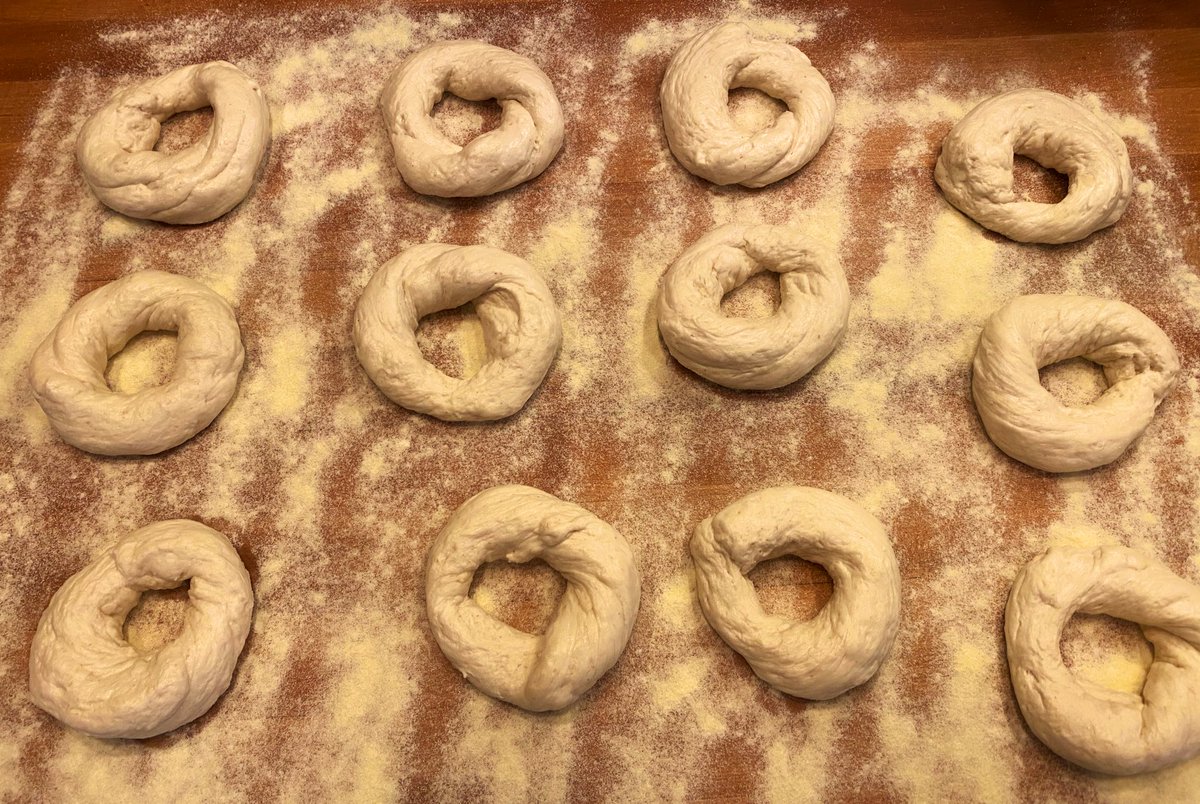

Don’t worry about making the same number as me, or how big they are, it’s all good. Just try for vaguely this size. Now remember when I showed the leftover dough? Inevitably there is some left that’s not quite enough for one bagel. Bag it, pop it in the fridge for next batch.
*rise. Sorry everyone it’s late and my spelling is becoming garbage. 🙄
Its time to set up for the final stretch. PREHEAT YOUR OVEN TO 475F. Get the boards, the malt syrup, a flat pan suitable for bagel boiling, a bowl for ice water, and if you want a bowl with some poppy or sesame seeds. Keep the toppings simple for now kids. First time out and all.
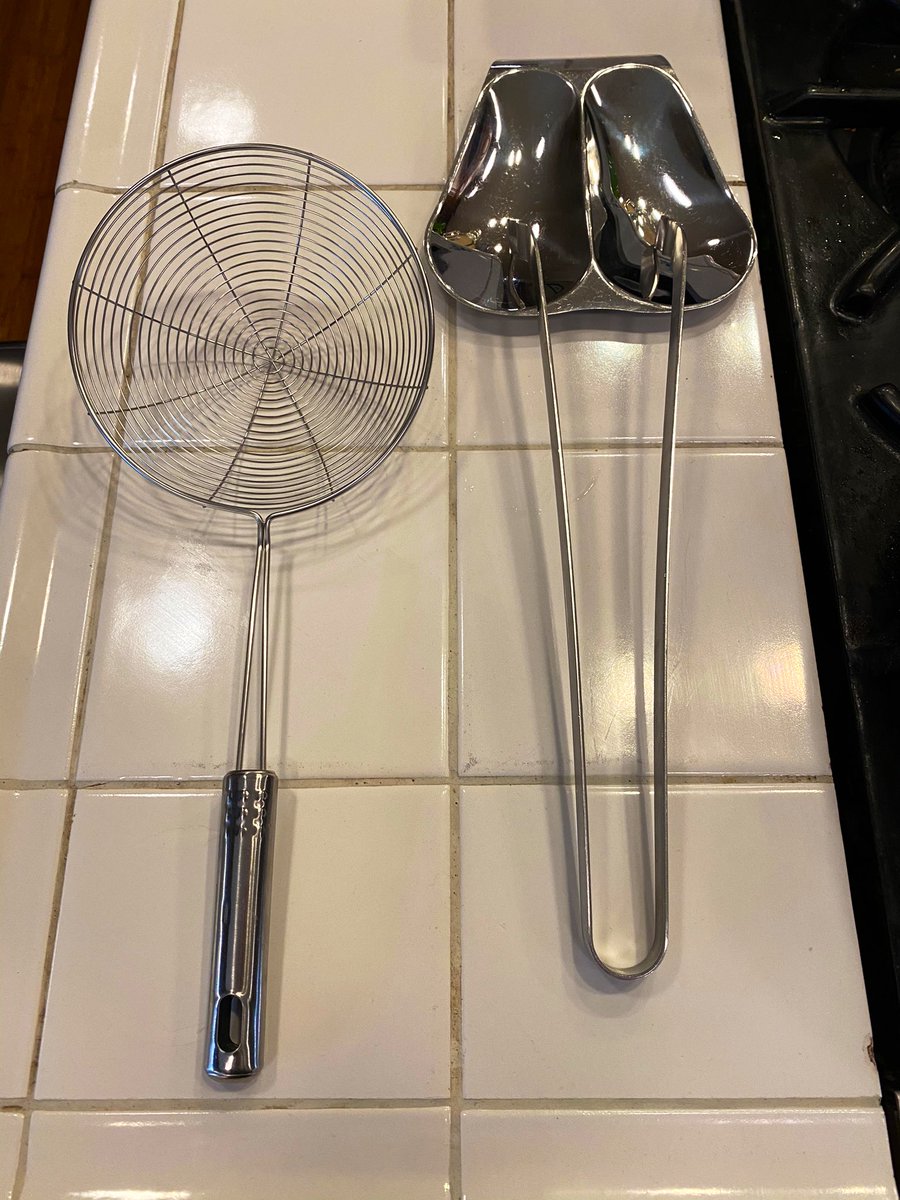
You will need a spider (the round thing with the handle or equivalent), some tongs for flipping the boiling bagels GENTLY, and it’s time to fill the cooking bowl with ice water and the boiling pot with water and a dollop of malt. Yes, a dollop. Feel. Spirit. Love. Dollop.


The water should be gently boiling by the time the 40 minute rise is done. I know this sounds complicated but it’s not so bad. You’ll note that there’s no lye, and no other additives in this water. These represent commercial techniques for even browning, so we don’t use them.
Also lye sucks to work with, it burns you and screws up your kitchen, and you have to trust that it’s neutralized by baking. In other safety news, get the bagel boards thoroughly soaked so they don’t catch fire in the oven. Check the progress on the rising. All good!

Do another espresso shot ‘cause here we go. Doing a few at a time, carefully pick up the bagels (they are delicate babies) and lay them in the water. I do three here. Don’t splash or burn yourself. Please be careful, you have such beautiful hands.
They want about 30 seconds on each side. Be very gentle flipping them over. Wait another 30 seconds.
Now quickly but gently transfer your babies into the ice water. Be careful, they’re counting on you not to break them!
Put your next group of bagels in the boiling pan, and while they wait their 30 seconds, transfer the cooling bagels gingerly to the soaking wet bagel boards. Again, don’t stress, this becomes natural with some practice. You can do it.
When you hit your oven capacity, it’s time for the boards to go in. I can fit more but I’m doing 6 for clarity here, so you can see the next step. They will sit on the boards in the oven for FOUR MINUTES. Stay sharp.
At the 4 minute mark, you will do this. The boards are hot but not hot like metal; some bakers use bare hands or a cloth for this. Please use a mitt or some silicone sheet. This is another place where you will connect down generations... this is a proud skill that’s all too rare.
Set the timer for 18 minutes. The boards need to go straight into the sink to soak again in cool water. Get your topping ready if you’re going to use it for the rest of the batch, as I am. Top up the boiling water. DO NOT PEEK IN THE OVEN as it will screw things up. Got it? Go!

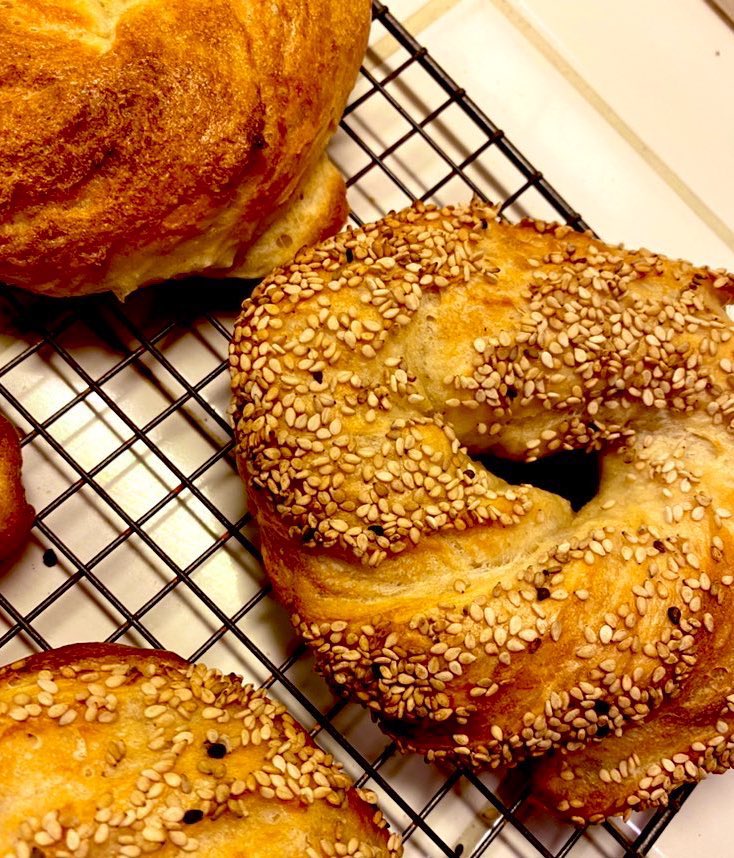
You can add or subtract a couple minutes to adjust for the color you like. Remember that these have only four ingredients: wheat, water, yeast and salt. A completely simple and natural thing. So the browning, like the shapes, is wonderfully uneven.
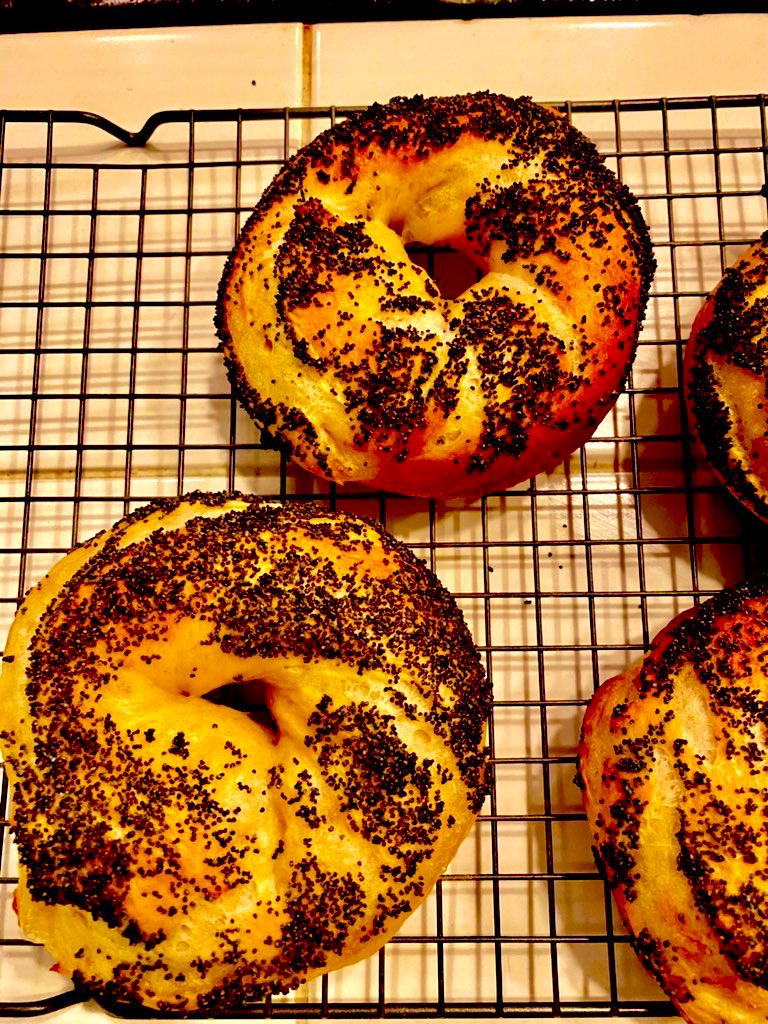
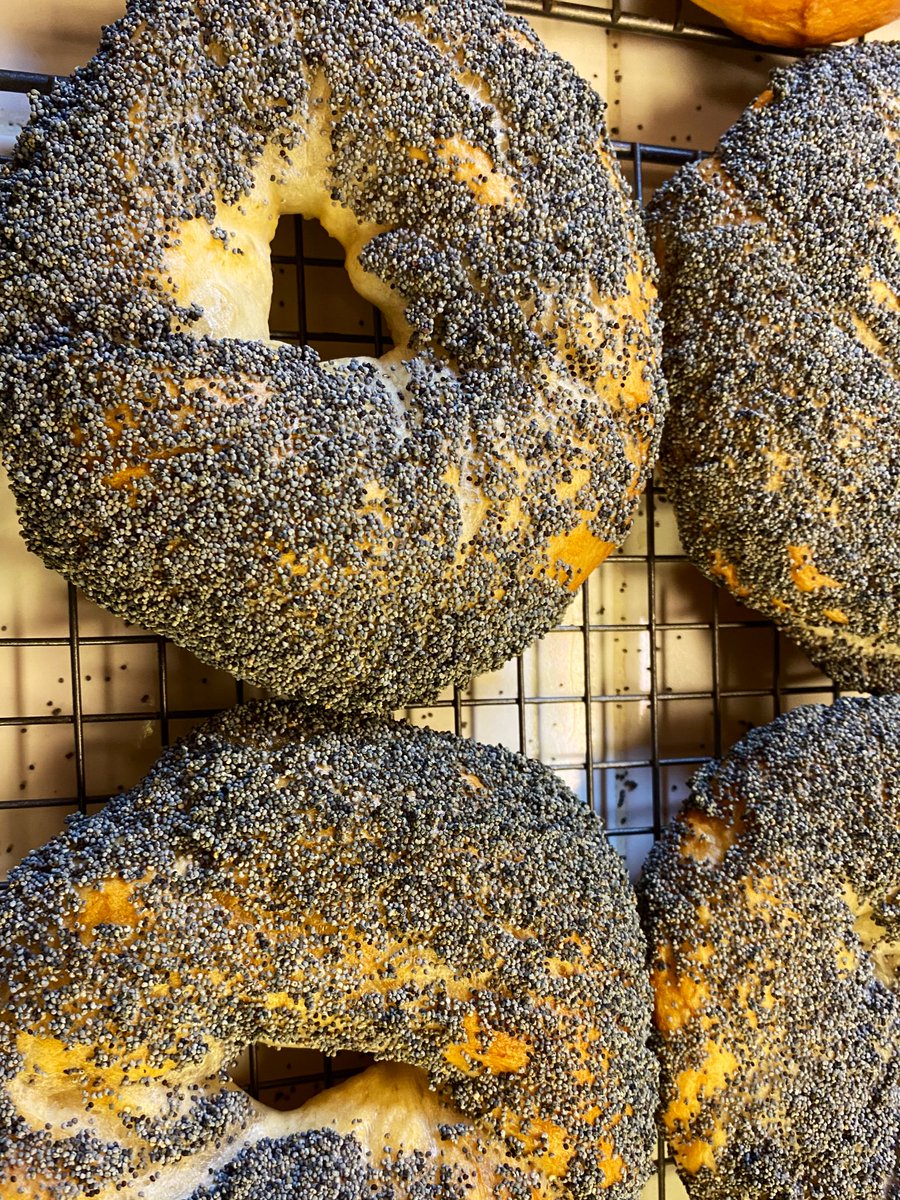
I wish I could share the aroma, but you’ll have to make them yourself. Now onto the poppy seeds!
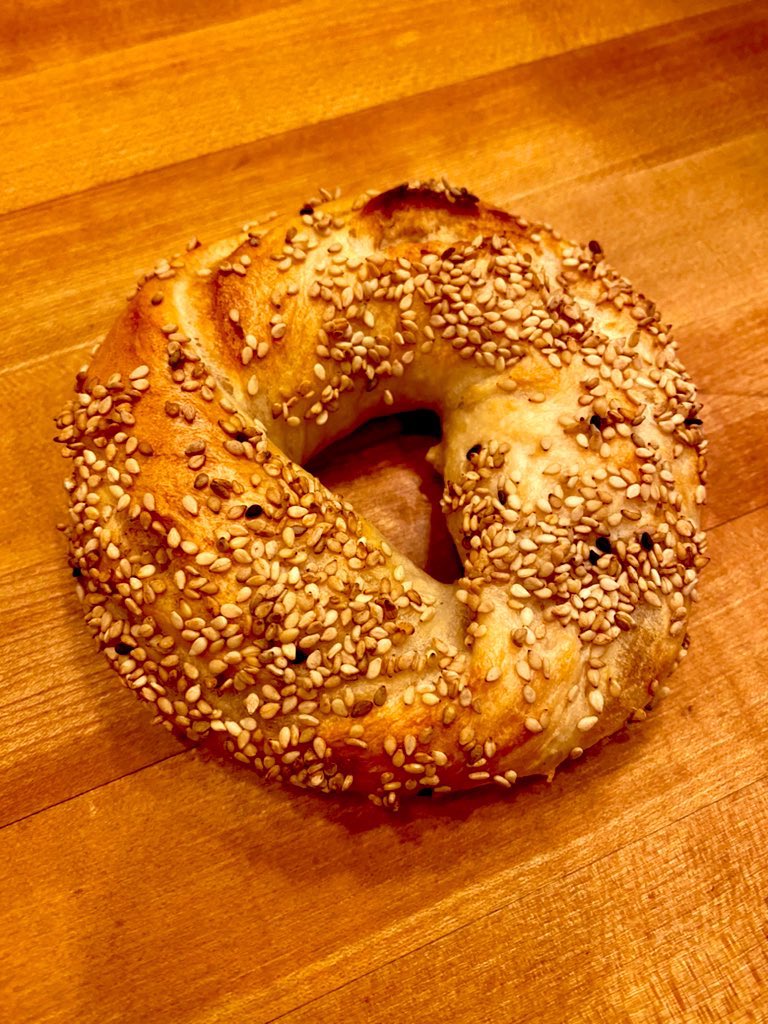
But first, look at that. Four ingredients, the rest is technique. Sprouting grain, boiling it into malt syrup. Tensioning dough. Baking gently. Worth. It.
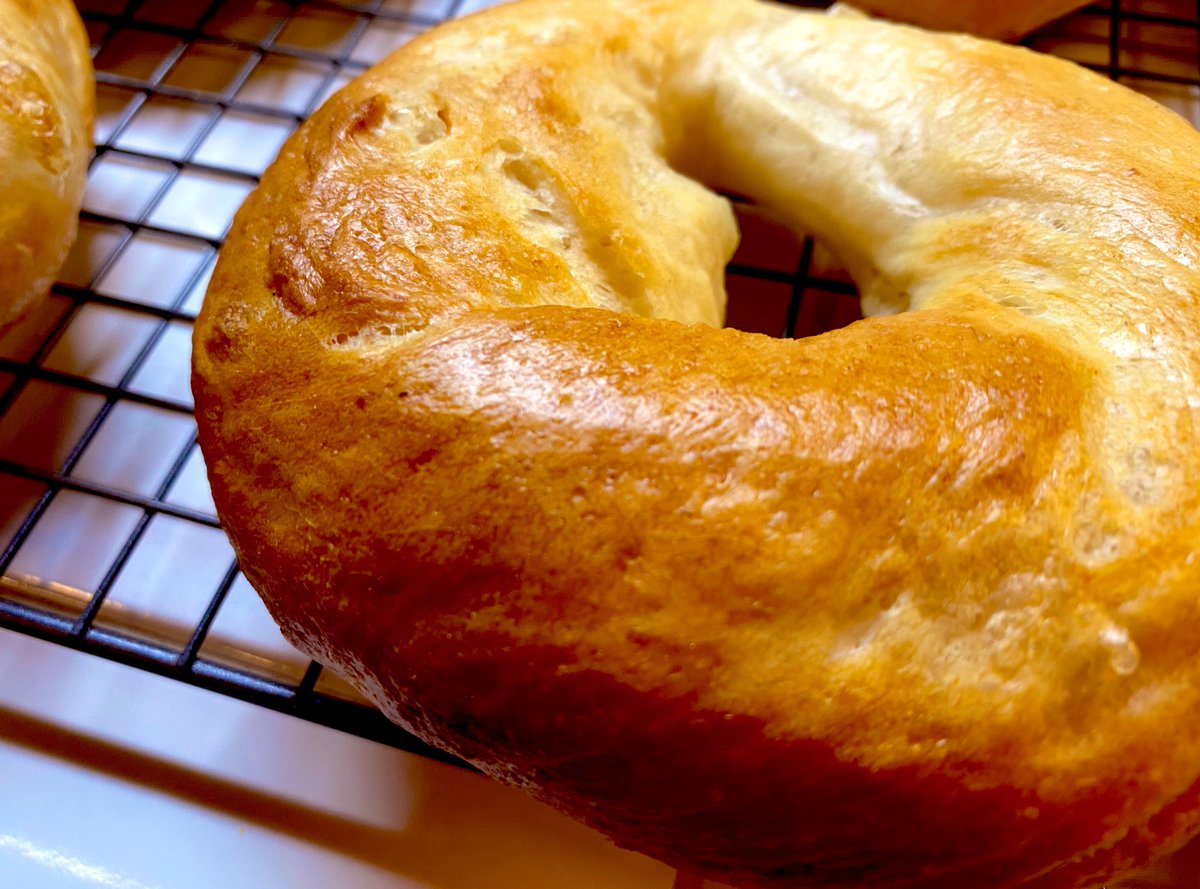
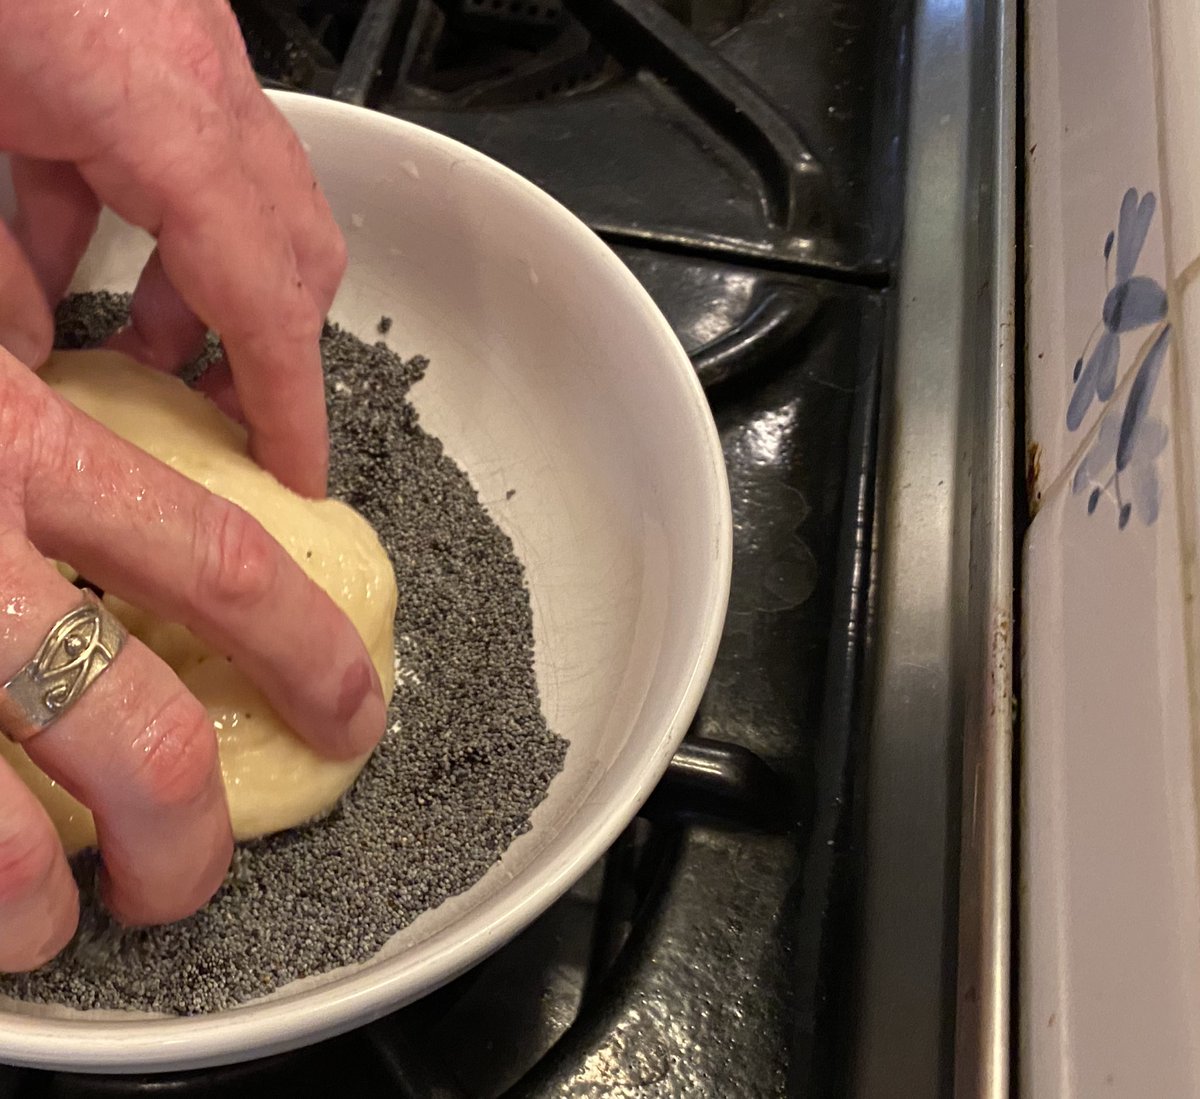
The stoic in me forces me to prove I can bake a plain bagel before authorizing me to put toppings on. I feel like we passed. Toppings are easy- fill a bowl with poppy seeds, sesame seeds, etc. Dip the bagel in them after the cooking bath and place TOPPING DOWN on the boards.

The “oven man” job is the same as for plain. The boards prevent the toppings from burning.
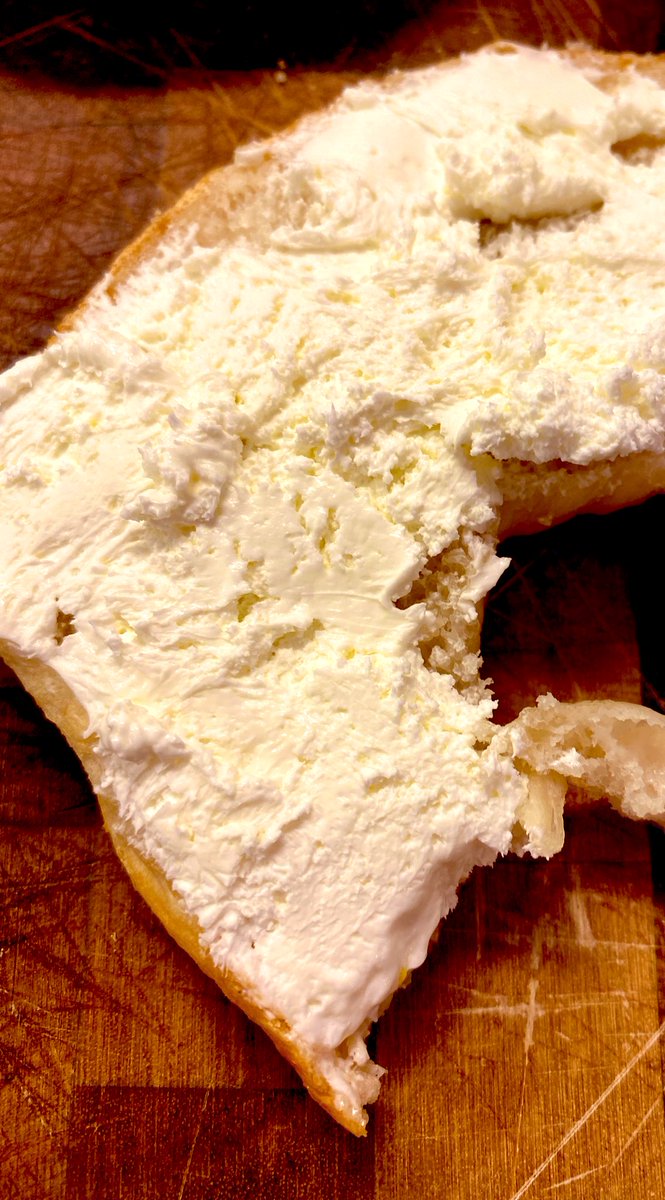
So. That’s it. These aren’t perfect, regular, or ideal. But in fact, they indeed are perfection. They represent a common place that we can all connect to, ancestors of the bagels we have today, made by our ancestors. The differences represent our commonality.

Thanks for enduring this far-too-long and meandering thread. I hope you try it. The result is worth 100x the effort. Love to you all.


PS The boards are really easy to make. The burlap and copper nails are cheap on Amazon. I glued the boards together from scraps in the garage, using general relativity books as weights! 😂 NERD!

PPS Yes I will make bialys. I love bialys.
• • •
Missing some Tweet in this thread? You can try to
force a refresh