
Physically-based car headlights in Blender. This method is made for Eevee because refraction and reflections in a single material do not interact nicely.
Here is a breakdown of the classic reflector/refractor headlights. If you want to know more, follow the🧵
#b3d
Here is a breakdown of the classic reflector/refractor headlights. If you want to know more, follow the🧵
#b3d

Let's start with the reflector - the shiny chrome part behind the glass.
Modelling it accurately is rather important, especially if you plan to have the headlight turned on. @KarolMiklas has done sublime work on those! Even for a low-poly car, the normals are silky smooth!
Modelling it accurately is rather important, especially if you plan to have the headlight turned on. @KarolMiklas has done sublime work on those! Even for a low-poly car, the normals are silky smooth!

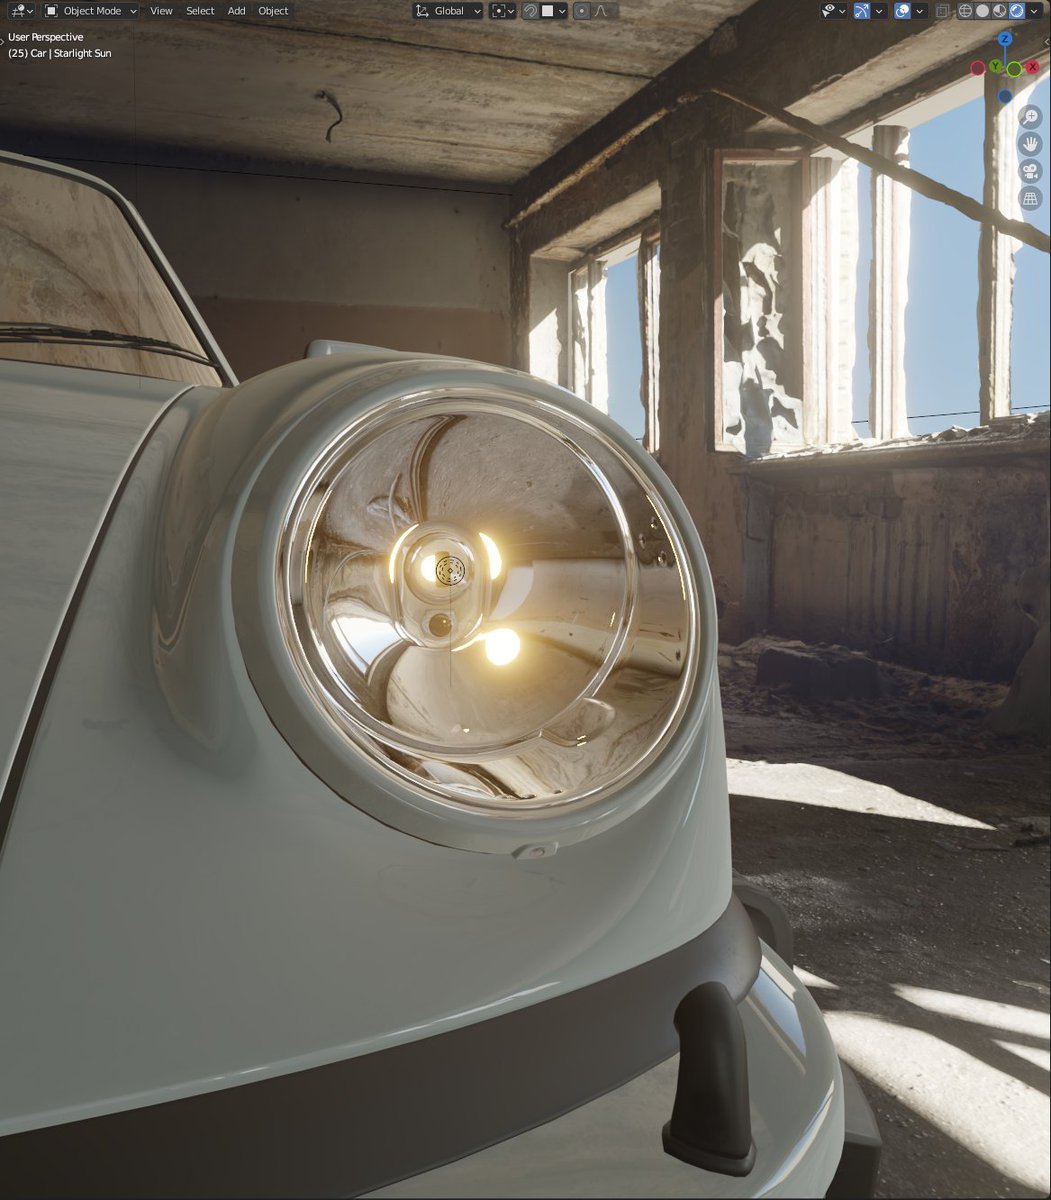
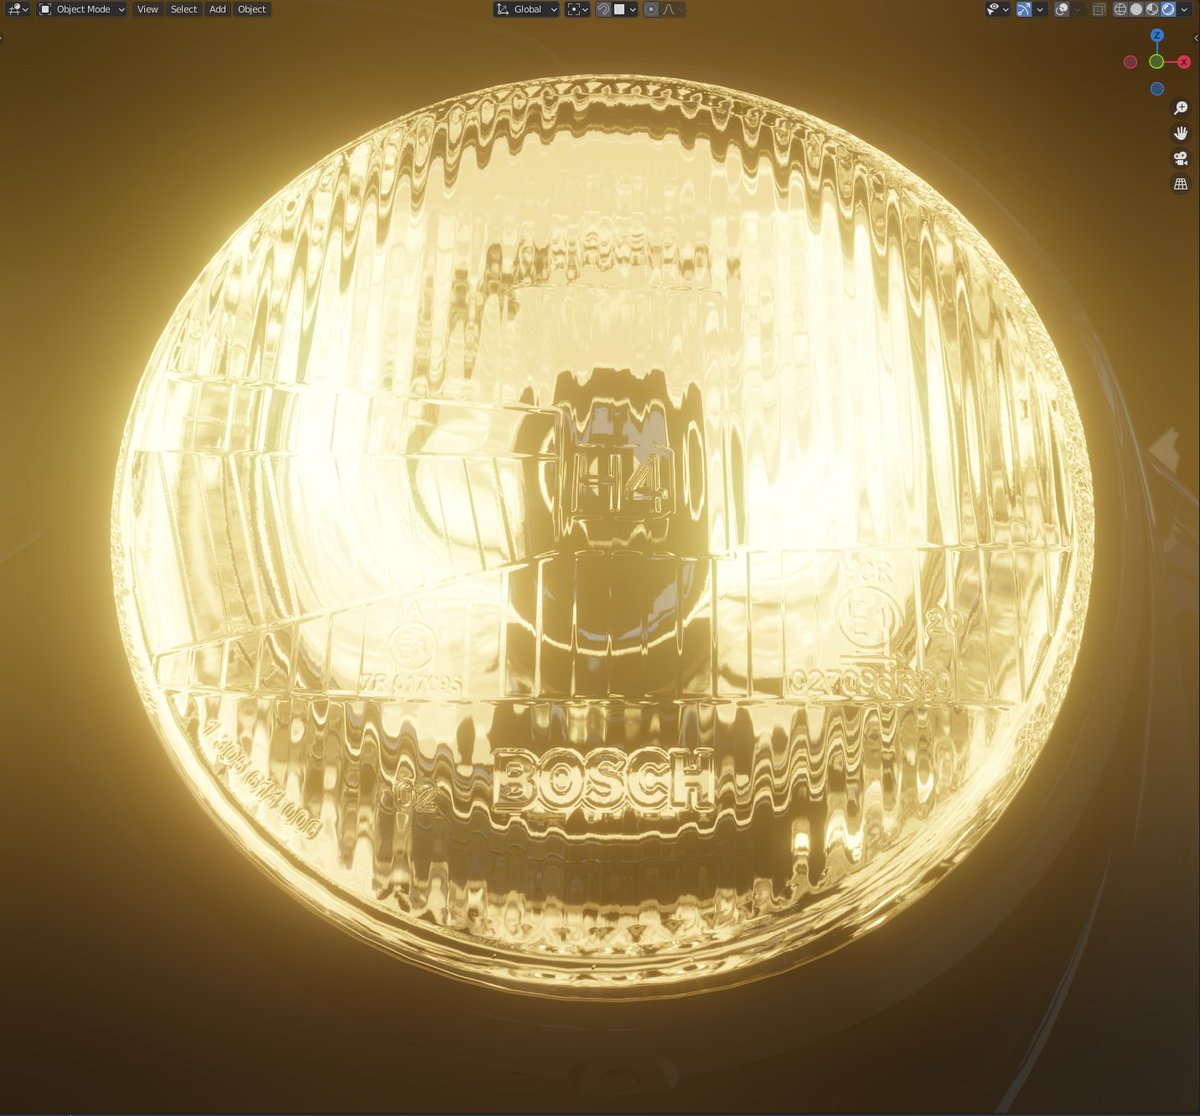
And here's why an accurate model with a nice topology is important. I put a 50-watt "bulb" where it should be in reality. Viewed off-axis, the headlight barely is shining, but once I look head-on, the light is very concentrated. Really cool to see it work in Blender so well!

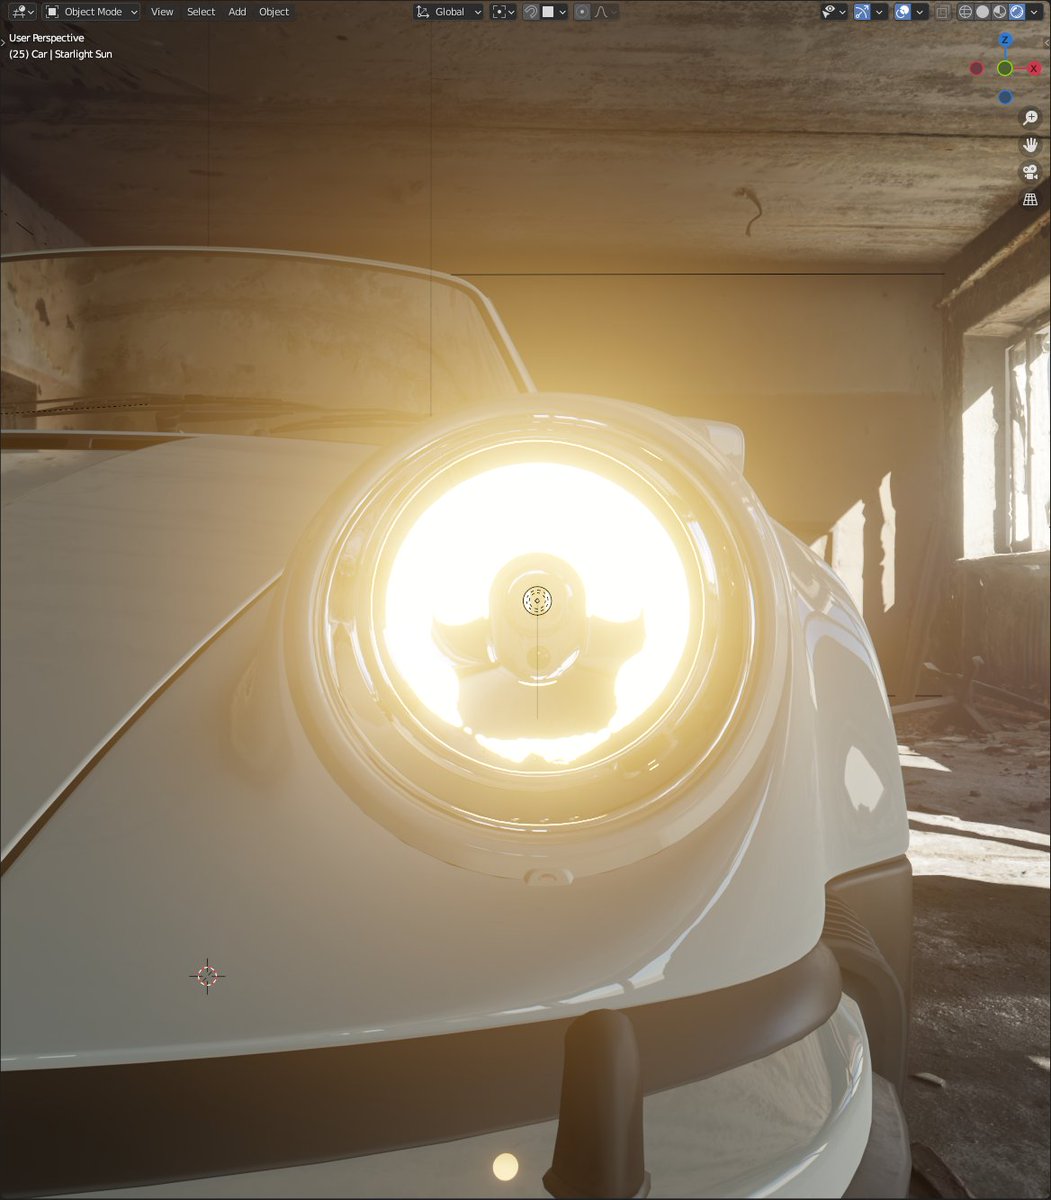
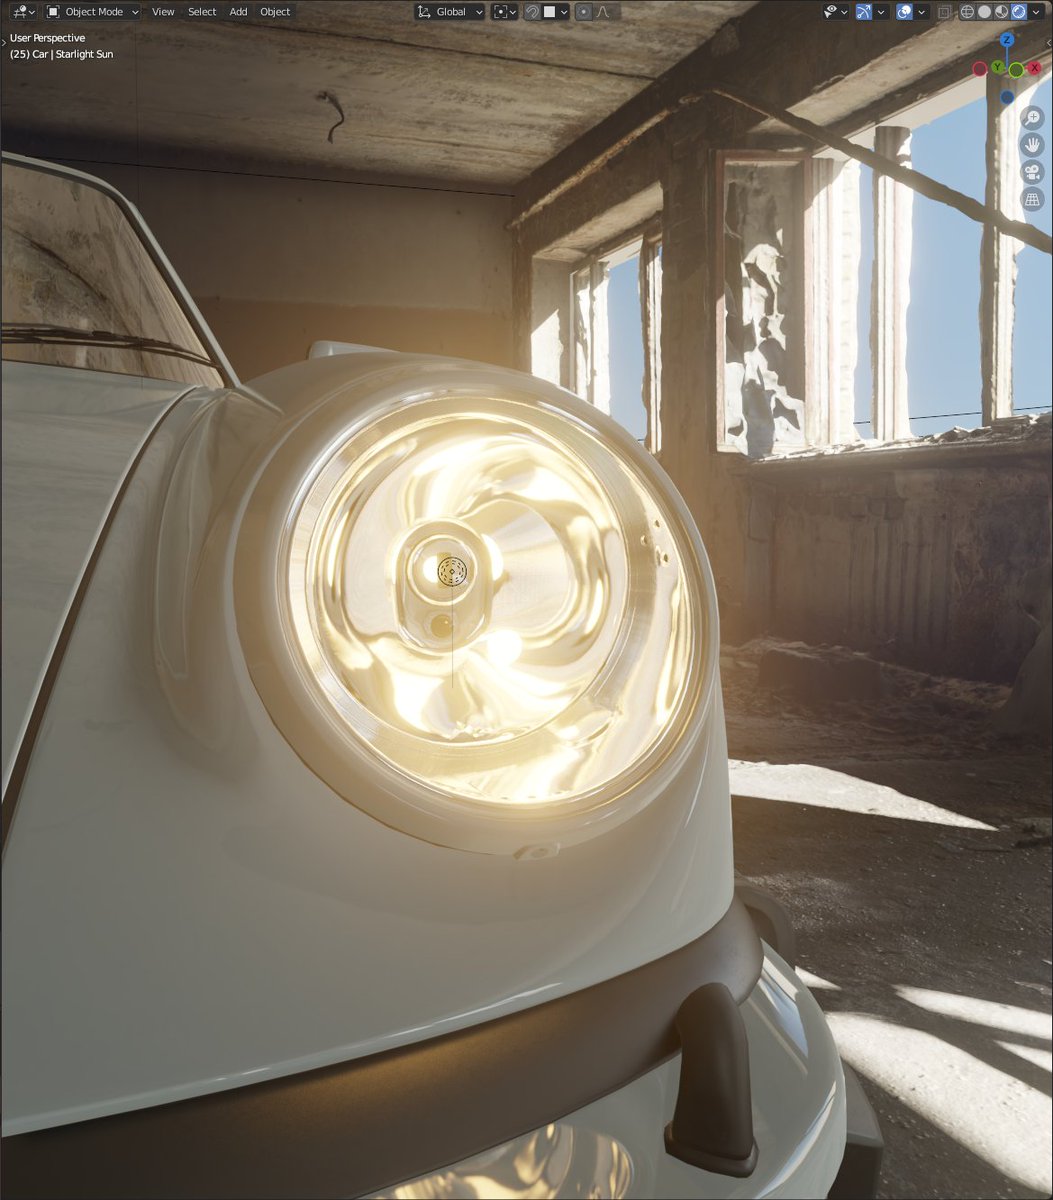
If you enable "screen space reflections", the brightness is amplified even more, because the light bounces multiple times inside the chrome "dish" before it leaves.
the image on the left: without SSR. Right: with SSR.
(different story with Cycles, reflections are ON by default)
the image on the left: without SSR. Right: with SSR.
(different story with Cycles, reflections are ON by default)
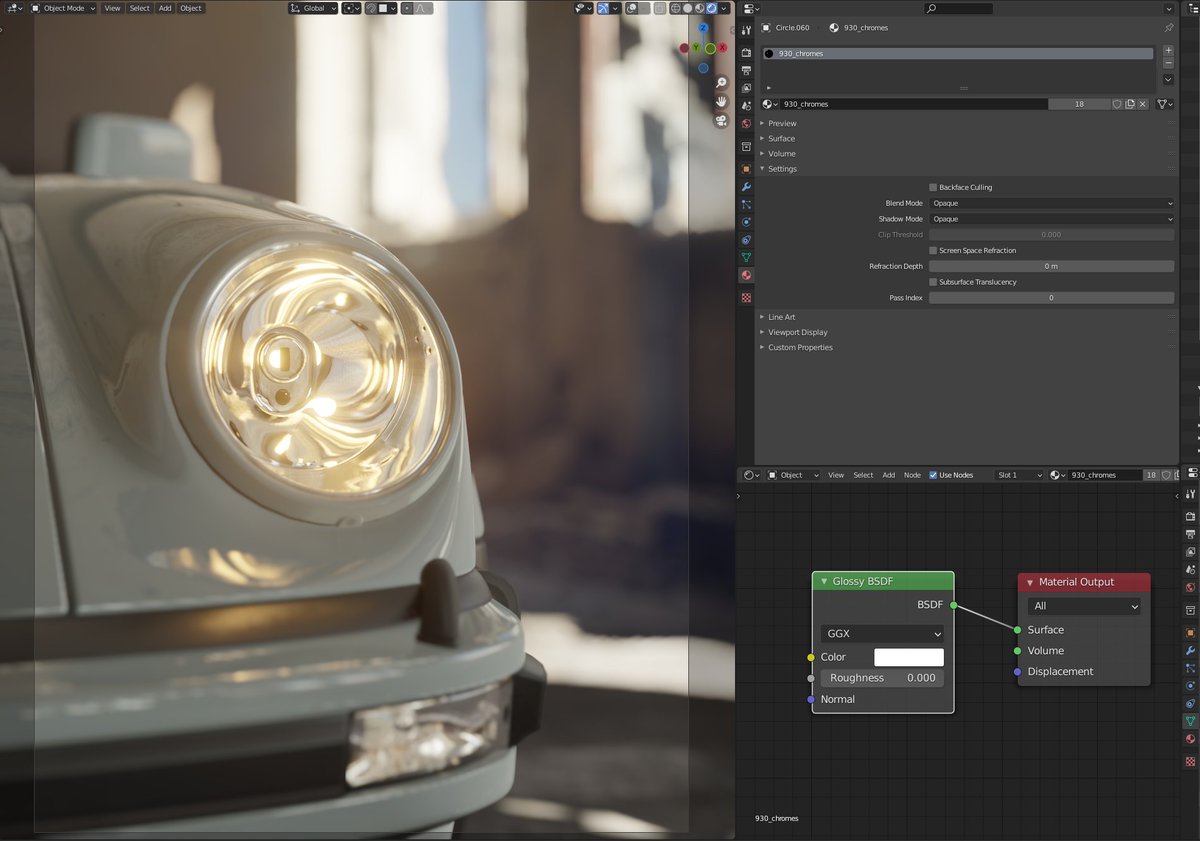
regarding the reflector material - I just used 'Glossy BSDF' with the roughness of 0.0
You can, of course, use 'Principled BSDF' too to get more variation of the reflector surface.
You can, of course, use 'Principled BSDF' too to get more variation of the reflector surface.
The other important headlight part is a refractor. That is the glass "lens" cover that serves a dual purpose.
- it protects the bulb from weather and impacts
- the strange shapes in the glass refract the light and direct it down the road surface and away from oncoming traffic.
- it protects the bulb from weather and impacts
- the strange shapes in the glass refract the light and direct it down the road surface and away from oncoming traffic.
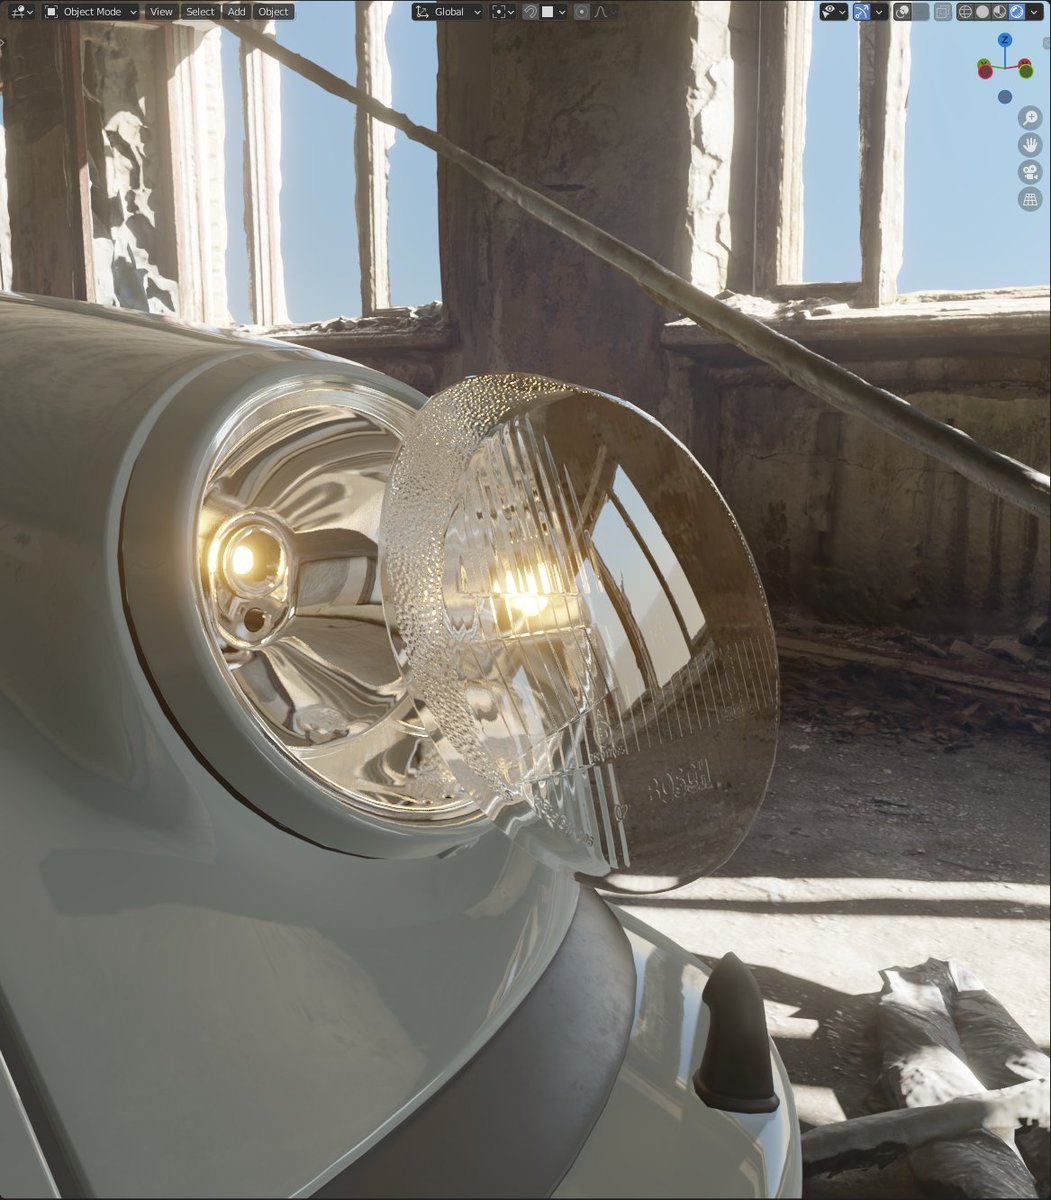
Outside of the glass body is smooth while the inside is ridged and patterned, like a fresnel lens.
In order to mimic it in Blender, the best way (so far that works) is to separate the outer and inner shell into two models with their own materials.
In order to mimic it in Blender, the best way (so far that works) is to separate the outer and inner shell into two models with their own materials.
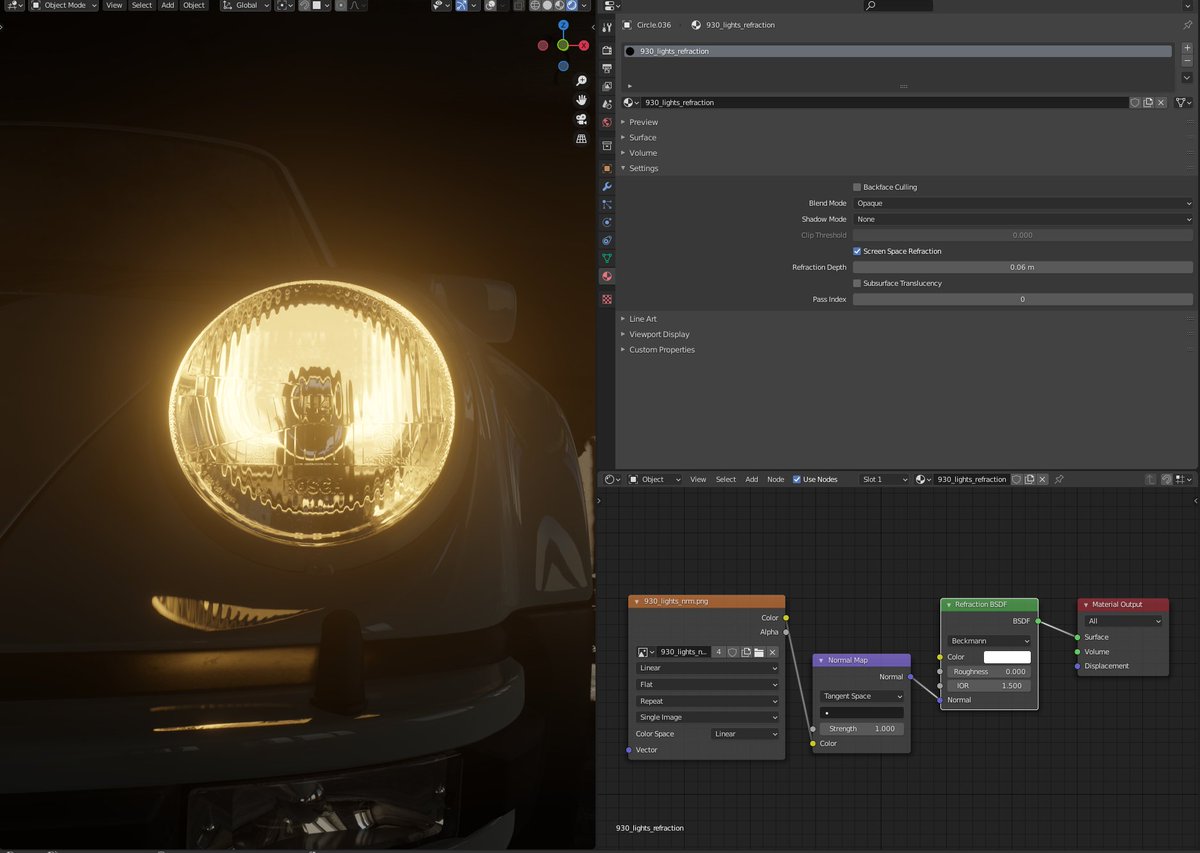
The inside part does all the light distortion that comes out of the headlight.
I use "refraction BSDF" with a normal map that comes with the car model by @KarolMiklas.
Refraction Depth, IOR and Normal strength control how the light refracts.
I use "refraction BSDF" with a normal map that comes with the car model by @KarolMiklas.
Refraction Depth, IOR and Normal strength control how the light refracts.
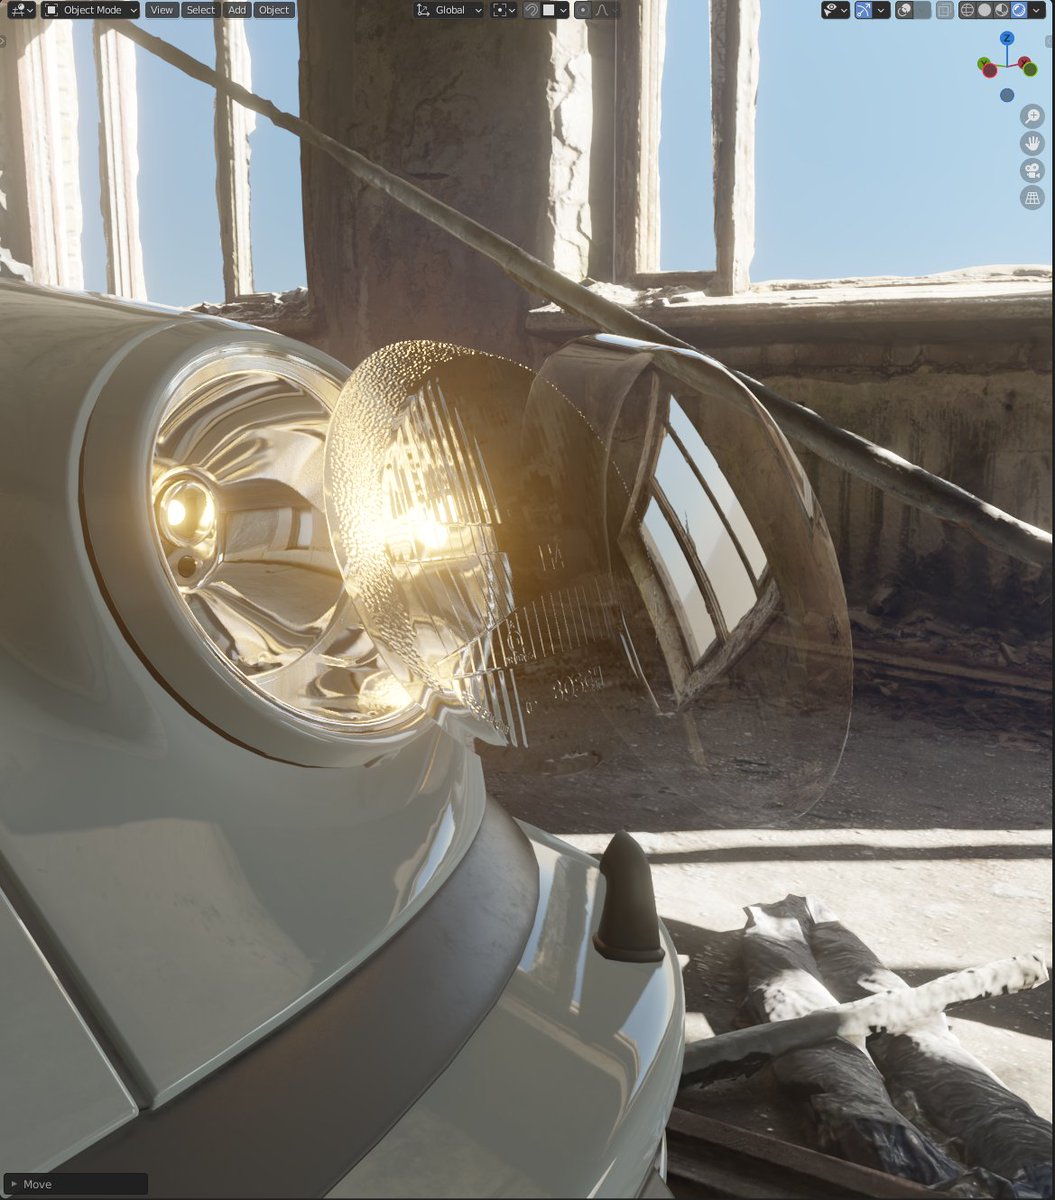
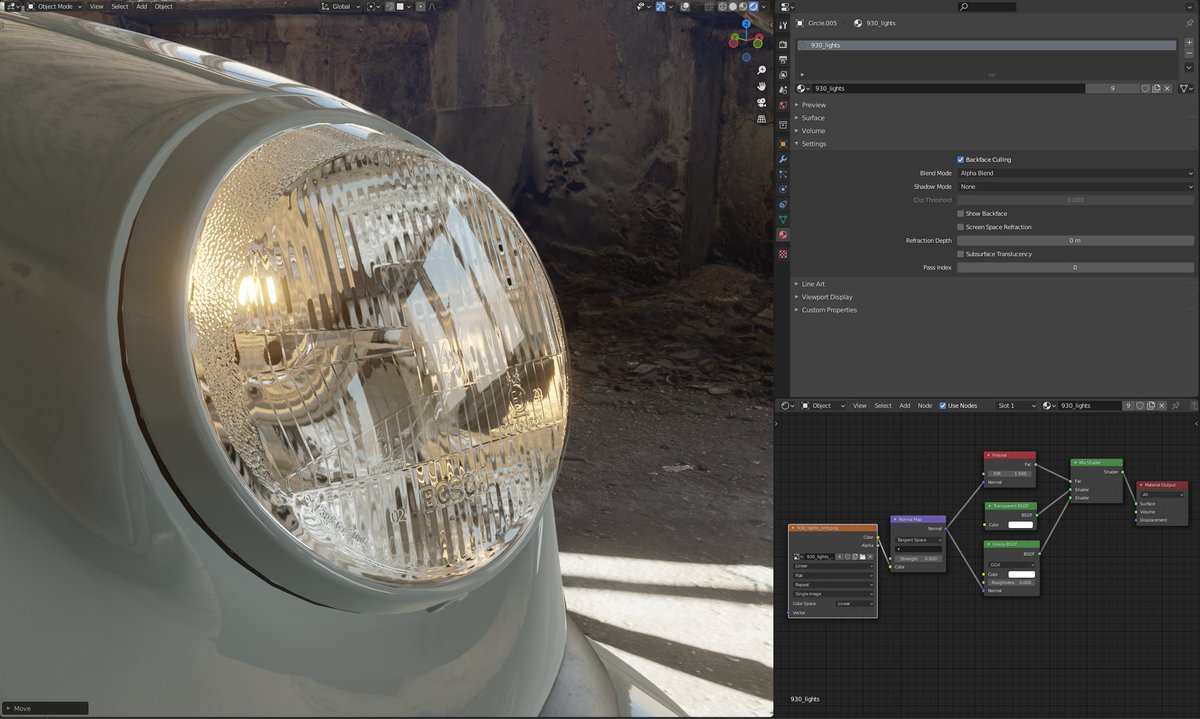
And the 'icing on the cake' - the smooth and shiny outer layer of the glass body.
That is just a 'Glossy BSDF' mixed with 'transparent BSDF' by a fresnel factor. Material is set to Alpha Blend which introduces some problems as any transparent object does but mostly works fine.
That is just a 'Glossy BSDF' mixed with 'transparent BSDF' by a fresnel factor. Material is set to Alpha Blend which introduces some problems as any transparent object does but mostly works fine.
• • •
Missing some Tweet in this thread? You can try to
force a refresh


