Shader-only black hole effect #b3d
Sort of mini breakdown:
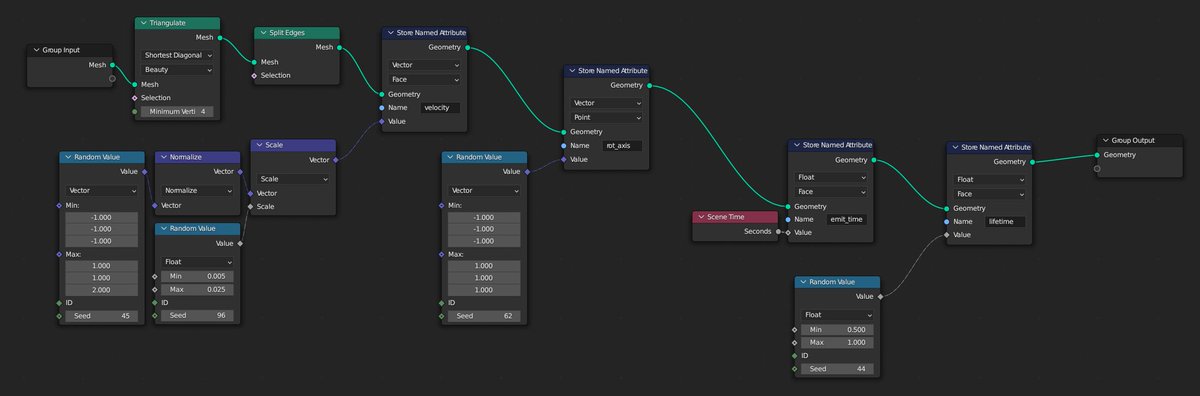
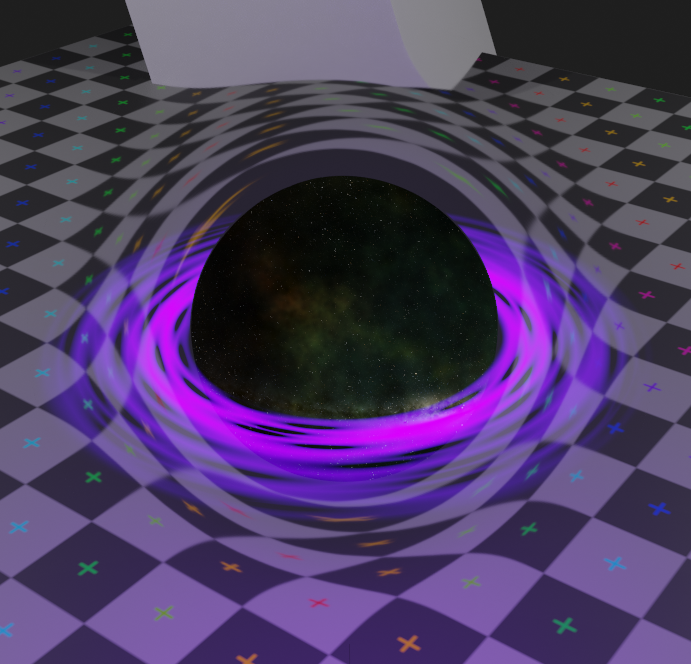
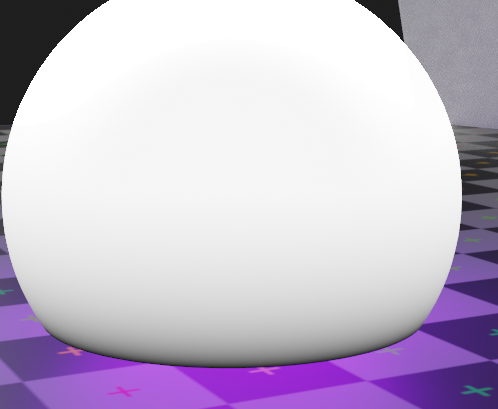
- first layer is the base distortion
- adding a reflection-mapped hdri for the stars
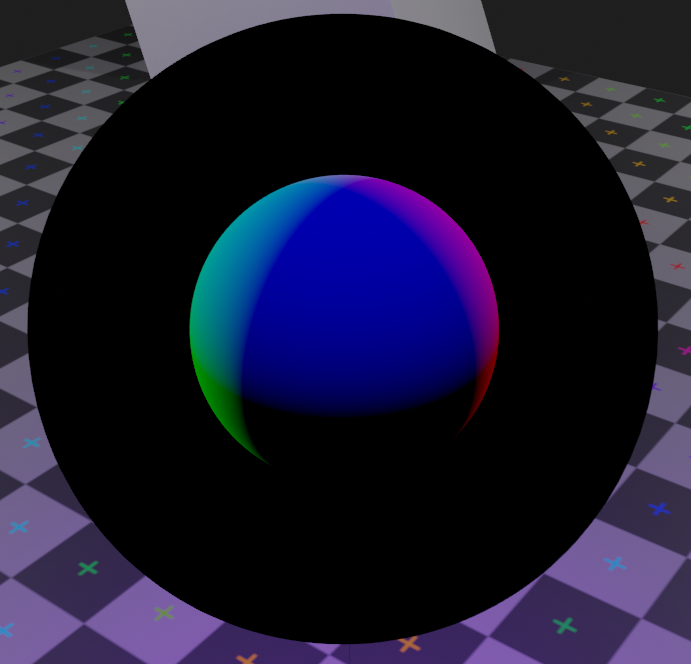
- ray-sphere intersection for masking the center
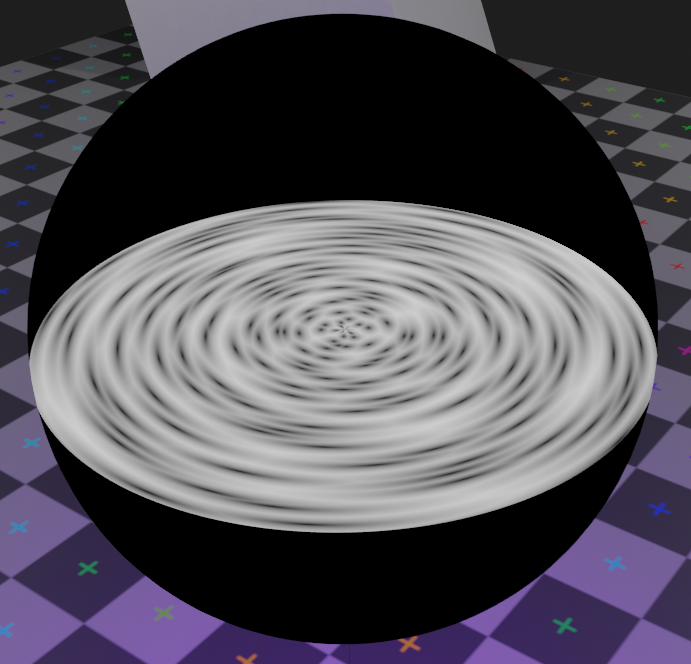
- ray-plane intersection for the disc
- first layer is the base distortion
- adding a reflection-mapped hdri for the stars
- ray-sphere intersection for masking the center
- ray-plane intersection for the disc


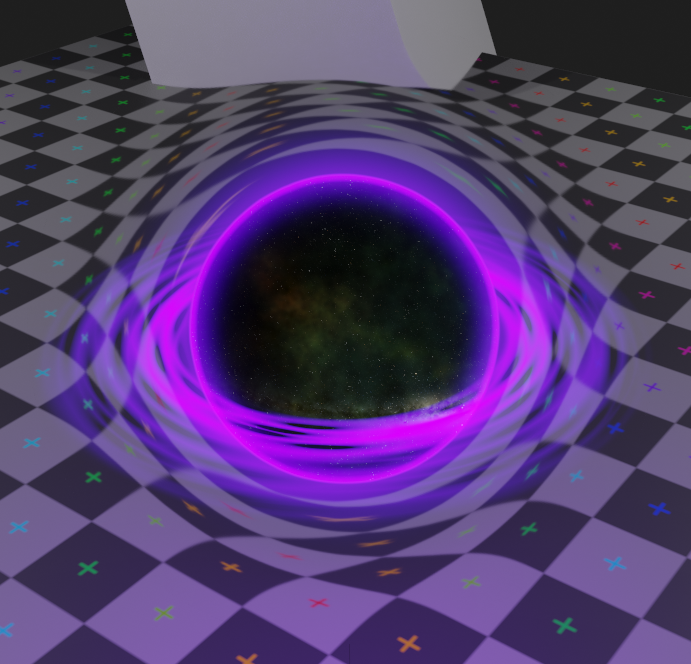
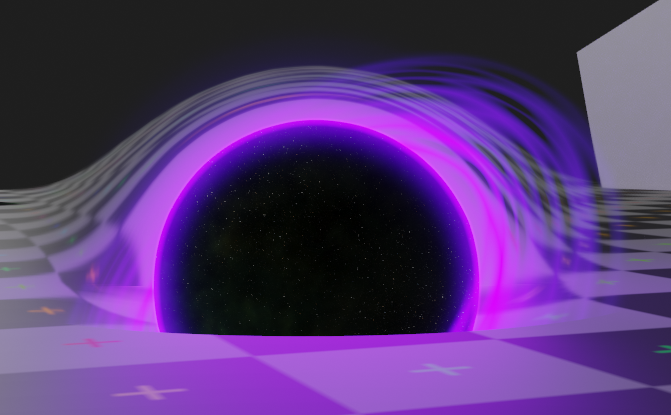
- disc has a radial voronoi texture,
- which is masked with the inner sphere intersection
- and then added to the rest
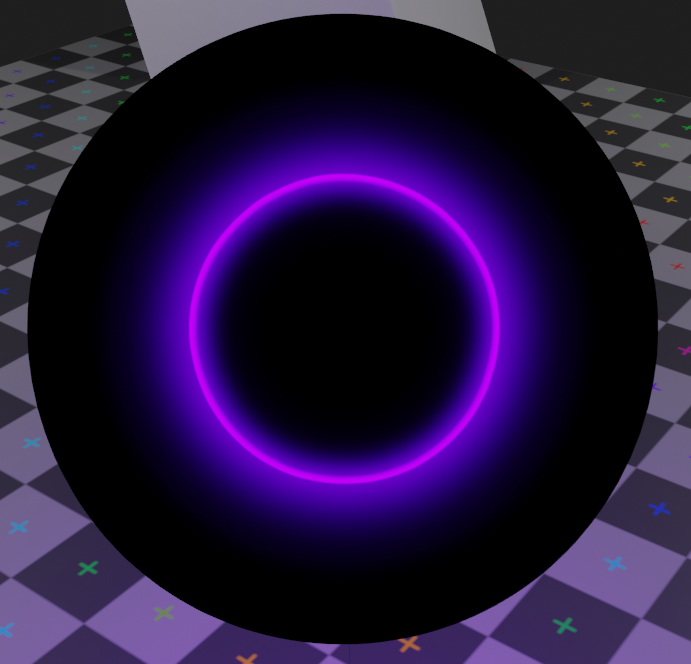
- final layer is a basic glowy halo from fresnel
- which is masked with the inner sphere intersection
- and then added to the rest
- final layer is a basic glowy halo from fresnel
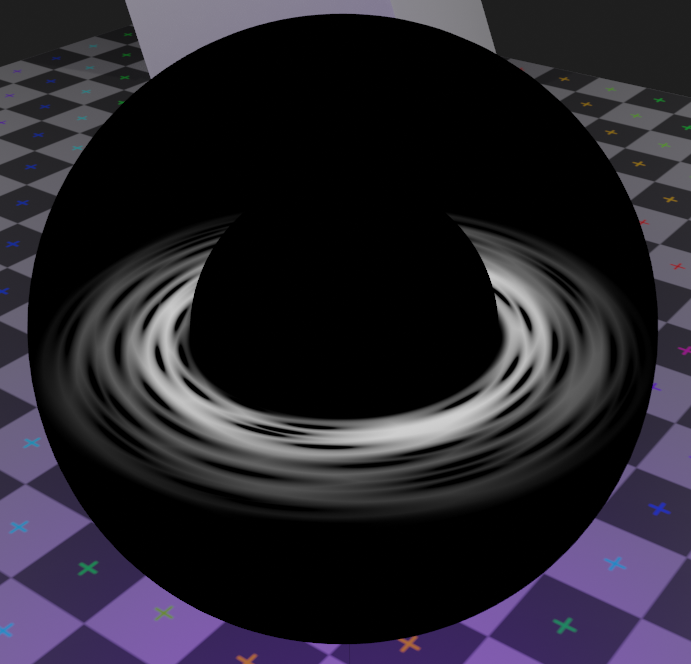
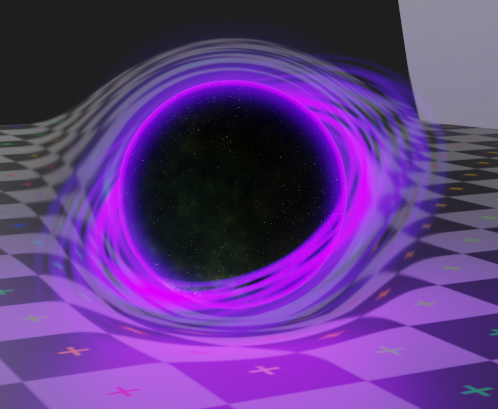
end result:
There's some extra stuff I do with the depth buffer to deal with intersections - here, the mesh is actually clipping into the ground a lot, but I mix out the distortion as it gets closer to the ground, so it can sort of "push into" it
only affects distortion, ring still clips
only affects distortion, ring still clips
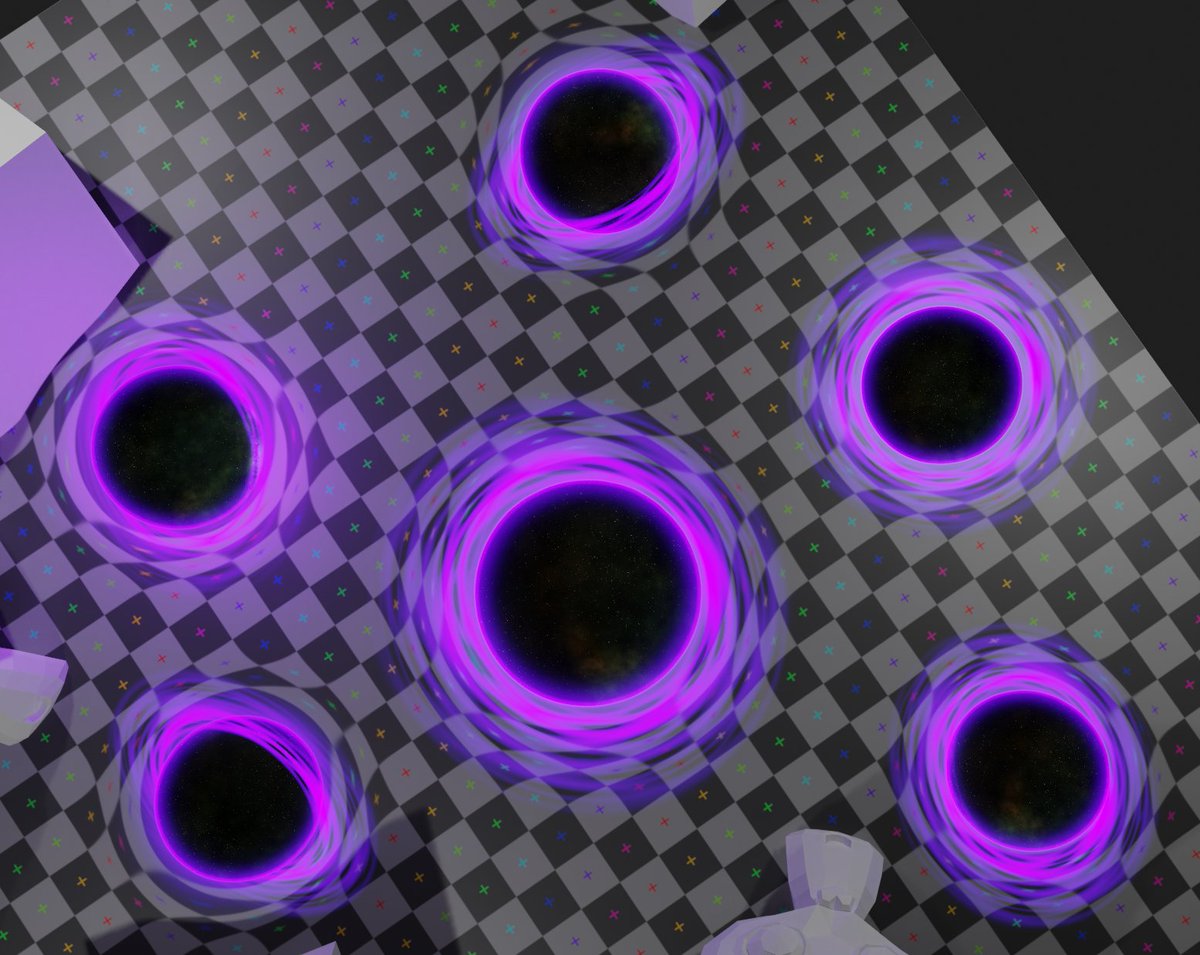
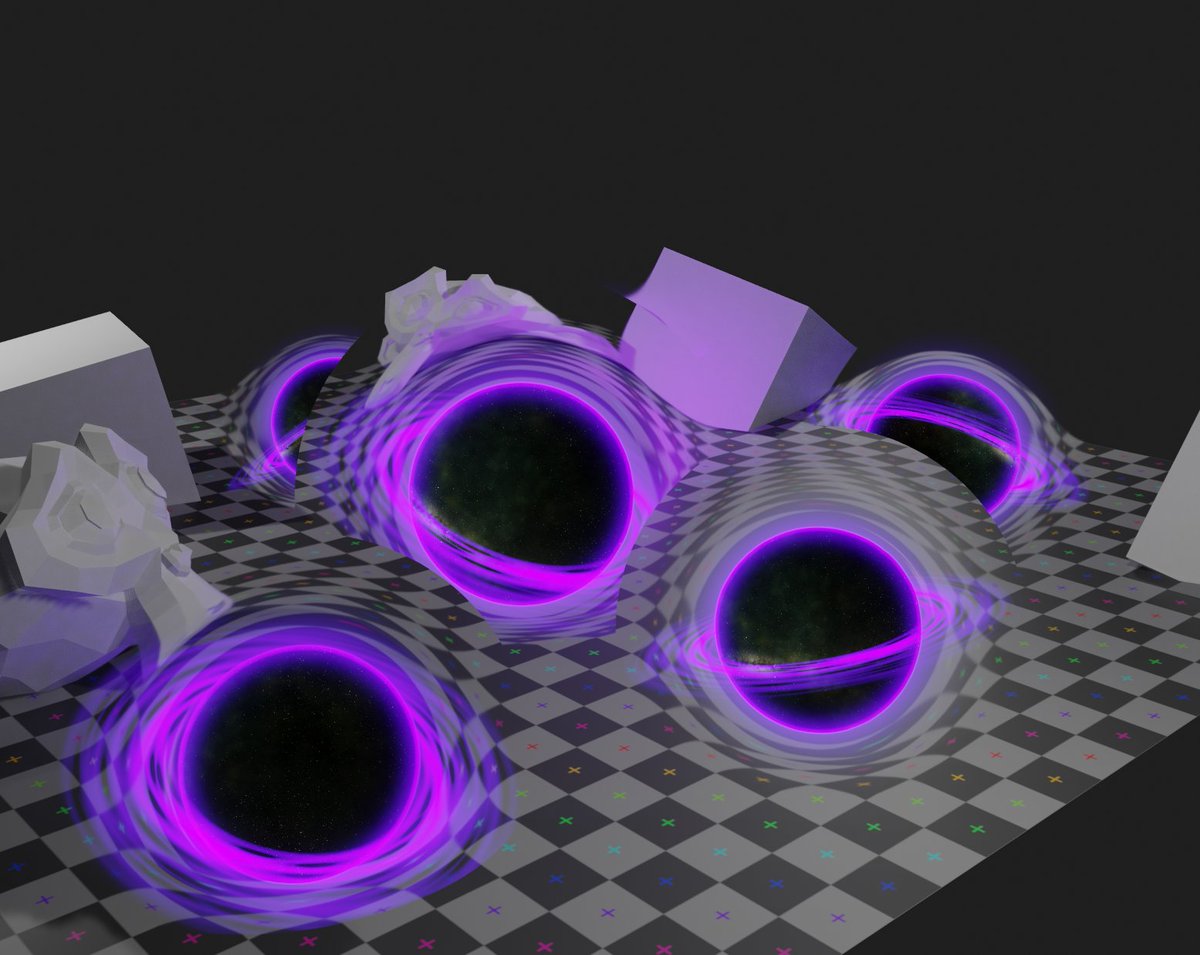
you can have as many as you like, as long as none of them overlap :P
I do want to experiment with hacking eevee to have an arbitrary number of backbuffer-copies to allow for more flexible SSR stuff. Useful especially for stuff like having water + FX in the same scene
I do want to experiment with hacking eevee to have an arbitrary number of backbuffer-copies to allow for more flexible SSR stuff. Useful especially for stuff like having water + FX in the same scene
Trying to actually use FX like this in production is always a total nightmare because as soon as you want more than 1 type of thing (e.g. a shockwave + glass) everything goes to shit lol
Multiple passes is pretty bad for performance, but it'd be nice to have the option anyway
Multiple passes is pretty bad for performance, but it'd be nice to have the option anyway
• • •
Missing some Tweet in this thread? You can try to
force a refresh