How to make a perfect cup of pour-over coffee.
This will be the best cup of coffee you've ever had, guaranteed.
This will be the best cup of coffee you've ever had, guaranteed.
Here's what you need in terms of equipment:
- pour-over device (Chemex, Kalita Wave, Hario v60)
- gooseneck kettle
- grinder
- scale
- pour-over device (Chemex, Kalita Wave, Hario v60)
- gooseneck kettle
- grinder
- scale
You can buy most of this on Amazon for a reasonable price.
For a grinder, you want to go with a burr grinder for best results.
amzn.to/3X4BcbY
For a grinder, you want to go with a burr grinder for best results.
amzn.to/3X4BcbY
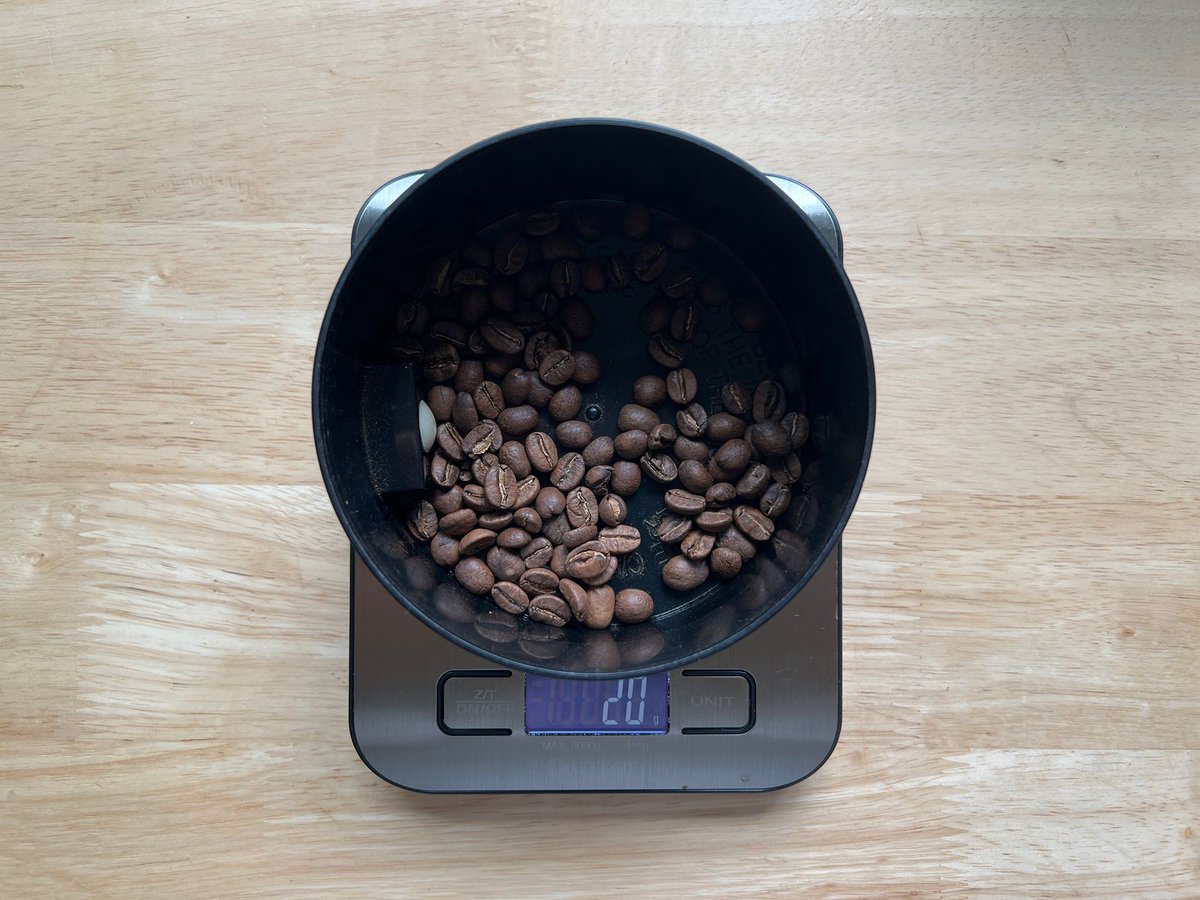
Step 1: You must start with great beans.
There's a ton of options here. Flavor profiles can vary widely.
A few places I like to buy beans: Sey Coffee, Greater Goods, Modern Times, Sweet Bloom.
There's a ton of options here. Flavor profiles can vary widely.
A few places I like to buy beans: Sey Coffee, Greater Goods, Modern Times, Sweet Bloom.
Step 2: Heat up your water
Fill up your gooseneck kettle and heat it up to just below a boil.
Fill up your gooseneck kettle and heat it up to just below a boil.
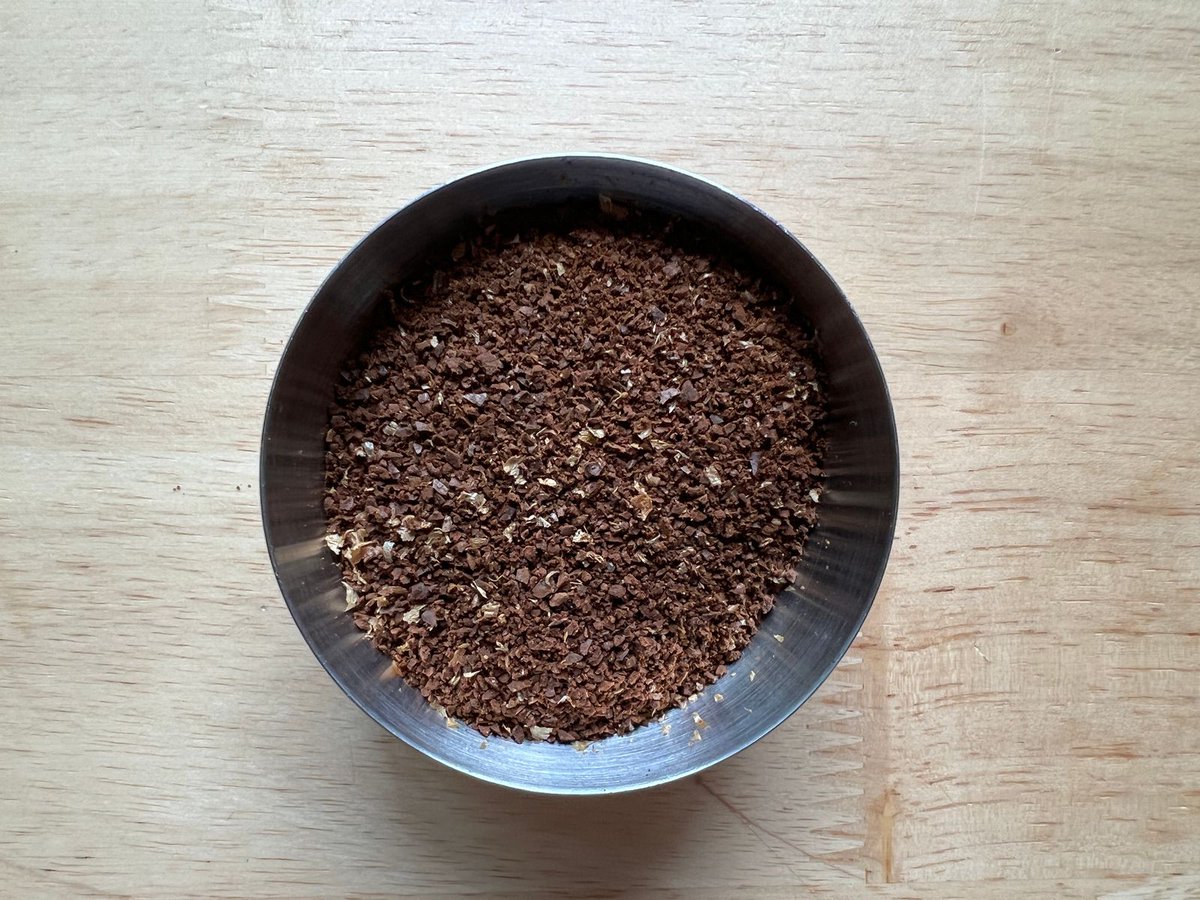
Step 3: Weigh and Grind Your Beans
I use a 15:1 ratio of water to coffee. 20g coffee, 300g water.
Weigh out 20g of your beans, and grind them with a medium-fine grind. Some grinders will have a setting for pour-over that you can use.
I use a 15:1 ratio of water to coffee. 20g coffee, 300g water.
Weigh out 20g of your beans, and grind them with a medium-fine grind. Some grinders will have a setting for pour-over that you can use.
Step 4: Wet Your Filter
Wet your filter with hot water before you add your coffee. Pour a bit of hot water over the filter, swirl it around in the glass below, and then dump it out.
Wet your filter with hot water before you add your coffee. Pour a bit of hot water over the filter, swirl it around in the glass below, and then dump it out.
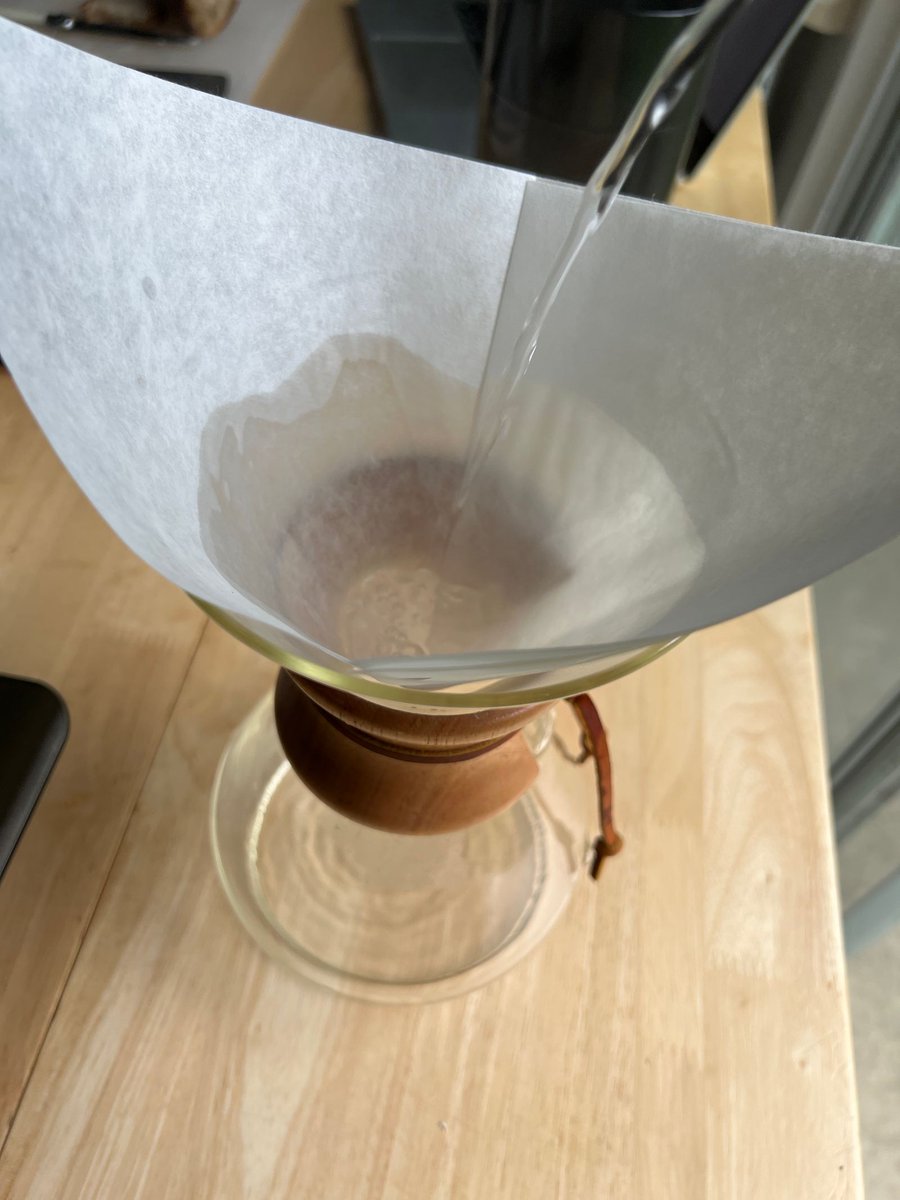
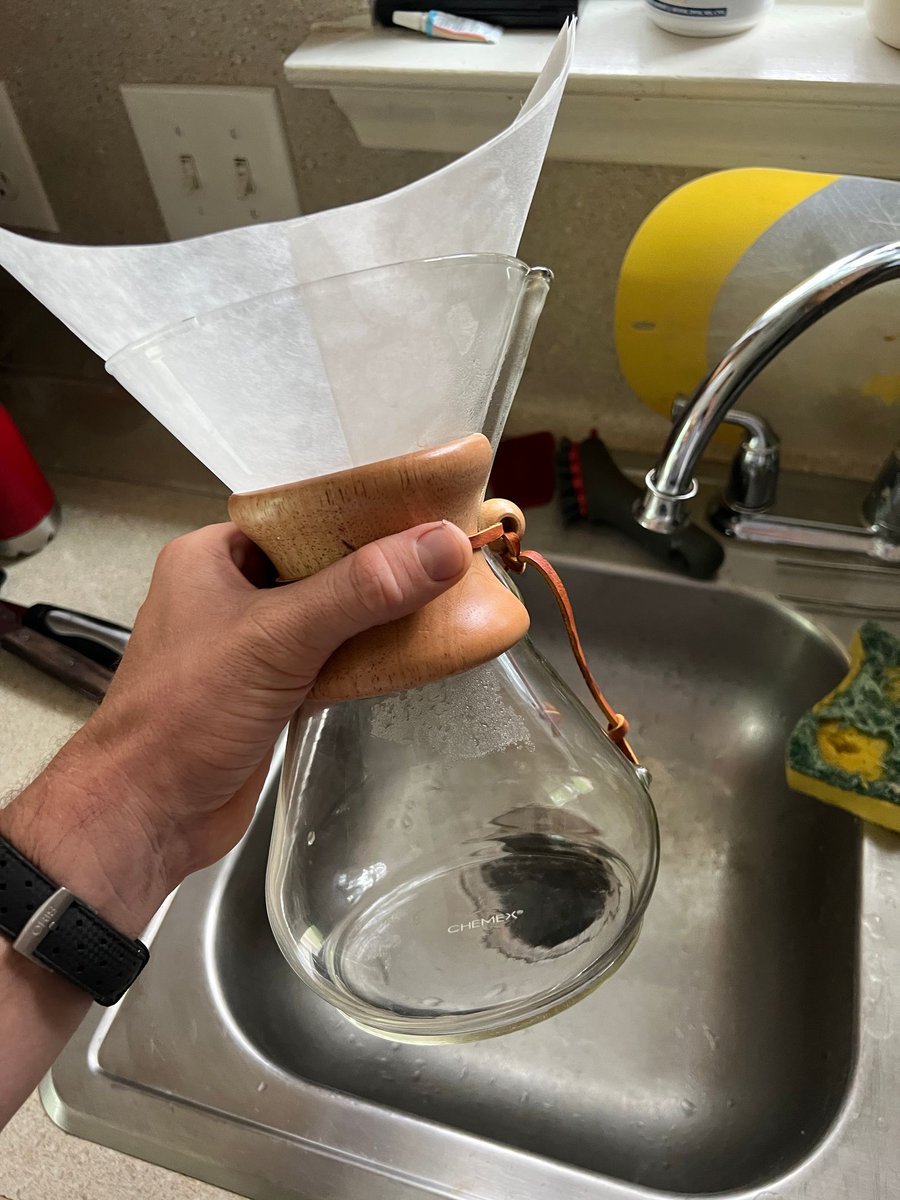
This serves two purposes– it heats up the filter and the glass below it so that your coffee isn't dripping onto cold glass.
And it gets rid of any "papery" taste you might get from the raw filter.
And it gets rid of any "papery" taste you might get from the raw filter.
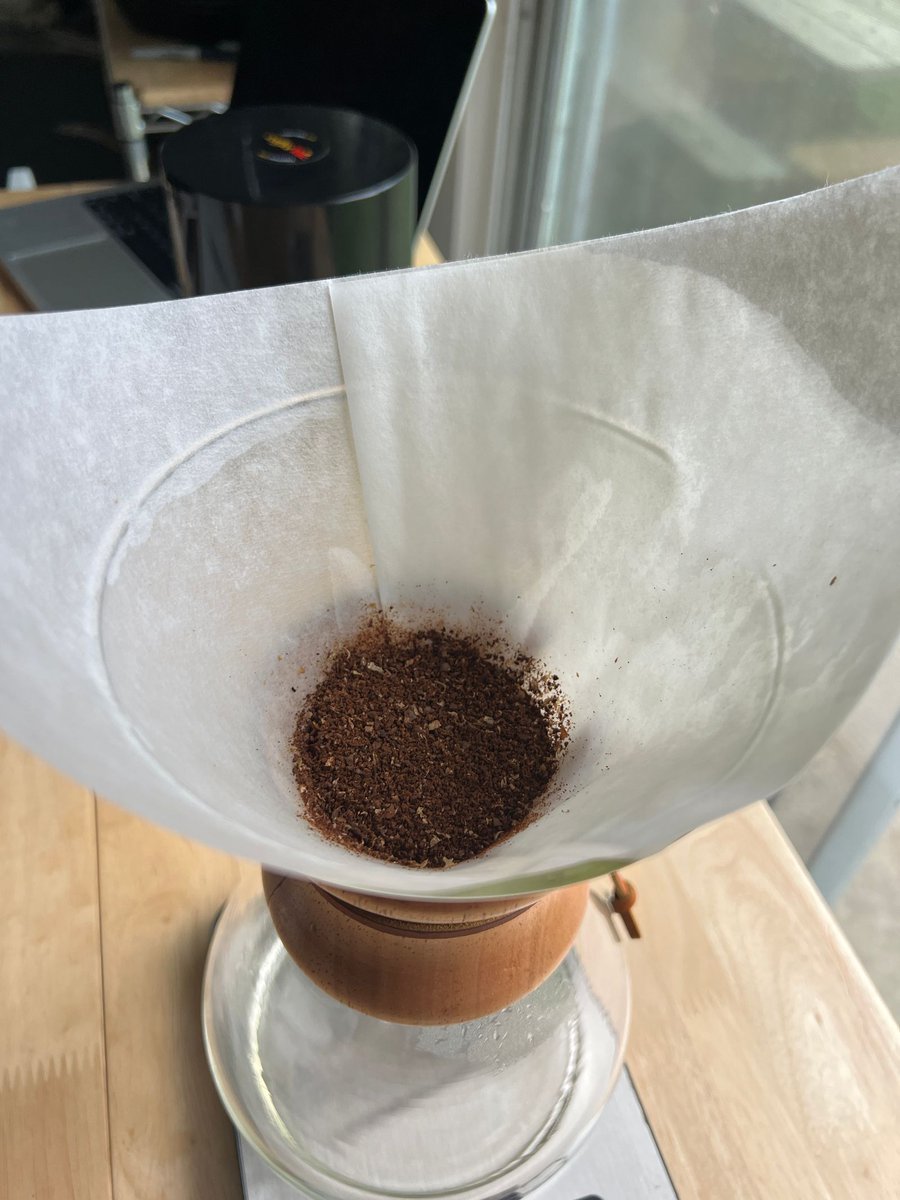
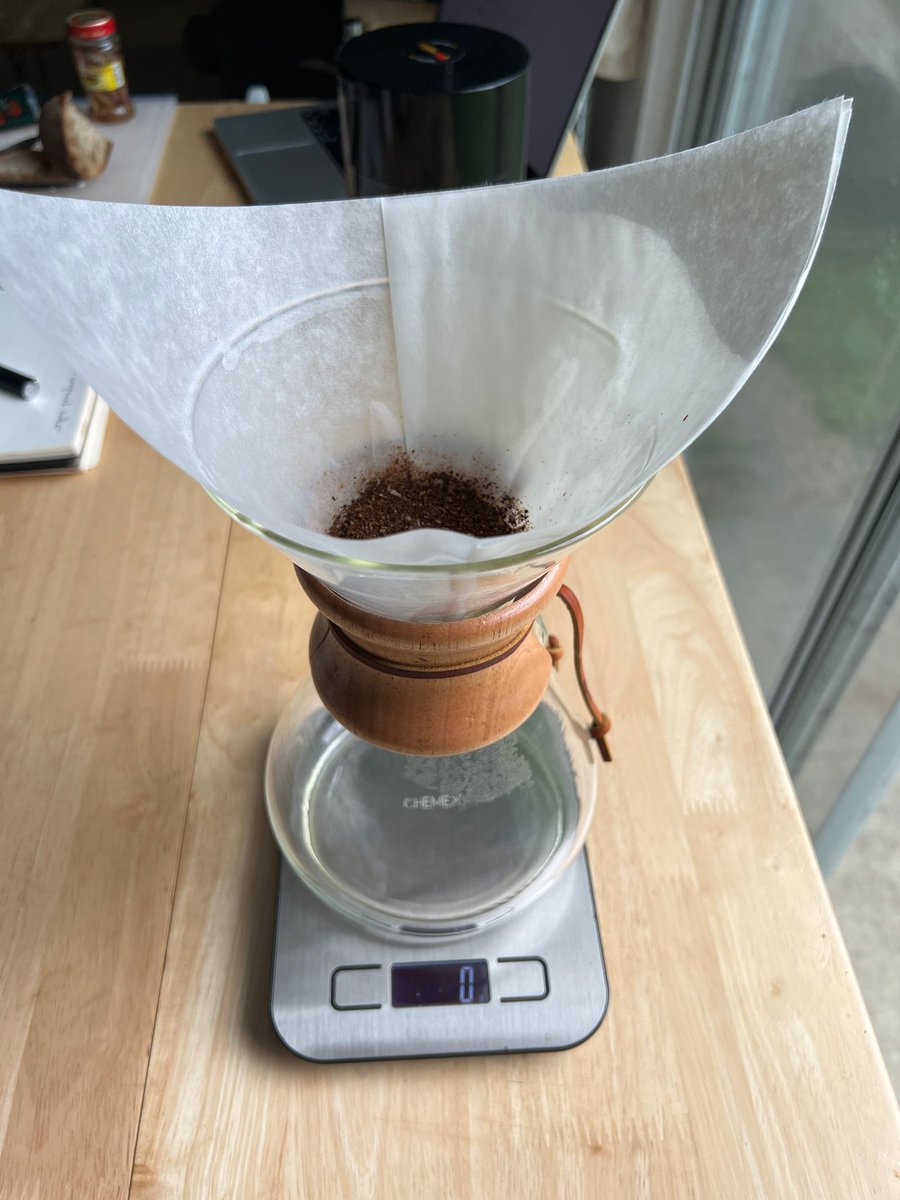
Step 5: Add Your Grounds
Now, you can add your grounds directly over the filter. Give them a quick shake after you dump them in so that they sit in a flat layer.
Once you add your grounds, tare your scale to zero so that you can measure exactly how much water you add.
Now, you can add your grounds directly over the filter. Give them a quick shake after you dump them in so that they sit in a flat layer.
Once you add your grounds, tare your scale to zero so that you can measure exactly how much water you add.
Step 6: Bloom Your Coffee
Blooming your coffee refers to the process where you add just a bit of water to start things out.
The coffee will immediately start to react to the heat and water, and will start to release gas and bubbles.
This activates a ton of flavor compounds.
Blooming your coffee refers to the process where you add just a bit of water to start things out.
The coffee will immediately start to react to the heat and water, and will start to release gas and bubbles.
This activates a ton of flavor compounds.
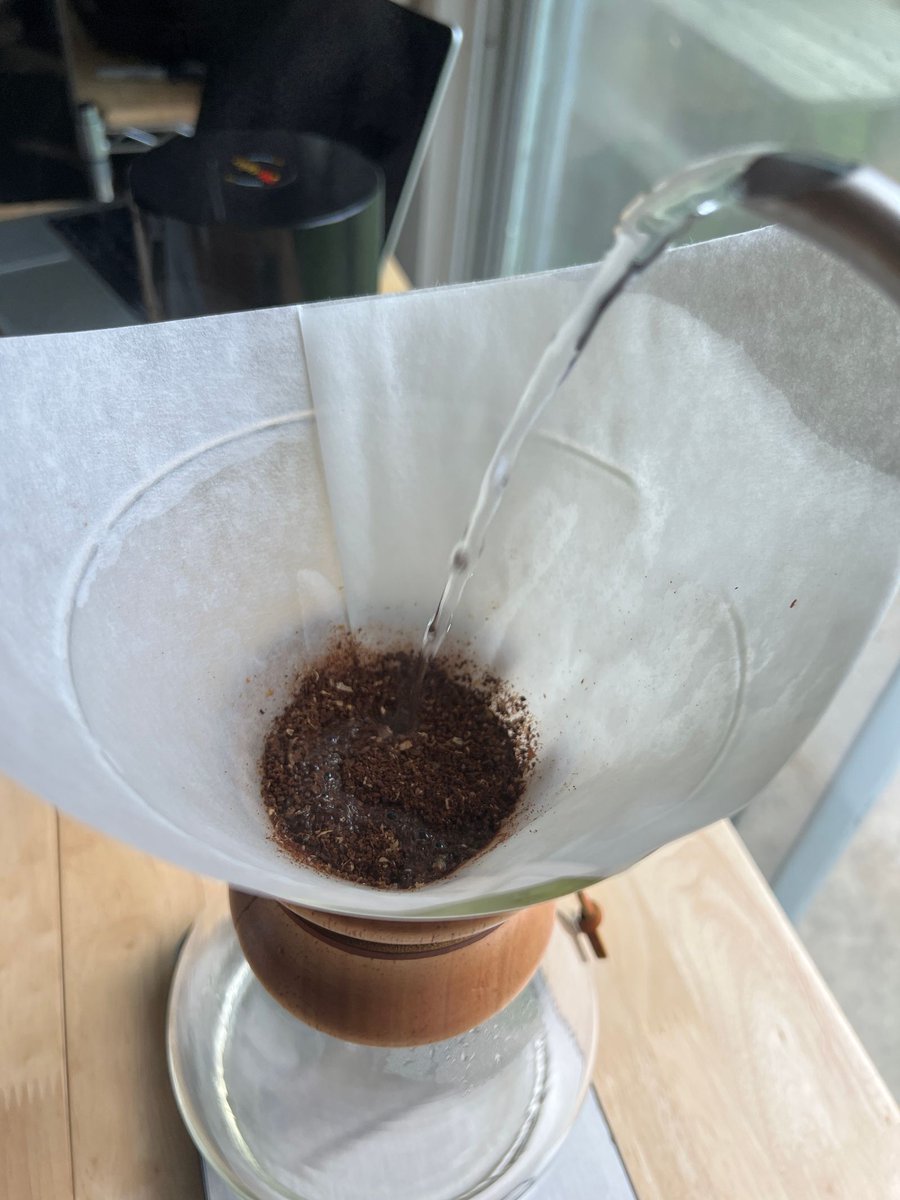
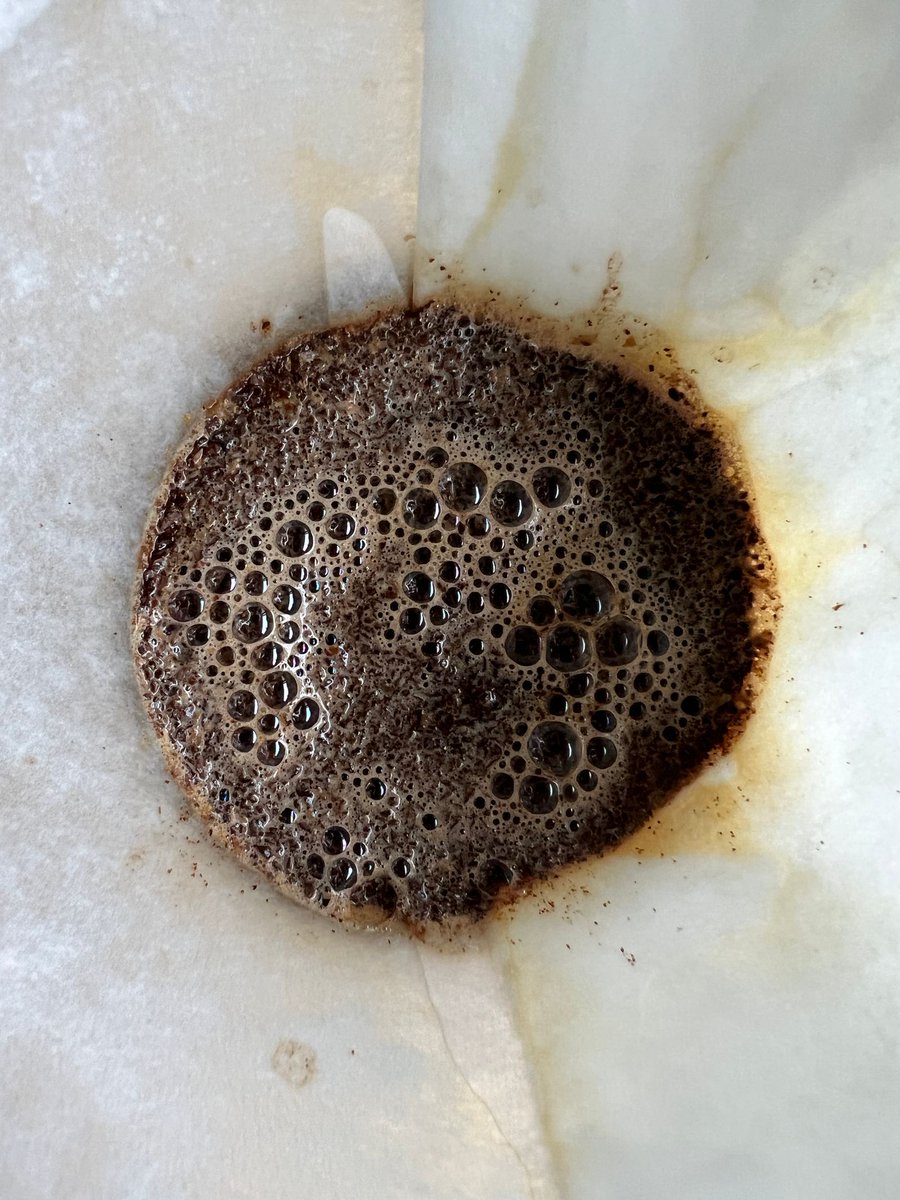
To bloom, simply add about 50-60g of water to the grounds, aiming to cover the whole surface area.
Then, give the coffee 30-60 seconds to bloom. You'll see the reaction happen immediately, especially with freshly roasted coffee.
Then, give the coffee 30-60 seconds to bloom. You'll see the reaction happen immediately, especially with freshly roasted coffee.
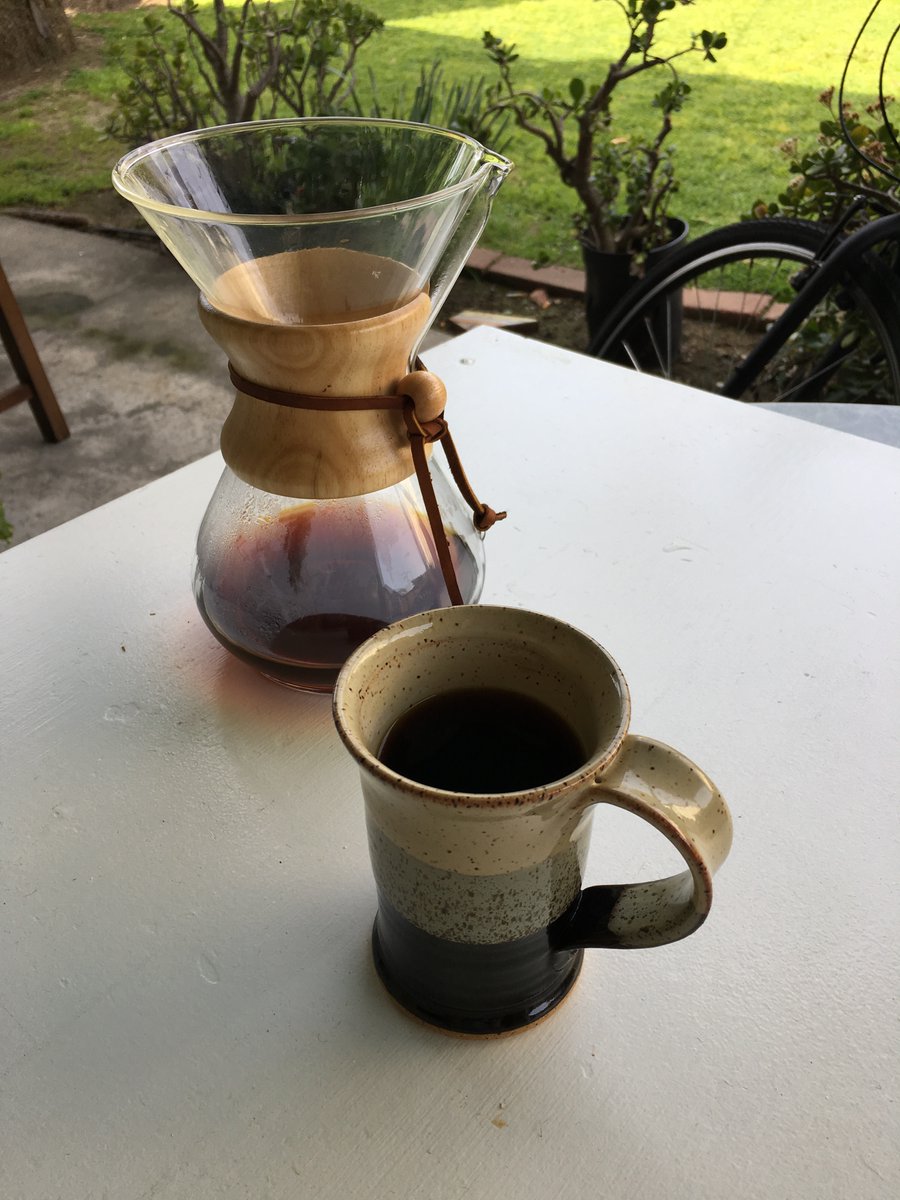
Step 7: Finish the Pour
To do this, you want to start by zig-zagging across the surface of the coffee to cover the whole area.
Then, slowly pour in concentric circles across the top until you reach your total amount of water (as shown in the video below).
To do this, you want to start by zig-zagging across the surface of the coffee to cover the whole area.
Then, slowly pour in concentric circles across the top until you reach your total amount of water (as shown in the video below).
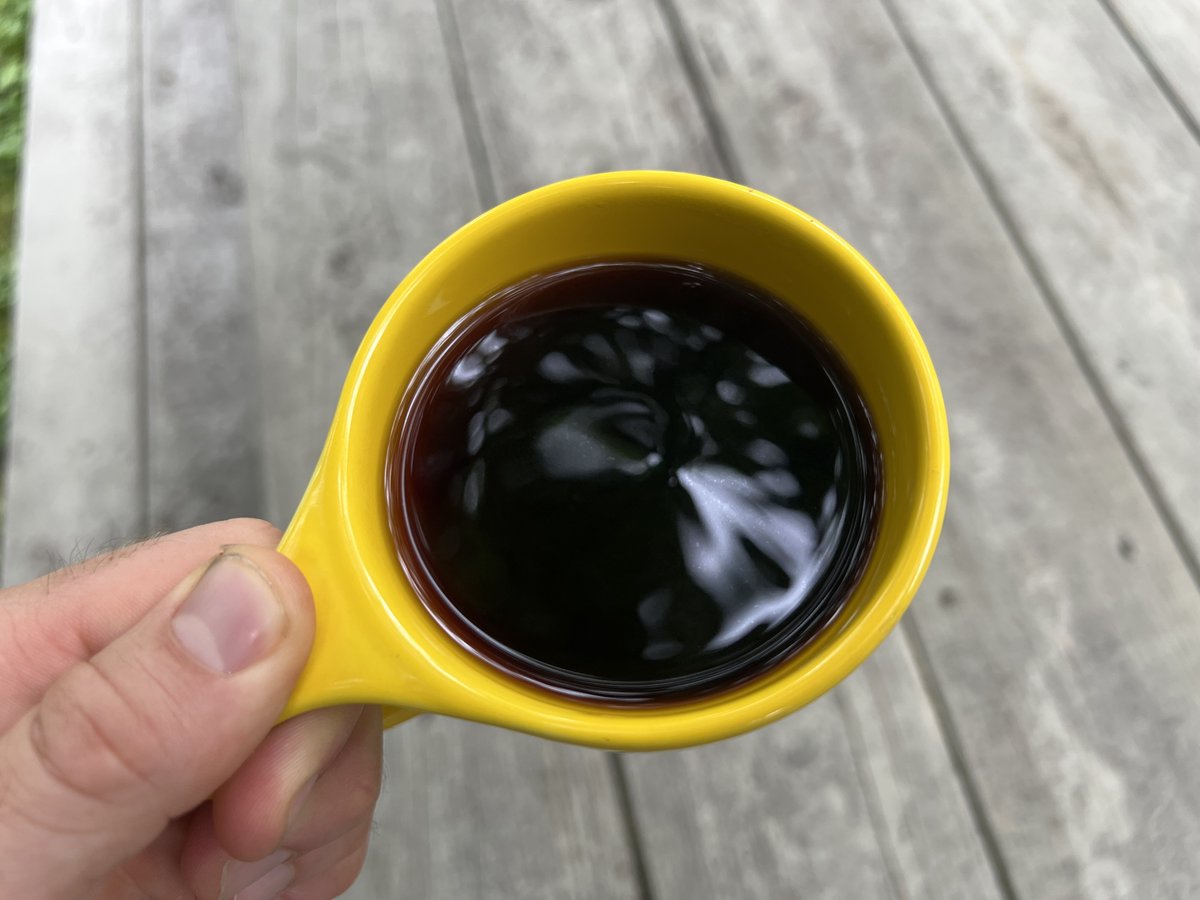
Step 8: Enjoy
Congratulations, you've now learned how to make the best coffee of your life.
This process takes 5-10 minutes and is a beautiful and meditative way to start your morning.
Congratulations, you've now learned how to make the best coffee of your life.
This process takes 5-10 minutes and is a beautiful and meditative way to start your morning.
I write a weekly newsletter focused on helping you become a better home cook.
I send recipes, guides, how-tos, product recommendations, and plenty of coffee content, as well.
Sign up here to get it directly to your inbox.
mtcookingclub.substack.com
I send recipes, guides, how-tos, product recommendations, and plenty of coffee content, as well.
Sign up here to get it directly to your inbox.
mtcookingclub.substack.com
• • •
Missing some Tweet in this thread? You can try to
force a refresh