🧵regarding one of the most basic and commonly used instruments in surgery...the DeBakey forceps.
DeBakey forceps were designed for vascular and cardiac surgery, but now are used by almost everyone.
I'm surprised myself that we haven't covered it already.
So here goes...
1/
DeBakey forceps were designed for vascular and cardiac surgery, but now are used by almost everyone.
I'm surprised myself that we haven't covered it already.
So here goes...
1/

Michael DeBakey doesn't need much introduction: he was one of the most famous surgeons of all time. He was a pioneer in cardiothoracic and vascular surgery and was at Baylor for decades, eventually becoming chancellor. His rivalry with Denton Cooley was the stuff of legends.

DeBakey also was by all accounts very malignant, even when judged against old-school cardiac surgeons in Texas. And other behaviors were problematic. He wouldn't last 24 hr at a US hospital today.
He leaves a large but complex legacy that everyone has their own opinion about.
He leaves a large but complex legacy that everyone has their own opinion about.

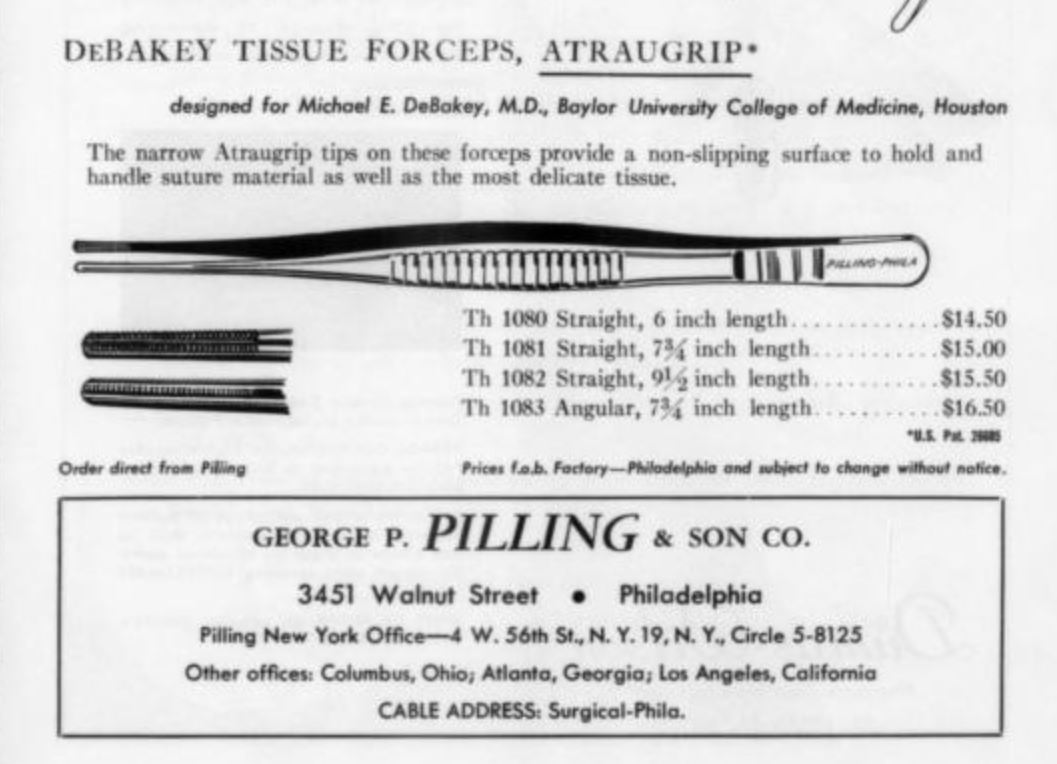
'DeBakey forceps' were initially custom made for DeBakey himself by the George Pilling & Son Company in Philadelphia. This is the earliest version of the ad I can find, and is from 1960.
The site of the Pilling offices later became the Franklin Building on the Penn campus.
The site of the Pilling offices later became the Franklin Building on the Penn campus.

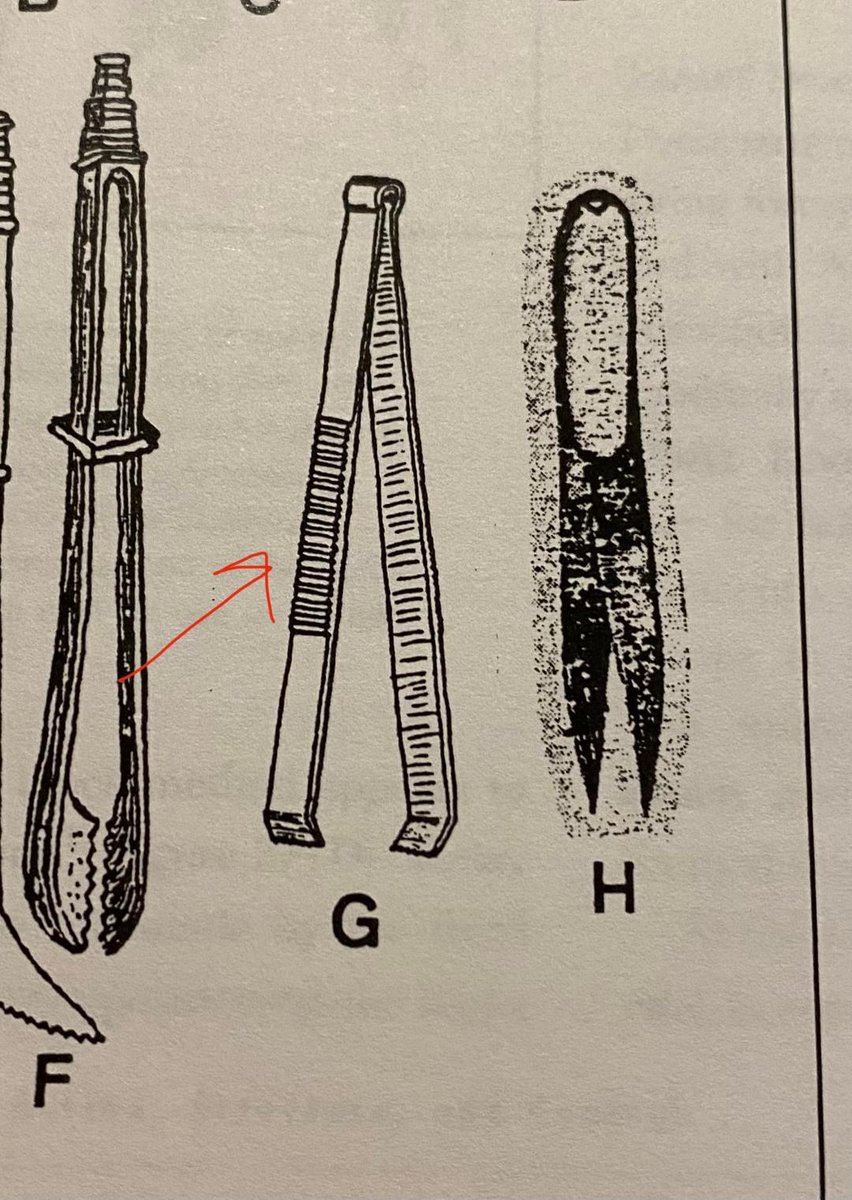
Like most forceps, DeBakeys have a series of ridges on the side to enhance the grip.
This is a modification going back many centuries, as can be seen from the drawing of forceps with similar ridges from the ancient Roman era (R picture, forcep 'G'; from Kirkup's book).
This is a modification going back many centuries, as can be seen from the drawing of forceps with similar ridges from the ancient Roman era (R picture, forcep 'G'; from Kirkup's book).

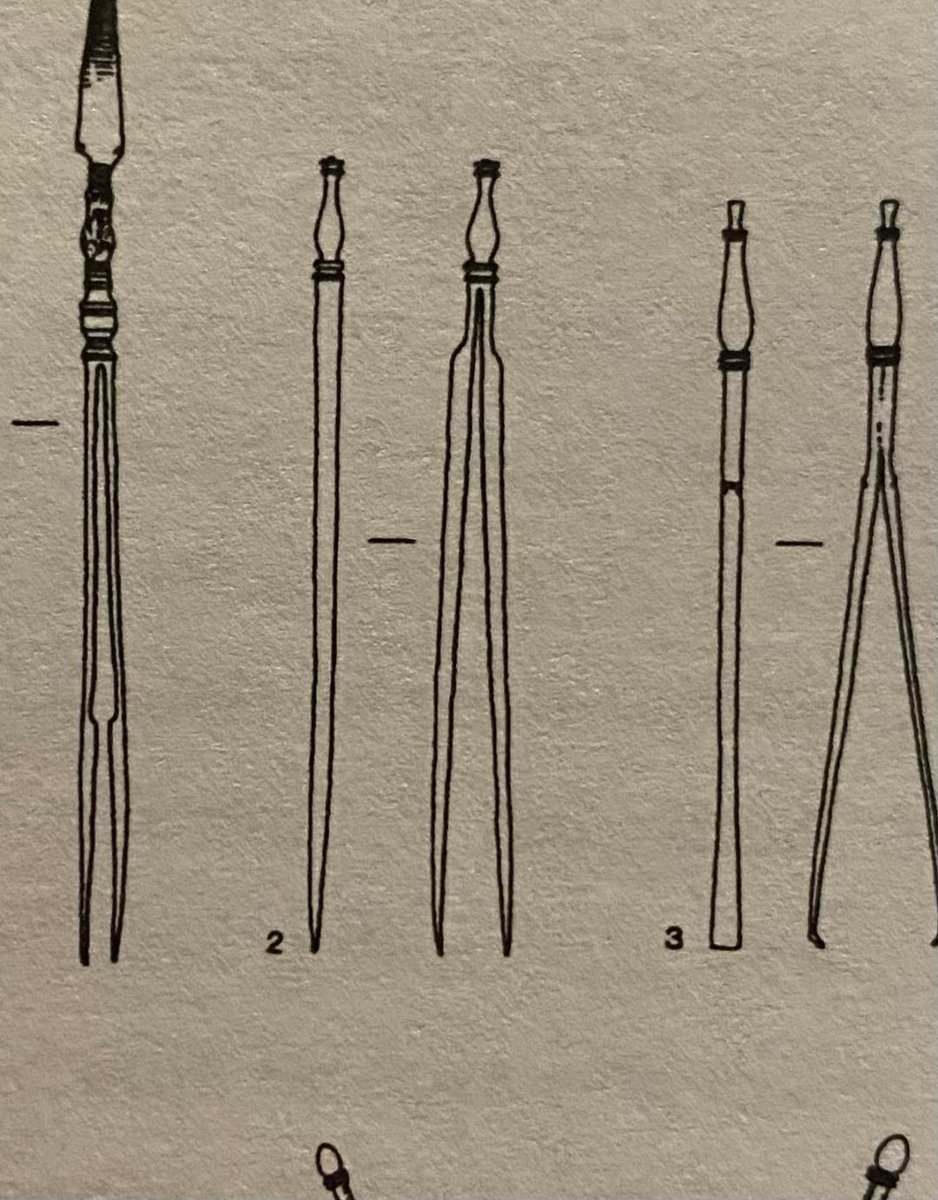
Nor is the general size and profile of the DeBakey forceps anything new.
Forcep 2 on the R picture (also from the Kirkup book) is from the Roman era also. It is remarkably similar to modern DeBakey forceps.
Forcep 2 on the R picture (also from the Kirkup book) is from the Roman era also. It is remarkably similar to modern DeBakey forceps.

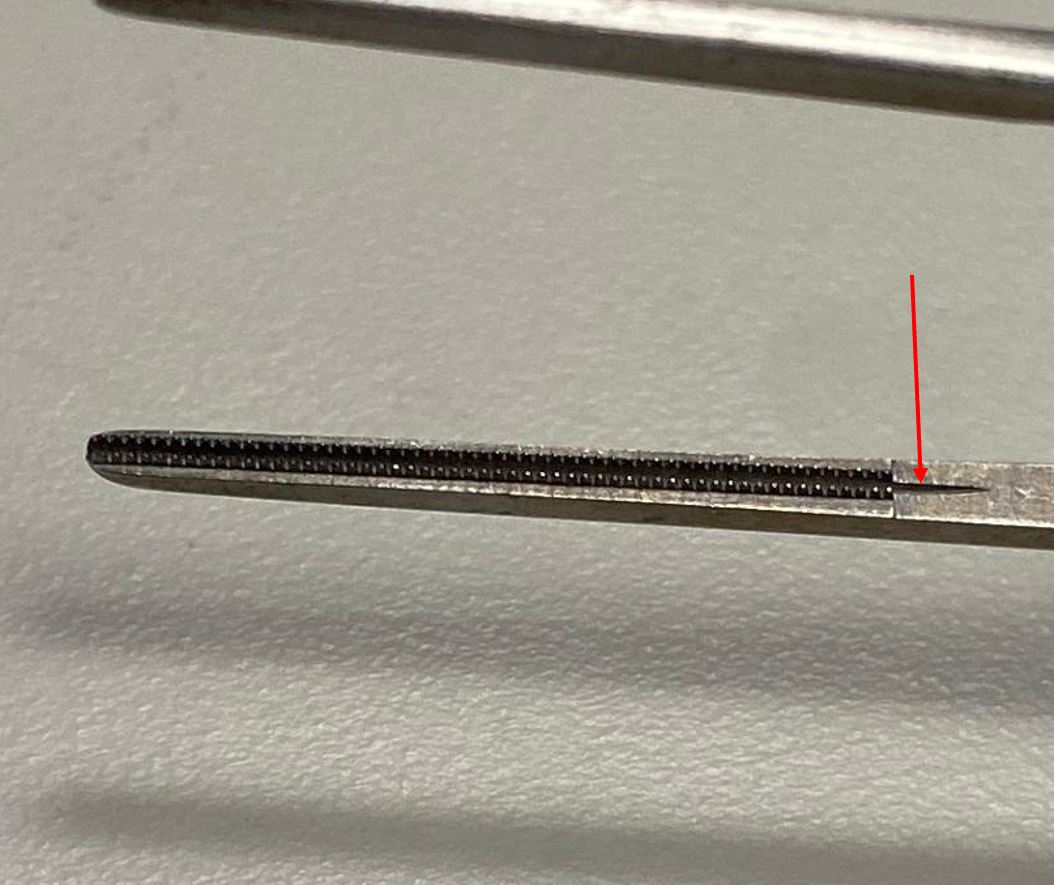
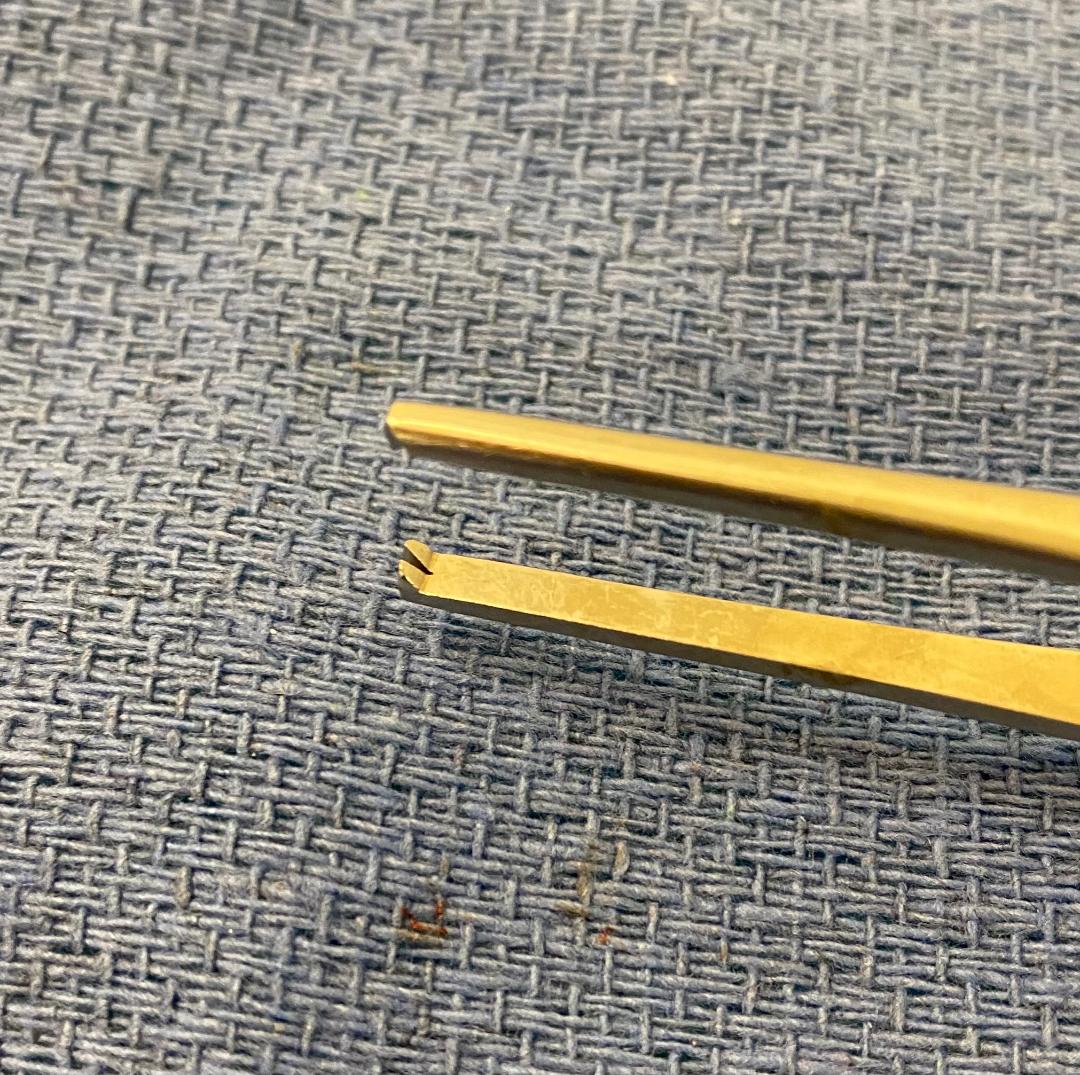
One end of the DeBakey forceps has a single row of teeth. If you look carefully, it also has 2 small grooves (red arrows) which will accommodate the 2 rows of teeth on the other prong of the forcep.
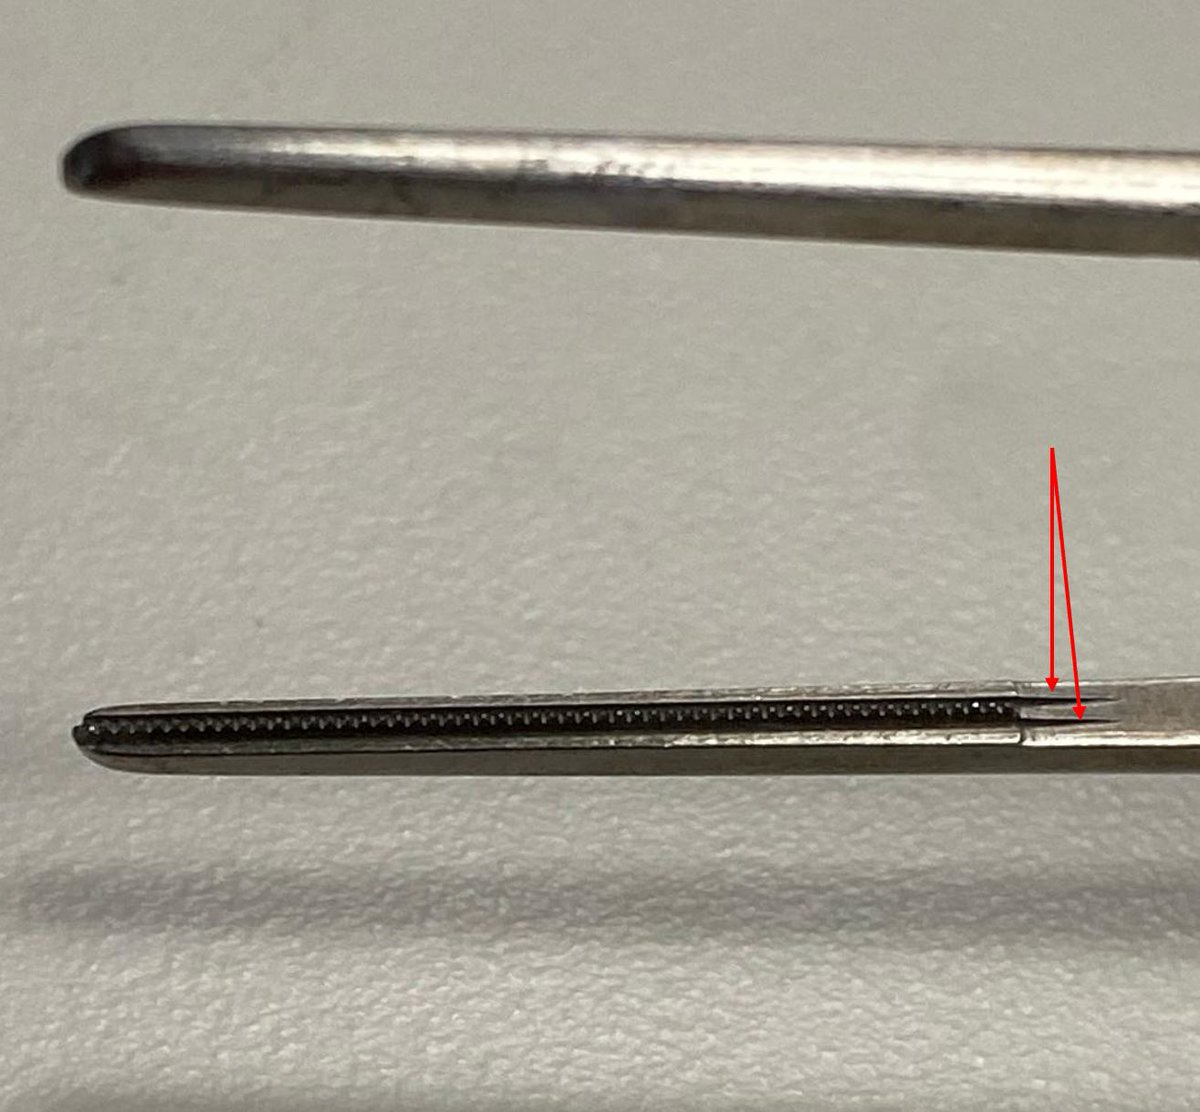
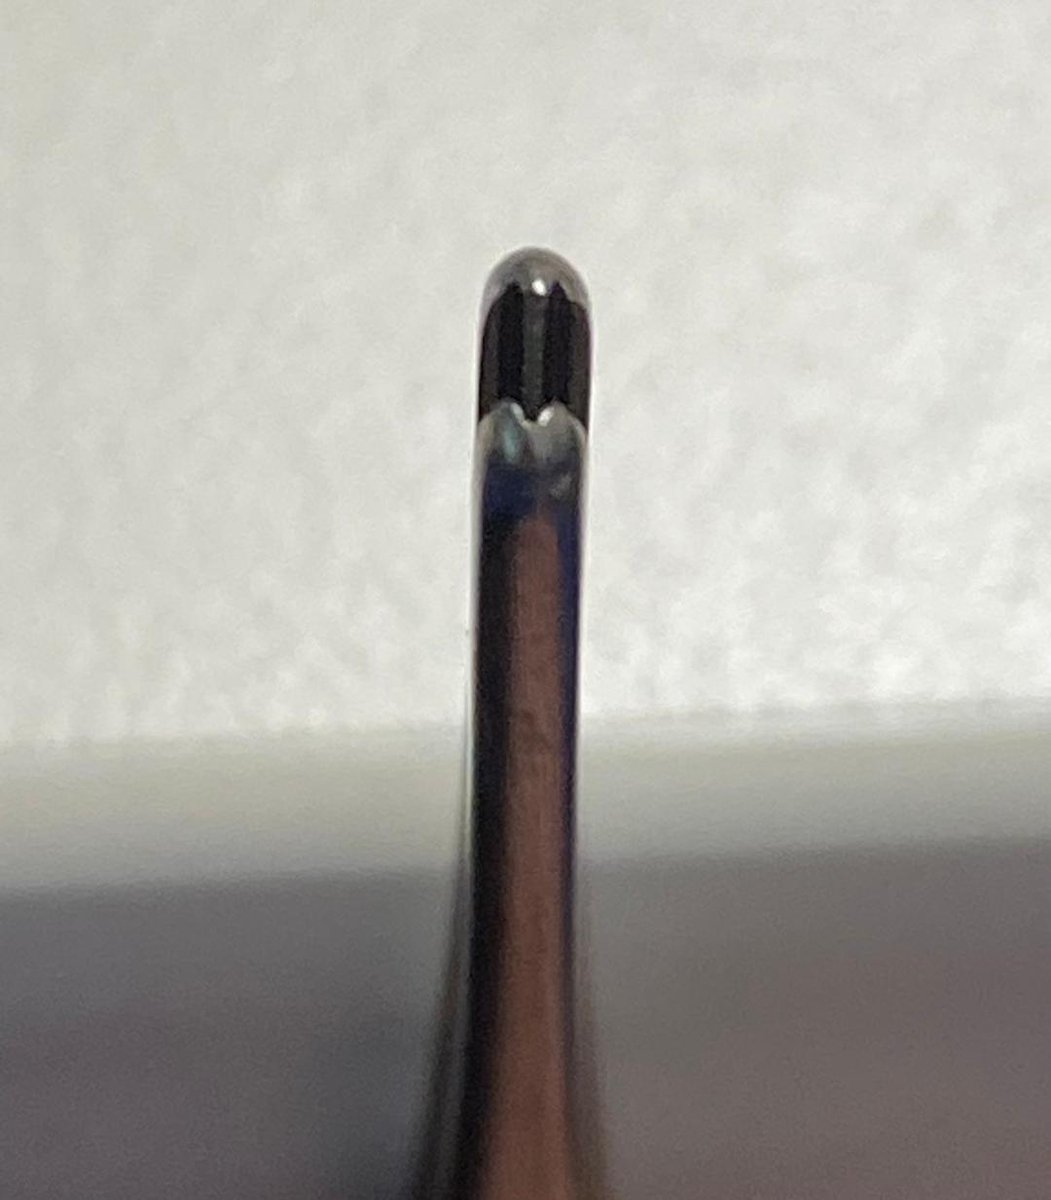
And as you might expect, the other prong has the opposite configuration.
Here there are two rows of teeth, and also a groove to accommodate the single row of teeth from the other prong.
Here there are two rows of teeth, and also a groove to accommodate the single row of teeth from the other prong.
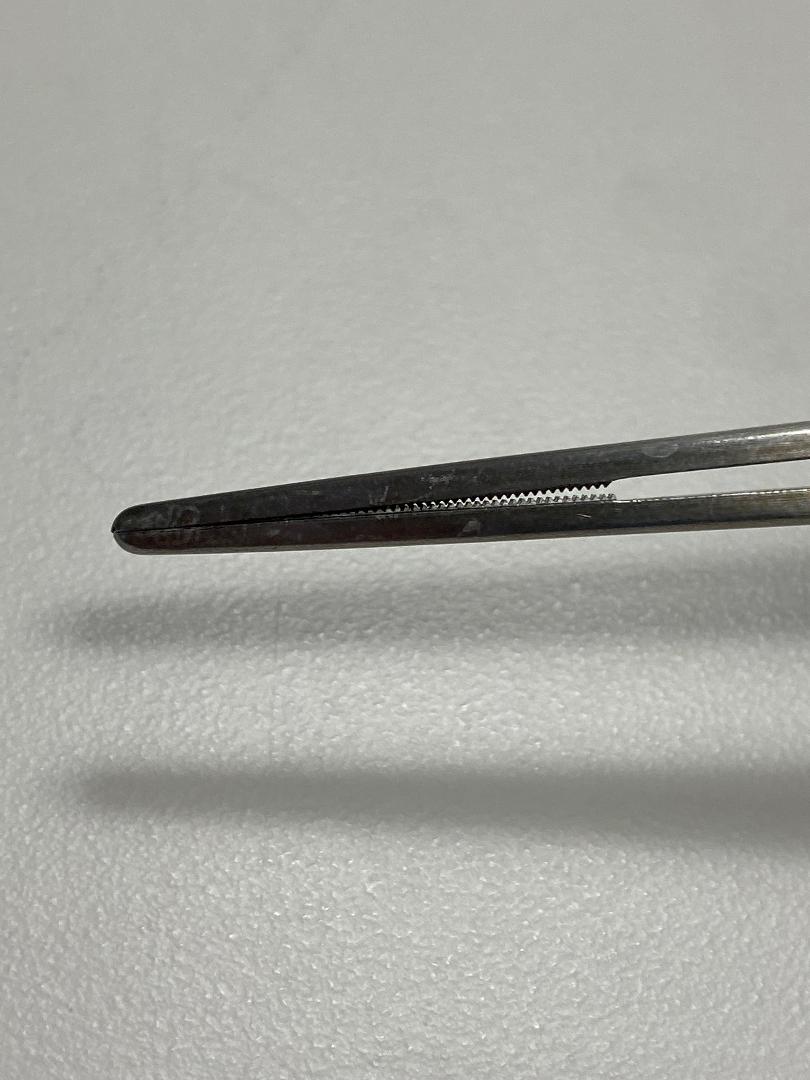
The teeth and grooves fit together with precision, but one sees that they do not do this along the entire length of the row of teeth. There is a little gap present proximally (R photo). The gap closes with a little pressure (not shown).
The small interlocking ridges on the tips of the DeBakey forceps enable you to grab and manipulate needles fairly easily.
It is much harder to do this with forceps without the ridges, such as with 'rat-tooth' forceps on the right.
It is much harder to do this with forceps without the ridges, such as with 'rat-tooth' forceps on the right.
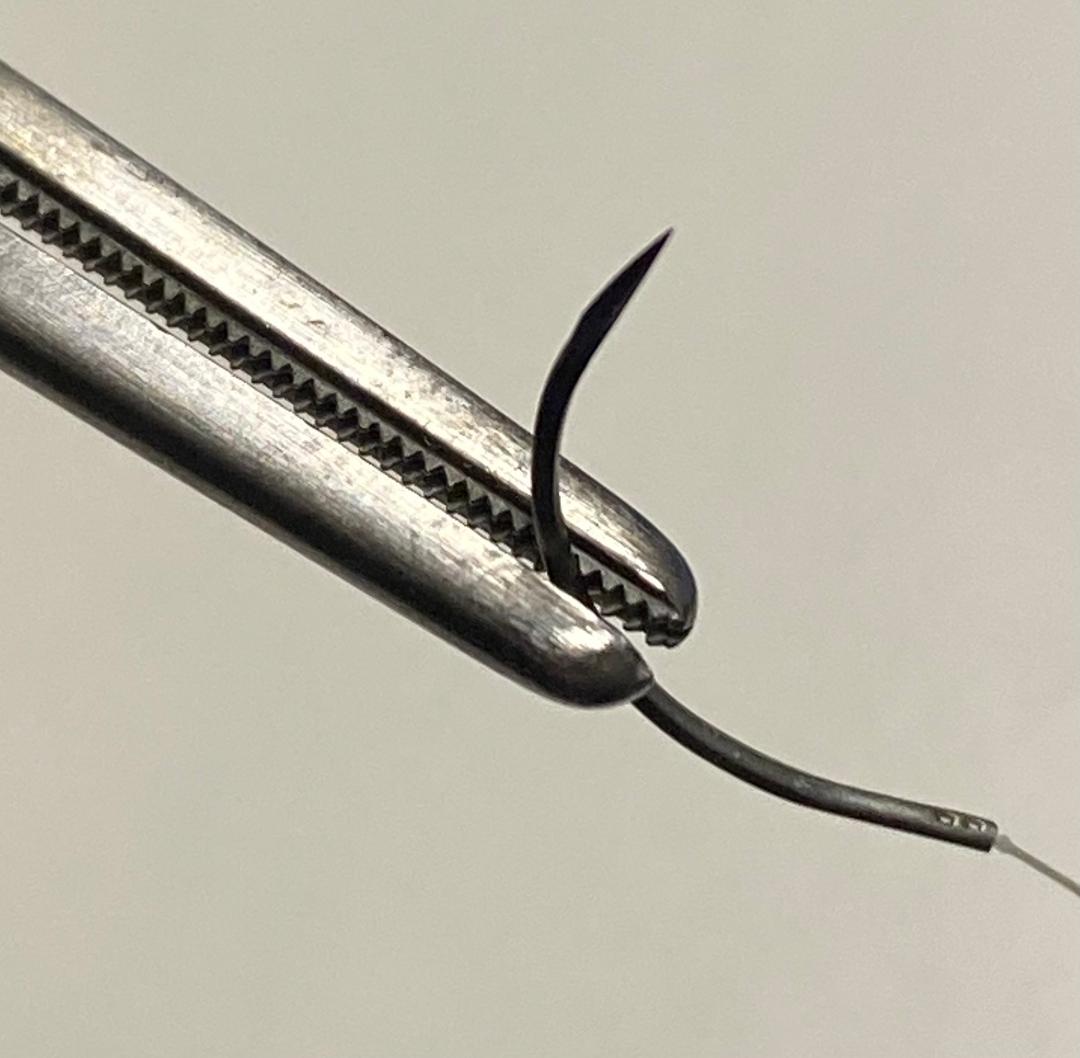
Example showing the ease of grabbing small needles (5-0 Vicryl on PS-2 here). One can readily manipulate the needle to grab it with the needle holder.
There are limits to this. You want to follow the curvature of the needle and so forth...surgeons often get sloppy here.
There are limits to this. You want to follow the curvature of the needle and so forth...surgeons often get sloppy here.
One should try to avoid grabbing the actual suture threads though.
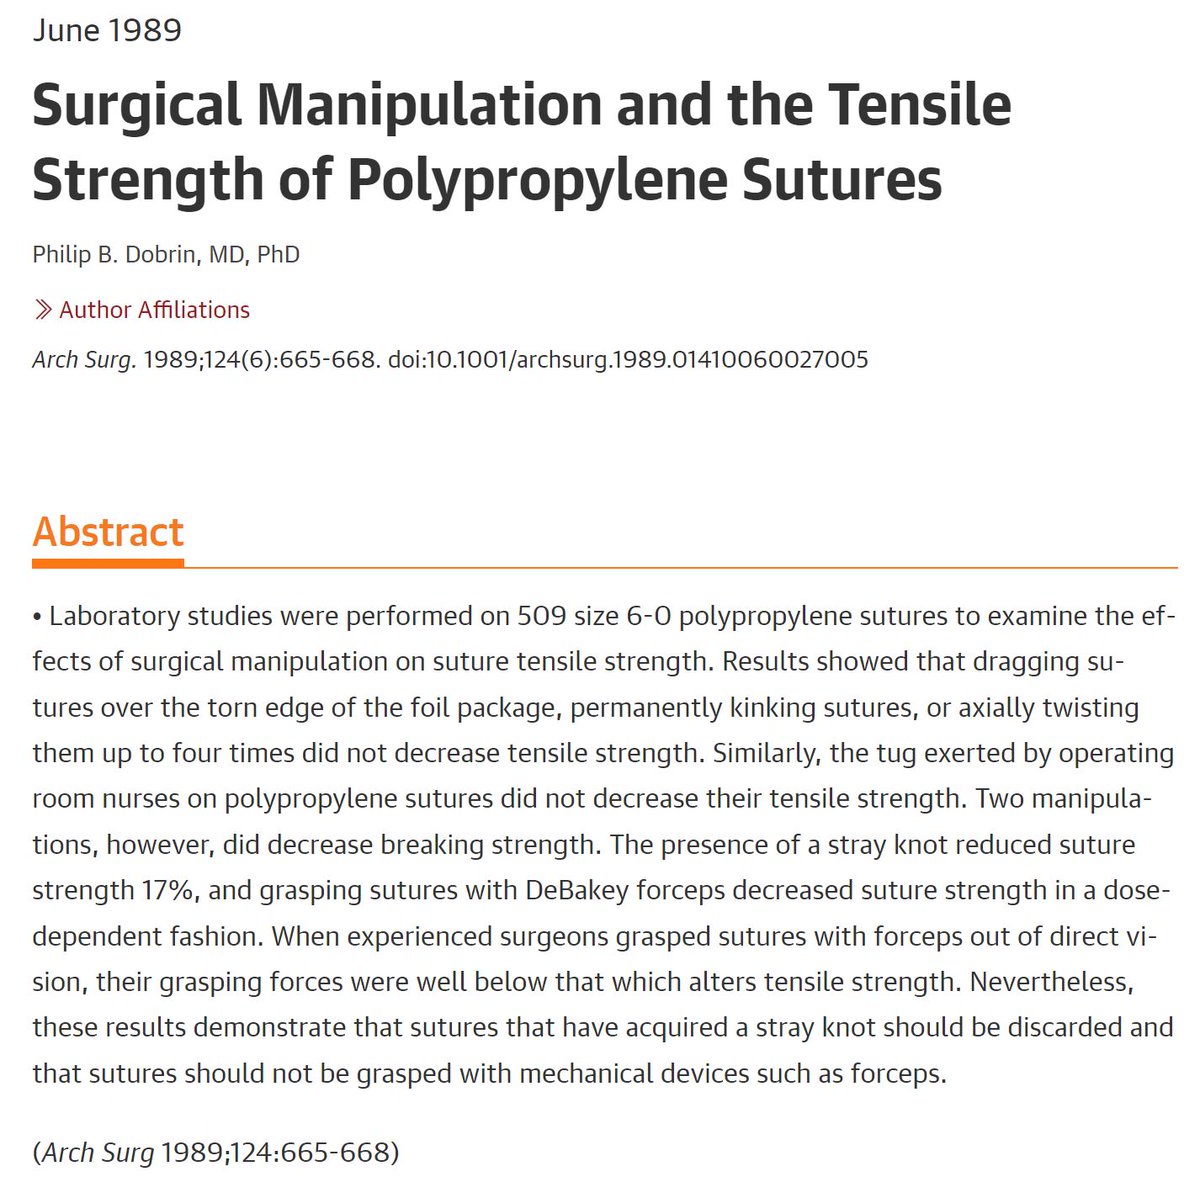
In 1989, Dobrin wrote that grasping small Prolene sutures (6-0) with DeBakeys caused them to weaken in a dose dependent fashion.
Grasping the threads with forceps weakened them than most other common maneuvers.
In 1989, Dobrin wrote that grasping small Prolene sutures (6-0) with DeBakeys caused them to weaken in a dose dependent fashion.
Grasping the threads with forceps weakened them than most other common maneuvers.
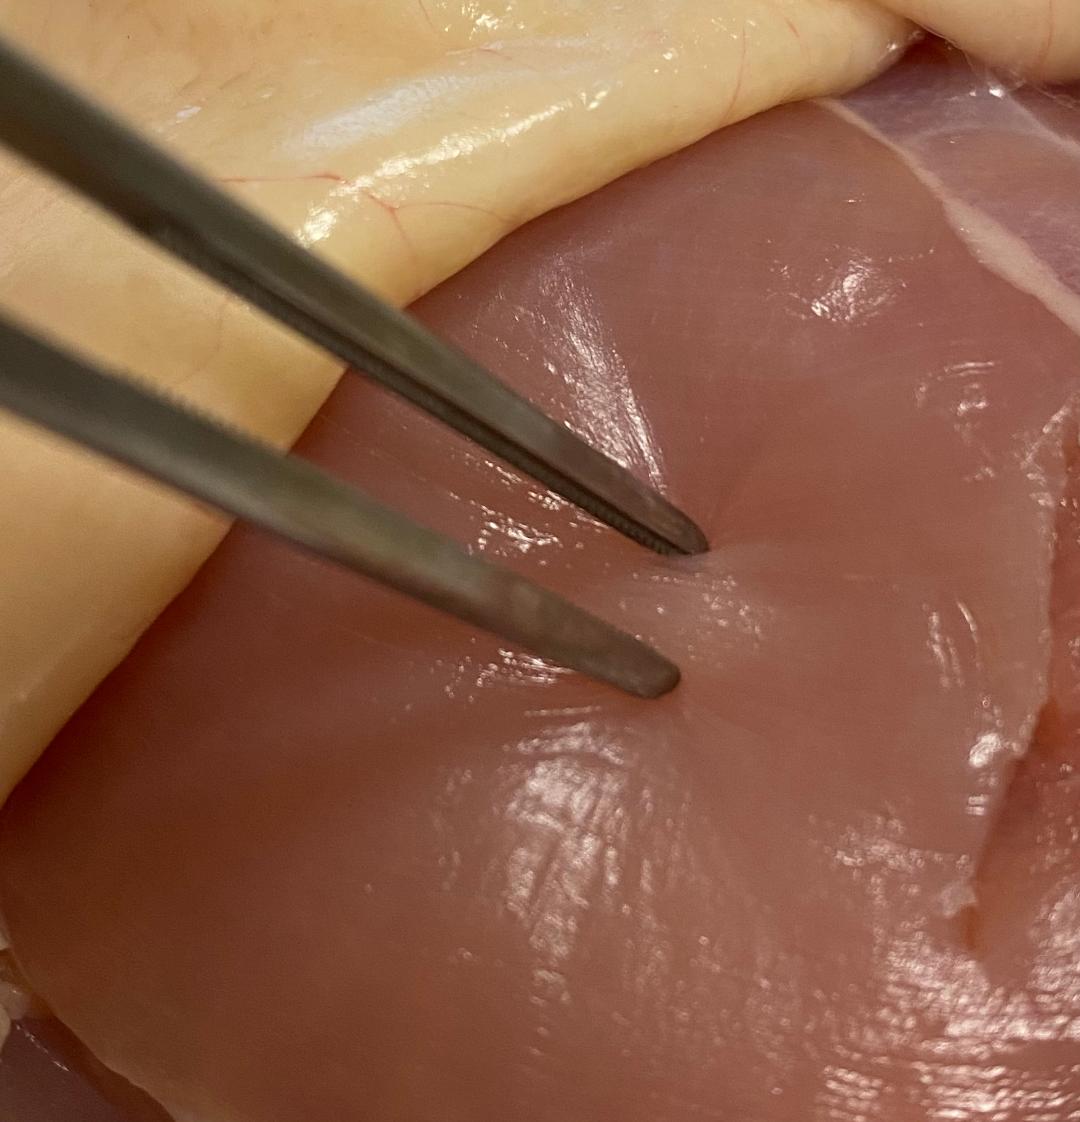
DeBakey forceps can be used to grab many different kinds of tissue, not just vessels. They are precise, tend to grab tissues reasonably well due to the ridges, and tend not to crush the tissue too much, unless one is not careful.
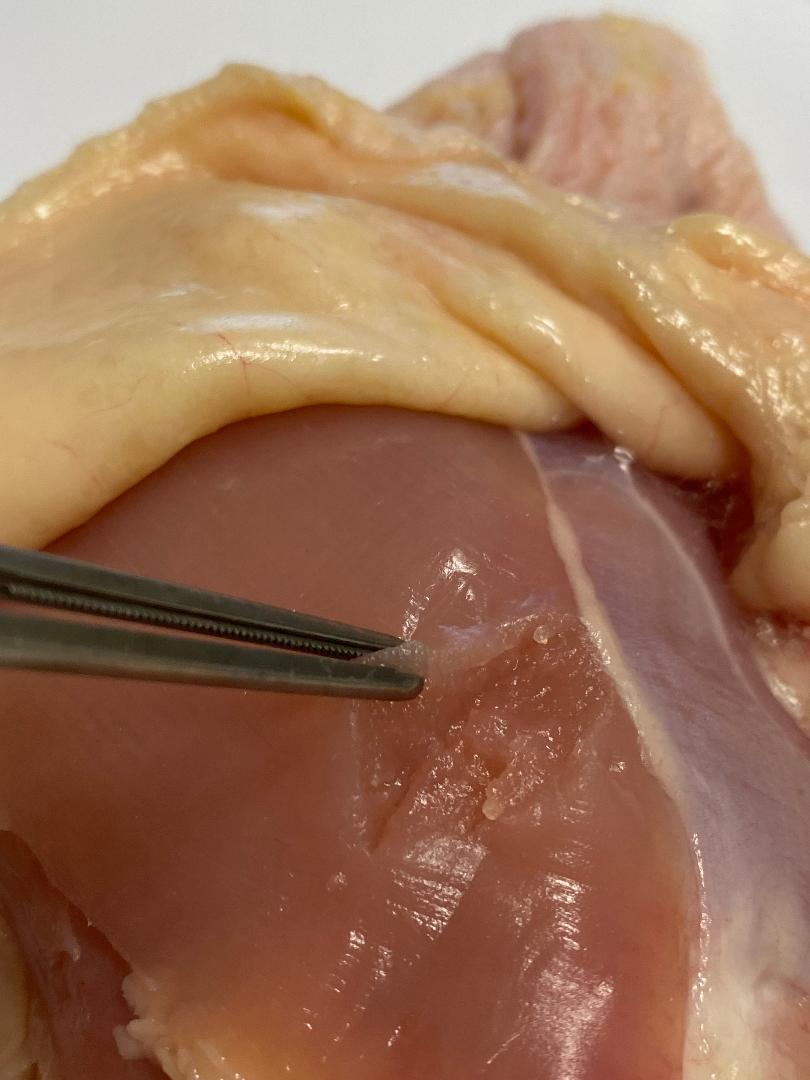
One still needs to keep tissue crushing in mind though, as some can occur with DeBakeys.
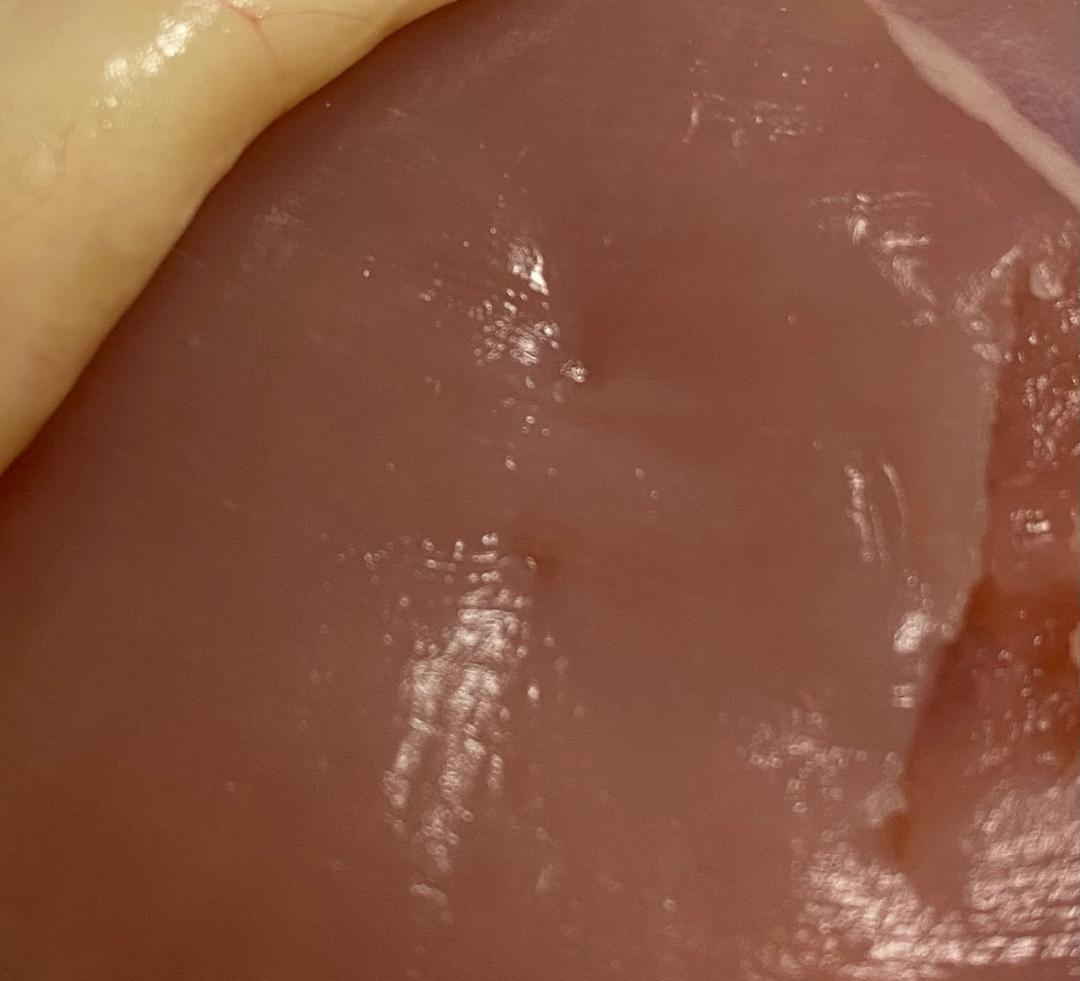
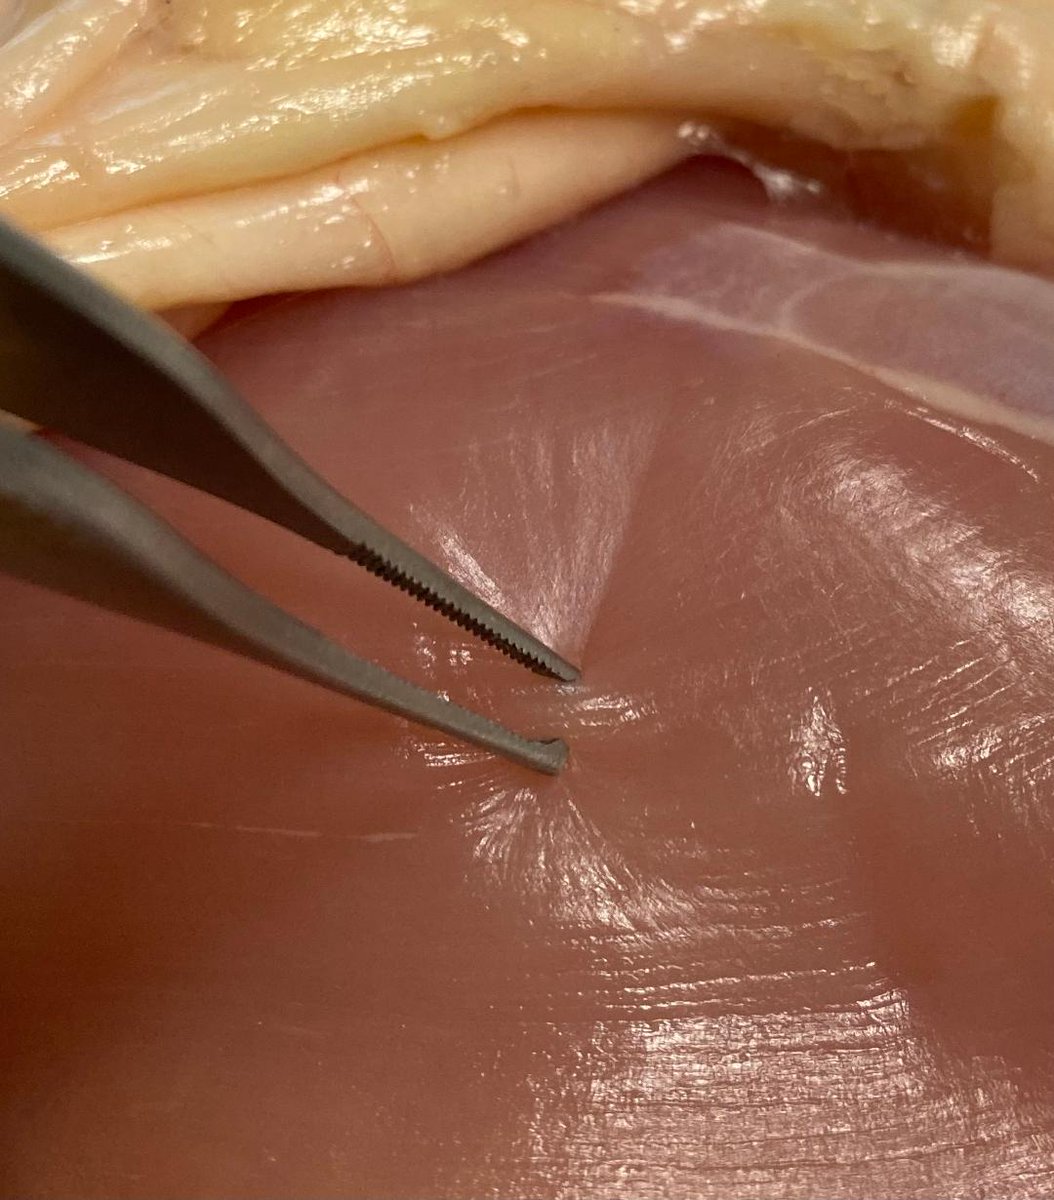
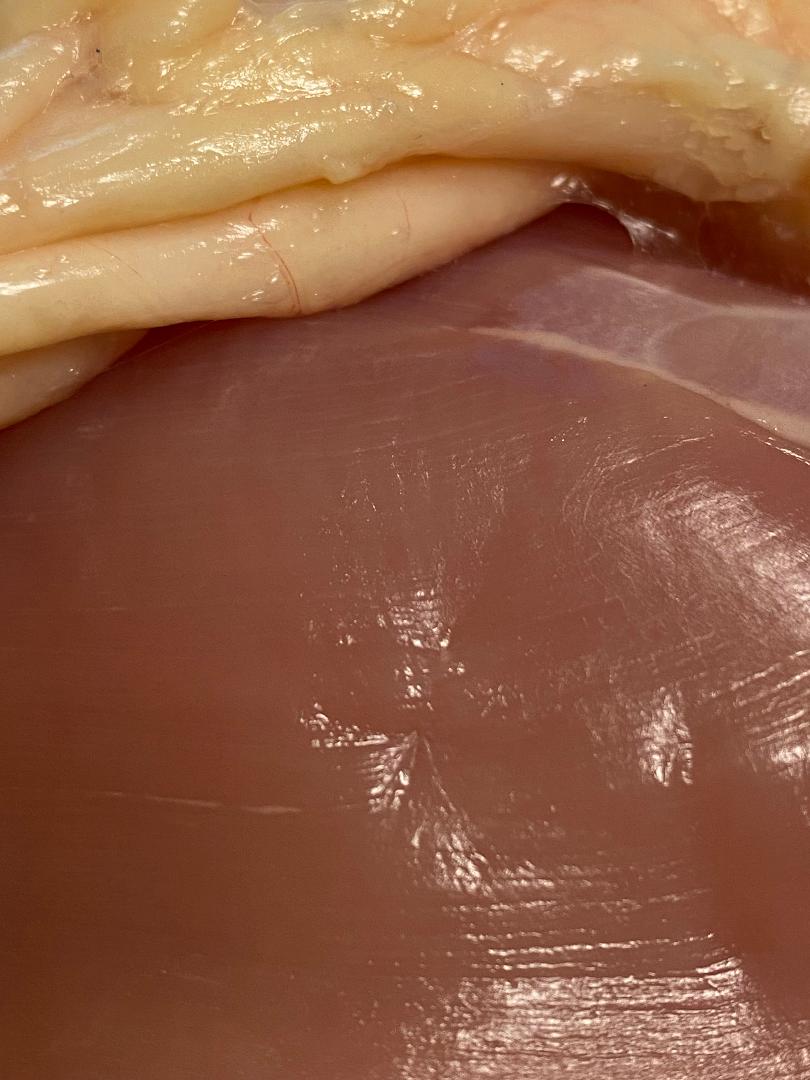
Here are 'during' and 'after' pictures of chicken meat grasped for about 15 seconds with a DeBakey at a typical pressure. One can see there are marks left over.
Here are 'during' and 'after' pictures of chicken meat grasped for about 15 seconds with a DeBakey at a typical pressure. One can see there are marks left over.
Here are the same 'during' and 'after' pictures, except with toothed Adson forceps.
In some cases toothed forceps may be better for the tissues due to the decreased pressure one has to apply on the tips of the forceps. This is a complicated topic for another day, however...🧐🤔
In some cases toothed forceps may be better for the tissues due to the decreased pressure one has to apply on the tips of the forceps. This is a complicated topic for another day, however...🧐🤔
DeBakey forceps come in different lengths. As they get longer, the tips start having a weaker grip becasue they are still generally of about the same size.
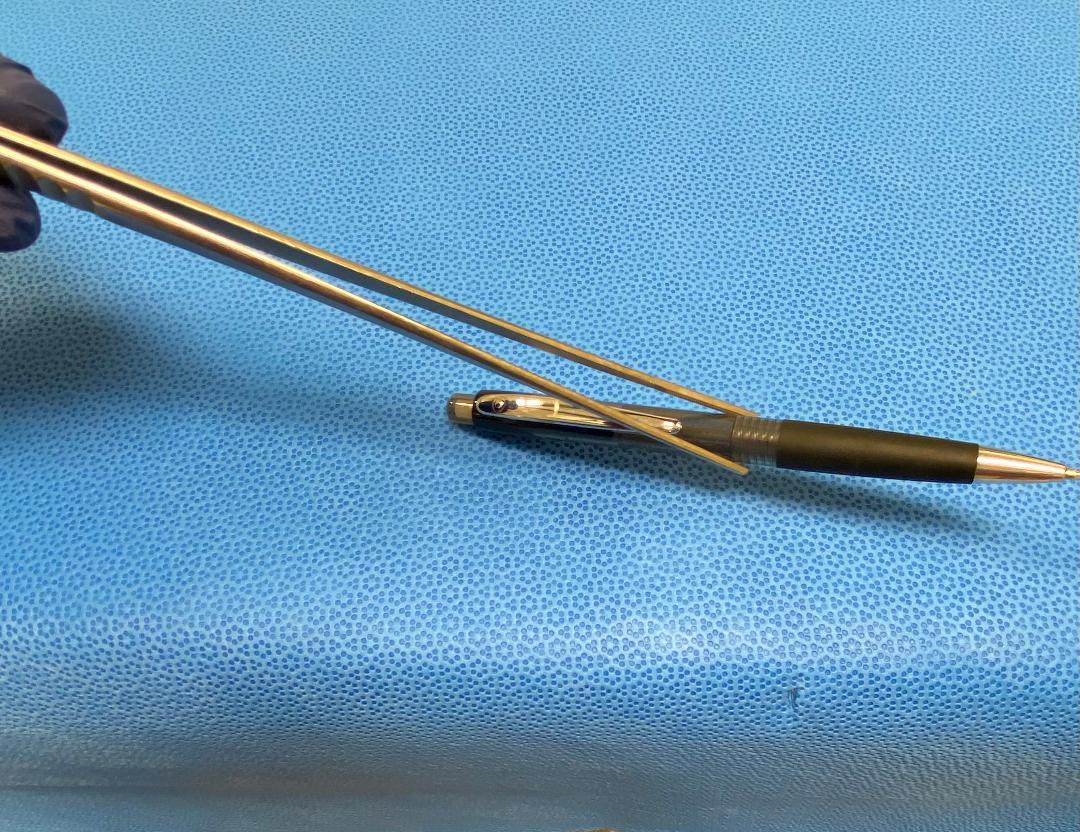
This is a 12" DeBakey. The grip is noticeably weaker, and deforms more easily when picking up objects.
This is a 12" DeBakey. The grip is noticeably weaker, and deforms more easily when picking up objects.
Reference:
As before, chicken thighs were sourced from Draper Valley Farms via QFC market in Beaverton, OR. Accessed December 3, 2022.
The study was conducted under an EFIC (Exception from Informed Chicken) protocol.
⬛️
As before, chicken thighs were sourced from Draper Valley Farms via QFC market in Beaverton, OR. Accessed December 3, 2022.
The study was conducted under an EFIC (Exception from Informed Chicken) protocol.
⬛️


• • •
Missing some Tweet in this thread? You can try to
force a refresh