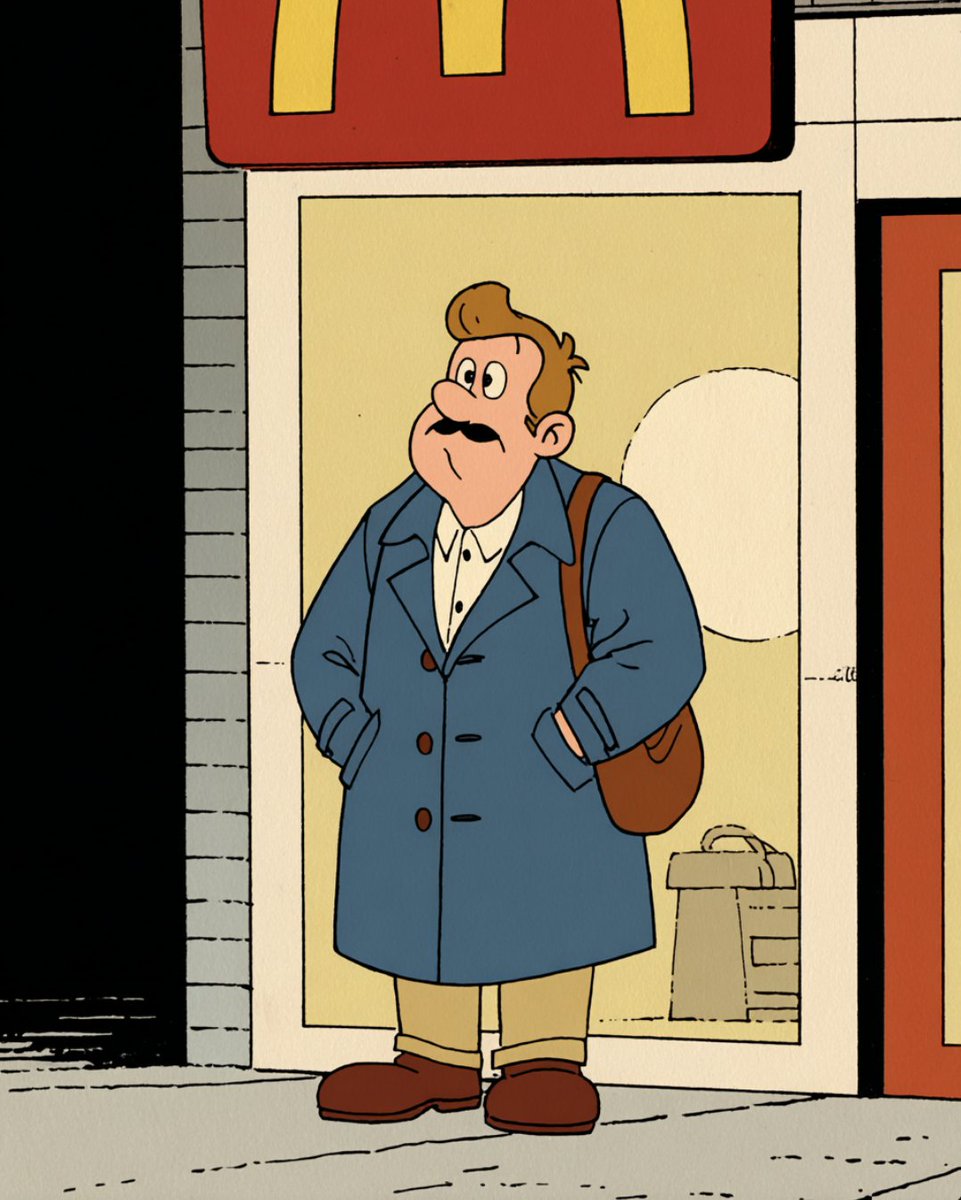
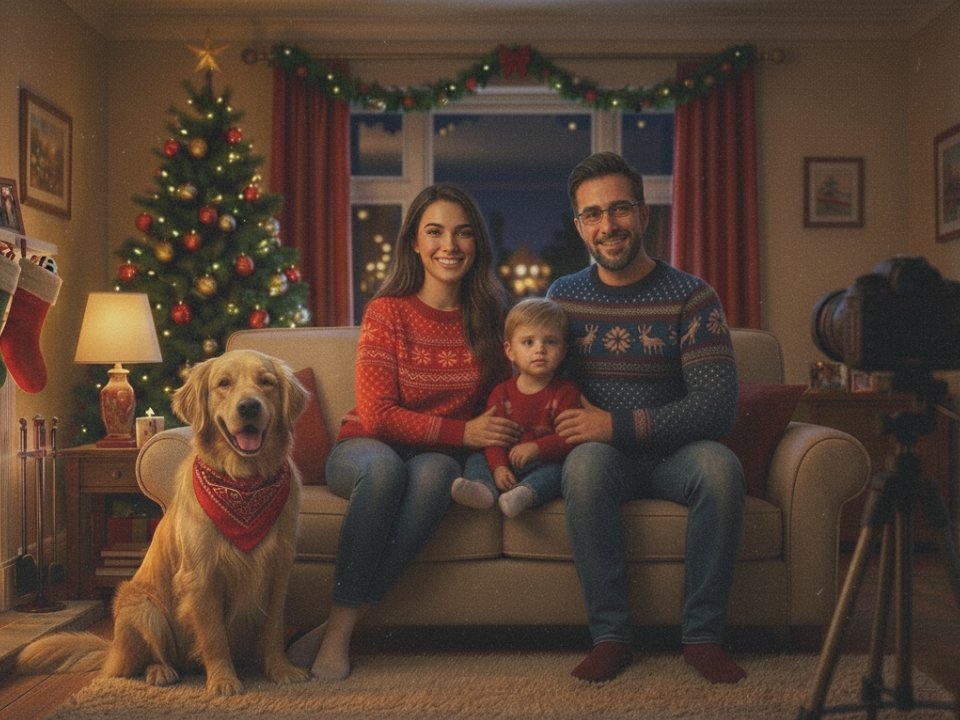
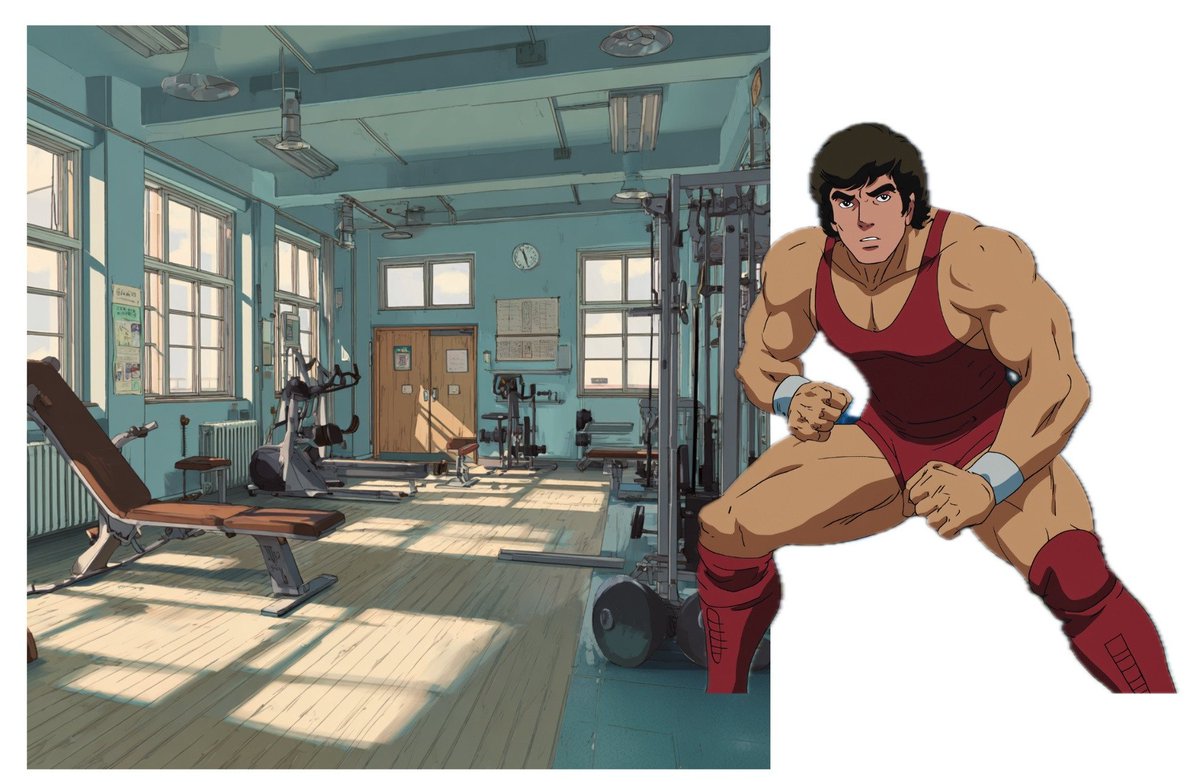
It only took me 2 DAYS to create this beautiful Lofi animation 🔥🔊
Bringing AI pictures to life is way easier than you think.
EVERYONE can do it.
These are the 8 steps you should follow 👇
Bringing AI pictures to life is way easier than you think.
EVERYONE can do it.
These are the 8 steps you should follow 👇
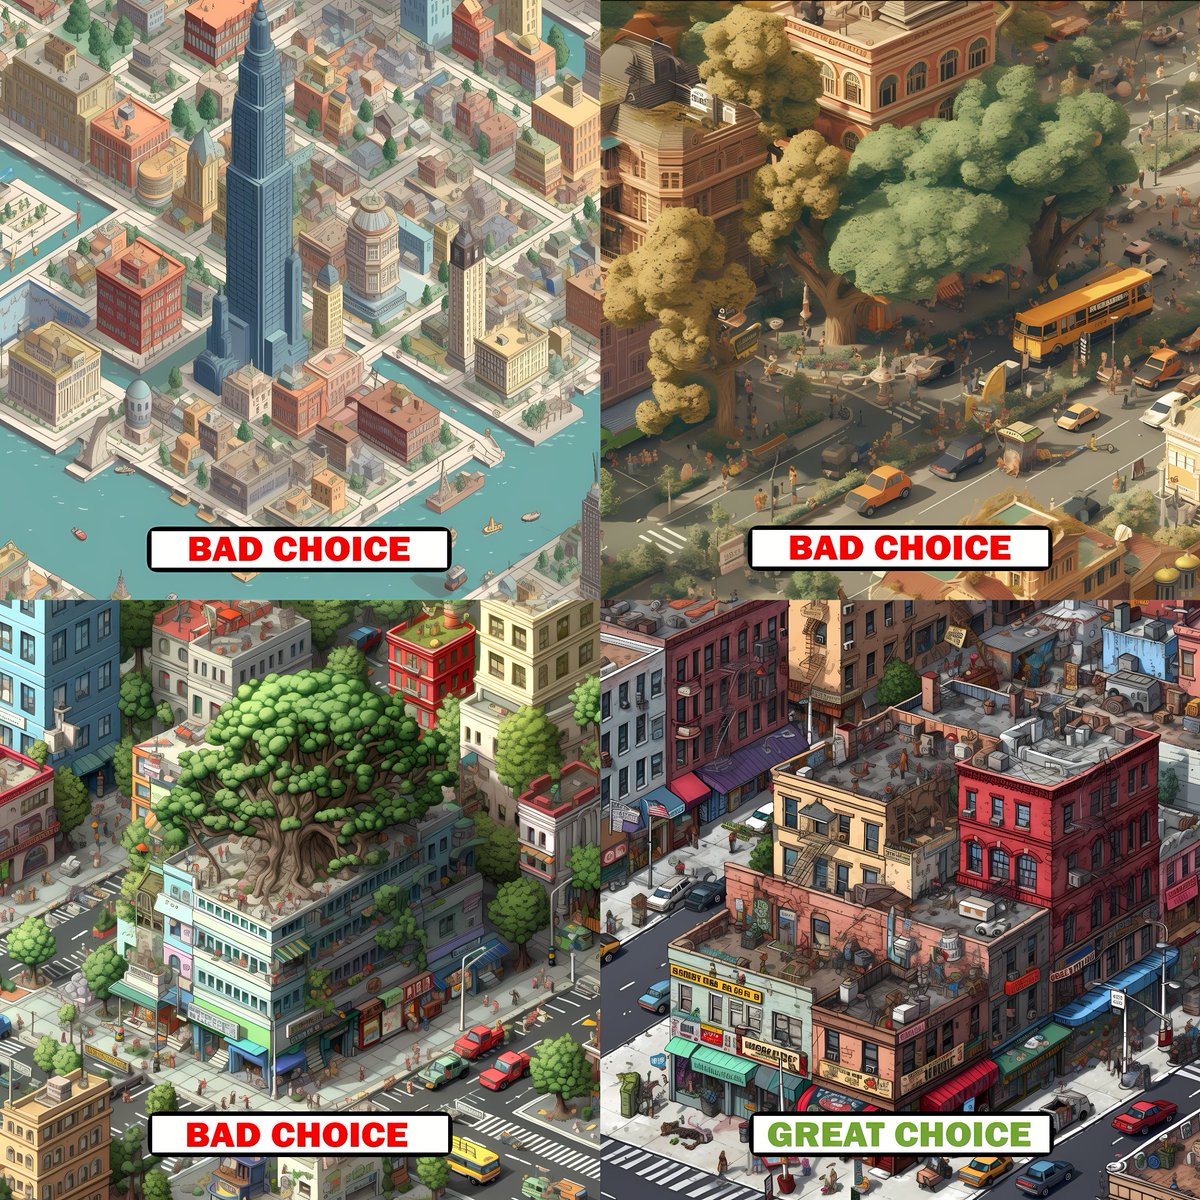
1. Great image accounts for 50% of success.
Before selecting a picture for animation, consider:
- Is it aesthetically pleasing?
- Does the layout of the picture seem right?
- Are there enough objects to animate?
Before selecting a picture for animation, consider:
- Is it aesthetically pleasing?
- Does the layout of the picture seem right?
- Are there enough objects to animate?
2. Remove all unnecessary elements.
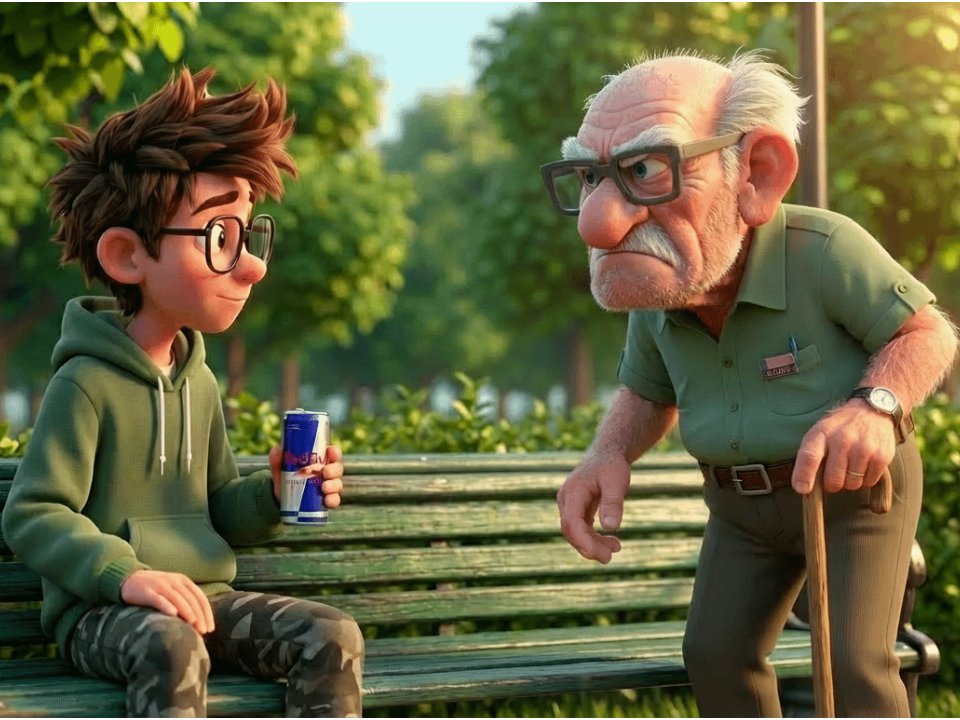
AI tends to add random objects that don't make sense.
You can easily remove them using PS GenFill, Dalle2, RunwayML, or cleanup pictures.
AI tends to add random objects that don't make sense.
You can easily remove them using PS GenFill, Dalle2, RunwayML, or cleanup pictures.
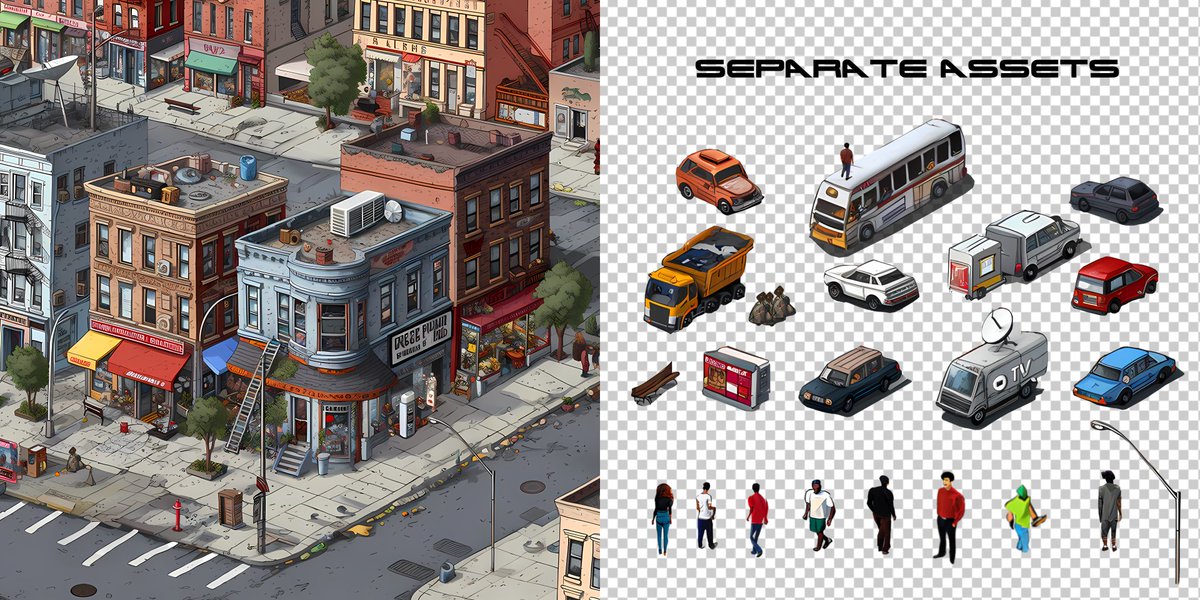
3. Supercharge your composition with additional assets.
You can add anything you want - cars, people, trees, street signs, etc. This can be achieved in two ways:
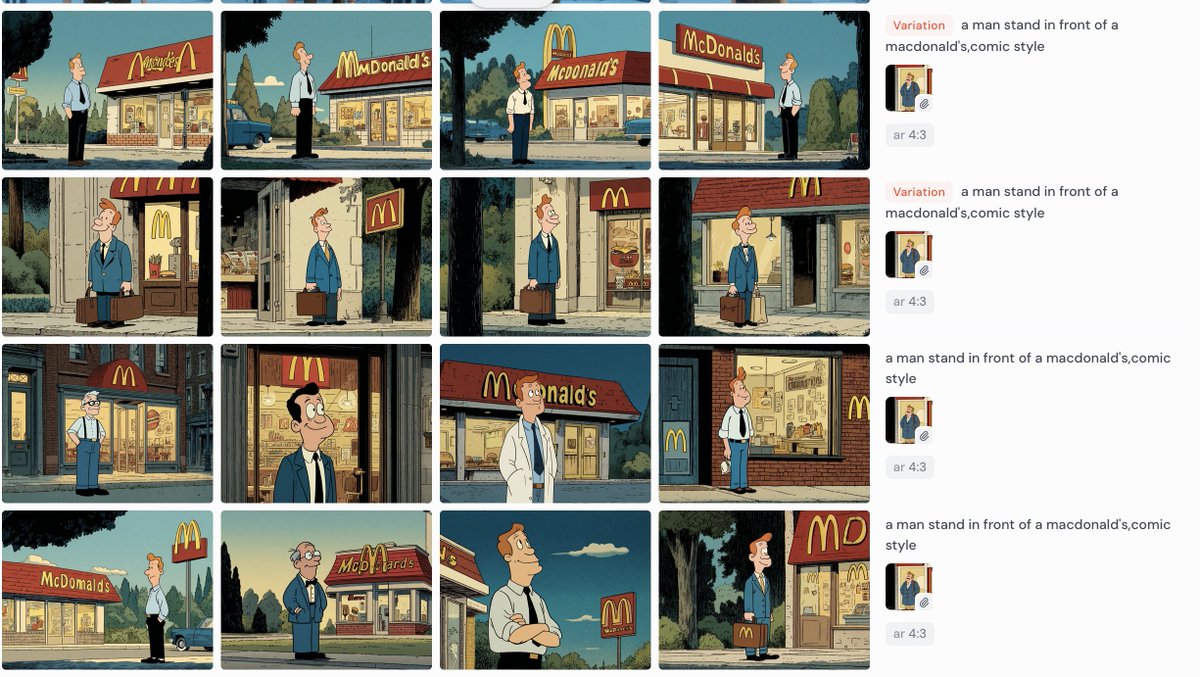
a) By cropping objects from variations of your original Midjourney picture.
b) By adding them with AI.
You can add anything you want - cars, people, trees, street signs, etc. This can be achieved in two ways:
a) By cropping objects from variations of your original Midjourney picture.
b) By adding them with AI.
4. Upscale your image with AI.
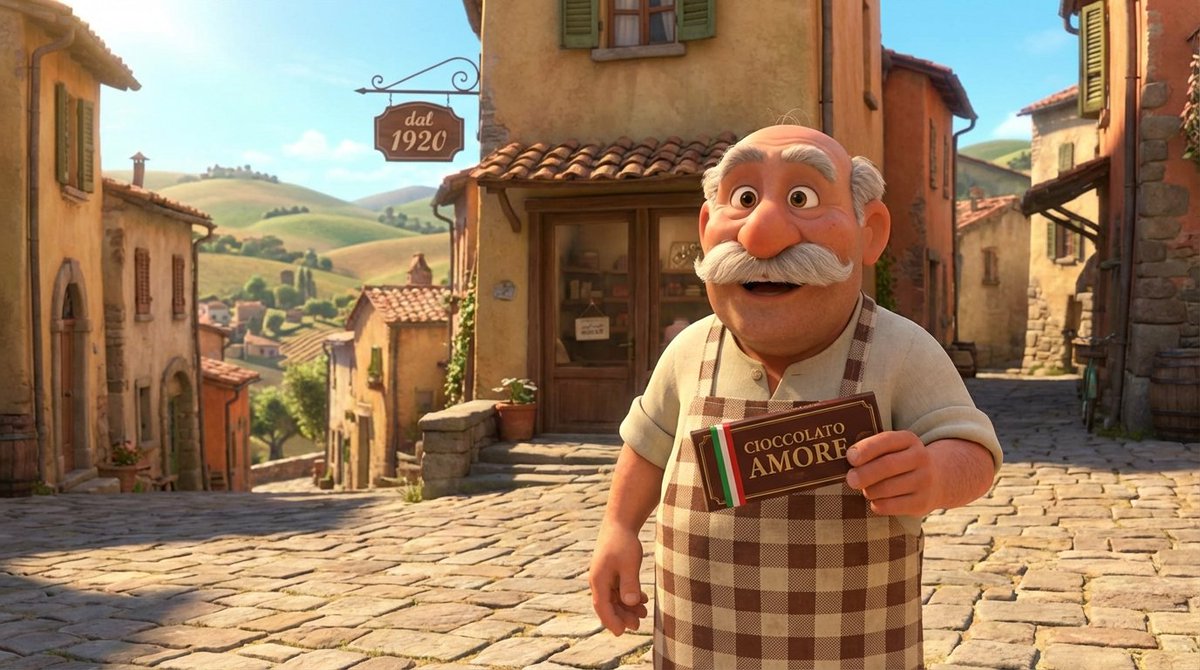
You can easily increase the quality of your AI-generated pictures by 4x in less than a minute.
The best tool I've found so far is AI Nero Image Upscaler.
You can easily increase the quality of your AI-generated pictures by 4x in less than a minute.
The best tool I've found so far is AI Nero Image Upscaler.
5. Separate the objects you are going to animate from the main composition.
Make sure your composition is clear, so when the objects move, there's a plain background behind them.
Make sure your composition is clear, so when the objects move, there's a plain background behind them.
It is time to animate. Even though it might be frustrating to use Adobe After Effects for the first time, it is the best and most powerful software - everything you will ever need. So, it's worth it.
6. The main AE functions I use:
• Mask: To hide or reveal parts of a layer, create shapes (e.g., shadows), or cut out specific areas.
• Position: To create simple movement.
• Position + Puppet tool: For an advanced movement, such as animating people walking.
• Mask: To hide or reveal parts of a layer, create shapes (e.g., shadows), or cut out specific areas.
• Position: To create simple movement.
• Position + Puppet tool: For an advanced movement, such as animating people walking.
7. Adding green screen assets.
There is a lot that can be achieved with ready-to-use green screen animations.
You can find them on YouTube or other websites.
Although I haven't utilized any in this Lofi animation, this is what the process looks like.
There is a lot that can be achieved with ready-to-use green screen animations.
You can find them on YouTube or other websites.
Although I haven't utilized any in this Lofi animation, this is what the process looks like.
8. Finally, the sound design.
Whether it is a simple melody or city ambience, you can download royalty-free assets from Youtube/other websites.
Whether it is a simple melody or city ambience, you can download royalty-free assets from Youtube/other websites.
I'm working on a full (A to Z) AI animation course.
Even if you have zero experience, you will learn to make AI animations in less than 7 days.
Join the waitlist:
forms.gle/no6ta4tZbFKURt…
Even if you have zero experience, you will learn to make AI animations in less than 7 days.
Join the waitlist:
forms.gle/no6ta4tZbFKURt…
• • •
Missing some Tweet in this thread? You can try to
force a refresh


