🧵regarding 'the crimp' and other technical pointers having to do with securing surgical drains with suture.
We'll go over my preferred method, other methods like the Roman sandal, some errors people make, and other factoids.
(1/ )

We'll go over my preferred method, other methods like the Roman sandal, some errors people make, and other factoids.
(1/ )


Drains are usually sewn in with Nylon, for the same reason that the skin is often closed with Nylon: it's minimally reactive. Here I'll mostly use silk, since I have that at the moment.
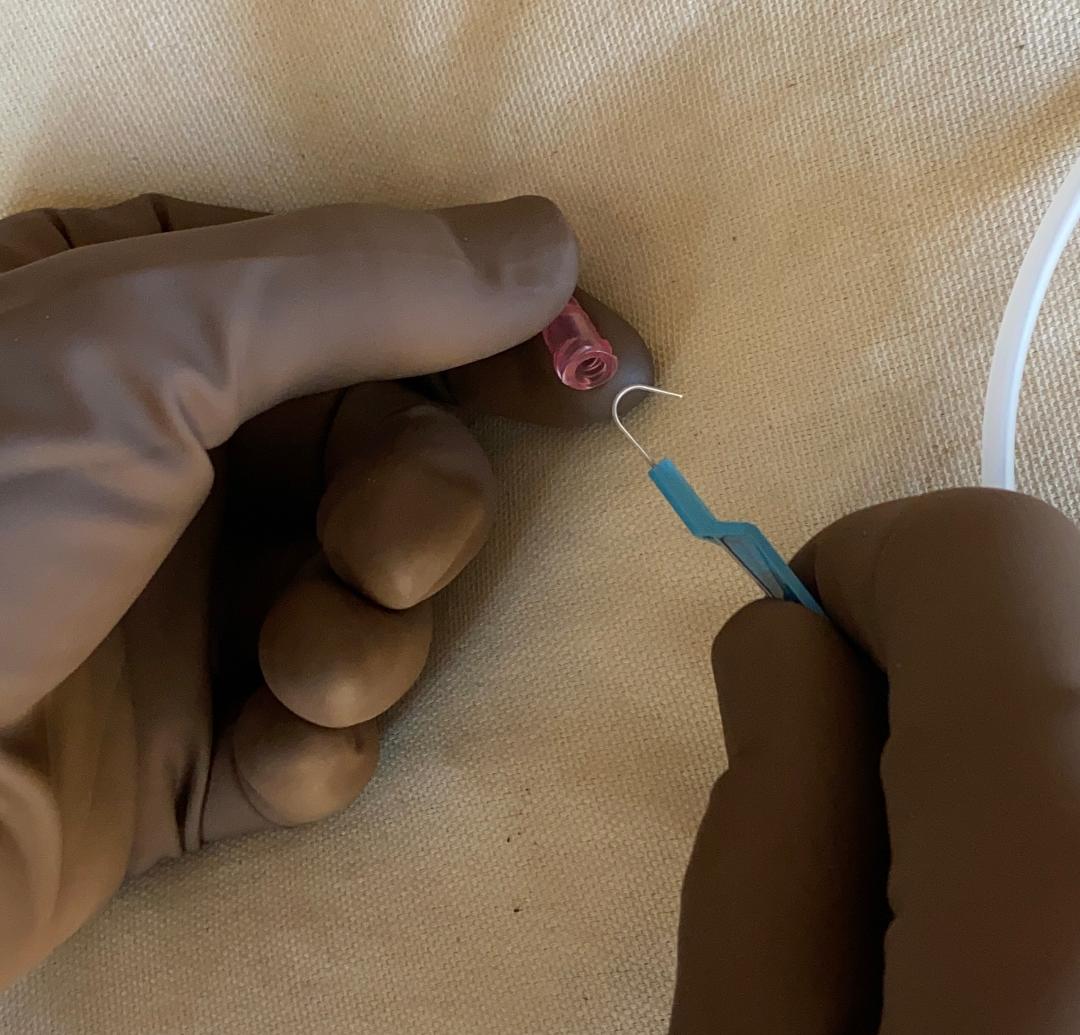
Here I have placed a simple suture and tied the knot, and am ready to fix it to the drain.
Here I have placed a simple suture and tied the knot, and am ready to fix it to the drain.

When placing a 'drain stitch', usually you first tie a few knots down, keeping the 2 threads equally long so you can wrap them around the drain.
Some surgeons leave the knot a little loose (L picture), and others don't (R picture). Leaving it 'loose' is probably less painful.
Some surgeons leave the knot a little loose (L picture), and others don't (R picture). Leaving it 'loose' is probably less painful.


Sometimes a 'tighter' drain stitch is helpful though.
Here the hole in the skin at the drain exit site is a little larger than I would like (L picture).
I can close this down using the drain suture itself (R pictures). I wouldn't be able to do this if I left the knot 'loose'.
Here the hole in the skin at the drain exit site is a little larger than I would like (L picture).
I can close this down using the drain suture itself (R pictures). I wouldn't be able to do this if I left the knot 'loose'.


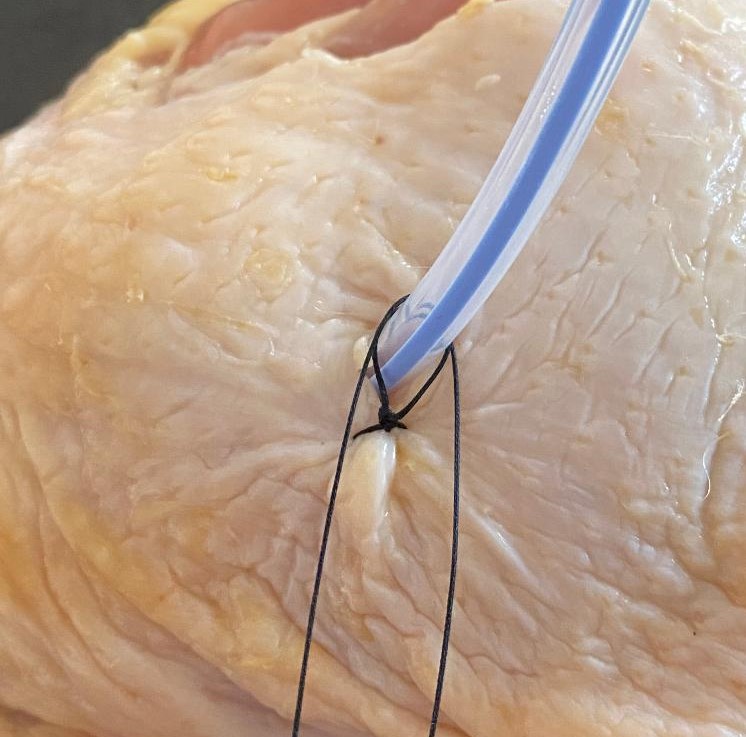
After tying the knot at the skin, wrap the 2 threads around the drain (upper L, then upper R pictures).
Cross the threads (lower L) and tie down to the drain. I prefer a surgeon's knot here to help get the proper tightness (which we'll cover next).
Cross the threads (lower L) and tie down to the drain. I prefer a surgeon's knot here to help get the proper tightness (which we'll cover next).


This is the most important concept in the 🧵.
Here I have tightened the suture so that it 'crimps' the tubing just a little bit. It's enough to hold it securely, but doesn't narrow it too much.
This 'crimping' of the tubing is what I'm trying to do each time I sew it in place.
Here I have tightened the suture so that it 'crimps' the tubing just a little bit. It's enough to hold it securely, but doesn't narrow it too much.
This 'crimping' of the tubing is what I'm trying to do each time I sew it in place.

Here is an example where I have made the 'crimp' too tight. There will now be a narrowed area of the drain.
On the right is Jean Léonard Marie Poiseuille, looking unhappy that I have forgotten that flow is proportional to the radius to the 4th power.
On the right is Jean Léonard Marie Poiseuille, looking unhappy that I have forgotten that flow is proportional to the radius to the 4th power.


Some surgeons like to wrap the strings around the drain many times before tying. I don't have data, but I suspect it's not significantly stronger than wrapping it around once or twice. The overall grip on the tube is (probably) mostly dependent on the tightness of the knot.

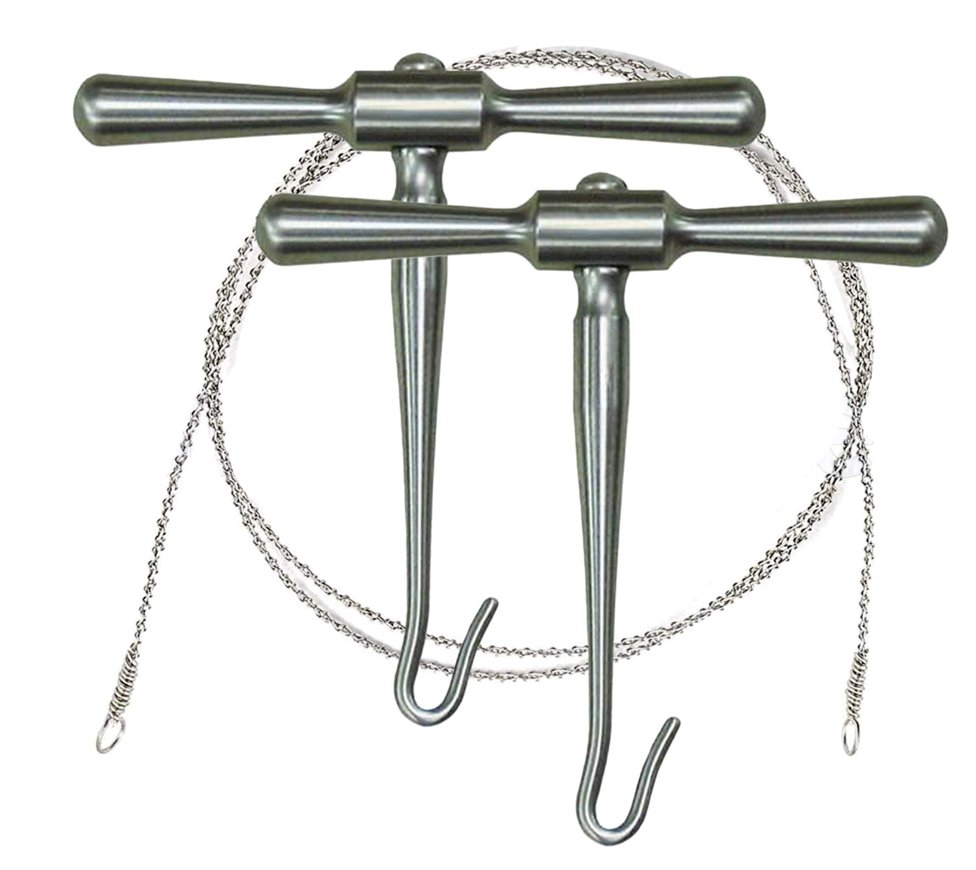
One occasionally sees the 'Roman sandal' method. It is *very* difficult to find 2 descriptions of the Roman sandal that are the same, but basically the two threads are wrapped around the tube as shown.
This may be with (red arrow) or without an extra knot near the bottom.
This may be with (red arrow) or without an extra knot near the bottom.


Proponents of the Roman sandal technique say that when the drain is pulled, the strings will tighten around it, keeping it secure. Some also add the initial suturing procedure seen in the R picture.
Detractors say it's often less secure than a 'conventional' suturing method.
Detractors say it's often less secure than a 'conventional' suturing method.


Many drains have a black mark on the tubing, which lets you know that the 'open' area of the drain is getting close to the surface.
Note that the mark is not exactly at the open area of the drain...there's usually still a bit of a gap there.
Note that the mark is not exactly at the open area of the drain...there's usually still a bit of a gap there.


As you can see in the model, the black mark is out just a little bit, but as long as the mark is not out too far, the drain might still work.
Here I am alternately blowing air and suctioning, and because the 'open' part of the drain is under water, it still works (for now).
Here I am alternately blowing air and suctioning, and because the 'open' part of the drain is under water, it still works (for now).
When a resident is placing the drain suture, it's common for the attending to say something like "don't sew the drain in".
Here I have grabbed the edge of the drain with the needle. It's easier than you think to do this.
Here I have grabbed the edge of the drain with the needle. It's easier than you think to do this.

A common error is to leave the skin stitch too loose, as I've done here. This lets the drain move in and out like a piston.
Aside from this being less secure, it also can lead to local infection as the contaminated drain frequently pushes into the subcutaneous tissue.
Aside from this being less secure, it also can lead to local infection as the contaminated drain frequently pushes into the subcutaneous tissue.
There are other suture methods, or adhesive pads, like IR uses, or like the ones used to secure a Foley. Those are beyond the scope here.
I'll leave you with another example of the 'crimping' of the tubing that keeps it securely in place without narrowing it too much.
⬛️
I'll leave you with another example of the 'crimping' of the tubing that keeps it securely in place without narrowing it too much.
⬛️

• • •
Missing some Tweet in this thread? You can try to
force a refresh