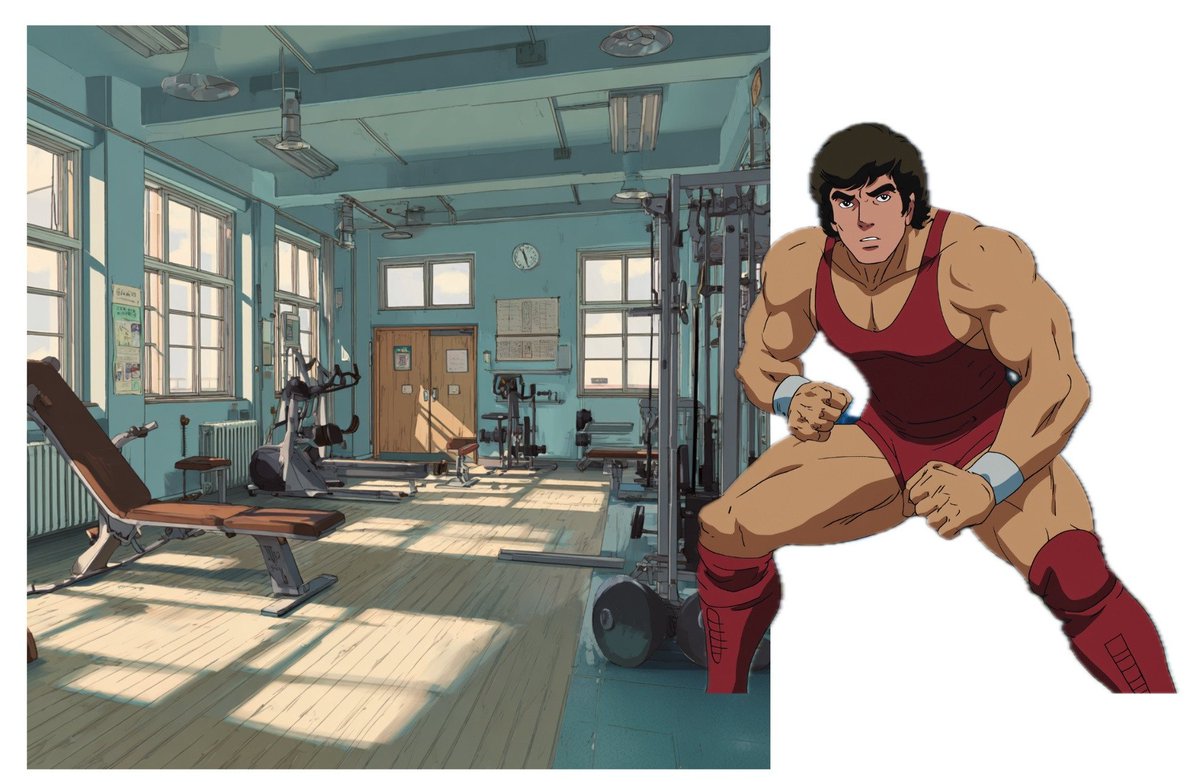
Create lovely animations using CapCut and Domo AI.
It's way easier than you think.
These are the 7 steps you should follow 👇
It's way easier than you think.
These are the 7 steps you should follow 👇
First, generate a background.
I fed Midjourney with this prompt:
8-bit pixel art, forest background with tall trees, side view, game assets, seamless. The art is in the style of a 8-bit pixel forest background with tall trees seen from the side, intended for use as game assets in a seamless repeating pattern.
Use a 2:1 resolution.

Second, find a walking green screen character animation on YouTube (even if the background is not green, you can still remove it).
Use @DomoAI_ to apply an anime filter.
Use @DomoAI_ to apply an anime filter.
Applying an anime filter to your selected video is really easy and quick.
Just follow the instructions in the post below.
Repeat the process for the dog animation.
Just follow the instructions in the post below.
Repeat the process for the dog animation.
https://twitter.com/0xFramer/status/1788987924291400188
Then, you need to crop some trees that we will use for foreground movement.
Instead of Photoshop, you can use online alternative GifGit
1. Upload the picture
2. Select Tools > Selection Tools > Polygon Lasso Tool, mark the tree.
3. Then press Select > Invert
4. Then Edit > Cut
Cool! Now your the tree is masked out.
Download it as PNG file.
Repeat it for other tree.gifgit.com/image/brush-to…
At this point, you should have a background image, two trees, and two videos with anime filters applied.
It's time to put everything together.
Go to CapCut website and download a PC app.
Import the files.
It's time to put everything together.
Go to CapCut website and download a PC app.
Import the files.
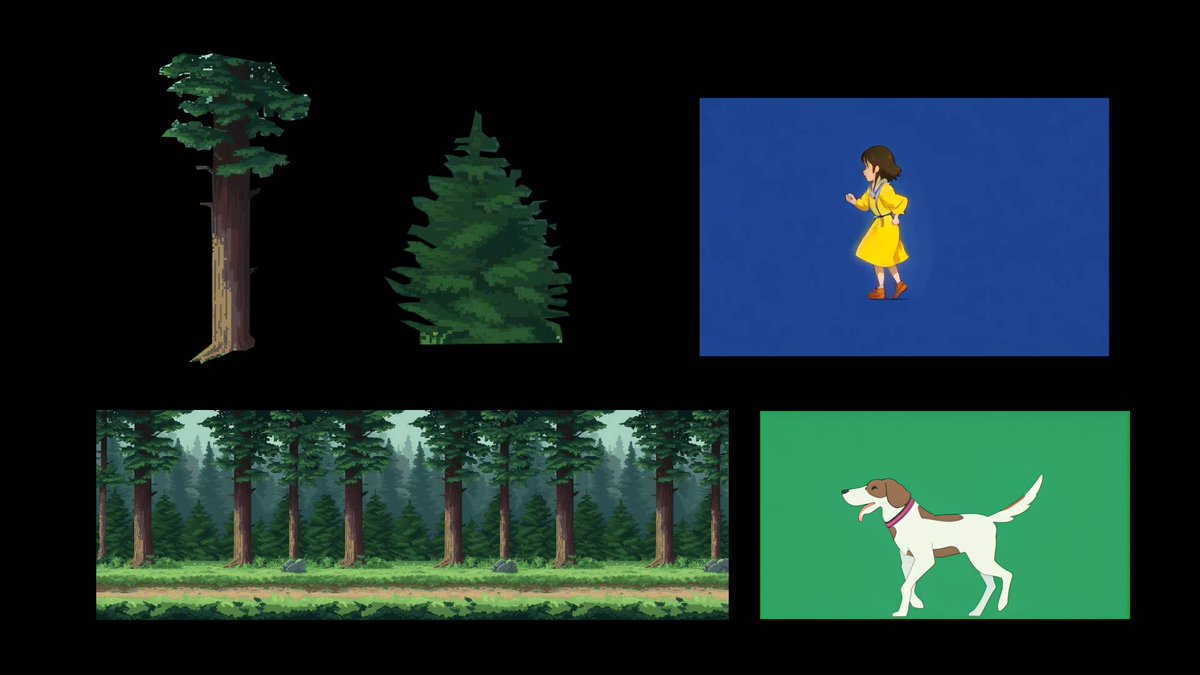
Then:
1. Place the background file on the timeline and ensure Canva's resolution is 1:1.
2. Move the playhead to the start of the timeline.
3. Ensure the background layer is selected and activate the position checkbox on the right panel.
4. Then, move the playhead to the 12s mark. Slide the background layer to the desired finish position.
5. You have just created a position keyframe and made the background move, congrats!
P.S. You can place the position keyframe earlier or later, it will make the background slide faster/slower.
Continue by placing the girl on top of the background layer.
On the right panel, press “Cutout”, select Chroma Key, and use the eye-dropper tool to select the video background color.
Then increase the strength to 20-30% (don't use too much strength as it might remove some parts of your main object)
Make the running girl look appropriate by resizing her and placing her at the center of the composition.
Repeat the process with a dog video.
Also, don't forget to duplicate these character layers if they end before your animation ends.
Great, we're more than halfway there, let's add some cool touches!
Import tree layers, place the first one on the timeline above all other layers.
Place it outside the canvas on the left side.
Activate the Position keyframe, then move the playhead 4 seconds forward.
Move the tree layer to the right, outside of the canvas again.
That’s how you can create foreground movement when the object is closest to the viewer’s perspective.
Repeat it with the second tree.
Now, let's create a rain effect.
Find and download the green screen video from YouTube, resize it, apply the chroma key, and set the correct strength.
Ensure that the rain layer is placed below the tree layers.
Find and download the green screen video from YouTube, resize it, apply the chroma key, and set the correct strength.
Ensure that the rain layer is placed below the tree layers.
Finally, apply the sound effects.
I used the forest ambiance and running sound effect.
Ensure the running sound speed matches the girl's running animation.
You can adjust the speed in the right panel.
I used the forest ambiance and running sound effect.
Ensure the running sound speed matches the girl's running animation.
You can adjust the speed in the right panel.
This is it, that's how it's done!
Did you enjoy this tutorial?
I'm making plenty more, so don't miss out and make sure you follow me! 🫶
Did you enjoy this tutorial?
I'm making plenty more, so don't miss out and make sure you follow me! 🫶
Also, I'm running a blitz 24-hour sale on my AI Animation course!
Use the code FLASH25 at checkout.
It ends very soon, so hurry up! 🤠
framermotion.com
Use the code FLASH25 at checkout.
It ends very soon, so hurry up! 🤠
framermotion.com
• • •
Missing some Tweet in this thread? You can try to
force a refresh


