“Pippen and The Magic Lamp” 🫖
I created this fun Claymation short in just 7 hours.
Surprisingly, it was much easier than I expected.
Here’s what I did 🫳
I created this fun Claymation short in just 7 hours.
Surprisingly, it was much easier than I expected.
Here’s what I did 🫳
Context:
Everything I have ever created was mainly one-scene animations. It’s fun to make, and you guys love it. However, it has become my comfort zone.
So, I wanted to create something that would address the two main AI filmmaking problems: consistency and motion control.
Everything I have ever created was mainly one-scene animations. It’s fun to make, and you guys love it. However, it has become my comfort zone.
So, I wanted to create something that would address the two main AI filmmaking problems: consistency and motion control.
Have I used any image-to-video tools like Luma or Gen-3?
Nope. You don’t have motion control there yet.
That is why I used a combination of 4 simple AI tools
As with all my other workflows, this one is also beginner-friendly. There was no Blender, ComfyUI, or SD used.
Nope. You don’t have motion control there yet.
That is why I used a combination of 4 simple AI tools
As with all my other workflows, this one is also beginner-friendly. There was no Blender, ComfyUI, or SD used.

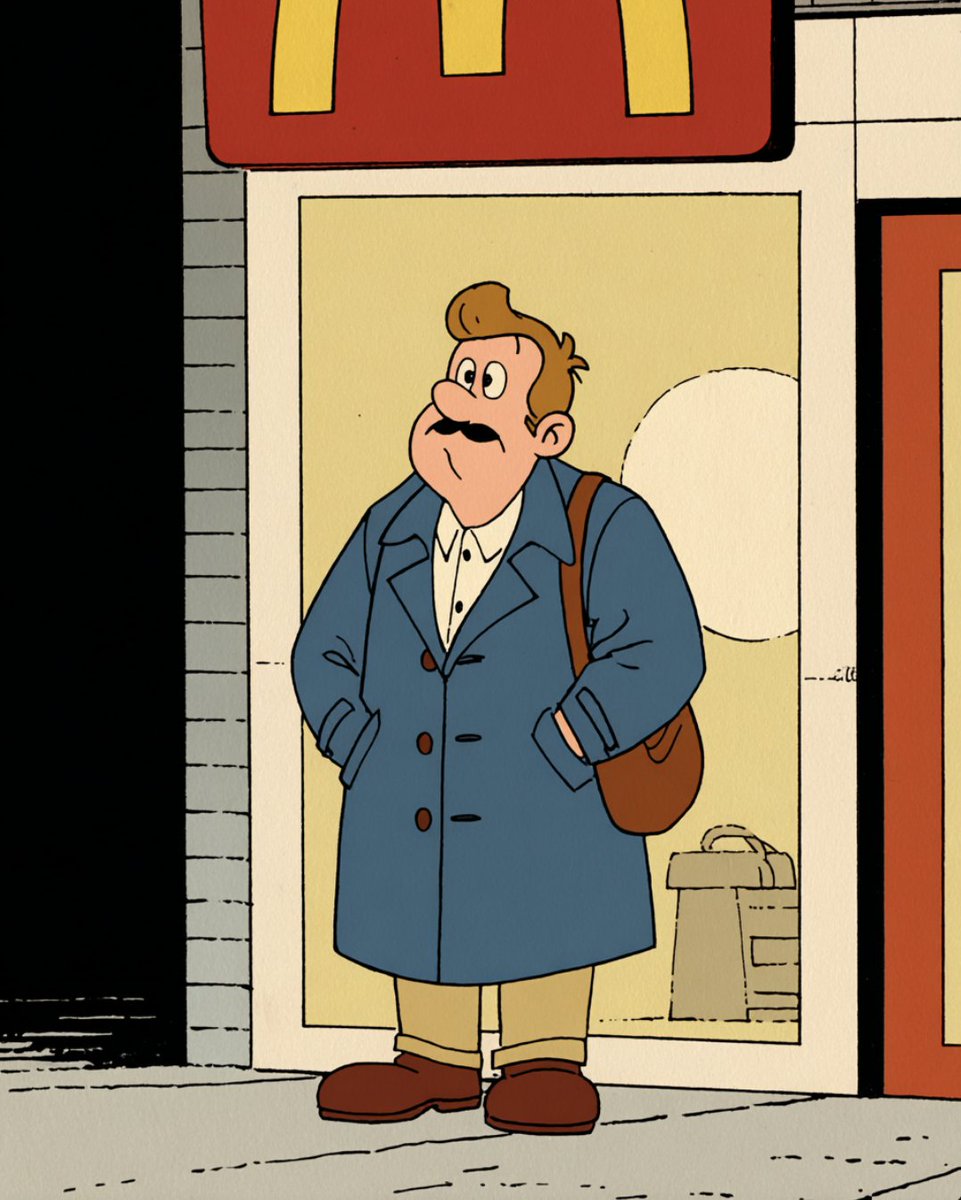
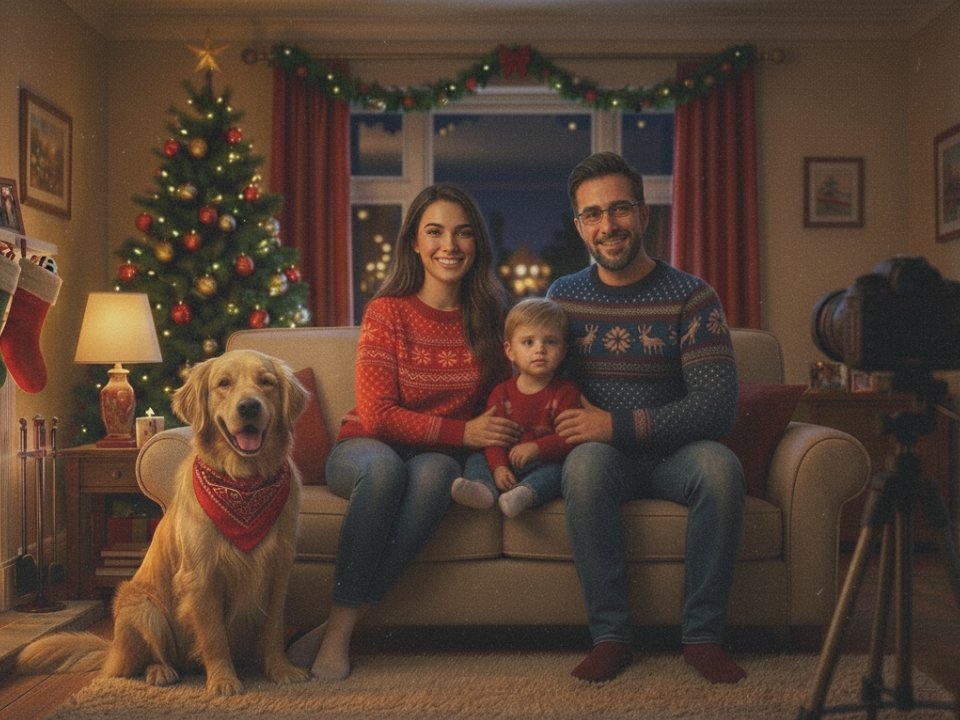
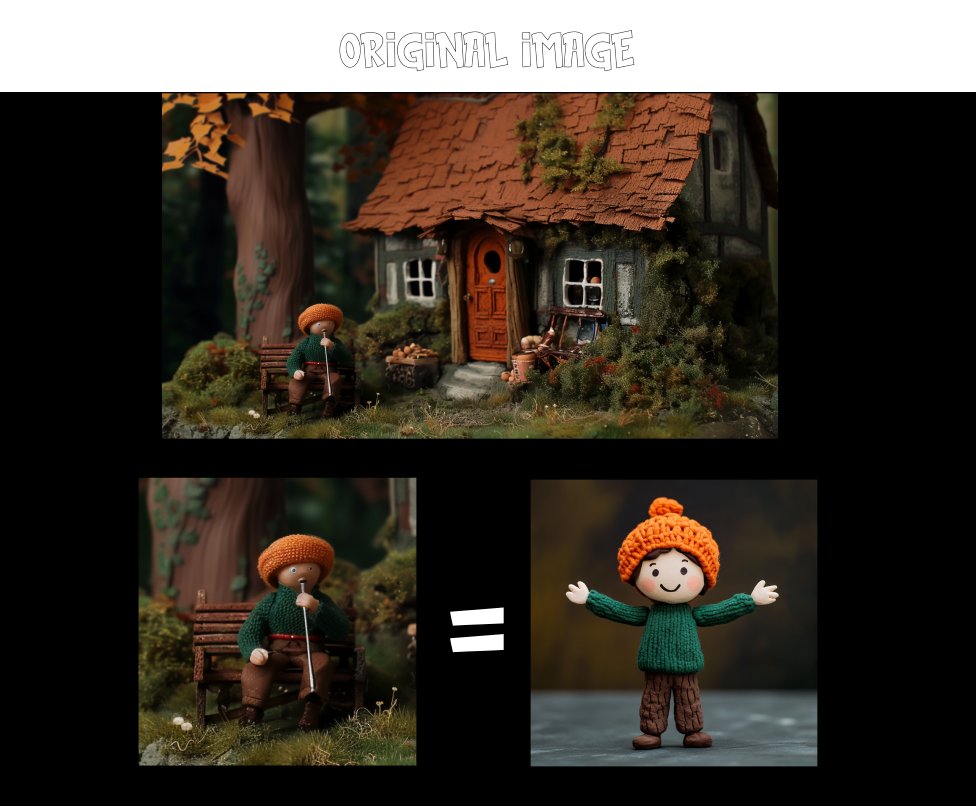
I started by generating the Midjourney picture below.
To have full control over the character, I needed to get him into a T-pose first.
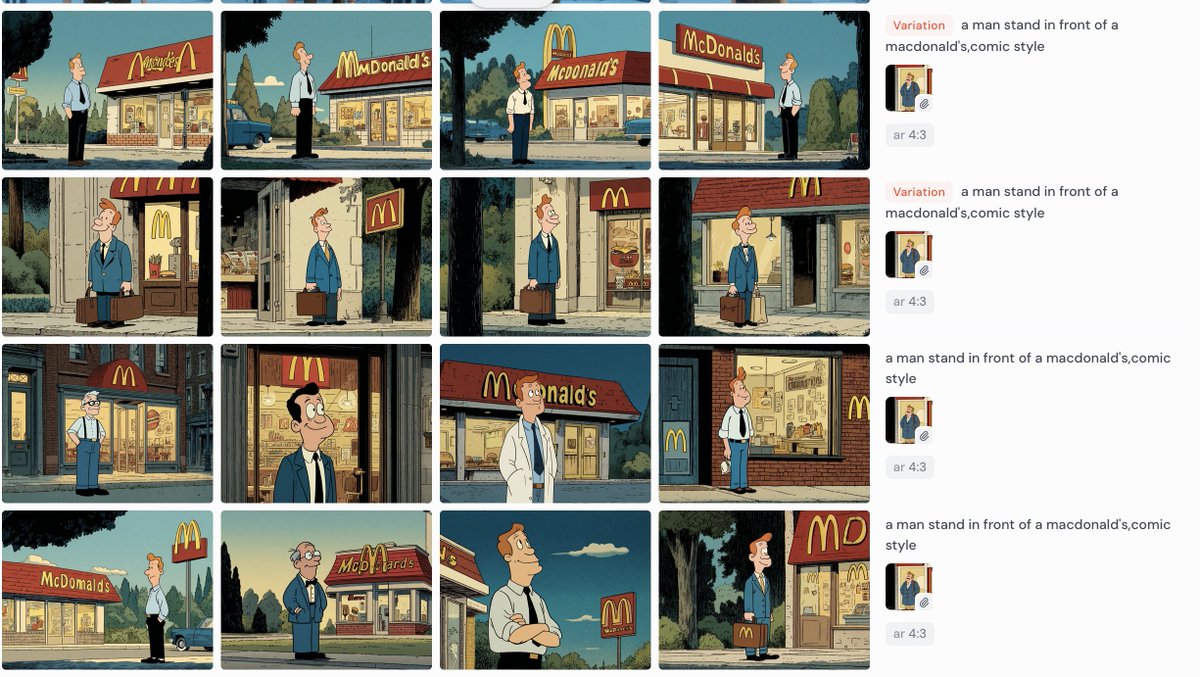
So, I cut him out and used Midjourney’s /describe function to generate a similar character.
To have full control over the character, I needed to get him into a T-pose first.
So, I cut him out and used Midjourney’s /describe function to generate a similar character.
Then, I uploaded characters pic to MeshyAI and generated a free 3D model in just a few minutes.
Downloaded it as an .fbx file.
Downloaded it as an .fbx file.
After that, I uploaded the model to Mixamo, a free 3D character animation library
Selected a “Stand Up” animation.
I chose an angle that would match my background scene and simply screen-recorded the animation video mixamo.com
Selected a “Stand Up” animation.
I chose an angle that would match my background scene and simply screen-recorded the animation video mixamo.com
To improve the quality of the character and give it a clay style, I used a video-to-video tool called @GoEnhance
They have an amazing Claymation filter.
They have an amazing Claymation filter.
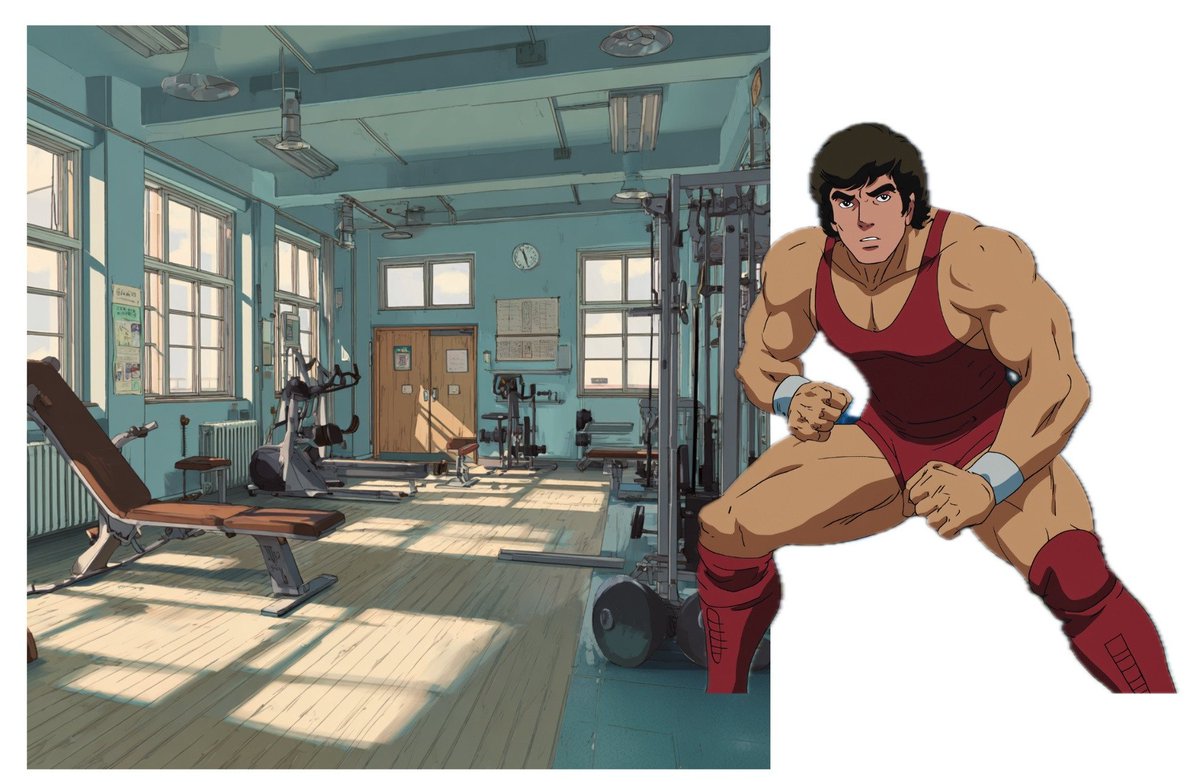
Then, removed the background using Runway’s Remove Background tool
Placed the character on top of my Midjourney picture (removed the OG static character with Photoshop’s Generative Fill).
Placed the character on top of my Midjourney picture (removed the OG static character with Photoshop’s Generative Fill).
I simply repeated this workflow for all the scenes.
However, you might be wondering how I created scenes #3 and #4, where the camera angles are ground-level and over-the-shoulder?
However, you might be wondering how I created scenes #3 and #4, where the camera angles are ground-level and over-the-shoulder?
For the character, I just changed the camera angle in Mixamo while keeping the same animation I used in the previous scene (“Looking Down”).
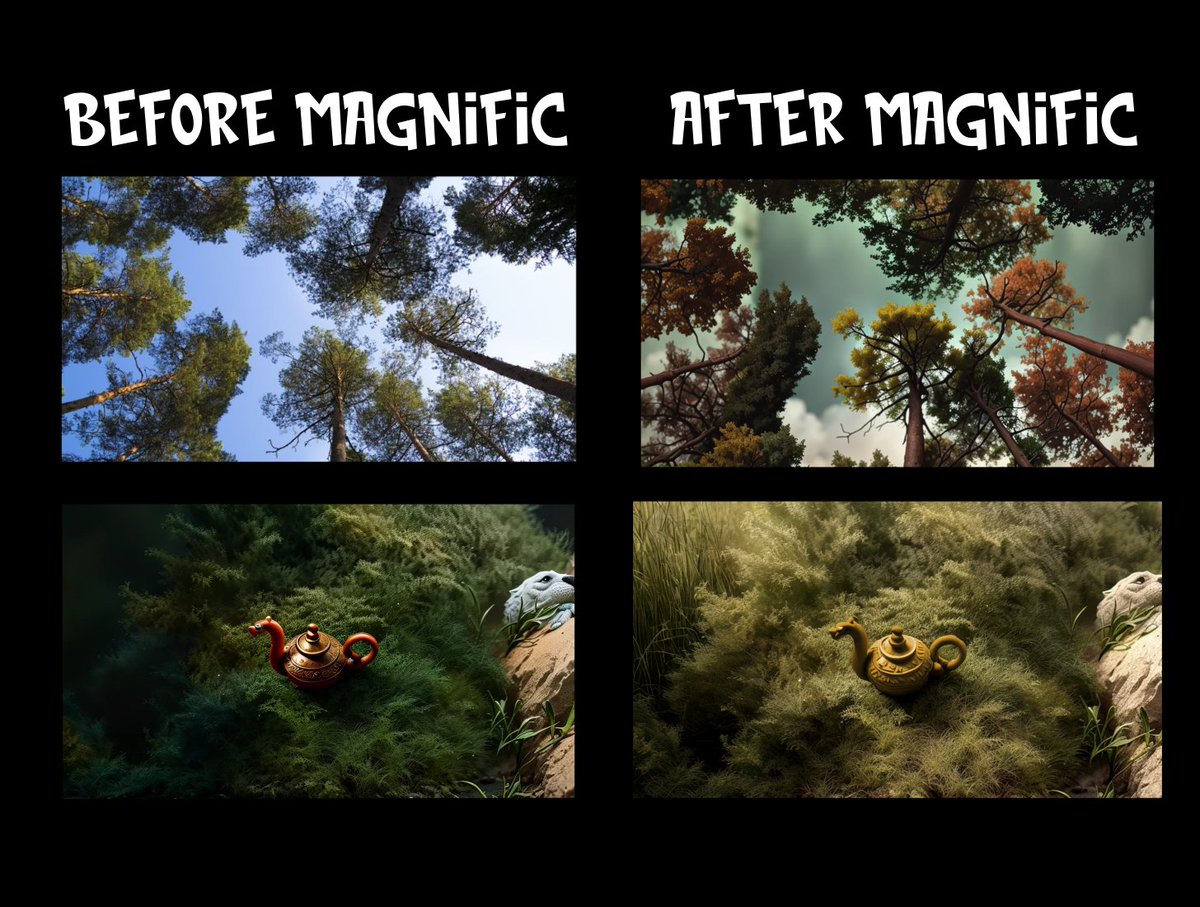
For the BG, I selected pictures that would logically represent the environment from these camera angles.
Then, I used Magnific’s Style Transfer tool.
It took some time to find the right reference pictures and settings, but if you love the process, it’s not that hard, right?:)
Then, I used Magnific’s Style Transfer tool.
It took some time to find the right reference pictures and settings, but if you love the process, it’s not that hard, right?:)
I used After Effects to assemble everything, but you can easily achieve the same results with Filmora (but not CapCut, bc you cant draw a mask there lol).
Mind that character, environment, and style consistency are not enough - the brightness and contrast of the assets need to match as well.
For this, I used the Hue/Saturation tool in After Effects.
Made small adjustments to most of the assets to ensure they blended with BG
For this, I used the Hue/Saturation tool in After Effects.
Made small adjustments to most of the assets to ensure they blended with BG
For assets like the bird, sheep, and poof animation, I used green screens from YouTube and transformed them into a clay style using GoEnhance.
Finally, I downloaded music and sound effects (also YouTube).
For the characters' murmuring sounds, I simply recorded myself.:))
It took about 5 minutes but added a lot of life to the animation overall.
For the characters' murmuring sounds, I simply recorded myself.:))
It took about 5 minutes but added a lot of life to the animation overall.

This is it. It’s not rocket science, and you don’t need complex tools to achieve it.
I think, in the future, people consuming video content won’t care whether its AI or not.
What will matter most is the story quality and scene consistency.
Do you agree? Share your thoughts!
I think, in the future, people consuming video content won’t care whether its AI or not.
What will matter most is the story quality and scene consistency.
Do you agree? Share your thoughts!
• • •
Missing some Tweet in this thread? You can try to
force a refresh