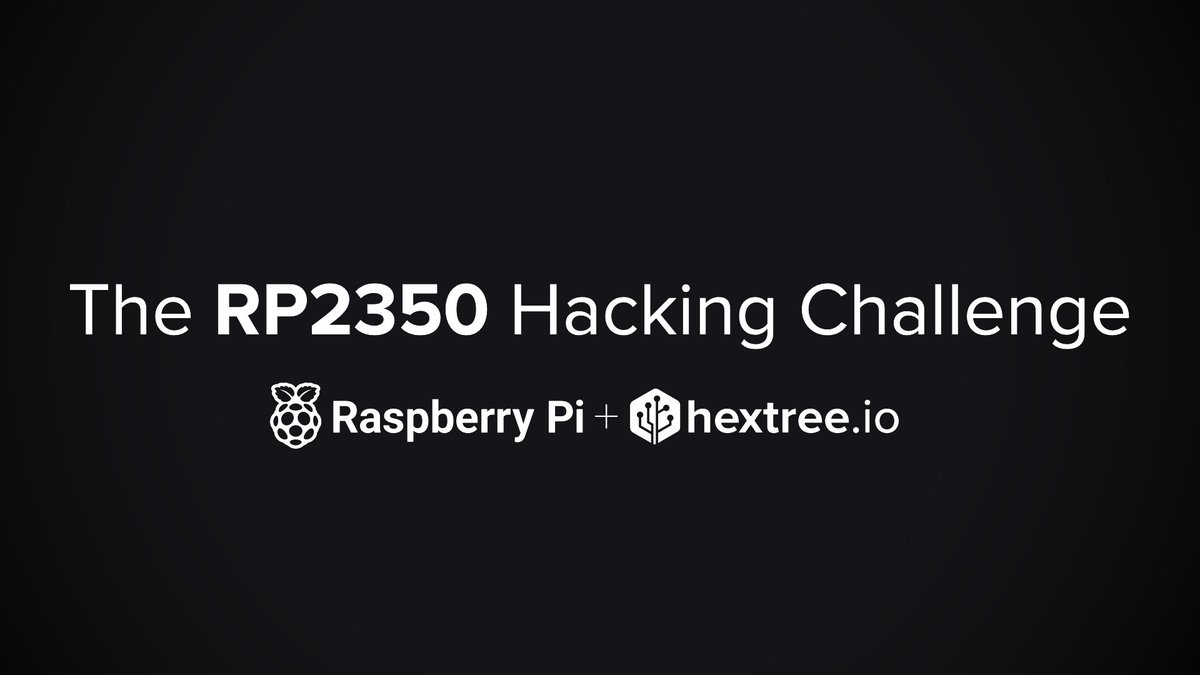
Let's talk about some of the security features of the new @Raspberry_Pi RP2350, because they are 🔥🧵
1.) Glitch Detectors
The RP2350 has 4 embedded glitch detectors, with configurable sensitivity. These will respond to voltage & EM fault-injection attempts, and reset the chip.
In our testing we found that they are quite effective at capturing most glitches.
The RP2350 has 4 embedded glitch detectors, with configurable sensitivity. These will respond to voltage & EM fault-injection attempts, and reset the chip.
In our testing we found that they are quite effective at capturing most glitches.

2.) The RCP - Redundancy Coprocessor
The RCP protects the bootrom against fault-injection (and other) attacks by generating randomized stack canaries (in hardware!), providing boolean value validation based on bit-patterns, etc.
The RCP protects the bootrom against fault-injection (and other) attacks by generating randomized stack canaries (in hardware!), providing boolean value validation based on bit-patterns, etc.

3.) Secure Boot
RP2350 has secure-boot - firmware can be signed using ECC, and the device comes with 4 key-slots. You can still use the USB bootloader together with secure-boot, making it super easy to use.
RP2350 has secure-boot - firmware can be signed using ECC, and the device comes with 4 key-slots. You can still use the USB bootloader together with secure-boot, making it super easy to use.
4.) TrustZone-M
The RP2350 is a Cortex-M33 - featuring TrustZone-M to split the device into "Secure" and "Non-secure". Peripherals, OTP, etc. can be set to be only available in secure world, allowing nice privilege separation.
The RP2350 is a Cortex-M33 - featuring TrustZone-M to split the device into "Secure" and "Non-secure". Peripherals, OTP, etc. can be set to be only available in secure world, allowing nice privilege separation.
5.) Debug protection
The debug interface of the chip can be permanently disabled - or locked by a 128-bit debug key.
The debug interface of the chip can be permanently disabled - or locked by a 128-bit debug key.
6.) OTP protections
The chip has a large (8kB) OTP, which can even hold a small bootloader. It comes with protections such as page lock (and additional sw locks). I.e. an early-stage bootloader can have access to secrets, while later code (even in "Secure" mode) can't acces it!
The chip has a large (8kB) OTP, which can even hold a small bootloader. It comes with protections such as page lock (and additional sw locks). I.e. an early-stage bootloader can have access to secrets, while later code (even in "Secure" mode) can't acces it!
We (@hextreeio) even worked with Raspberry Pi on the RP2350 Security Playground board - it allows you to play & test with all of these features, going as far as telling you exactly how to glitch it!
Find us at @defcon in the @EmbeddedVillage to play with it!
Find us at @defcon in the @EmbeddedVillage to play with it!


We are also running the RP2350 Hacking Challenge: If you manage to hack the RP2350 you can win $10,000!
hextree.io/rp2350-hacking…
hextree.io/rp2350-hacking…
• • •
Missing some Tweet in this thread? You can try to
force a refresh