Easy "anyone can do with minimal effort" Retro-brighting tutorial:
I have been asked many times how I retro-bright things, so I wanted to share the method I used, that's very simple, requires no special tech and gives fantastic results.
(Use relevant PPE, gloves etc.)
Thread:
I have been asked many times how I retro-bright things, so I wanted to share the method I used, that's very simple, requires no special tech and gives fantastic results.
(Use relevant PPE, gloves etc.)
Thread:

All you need to purchase is:
1️⃣ Cling Flim / Saran Wrap
2️⃣ 12% Hair Blonding Peroxide Cream, I use JEROME RUSSELL Bblonde (40 Vol)
I do this inside my house, so a window sill out of the way that you can leave something on for a while is recommended.
1️⃣ Cling Flim / Saran Wrap
2️⃣ 12% Hair Blonding Peroxide Cream, I use JEROME RUSSELL Bblonde (40 Vol)
I do this inside my house, so a window sill out of the way that you can leave something on for a while is recommended.

Step 1:
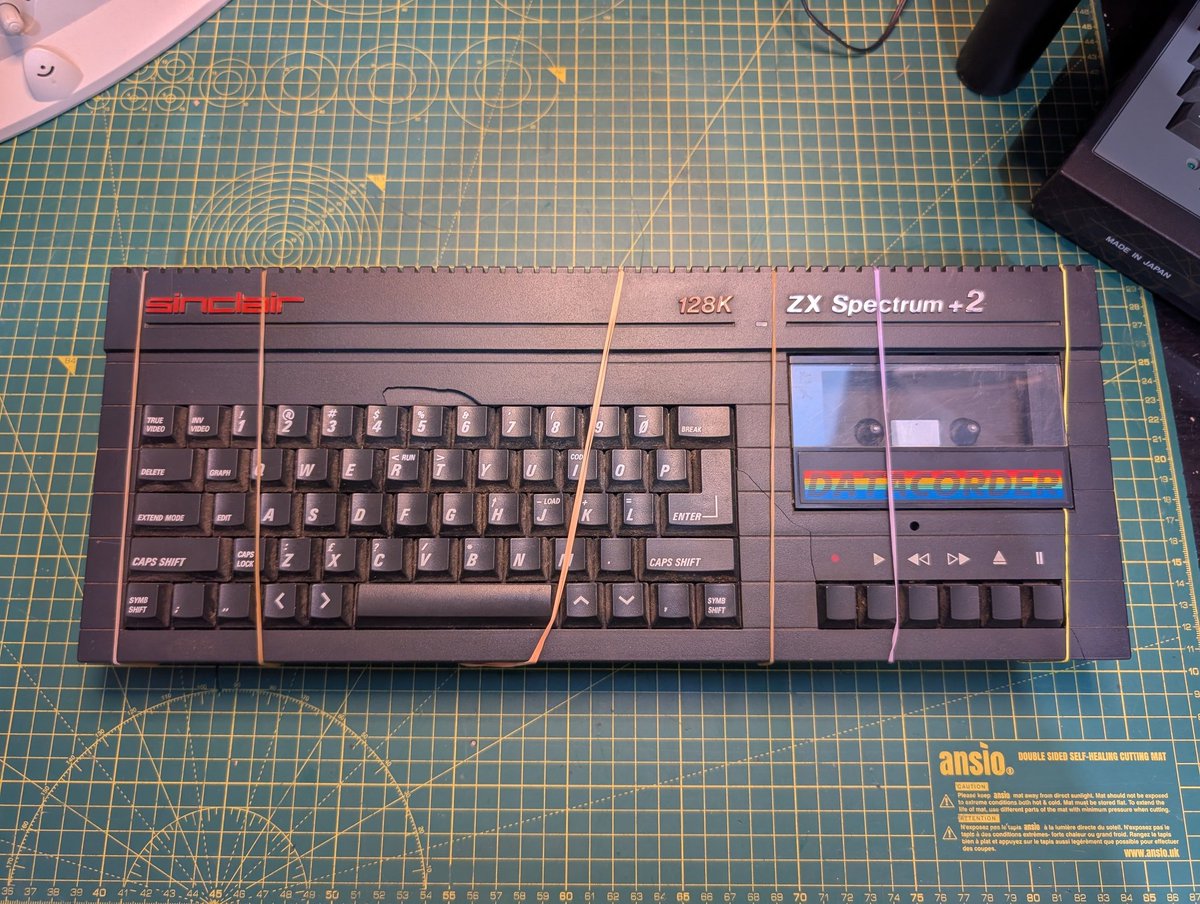
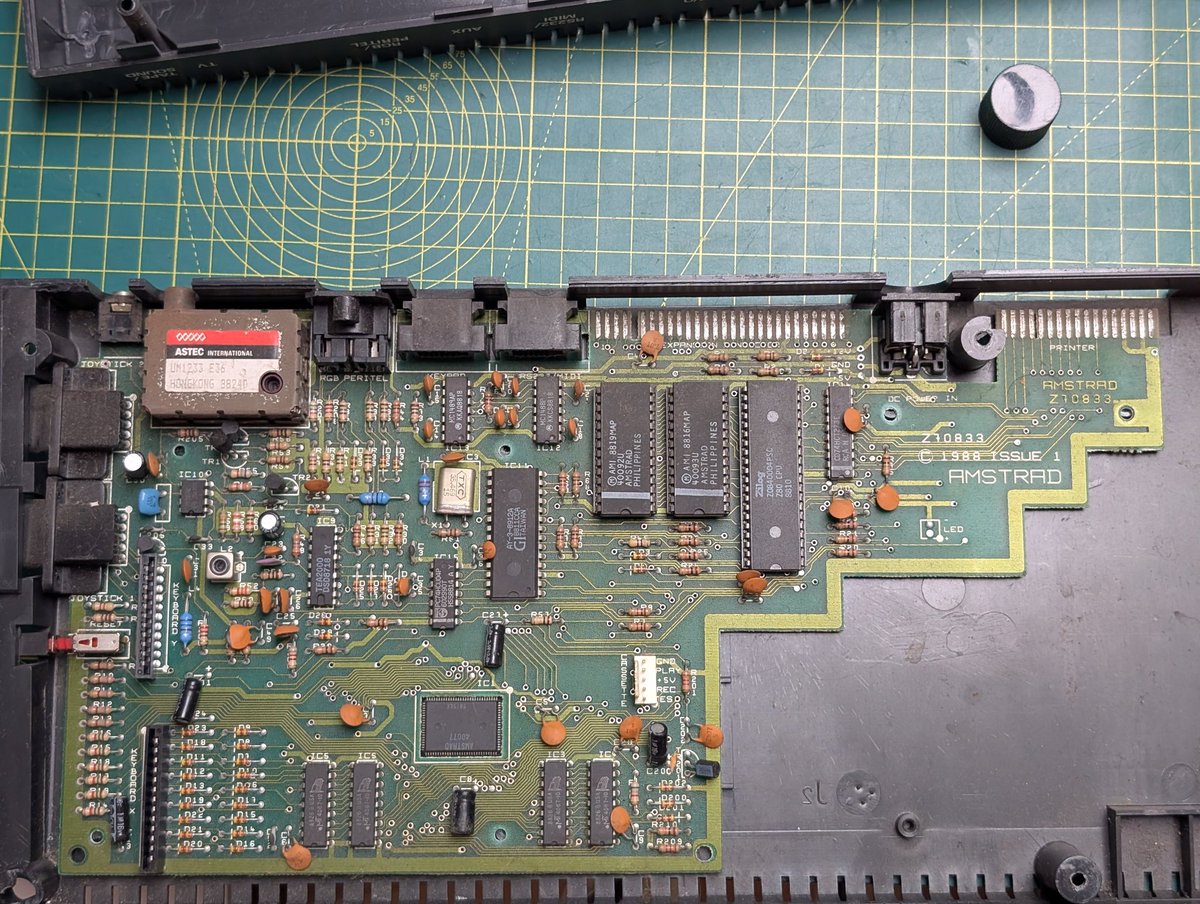
Dismantle the item that you want to retro-bright, it's important that you remove electronic components and are left with the outer shell only. 🪛
Dismantle the item that you want to retro-bright, it's important that you remove electronic components and are left with the outer shell only. 🪛
Step 2: Thoroughly clean the item, use a sponge, brush and give it a very good clean with warm water and a degreaser like Fairy Liquid. You want the surface to be as clean as possible and leave no debris and any dirt on the surface. 🪥🫧
Step 3: Dry the item out completely, if you're in a rush you can use a hairdryer and on a lower heat to speed the drying process. Be careful not to use too much heat and accidentally melt the item.

Step 4: Lay out your Cling Film / Seran Wrap on a flat surface and put your item on it. Brush the Peroxide cream on as evenly as possible, a paint brush is a good tool to use. Then once done, gently fold the film / wrap other the item, scrunch the edges, so it's sealed.

Step 5: I add white paper underneath my items as it will reflect like up. Place in direct sunlight and wait for the brighting process to start. It can take a few days or more depending on how much Sun you get.
The effect is evened out as you get peroxide vapor inside the wrap.
The effect is evened out as you get peroxide vapor inside the wrap.

Step 6: Once you can see the brightening process has got as far as you need, wash the items, dry out again and then reassemble.
I'd recommend using latex gloves (unless you want bleached hands) and some kind of eye protection 🥽, it can get splashy!
I'd recommend using latex gloves (unless you want bleached hands) and some kind of eye protection 🥽, it can get splashy!
Extra notes:
If you try this out, it's at your own risk!, it could weaken the plastic and is not recommended on already brittle plastic.
I'd advise to start on something small and experiment.
Here's some additional reading on why some plastics yellow: en.m.wikipedia.org/wiki/Retrobrig…
If you try this out, it's at your own risk!, it could weaken the plastic and is not recommended on already brittle plastic.
I'd advise to start on something small and experiment.
Here's some additional reading on why some plastics yellow: en.m.wikipedia.org/wiki/Retrobrig…
• • •
Missing some Tweet in this thread? You can try to
force a refresh