New thread:
Nintendo Gameboy DMG-01 Refurb(s).
GB No1 Left - Works sometimes, no buttons are working (apart from the power switch). Needs a clean and a new screen lens.
GB No2 Right - Screen issues. Needs a clean and a new screen lens.
Nintendo Gameboy DMG-01 Refurb(s).
GB No1 Left - Works sometimes, no buttons are working (apart from the power switch). Needs a clean and a new screen lens.
GB No2 Right - Screen issues. Needs a clean and a new screen lens.

GB No1 - I've confirmed the issue with the buttons, also cleaned the cart slot, that seems to have fixed the inconsistent cart loading. I've opened it up and you can see exactly what's up with the buttons straight away, can you spot the problem?

Yep, it has a crack and it goes through to the top button layer.

To test that it's the issue, the best way I thought would be to put a 0.5mm spacer on the screw hole, put a screw back and another screw adjacent - pushing the board together.
Well it's proven the issue (not good news, but hey, I like fixing stuff!):
Well it's proven the issue (not good news, but hey, I like fixing stuff!):
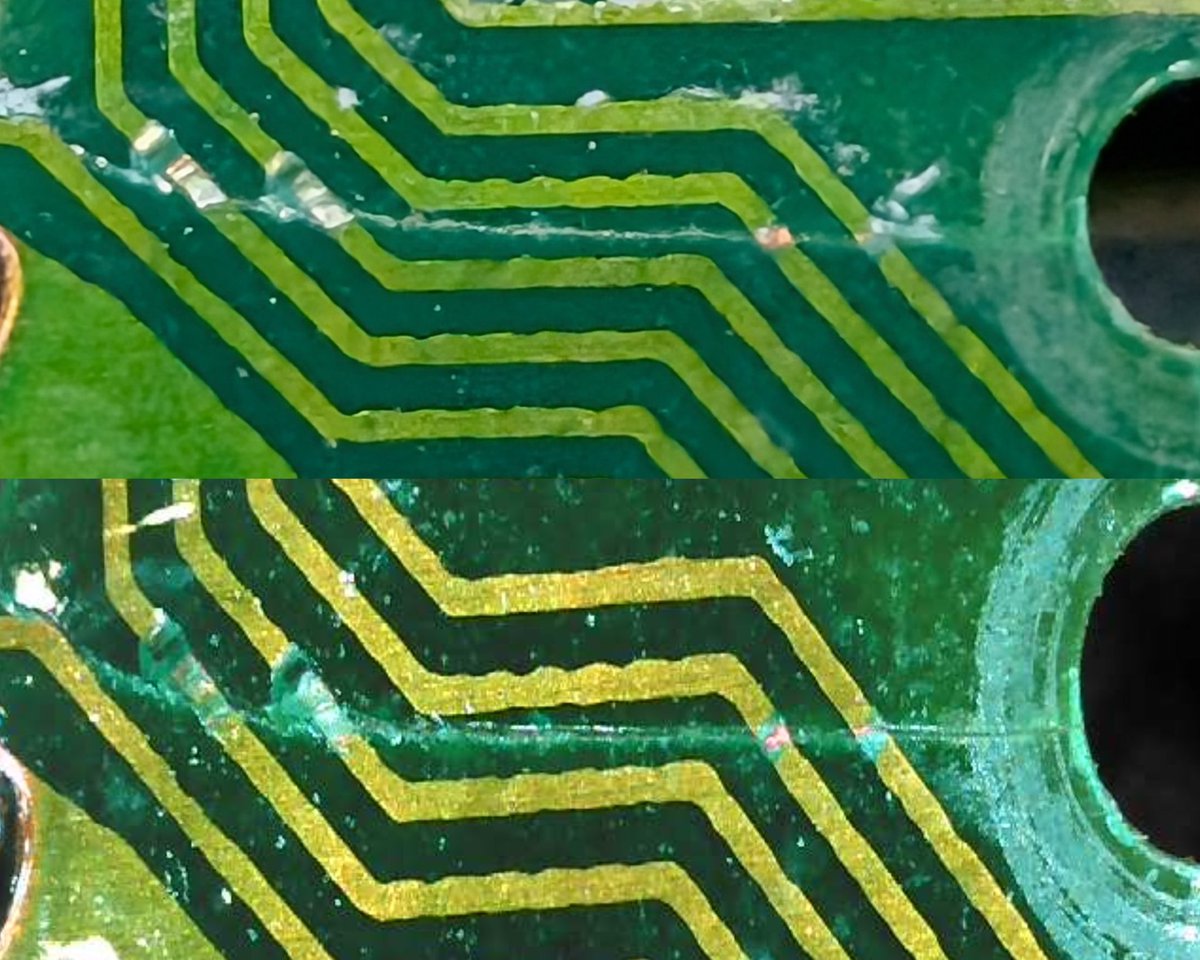
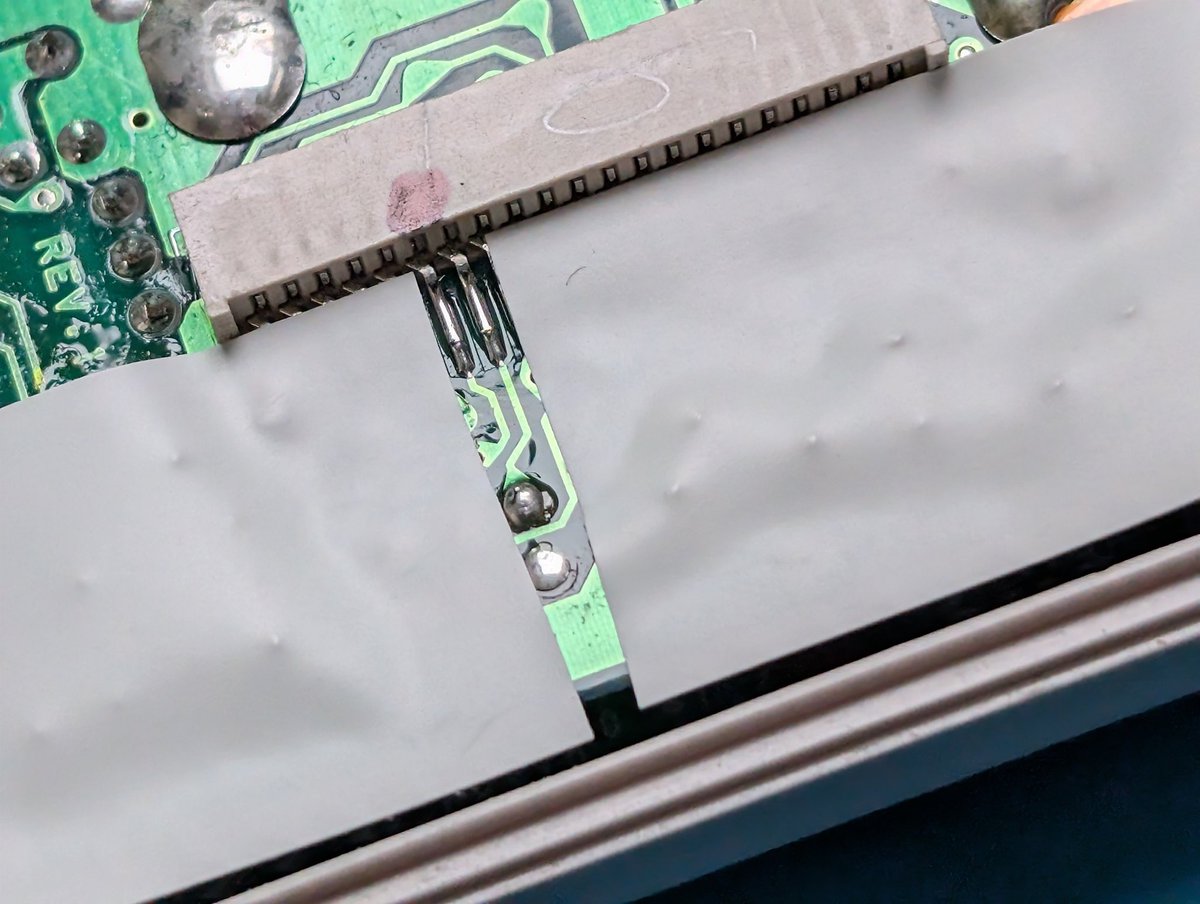
Here's the front PCB crack damage:
Top photo taken using a Pixel 9 Pro XL and my shaky hands
/
Bottom photo taken with a soldering microscope.
😆
Top photo taken using a Pixel 9 Pro XL and my shaky hands
/
Bottom photo taken with a soldering microscope.
😆
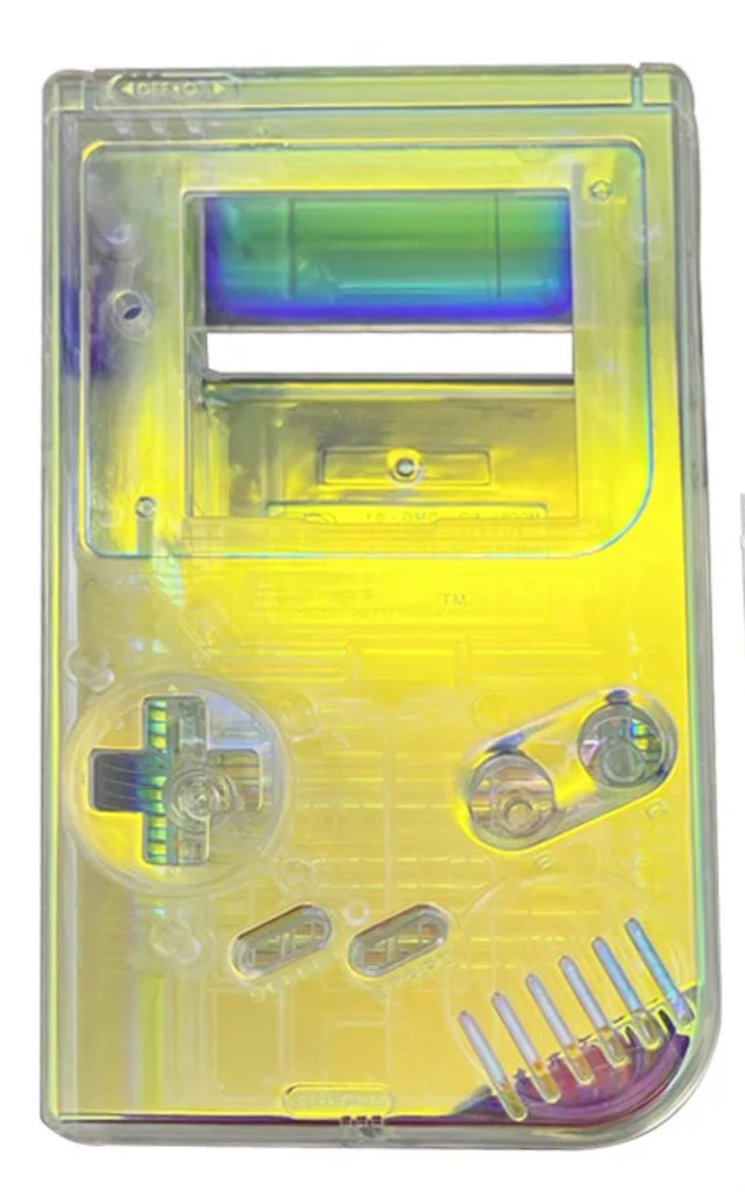
I've decided to keep one of my Gameboy's complete stock, as I like to have working examples of original hardware. The second one I'm going to re-shell (funky transparent with a gold mirror finish), add a backlight and do a bivert mod.
GB No2 has arrived, apart from the lens being missing, which is an easy fix, the cosmetic condition, once cleaned will be fantastic, I just need to sort the screen issues out - shouldn't be too hard. 👍

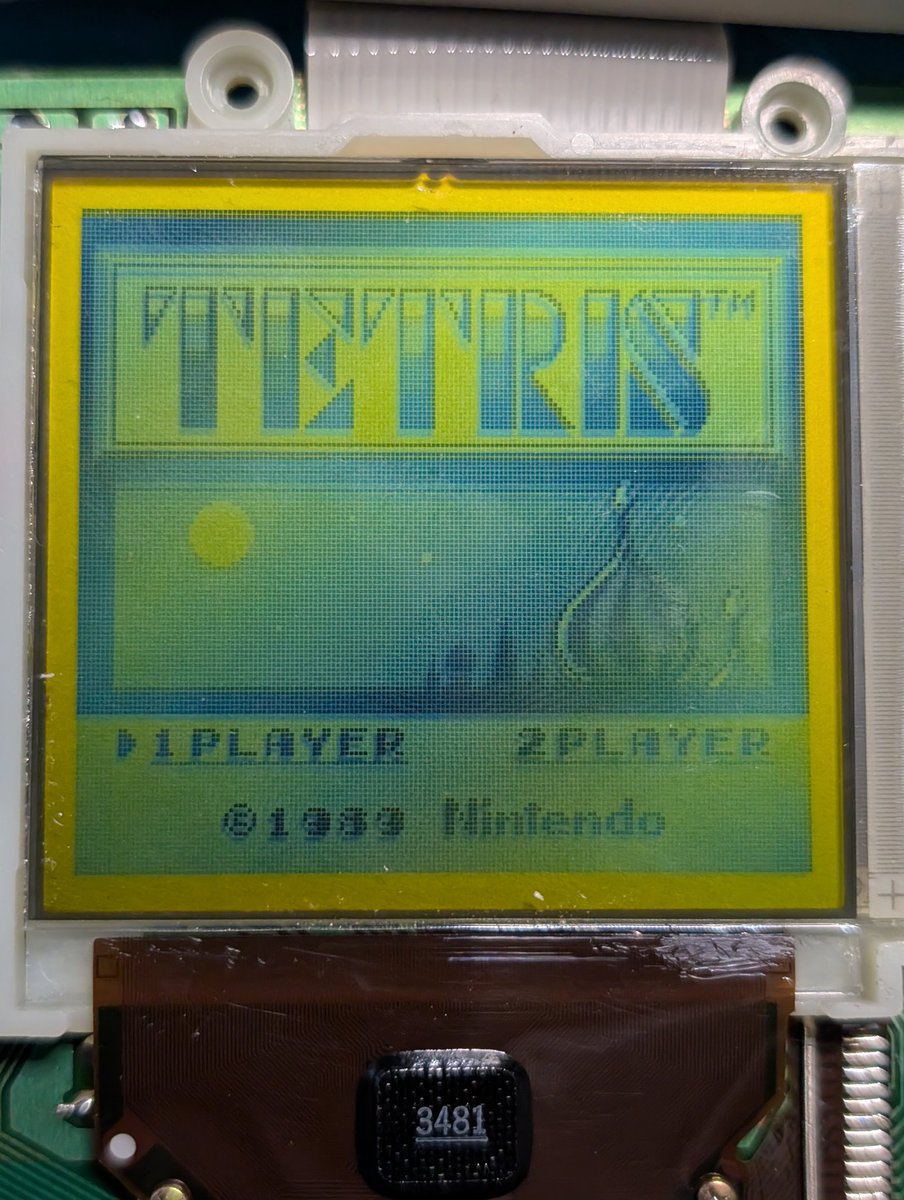
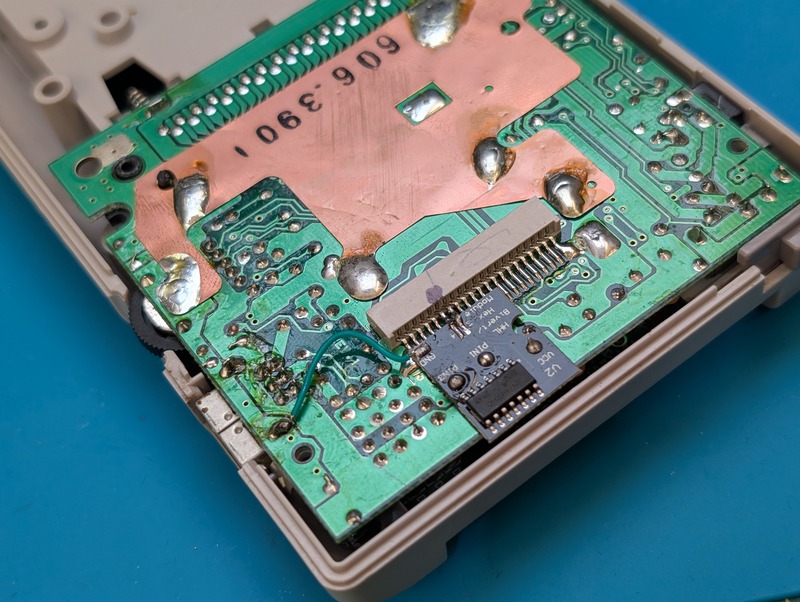
GB No2 Screen repair - 1/3
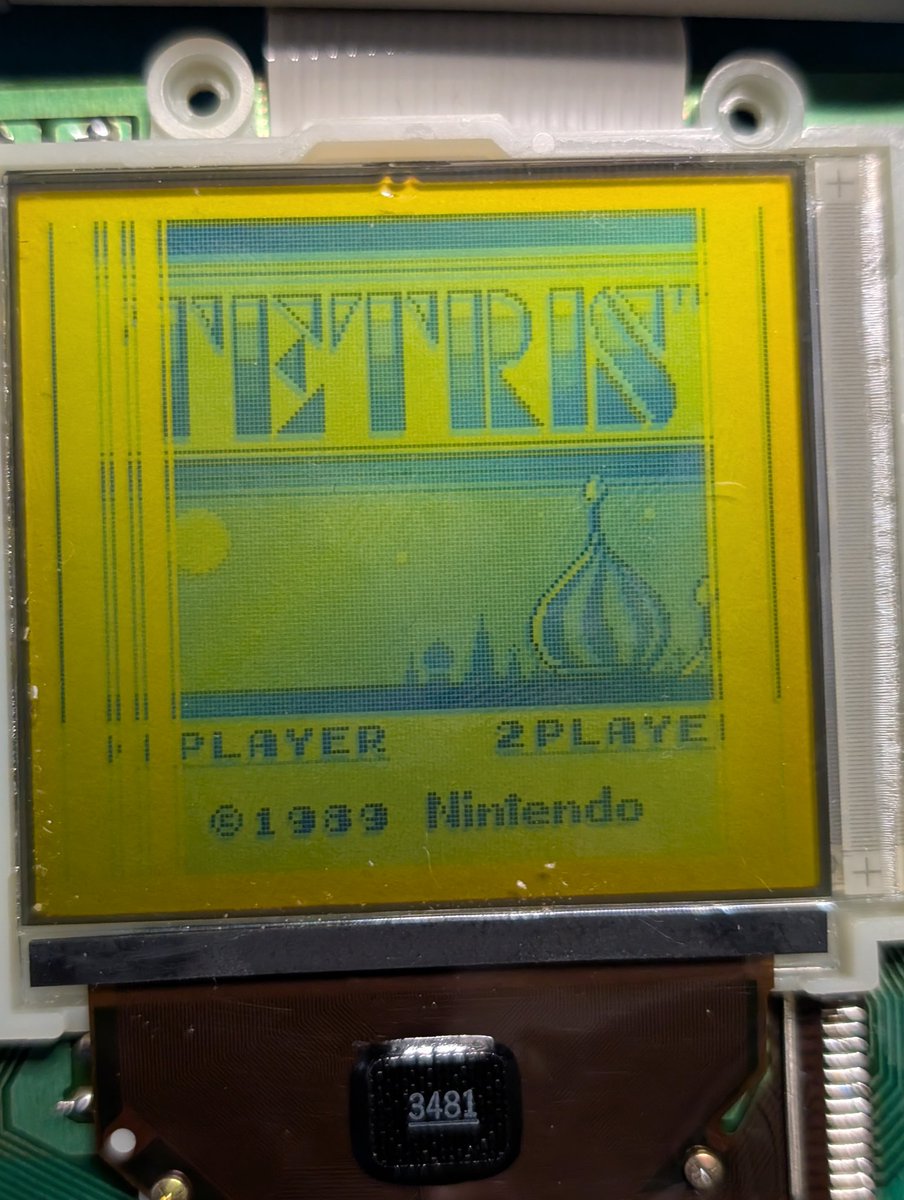
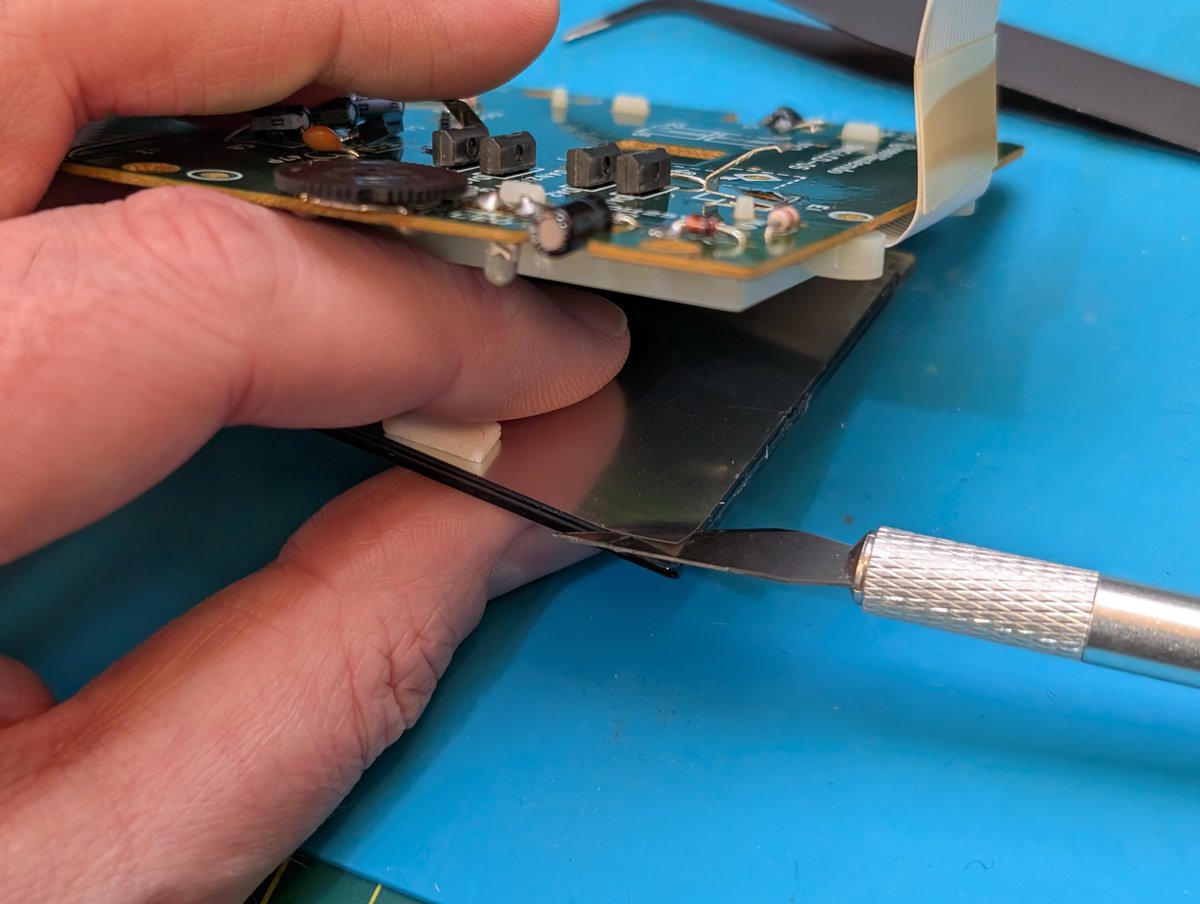
GB No2 Screen repair - 2/3
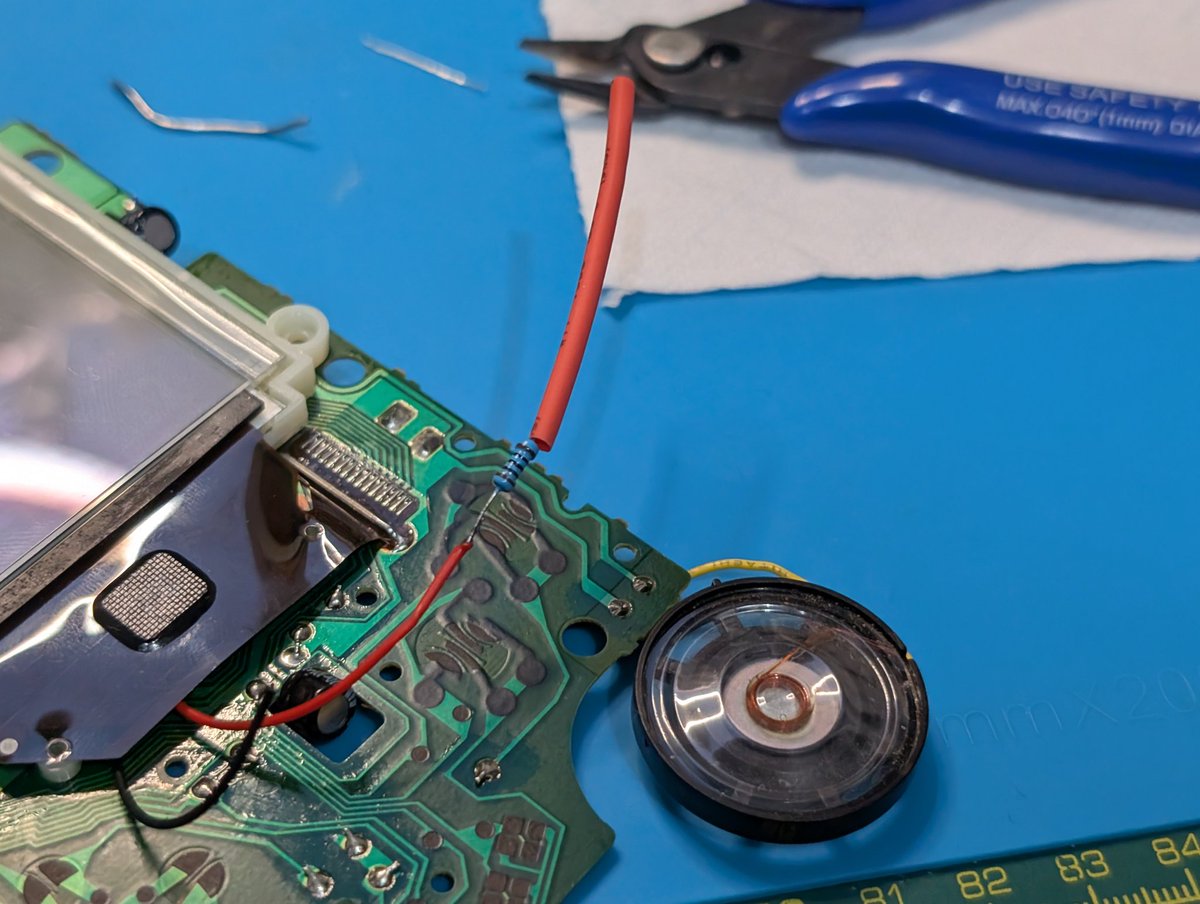
GB No2 Screen repair - 3/3
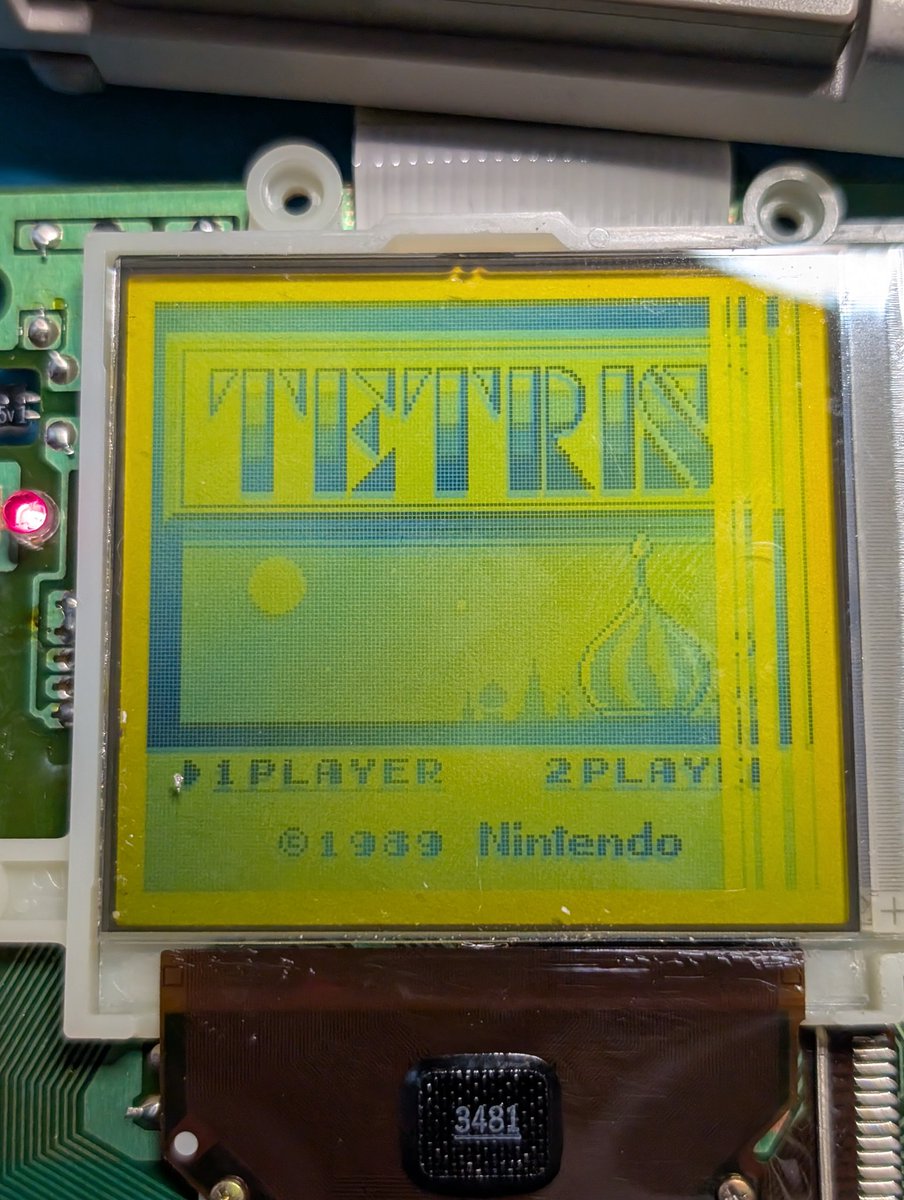
Sorted! 👌
Sorted! 👌
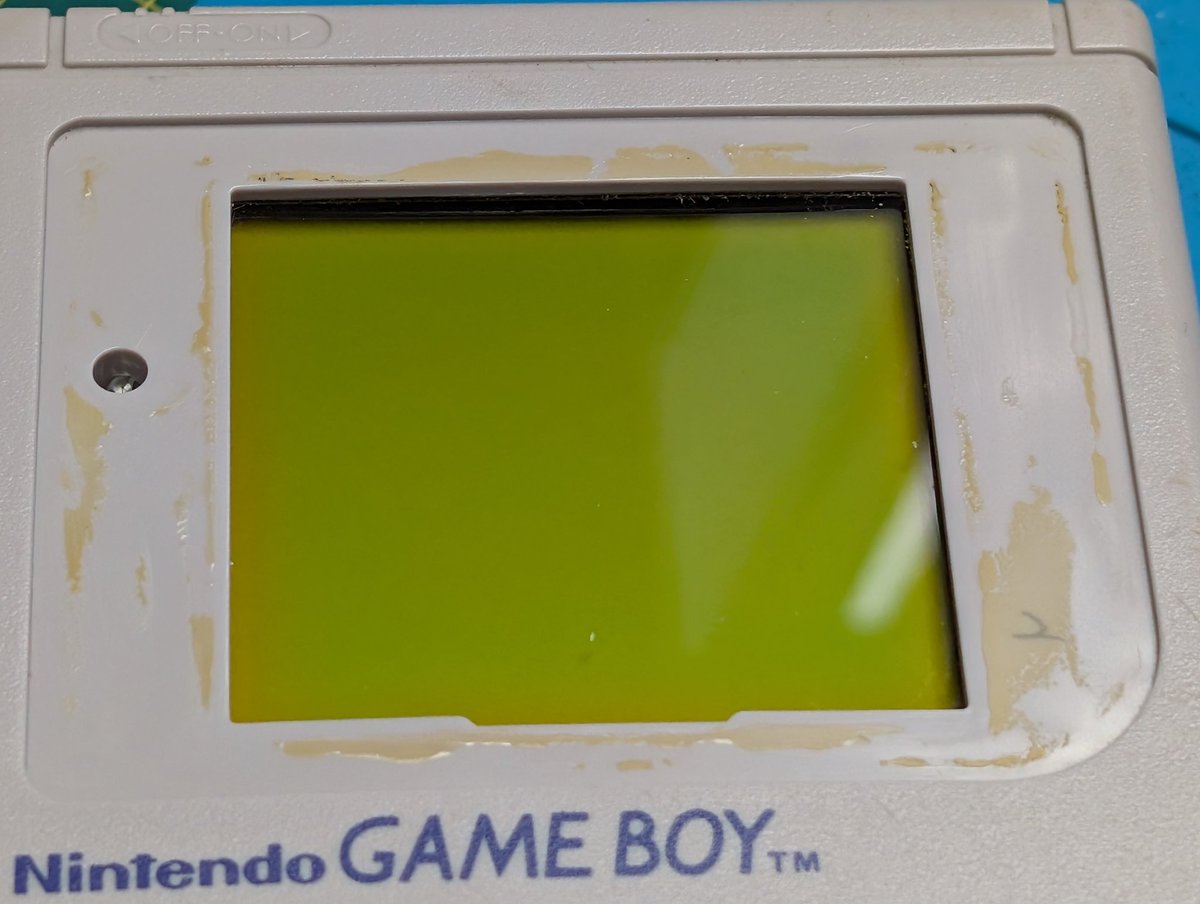
GB No2, this one is staying completely stock, just cleaning up the screen glue left to sort now:
*Chef's Kiss*
All clean, fully working and ready for the new Glass Screen Lens, then we're done.
All clean, fully working and ready for the new Glass Screen Lens, then we're done.
GB No1 update:
Some things arrived!
Some things arrived!
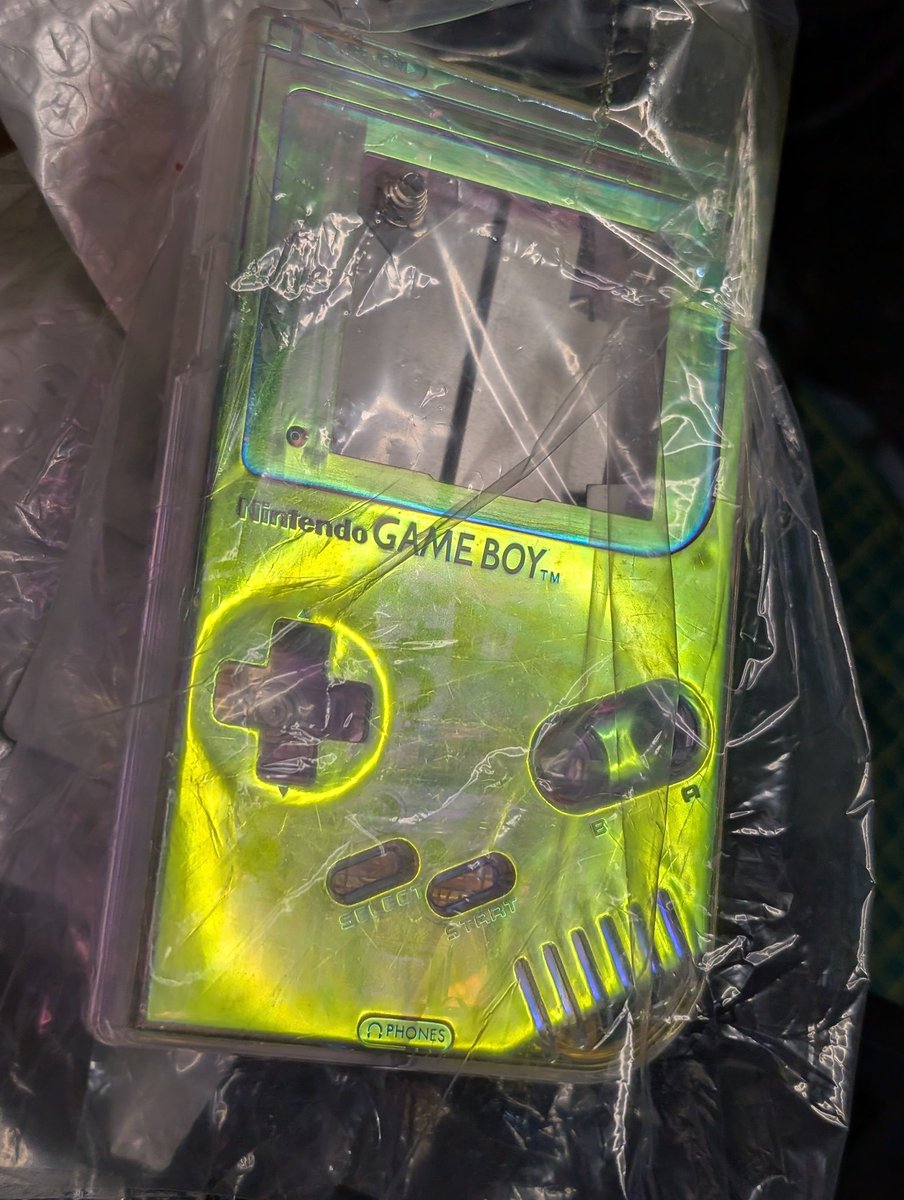
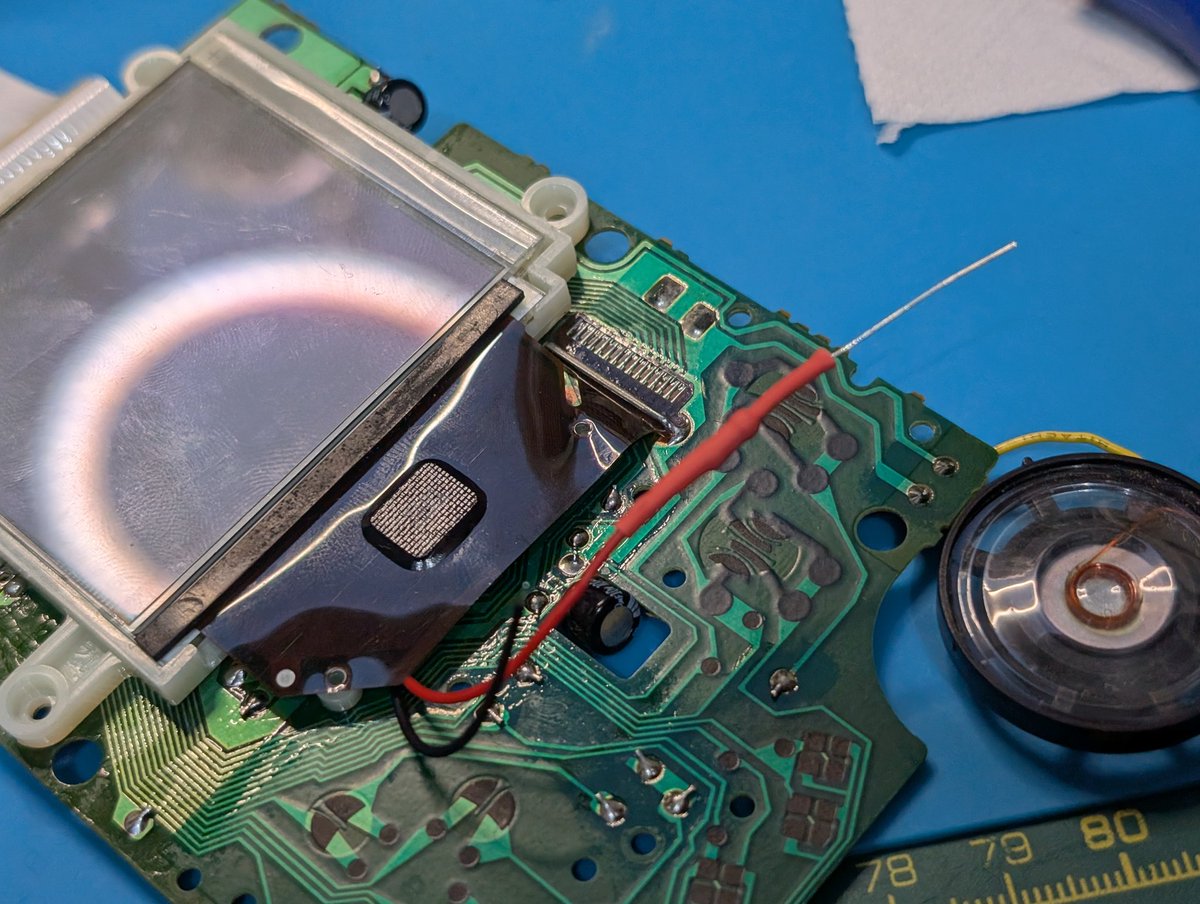
Let's Bivert and add a backlight! I wanted to do this rather than an IPS as I want the original LCD and that original kind of feel. Additionally the case is clear, so I want to see the original PCB's inside.
Bingo, Bango - it's in!
This part was not fun at all, but it all cleaned up well and it's still working!
Keeping it tidy!
(ignore the blue line, it's the sticky backing that will be removed)
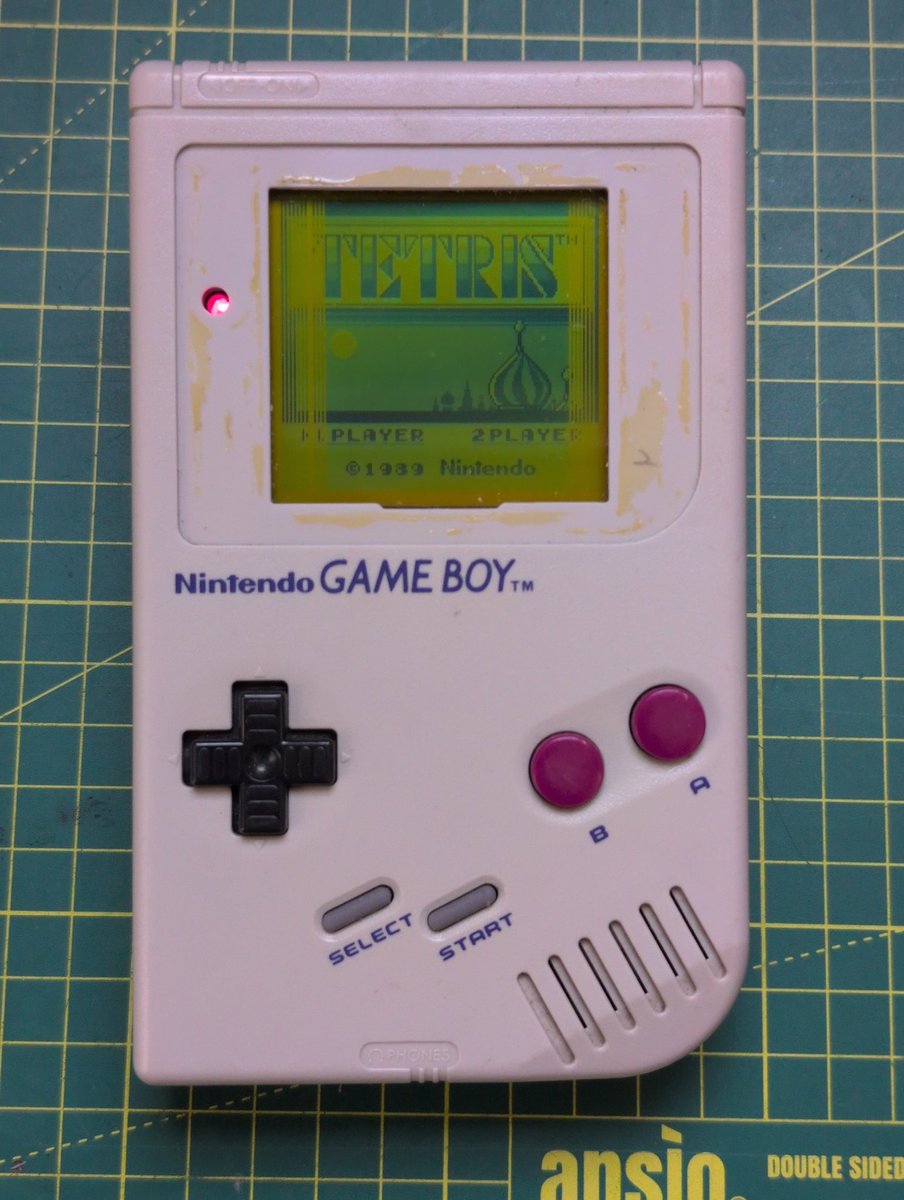
Crazy that this is the original 1989 LCD, love it!
Looking fantastic! 😍
Crazy that this is the original 1989 LCD, love it!
Looking fantastic! 😍
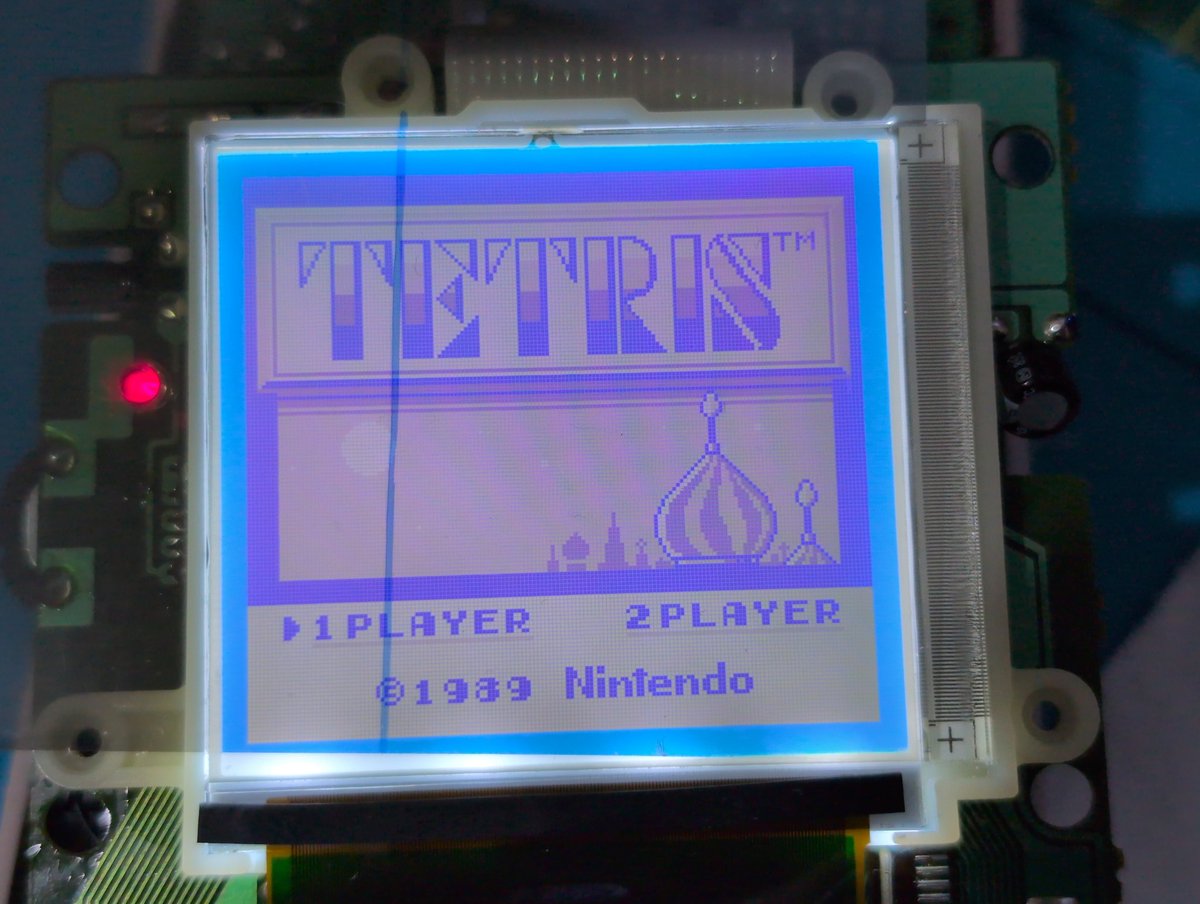
Yay, I'll be able to play without a lightbulb above my head! 👍
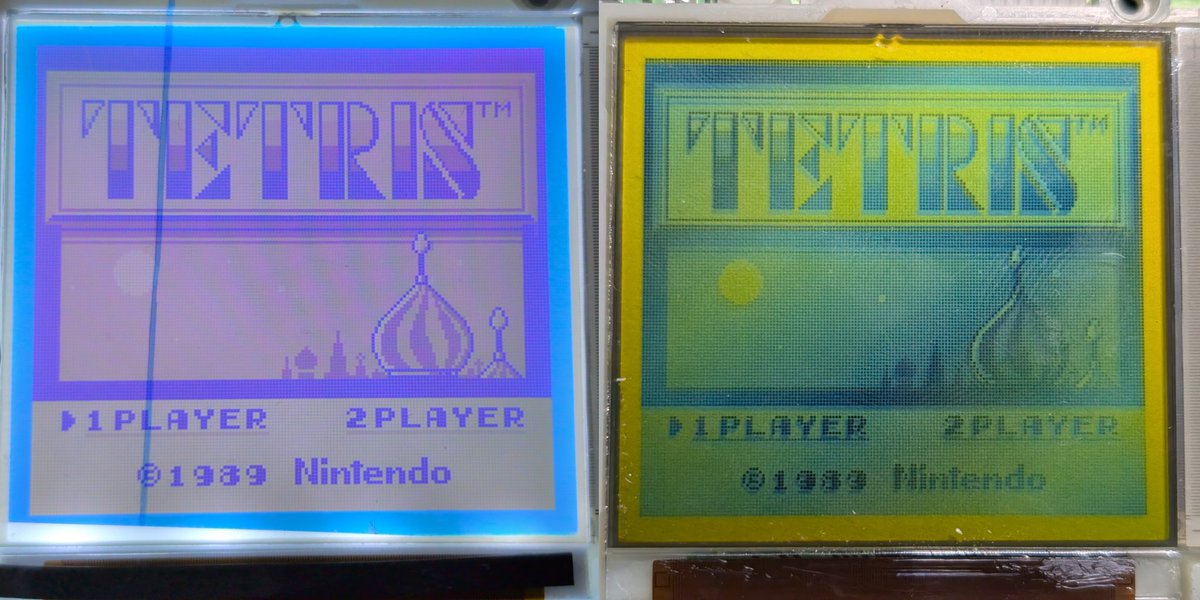
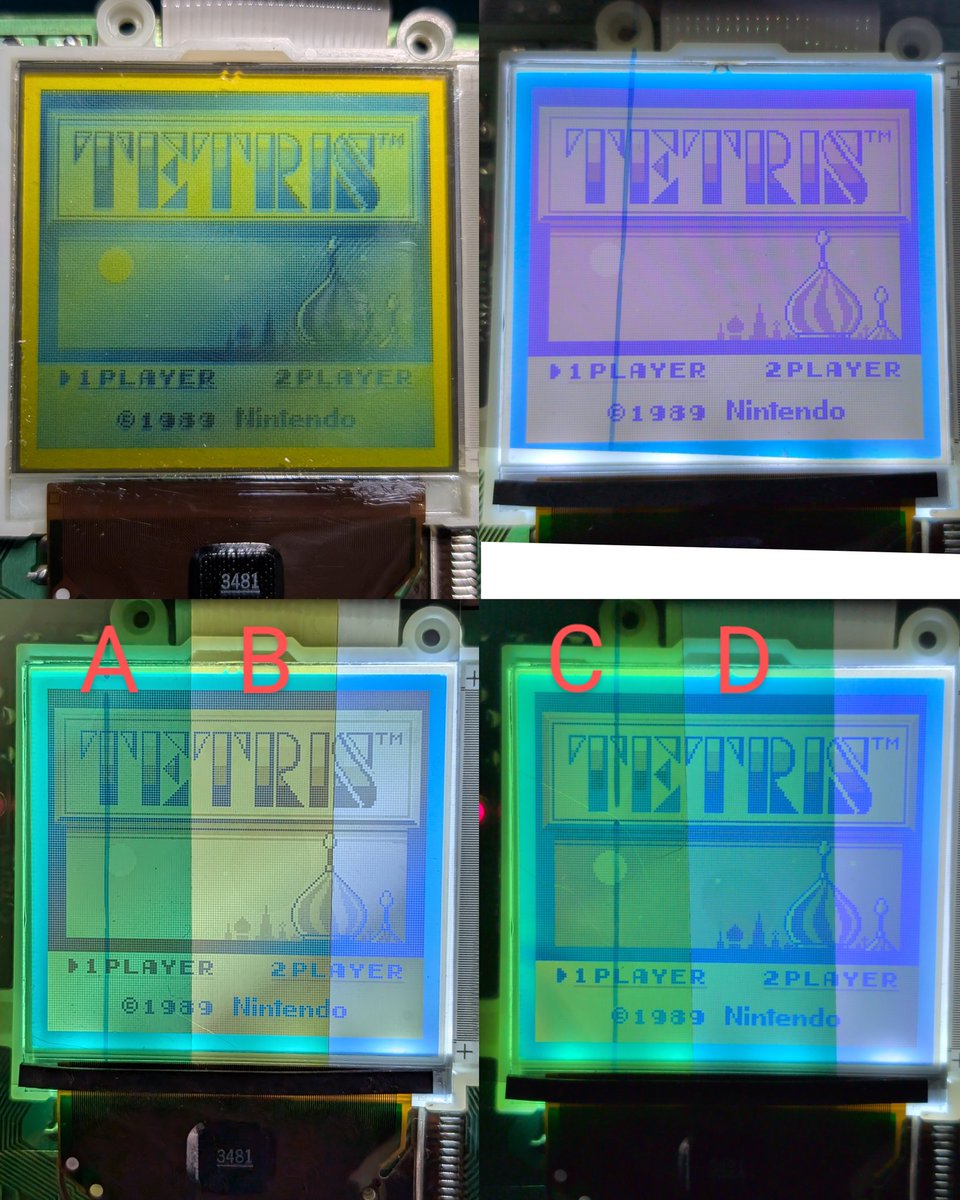
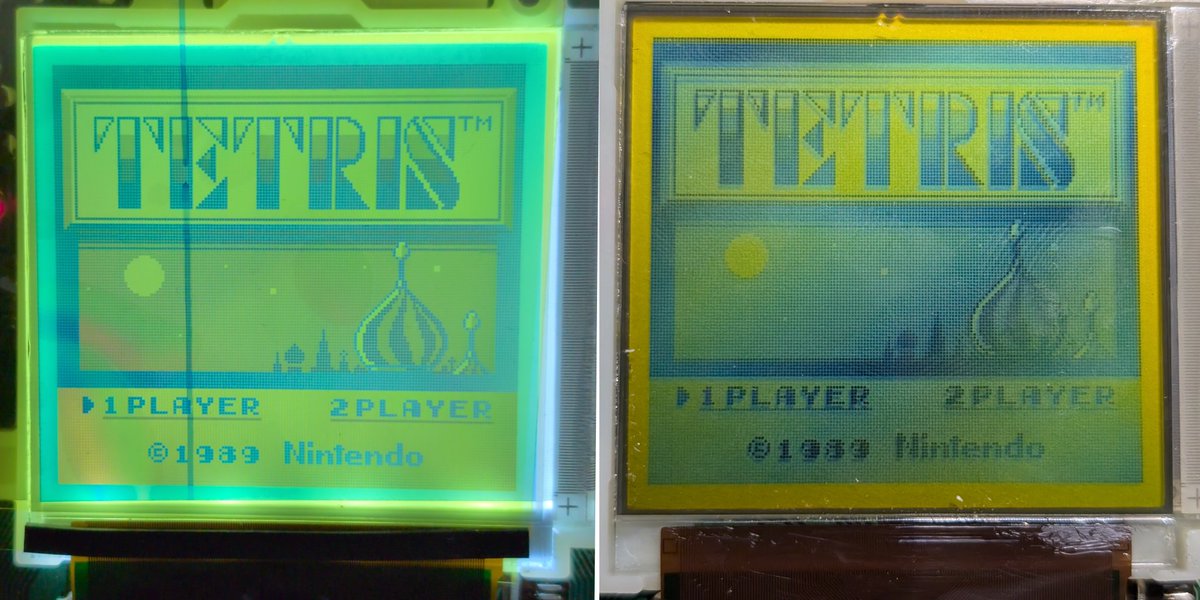
So I had an idea, I've not seen anyone try to change the colour of the Gameboy DMG-01 Bivert white backlight (top right) mod before! So I've been experimenting, I'd like it to look as original (top left) as I can, what are your thoughts?
That's the one, not enough retro time today, but tomorrow I'm getting the re-case done and dusted, then it's on to my next project! 👍
Left: Bivert backlit
Right: Original screen
Left: Bivert backlit
Right: Original screen
What an absolutely awesome learning journey, there's things I'll do next time differently and better, but every day is a school day as they say. I'm super happy with how these two Gameboy DMG-01's turned out, not bad for my first attempt at refurbishing a GB (or two).
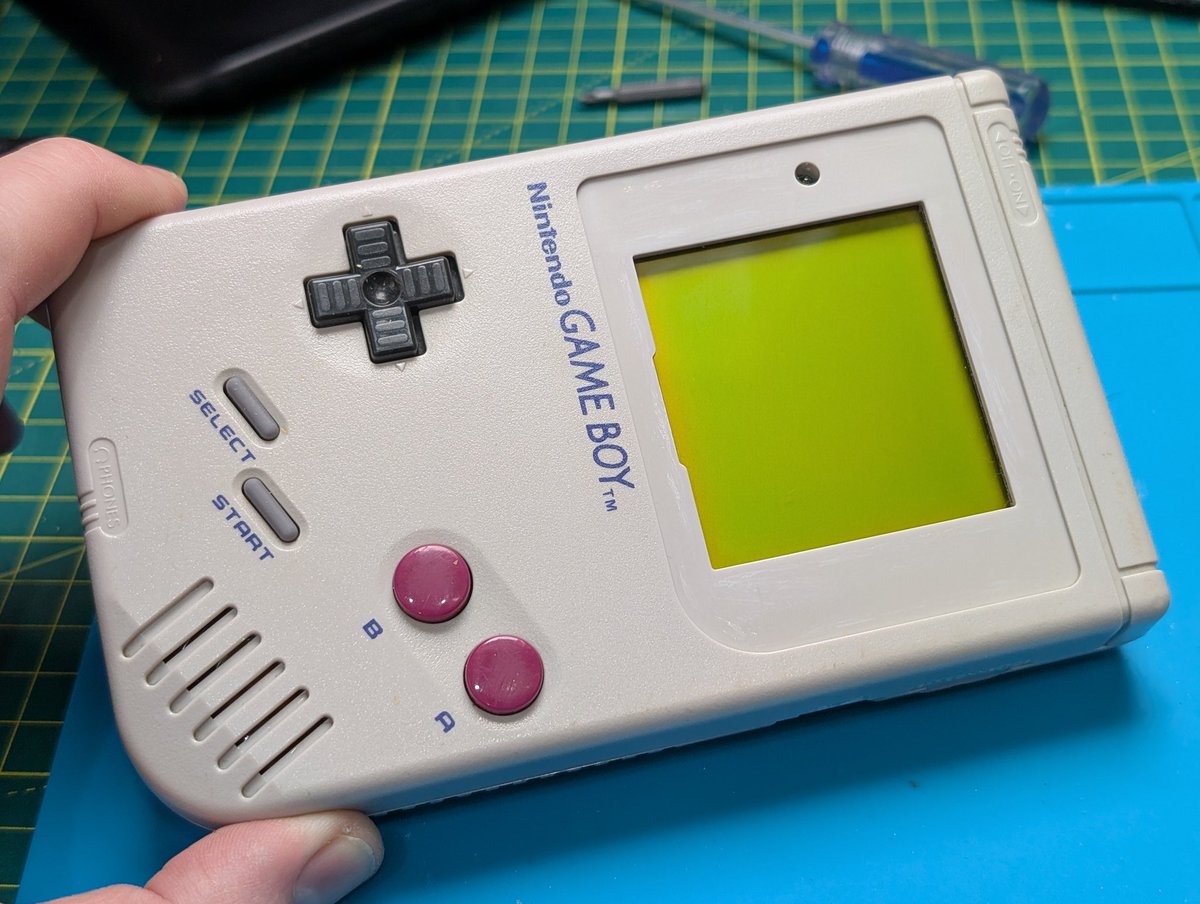
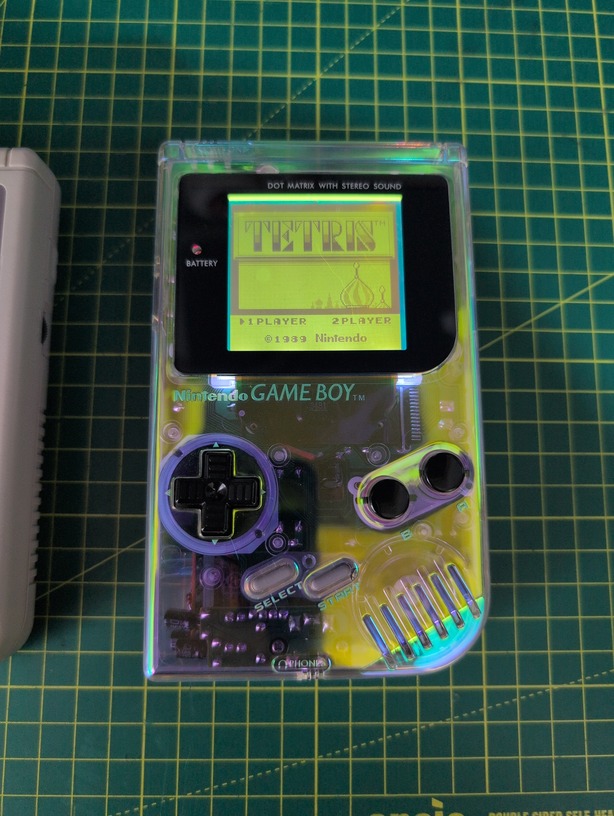
Front view:
Front view:

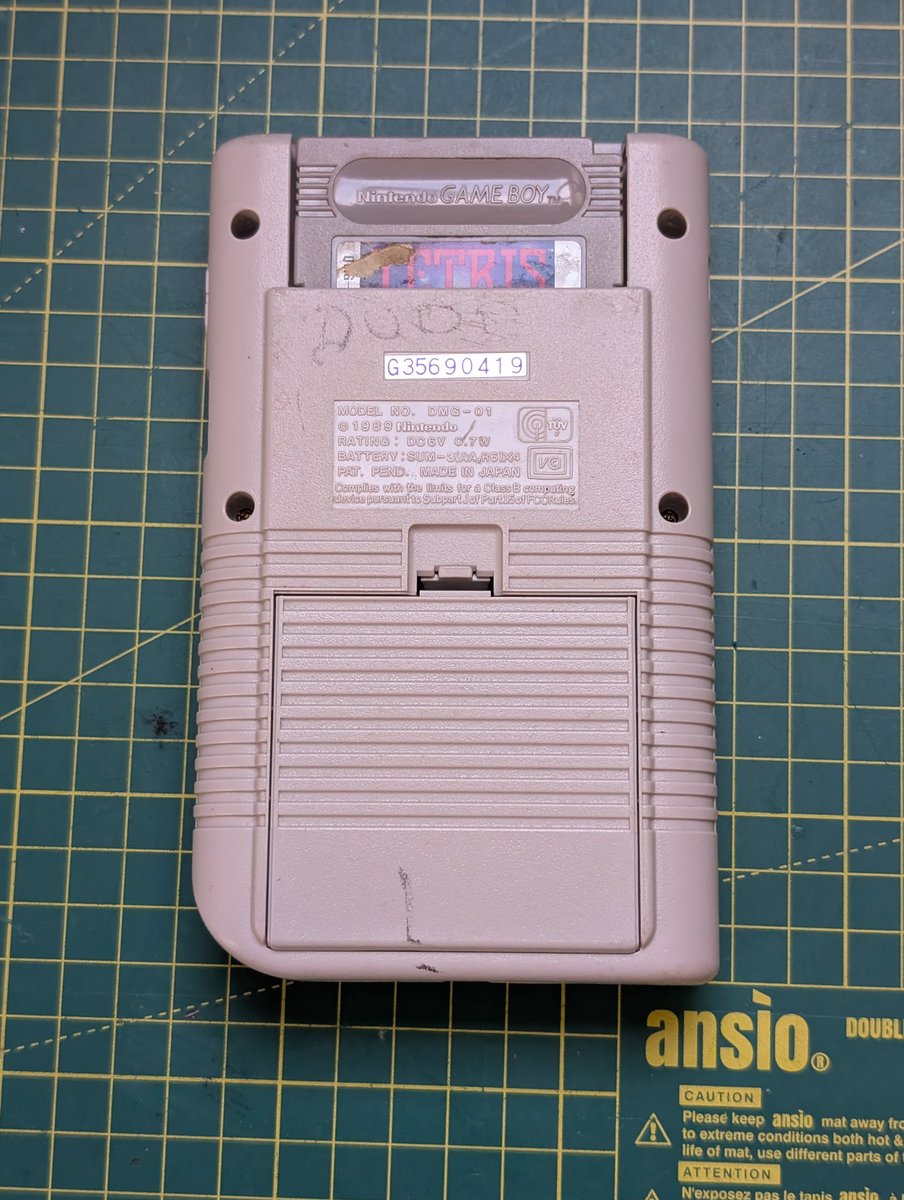
Rear view:
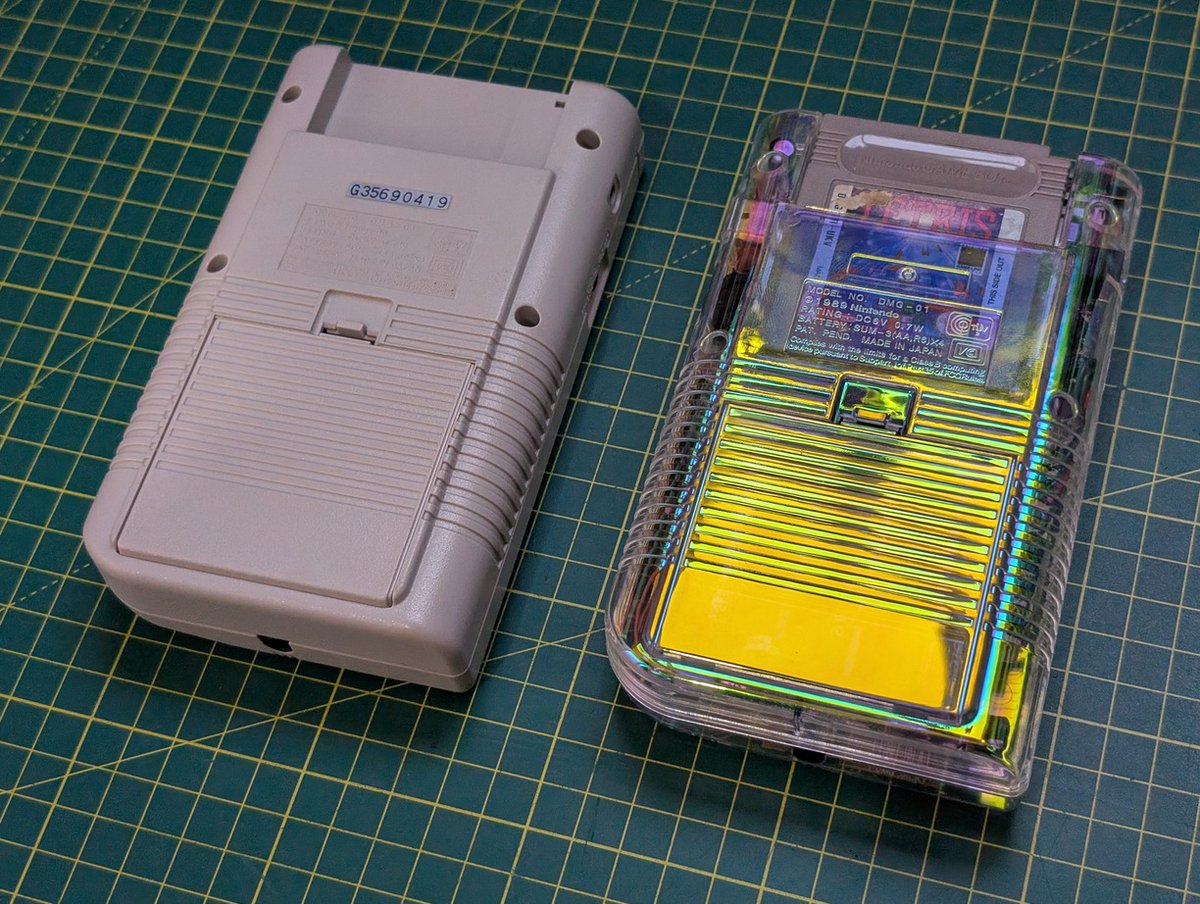
Why not? 😀
GB No1:
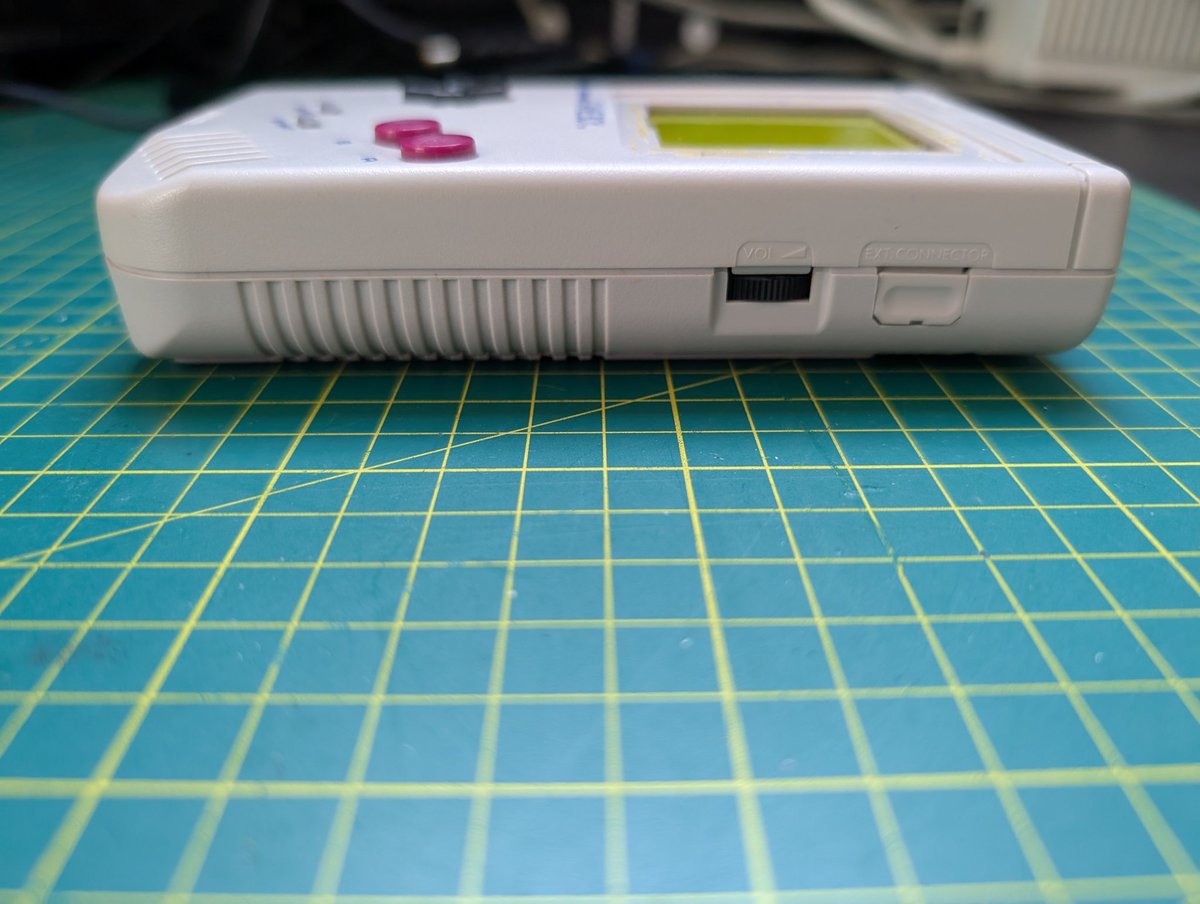
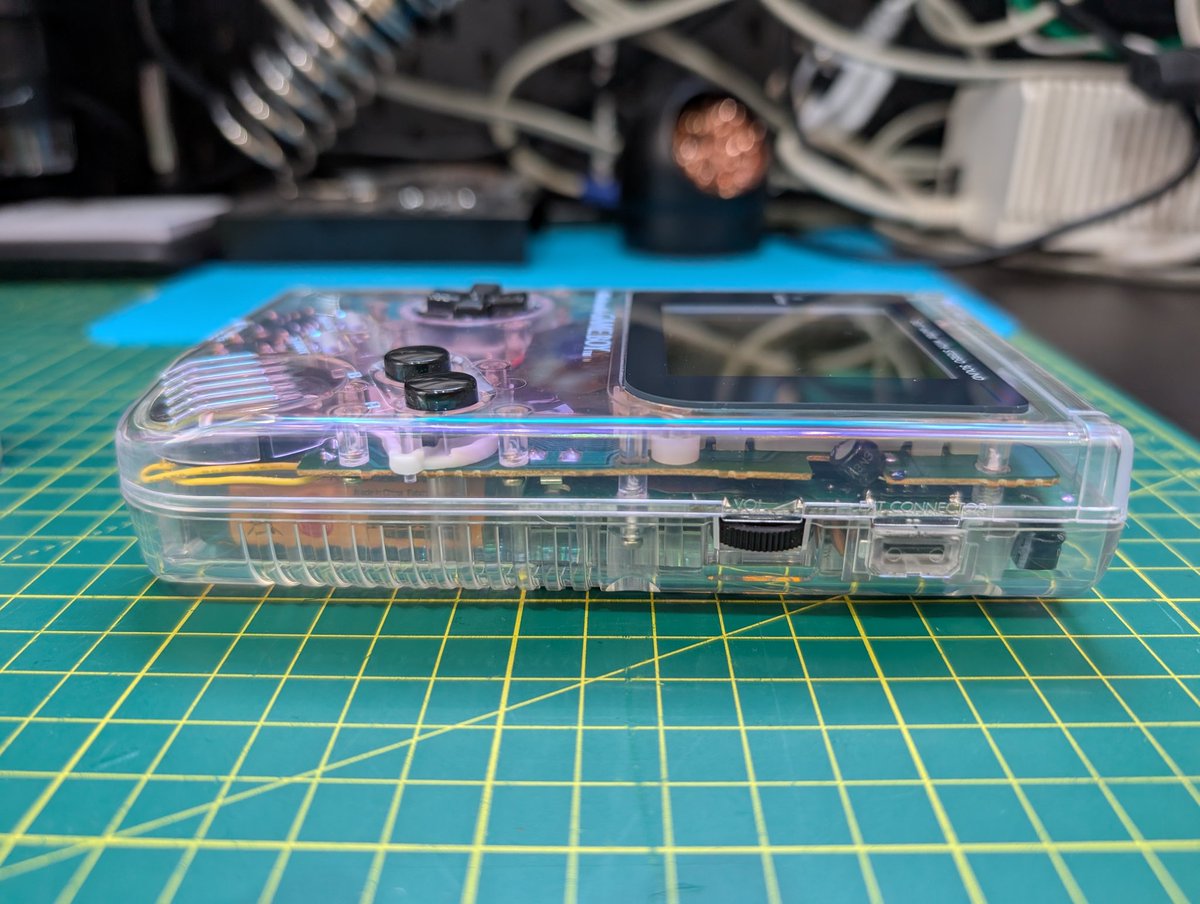
GB No1, side:
GB No2:

@threadreaderapp unroll
• • •
Missing some Tweet in this thread? You can try to
force a refresh