
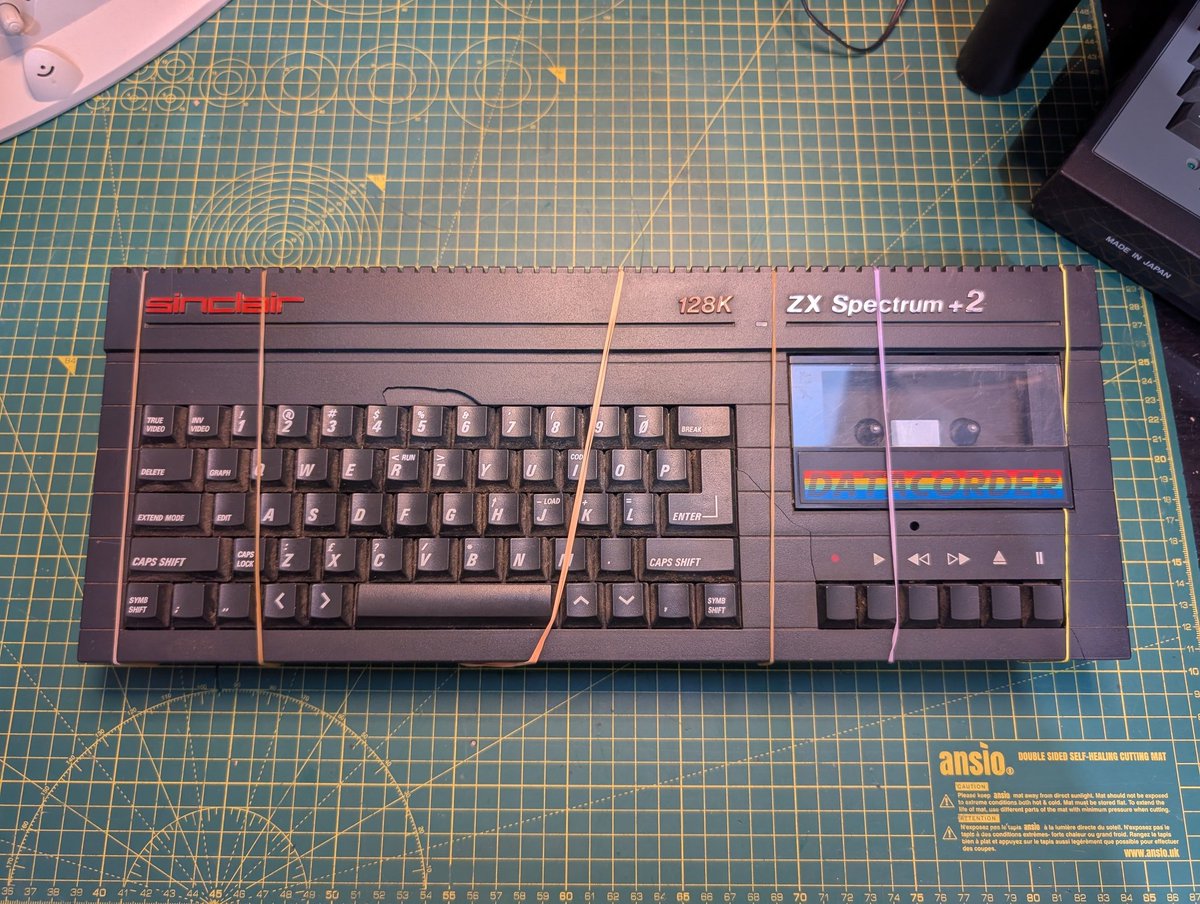
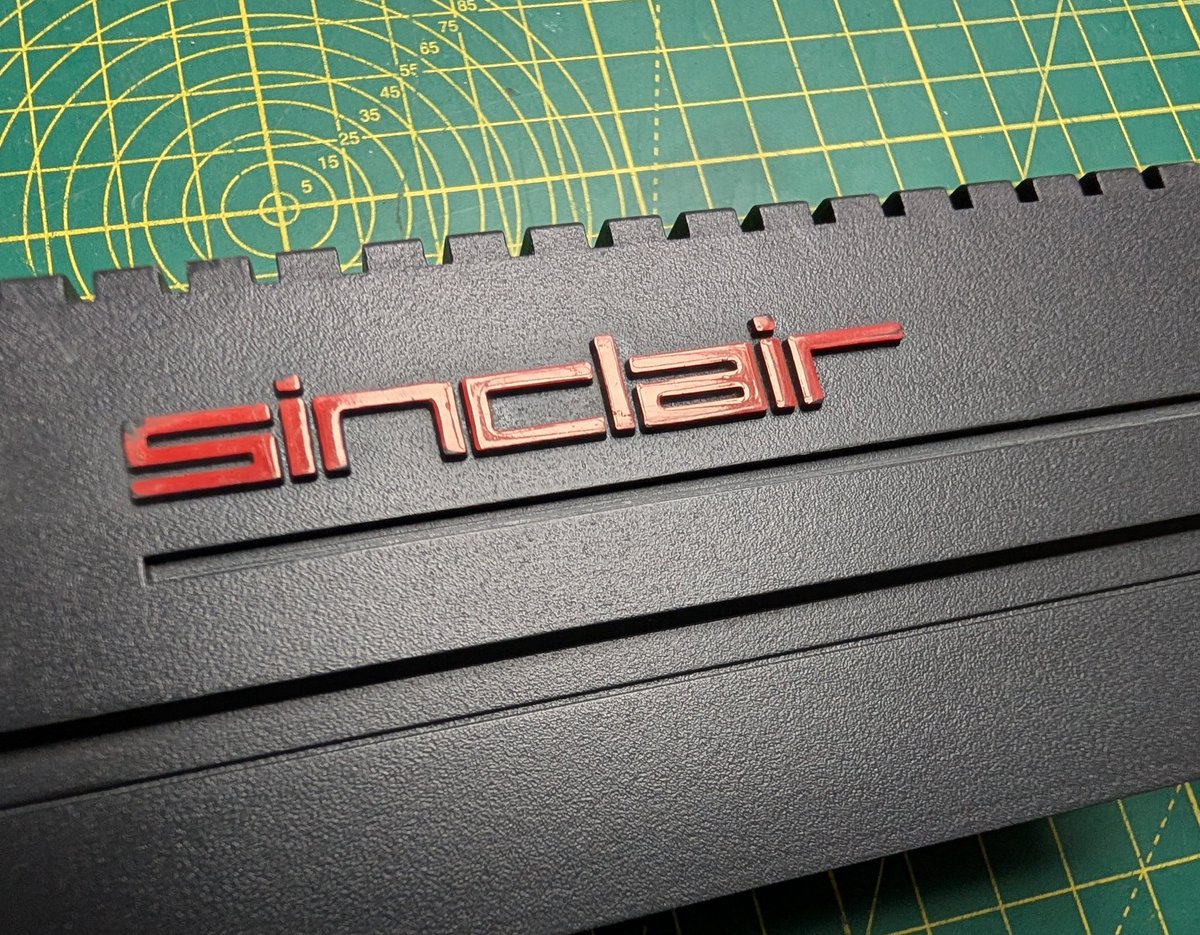
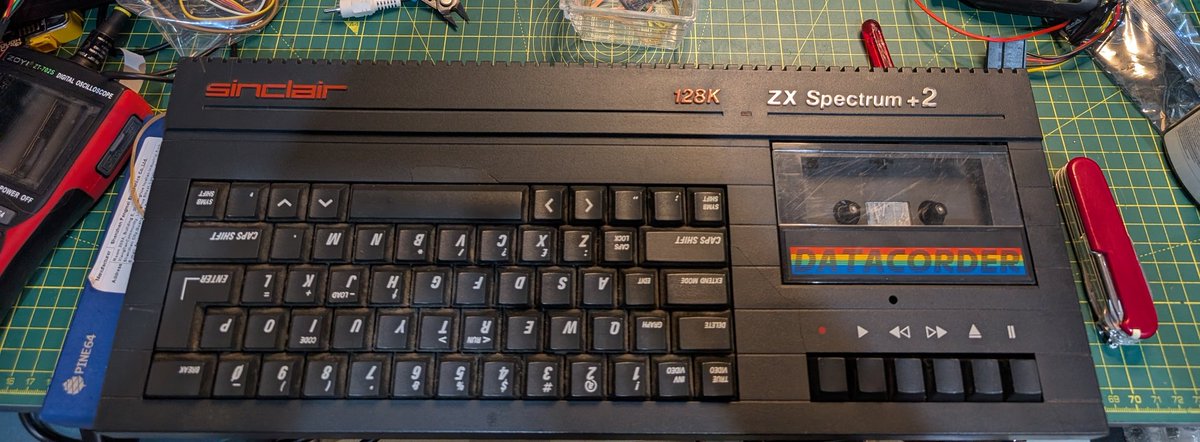
Sinclair Spectrum +2A (Amstrad) (1987)
Untested, Dirty & smashed in the post, but that's my kind of challenge, especially on my current 8-bit kick at the moment
❌Case is broken
❌Tape belt stretched
🤷♂️No idea if it works
❌No PSU
❌No Video Cable
❌No Joystick
LET'S 🫧🪛 IT!🧵👇
Untested, Dirty & smashed in the post, but that's my kind of challenge, especially on my current 8-bit kick at the moment
❌Case is broken
❌Tape belt stretched
🤷♂️No idea if it works
❌No PSU
❌No Video Cable
❌No Joystick
LET'S 🫧🪛 IT!🧵👇
Here's the dirty mainboard:
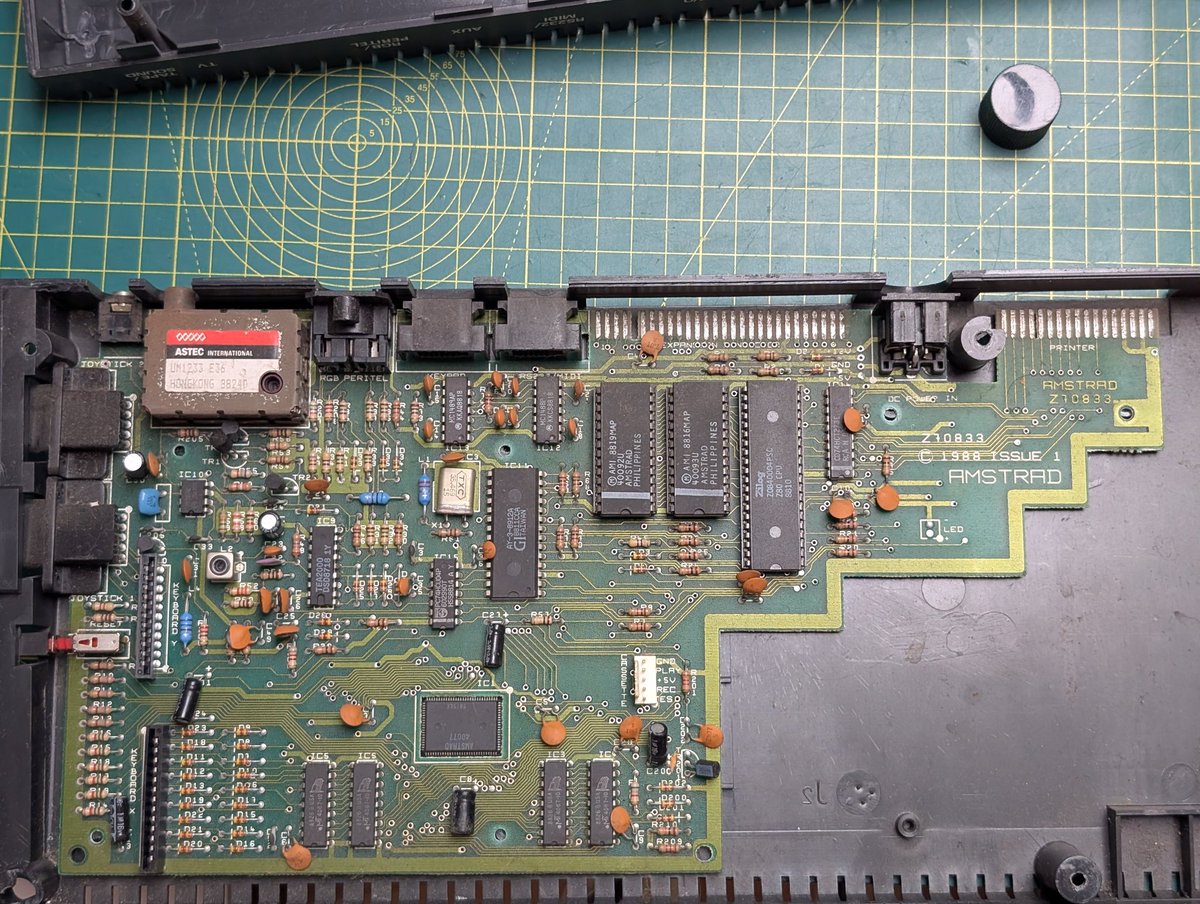

The board is now looking a little fresher after a good scrub with Isopropyl alcohol.
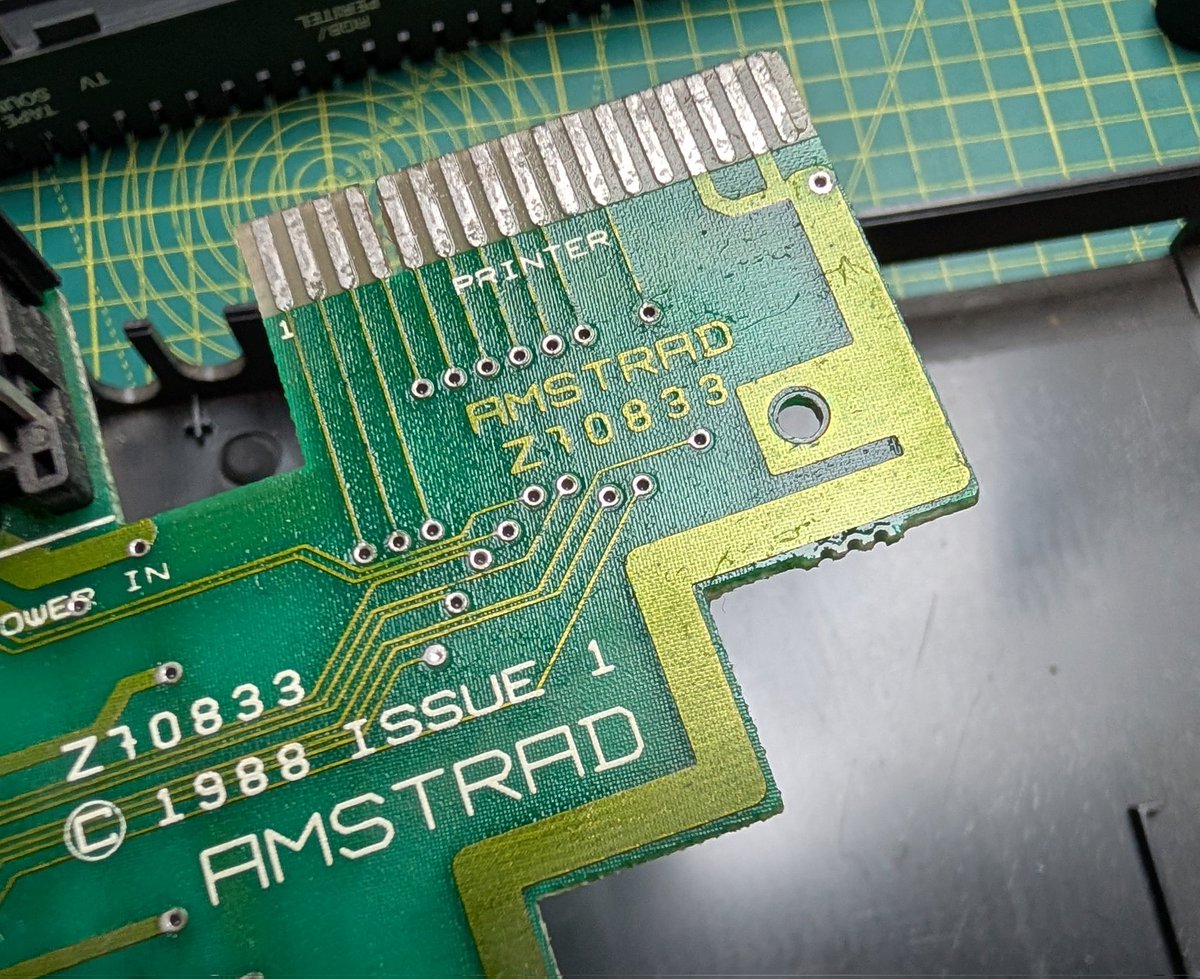
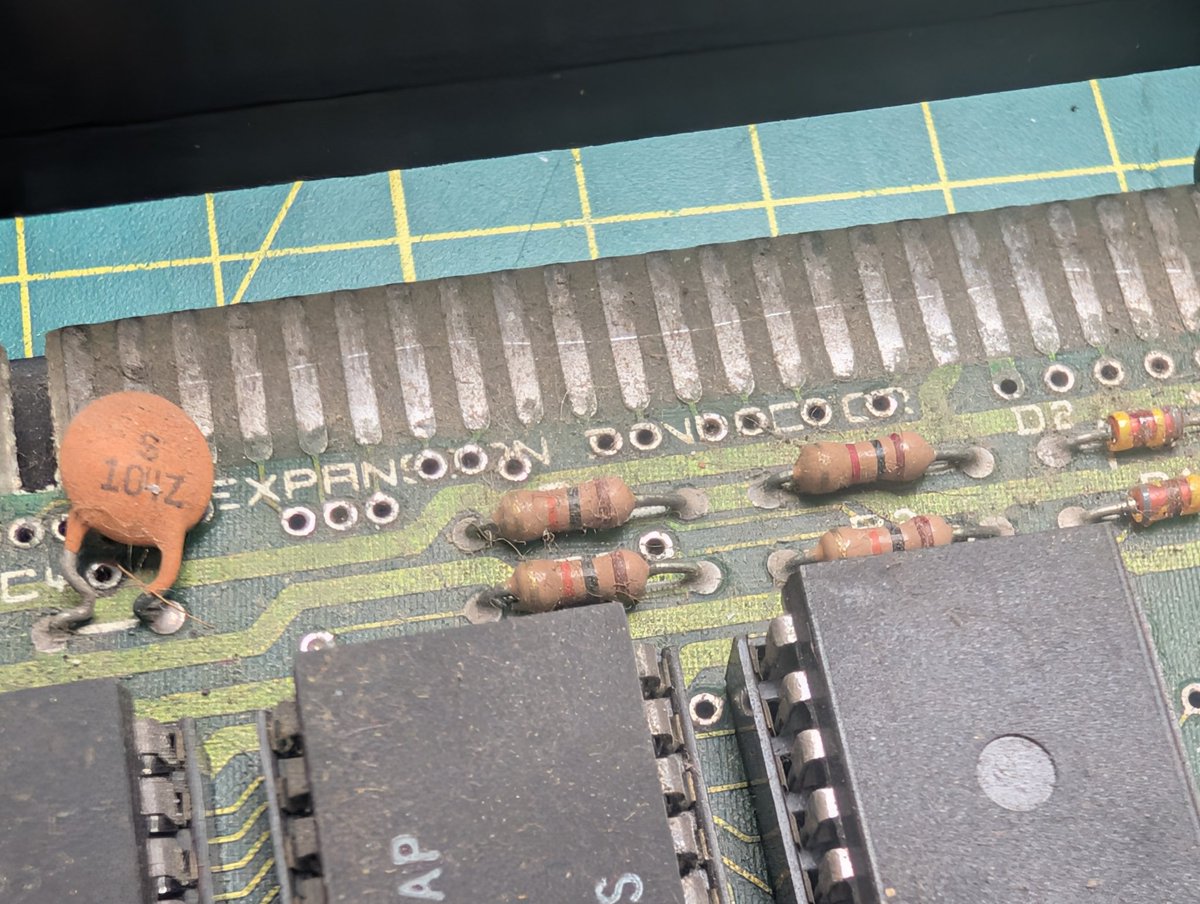
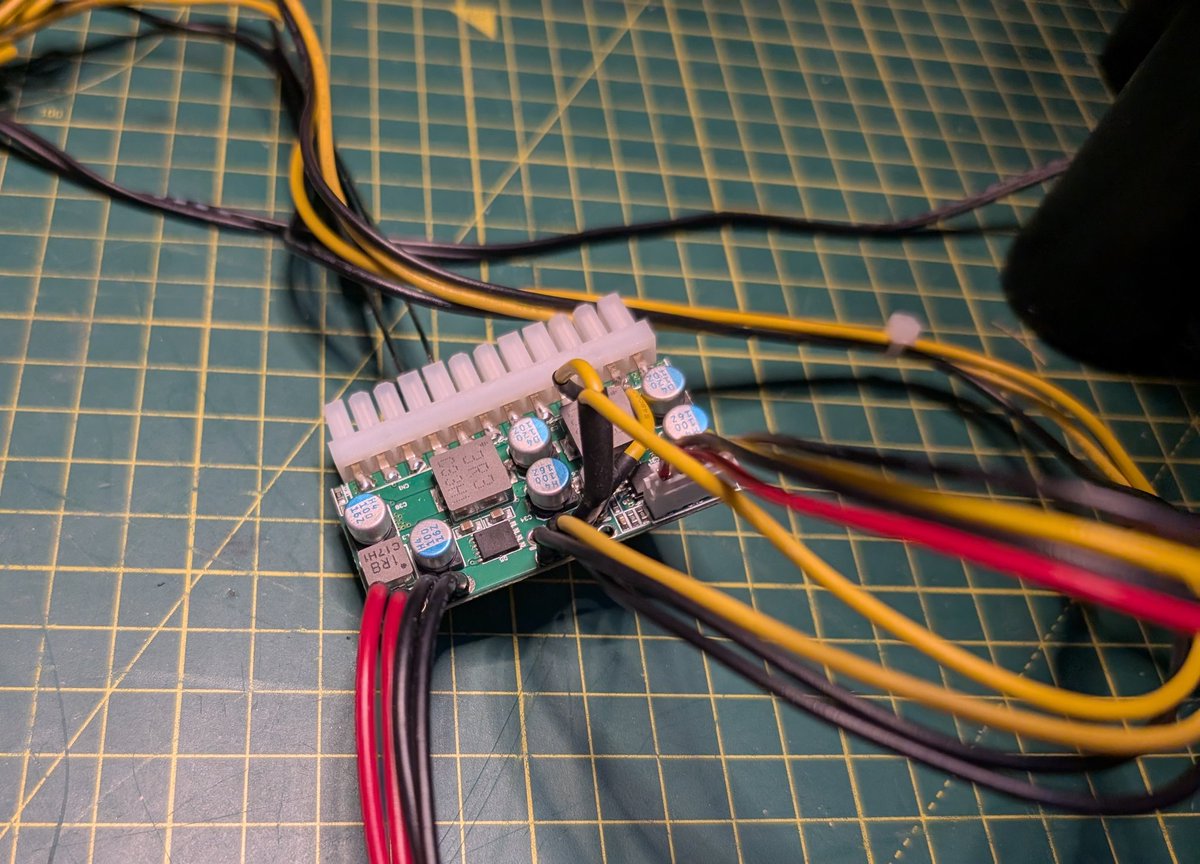
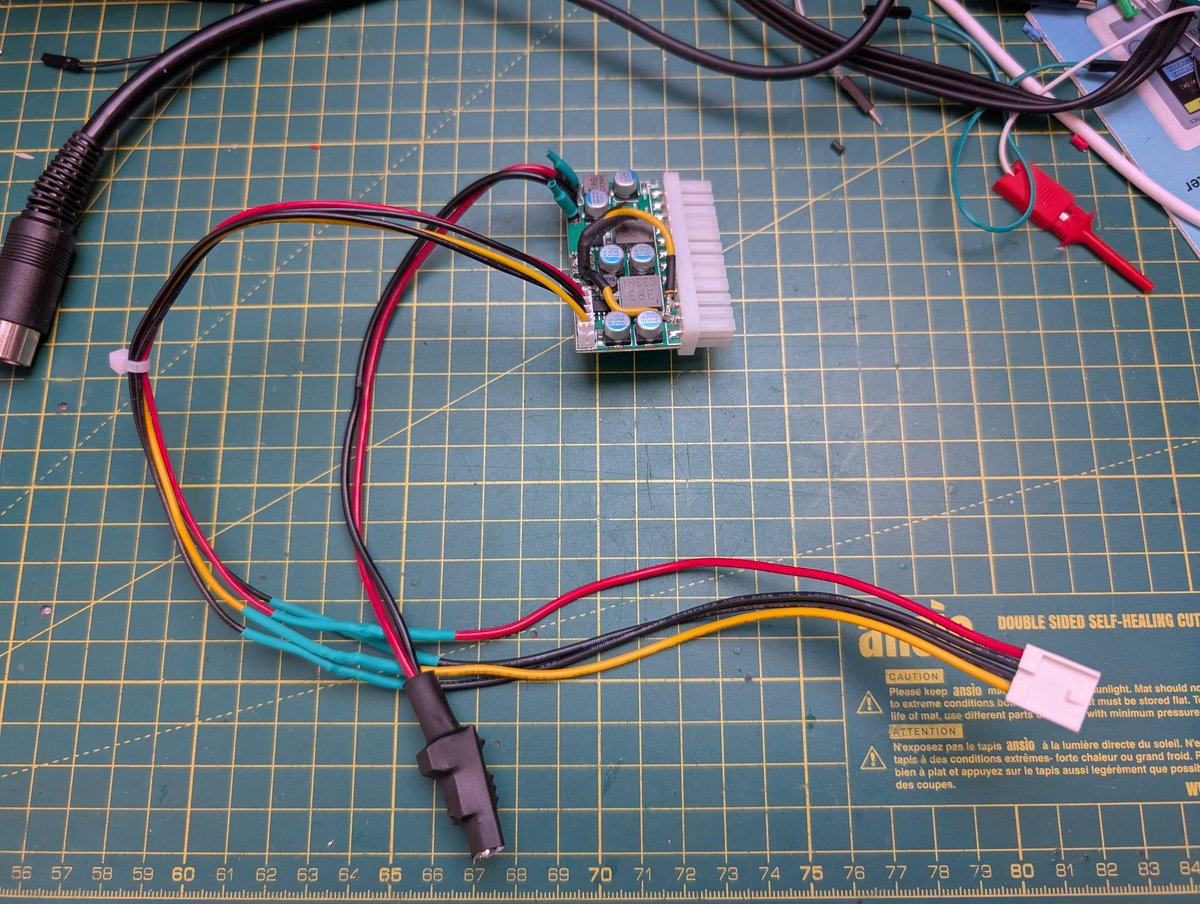
So, I don't have a PSU, but thanks to a tip on RHD, there's a 12v and 5v breakout, without a header:
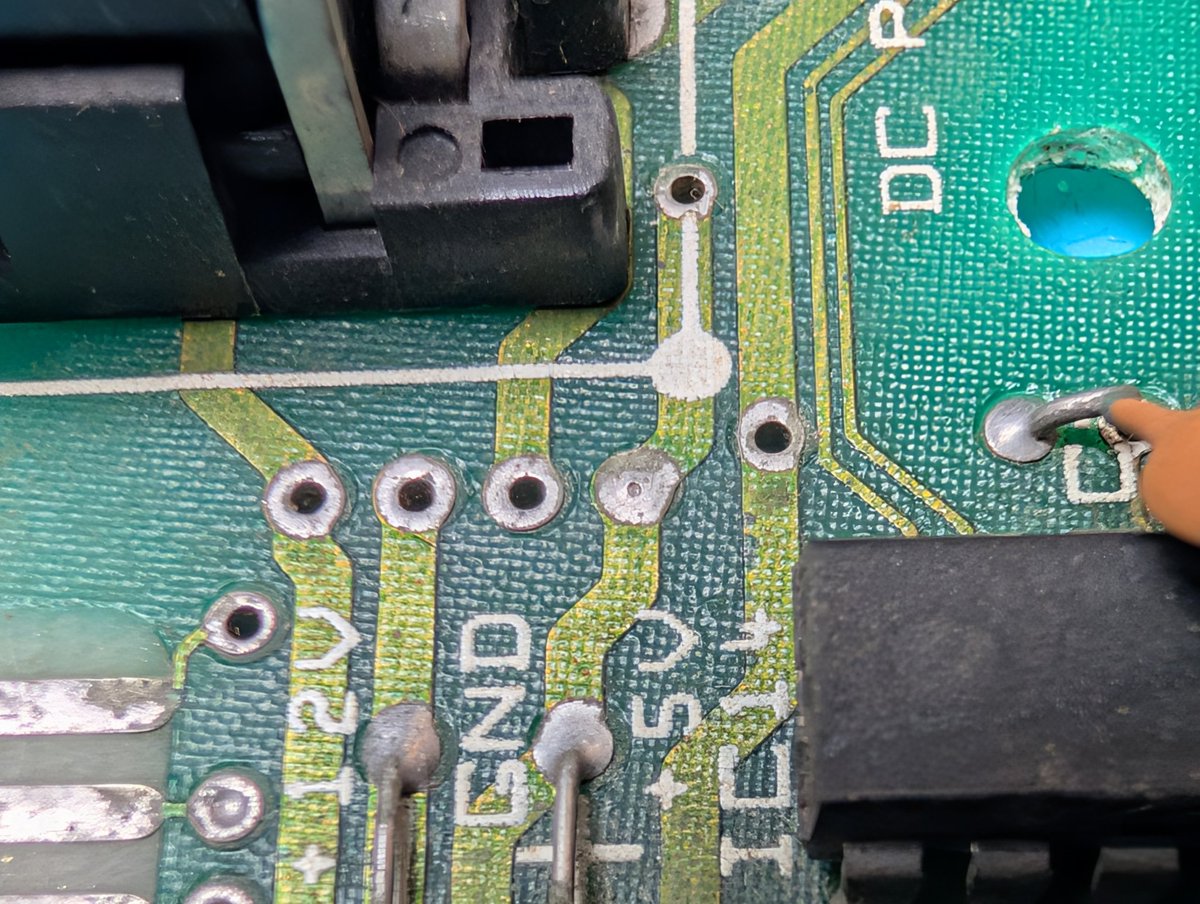
I have a plan, which is why I've gone for long pin headers, but they're in and tested via the DIN socket. 👍

I forgot to say, all the socked chips have been removed, scrubbed and then reseated.

The plan:

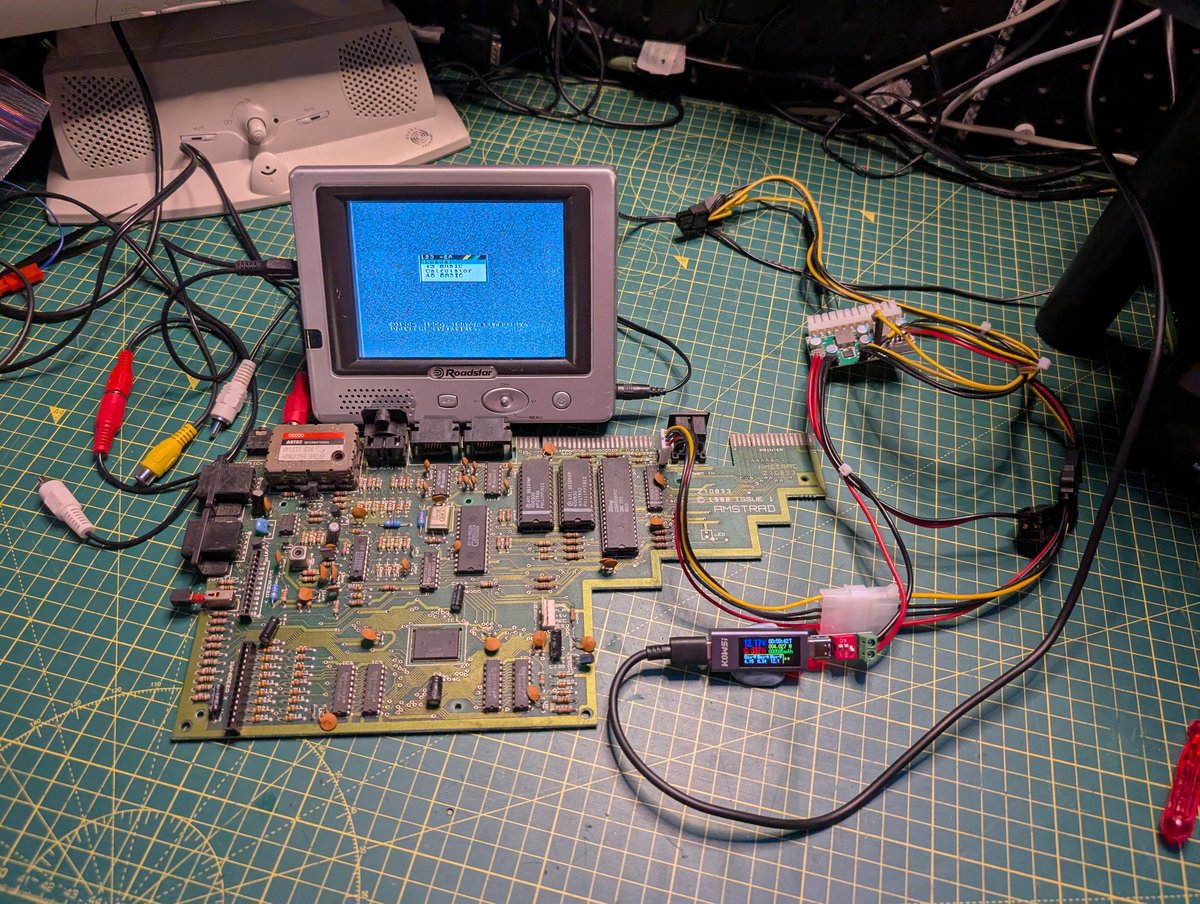
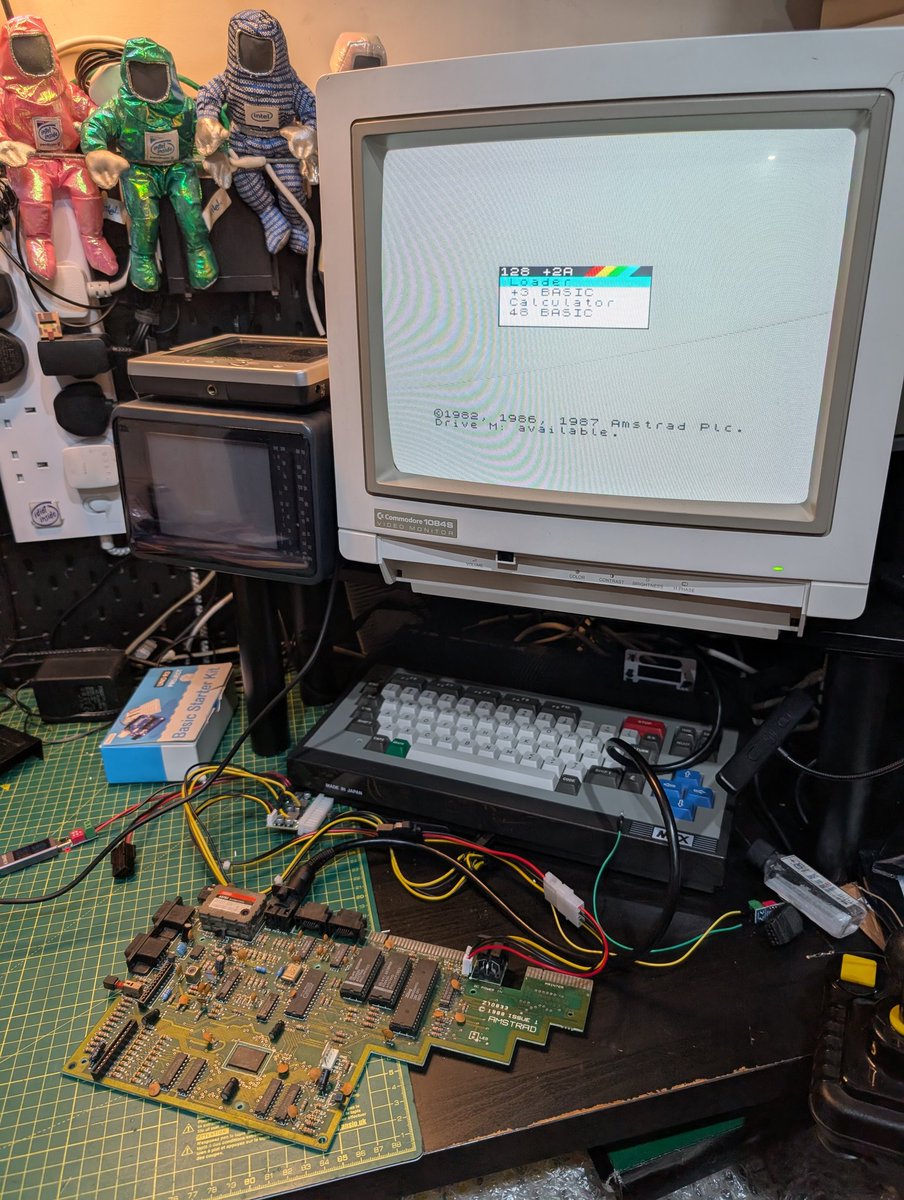
So I'm going to make an RGB Scart cable, but for now I just have RF that's easily accessible. This little trucker TV is so useful, it auto scans channels, got it hooked up.
It's go time! 😬
It's go time! 😬

It's Alive! 😊😊😊😊
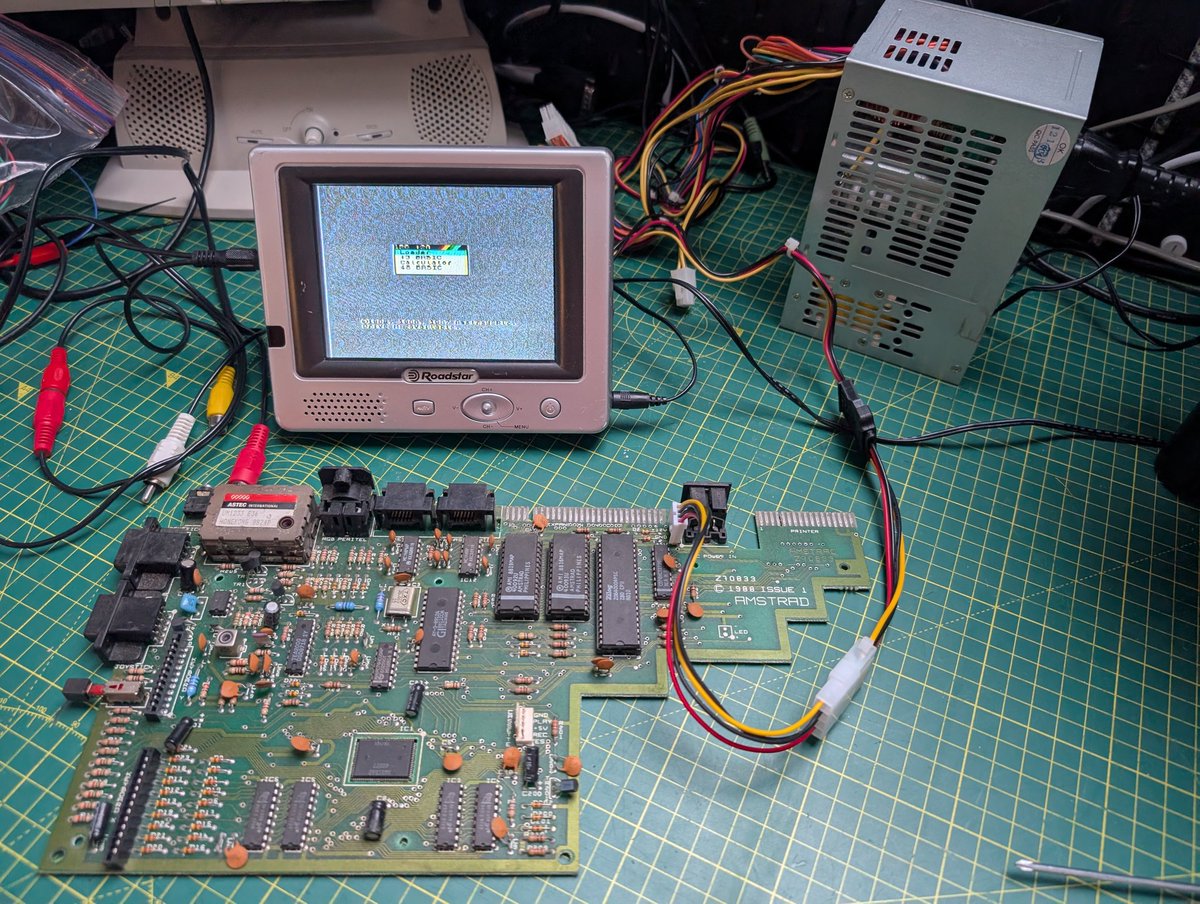
The RF signal sucks, but well happy!

Time to have a go with powering it by USB C PD:
Works a treat! 👍
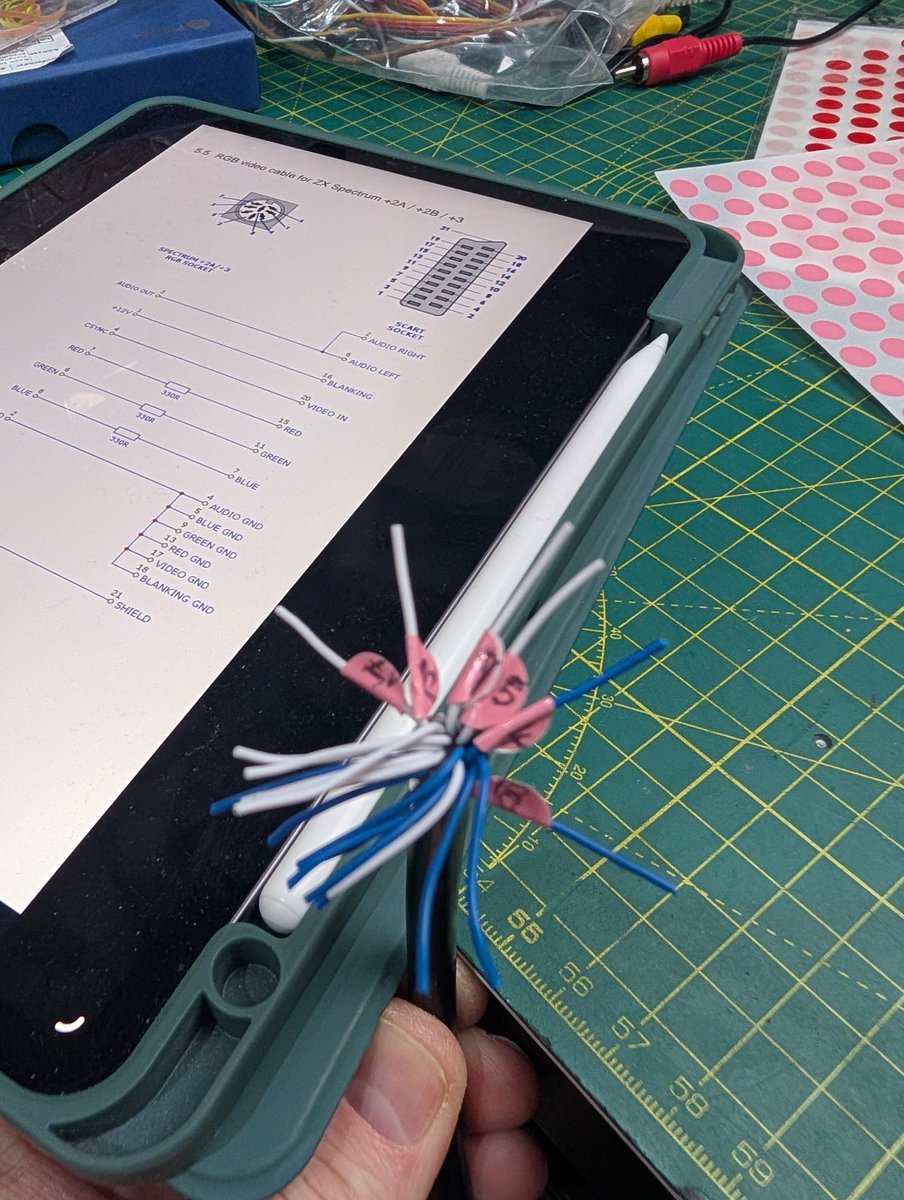
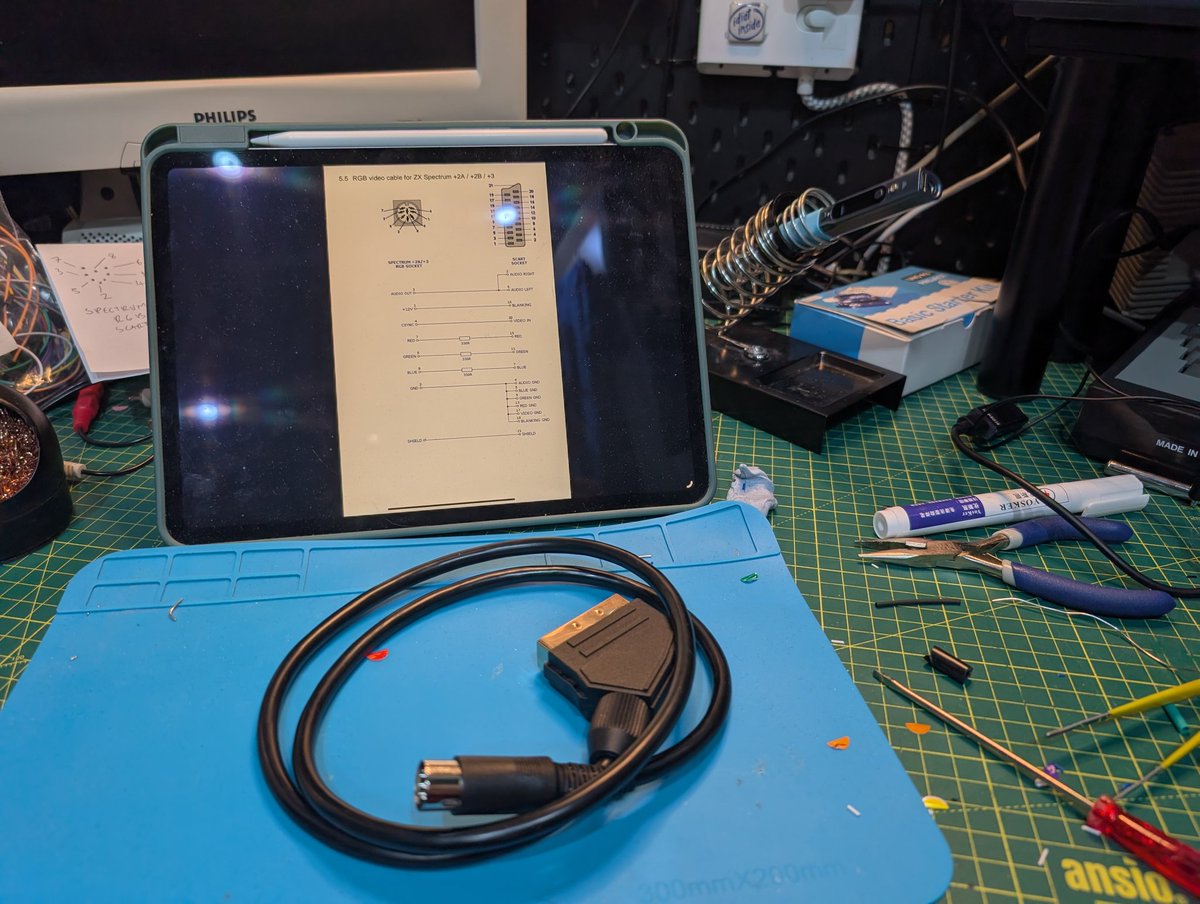
"Buy an RGB Scart cable"
No, let's make one, we have the technology!
Quality Scart Cable ✅
8-Pin DIN ✅
Sunday Afternoon ✅
No, let's make one, we have the technology!
Quality Scart Cable ✅
8-Pin DIN ✅
Sunday Afternoon ✅
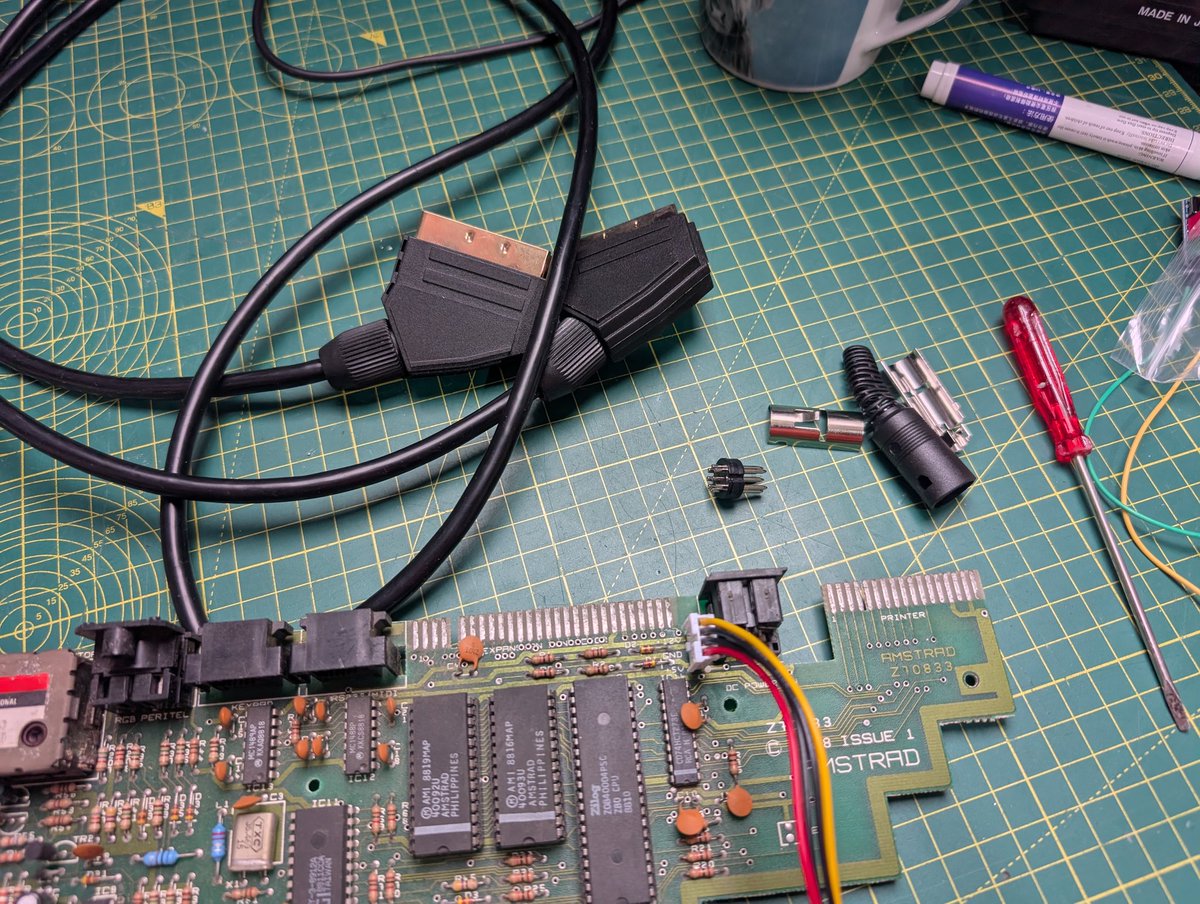
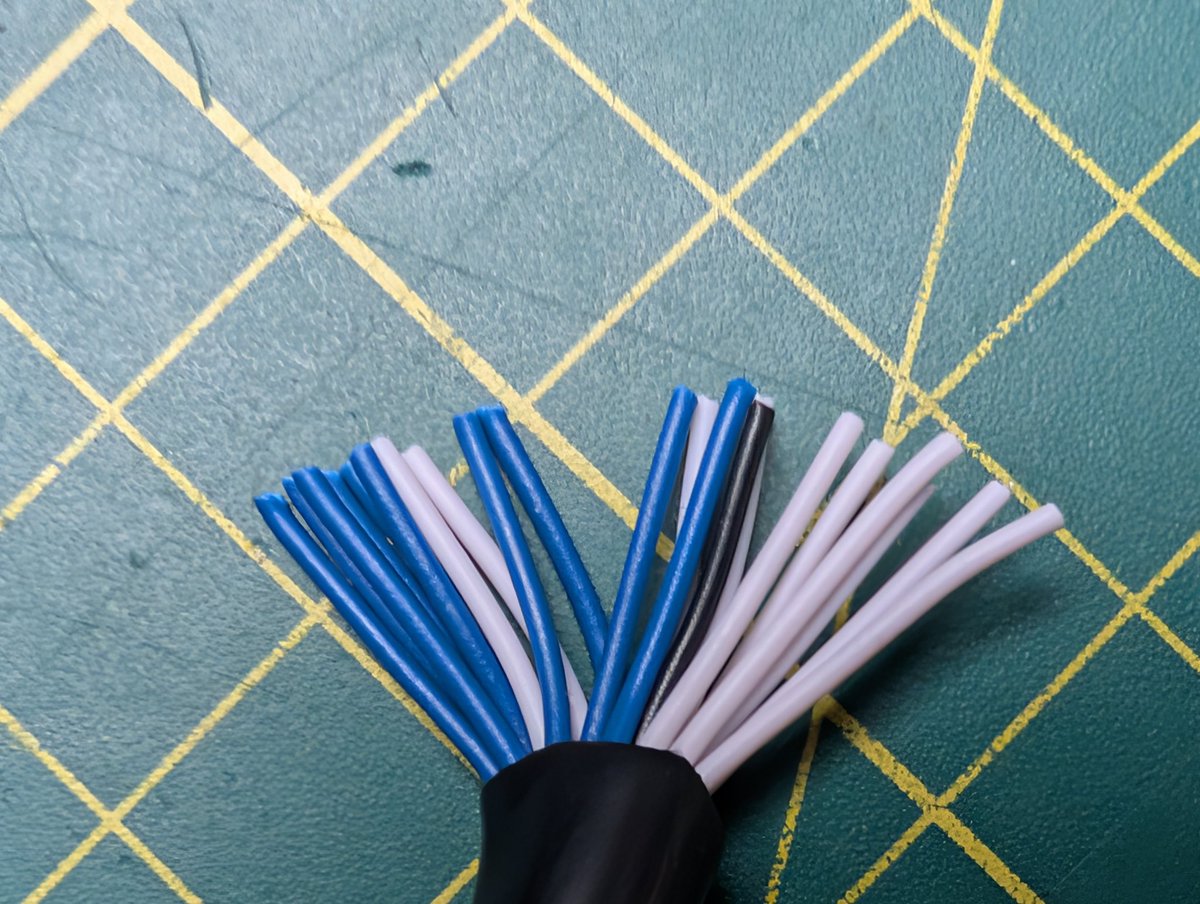
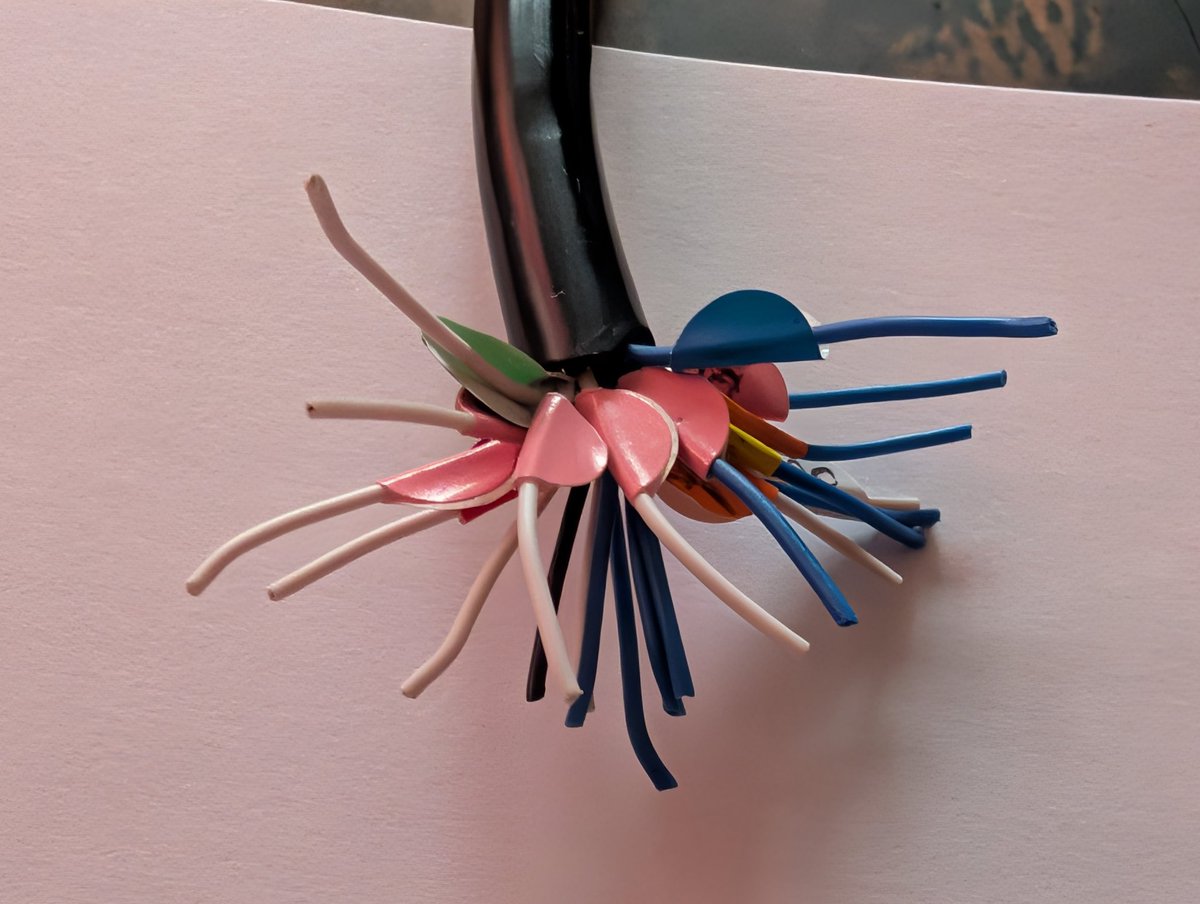
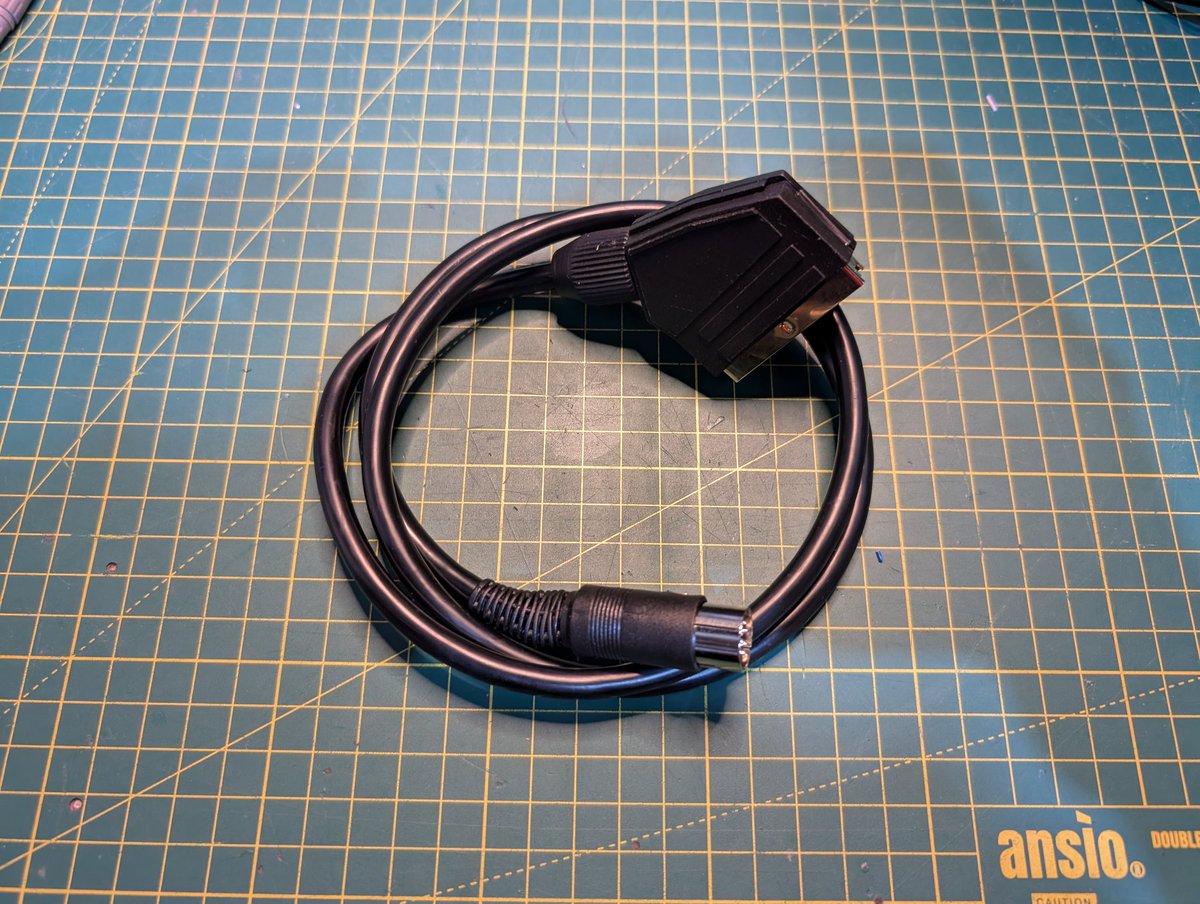
Scart cable chopped in half, this is what we're working with:
Slowly, slowly...
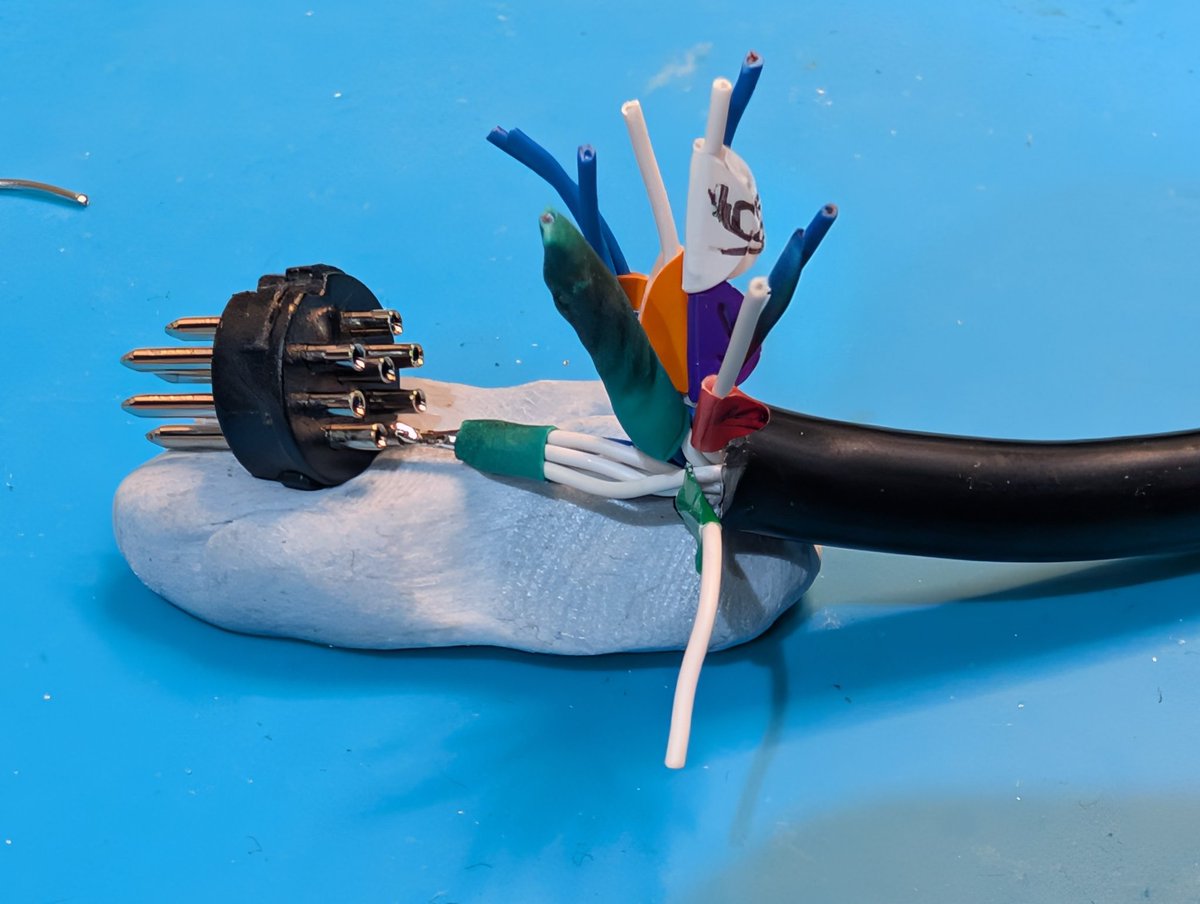
These all need to be grounded, soldering 6 wires into a single pin will be fun.
These all need to be grounded, soldering 6 wires into a single pin will be fun.
"it will be ok......"
Bit of a sense check.....

This is going to be fun 😊
DIN is Done!
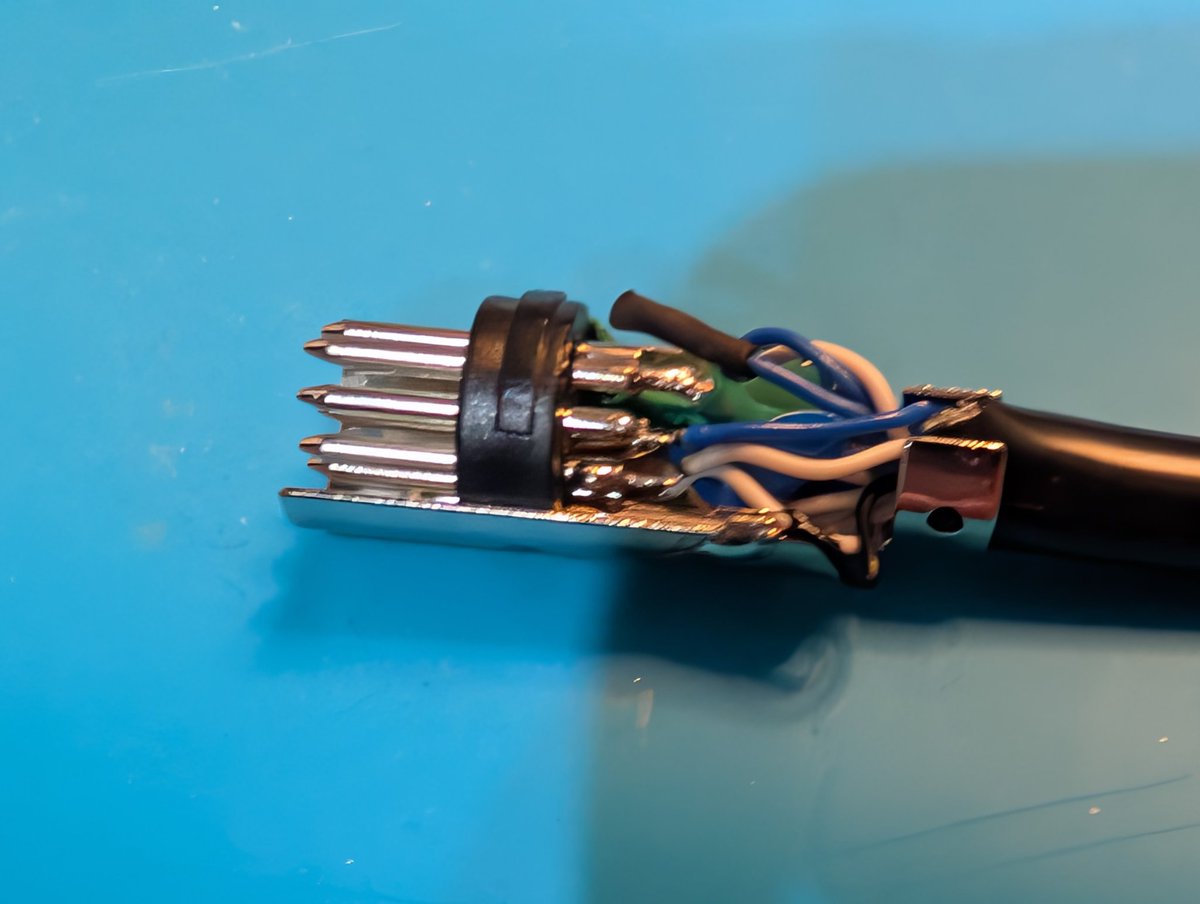
Checked all the pins, all good and no shorts.
Next up is to add 3x 330R resistors to the R, G & B connectors inside the scart.
Fortunately there's a lot more room in there!
Next up is to add 3x 330R resistors to the R, G & B connectors inside the scart.
Fortunately there's a lot more room in there!

All sorted, just need to put the connector back together.

There we go, an RGB Scart cable, that's compatible with the:
ZX Spectrum +2A / +2B / +3
ZX Spectrum +2A / +2B / +3
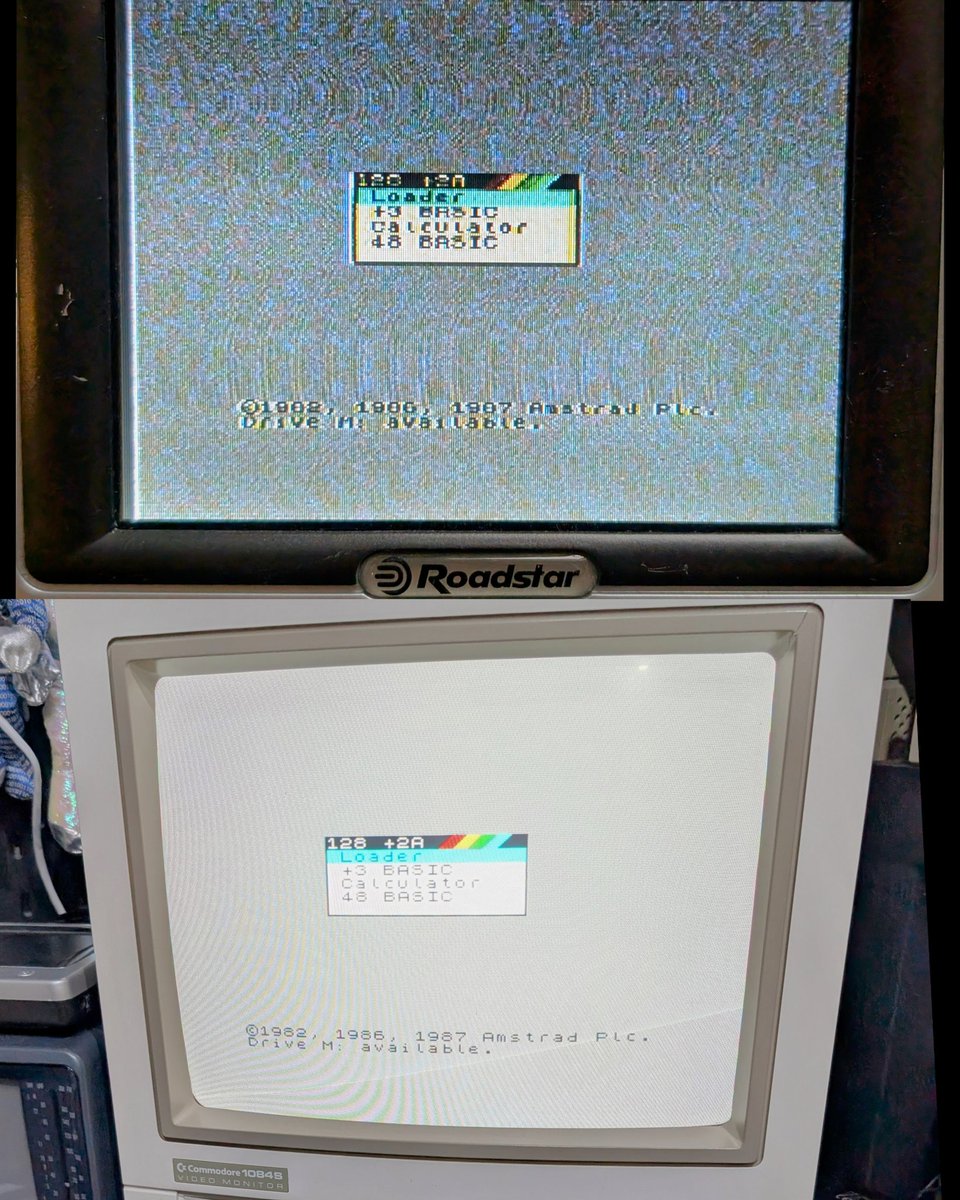
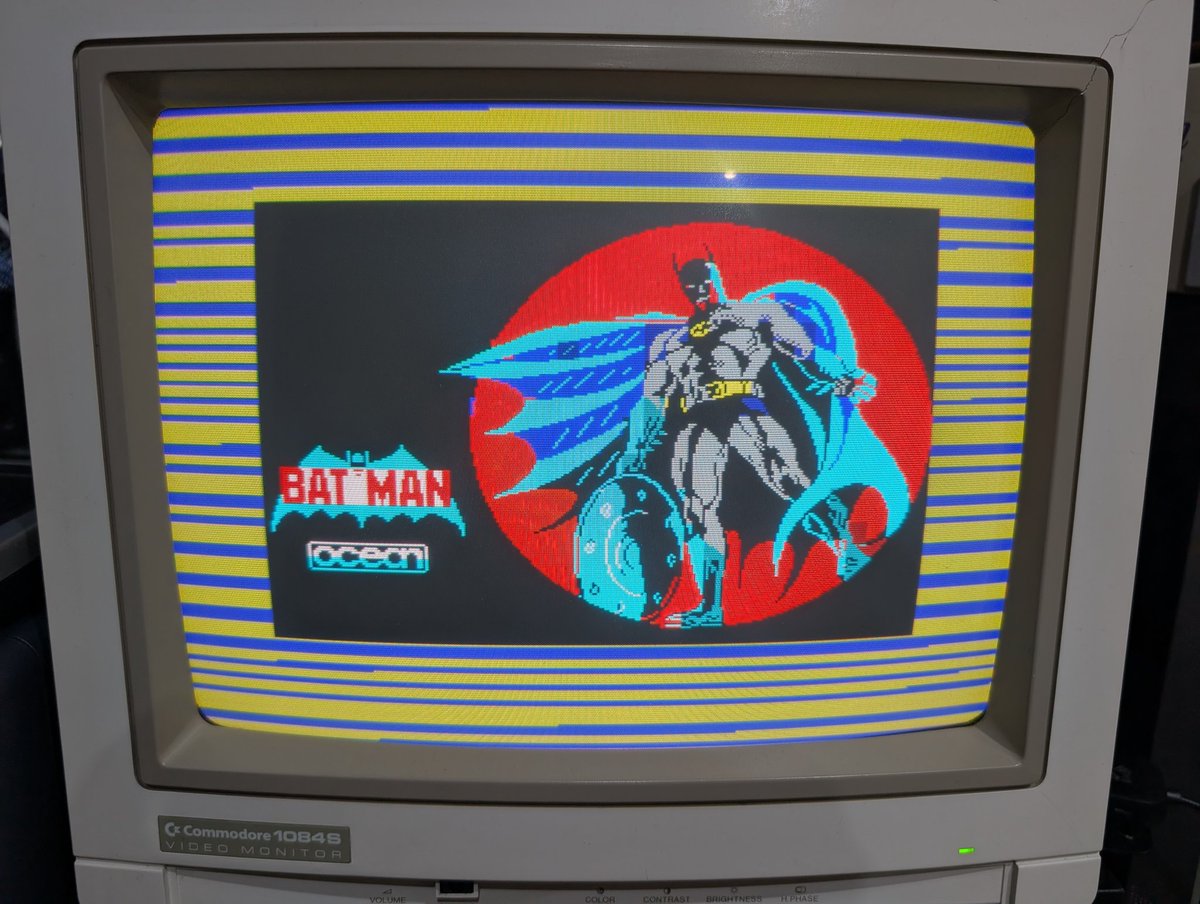
Wow, just wow! 😊😊😊😊

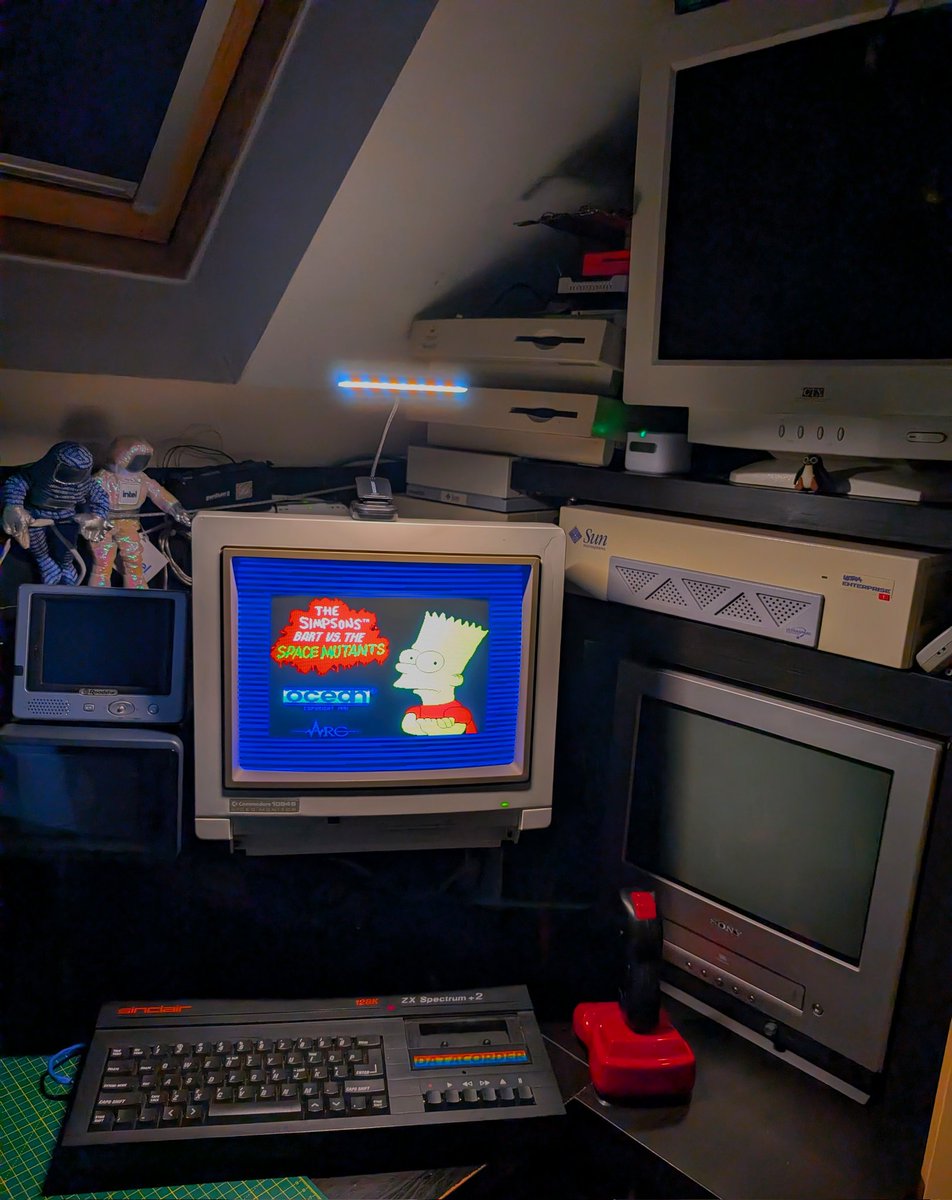
Looking good on my Commodore monitor via RGB too! 👍
Before
/
After
/
After
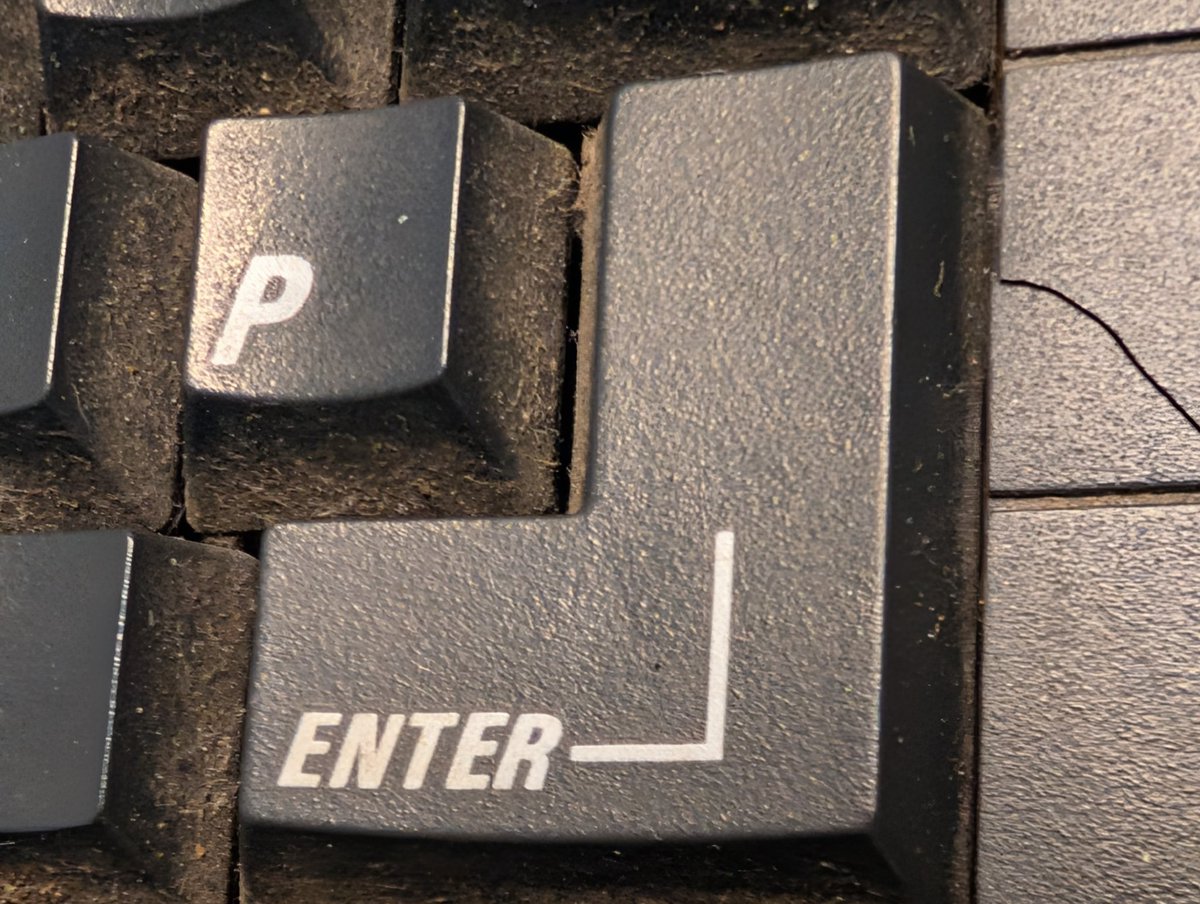
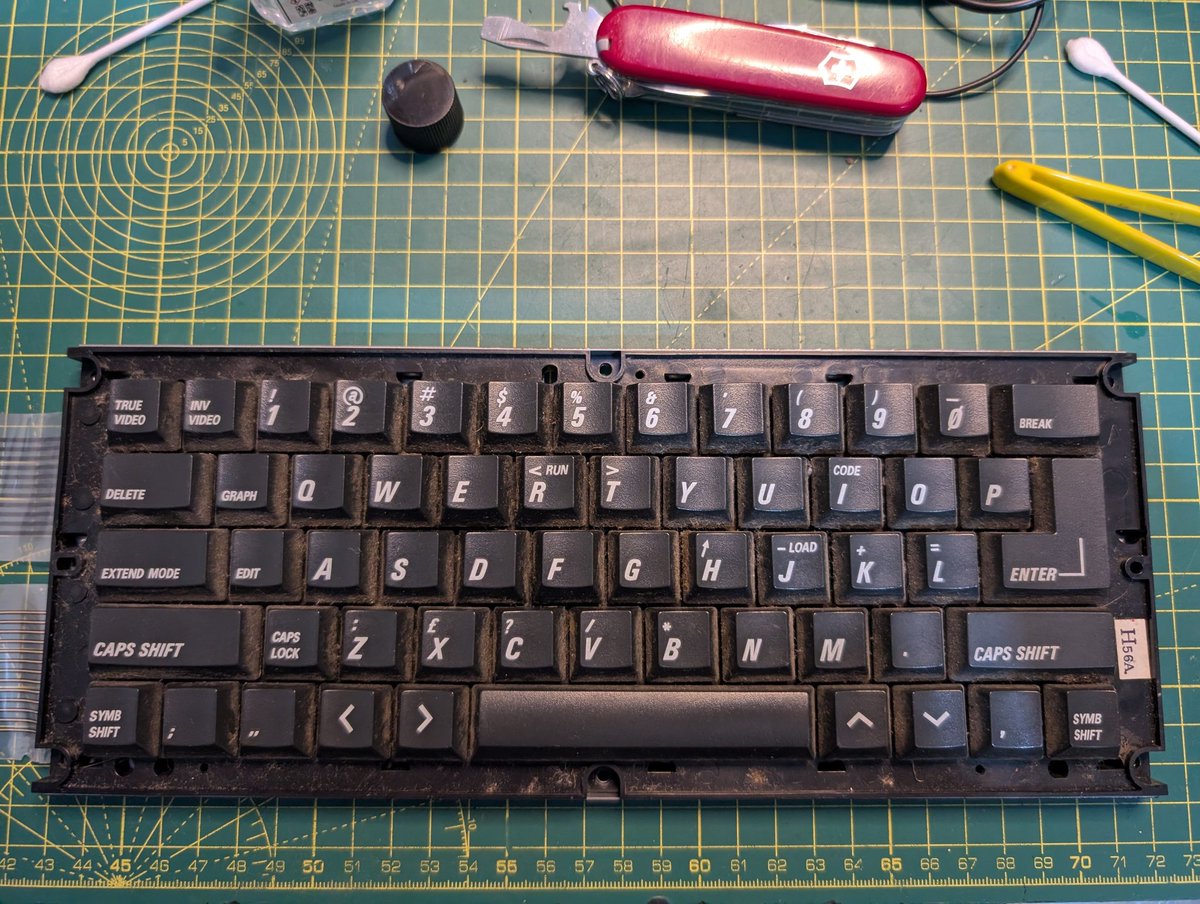
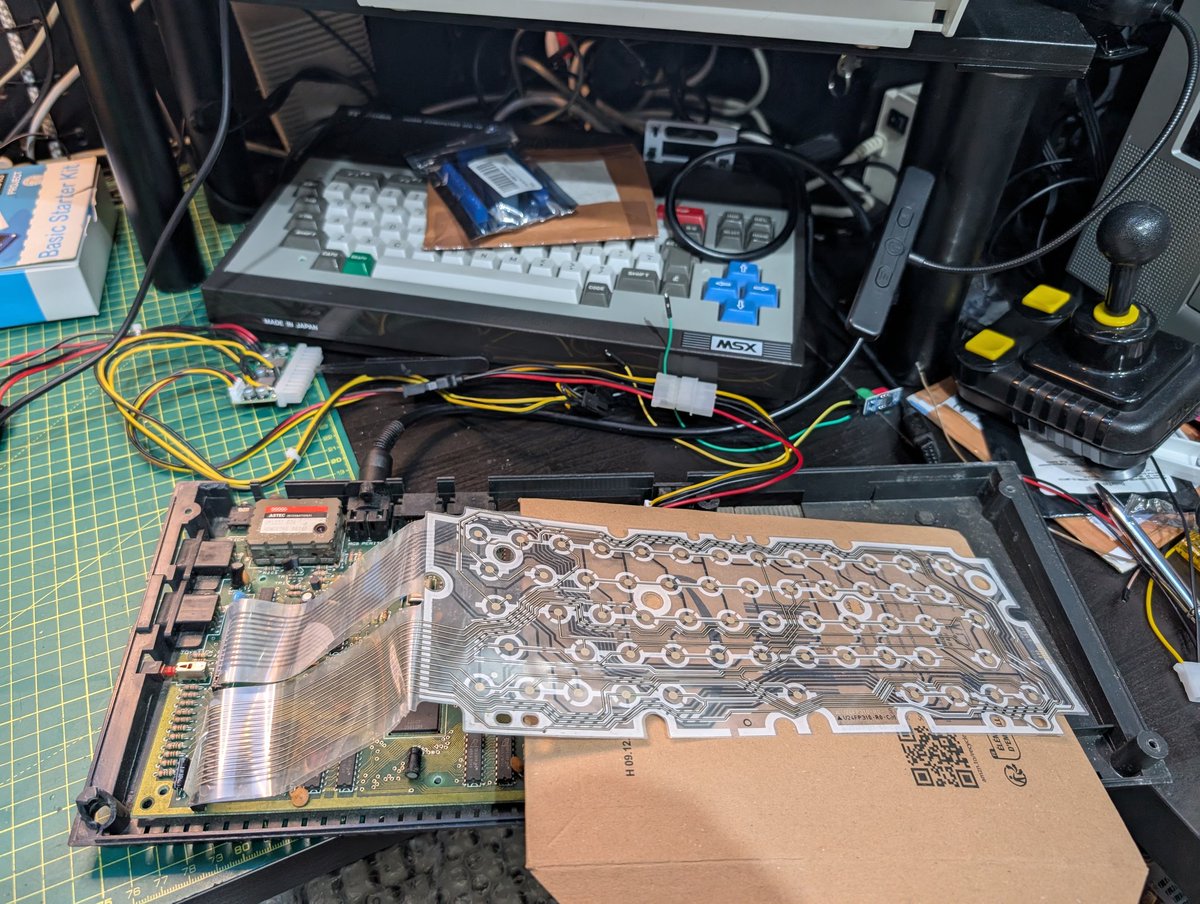
Sooo, my keyboard is not working, no keys at all - let's diagnose.
So, I tried cleaning the membrane connector and the socket, no luck.
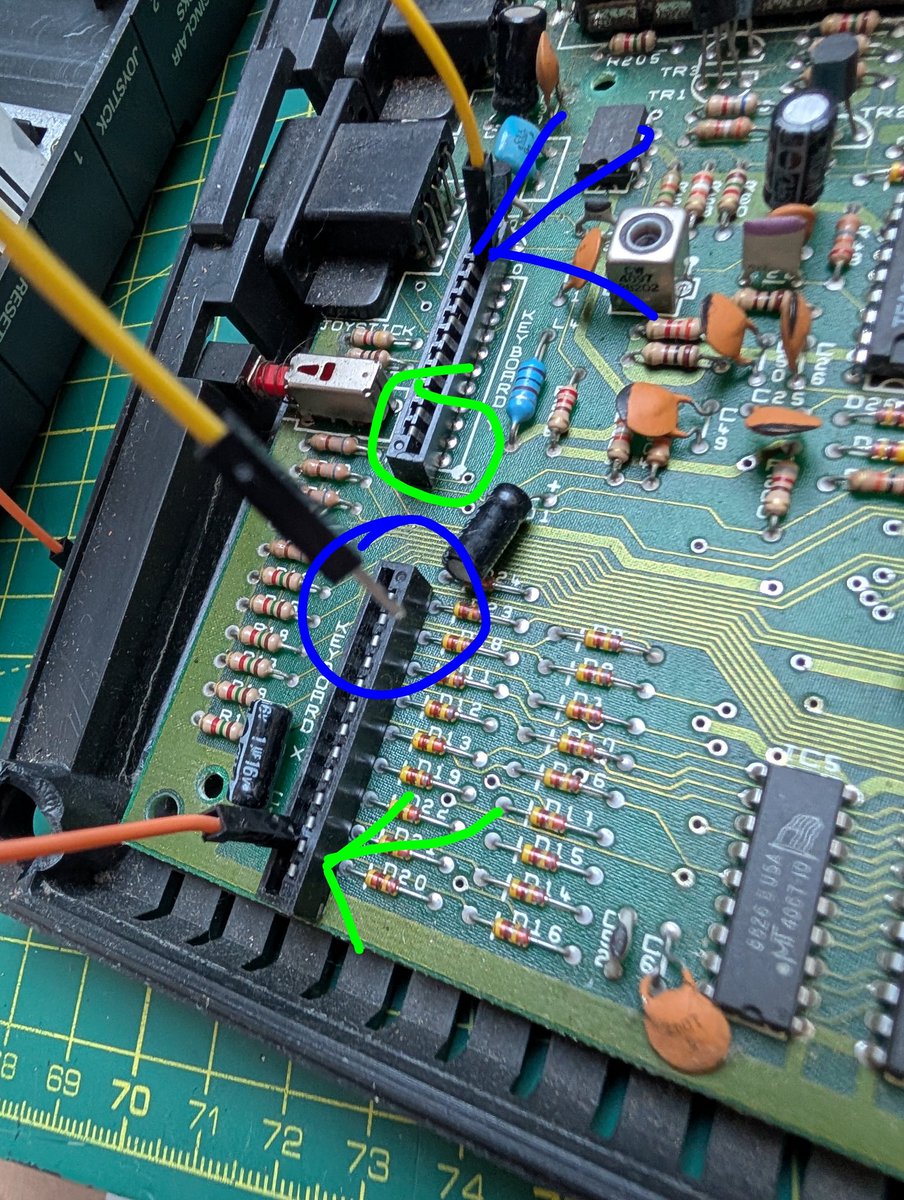
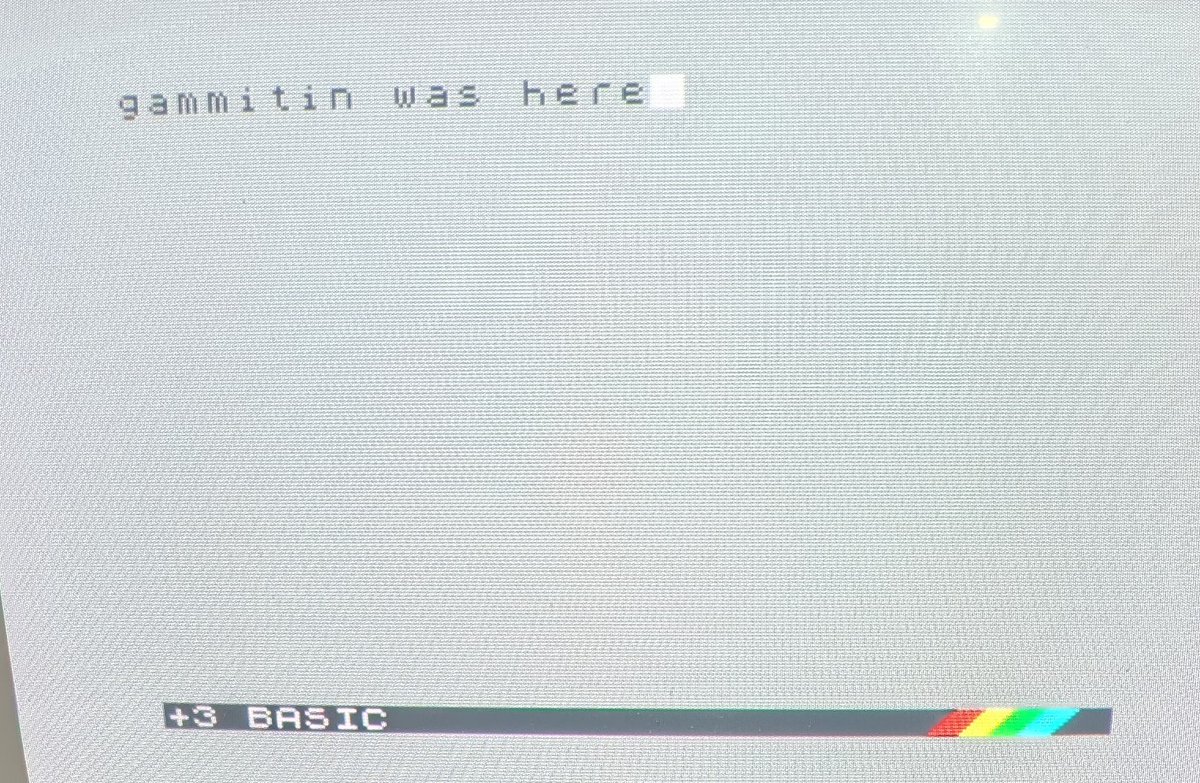
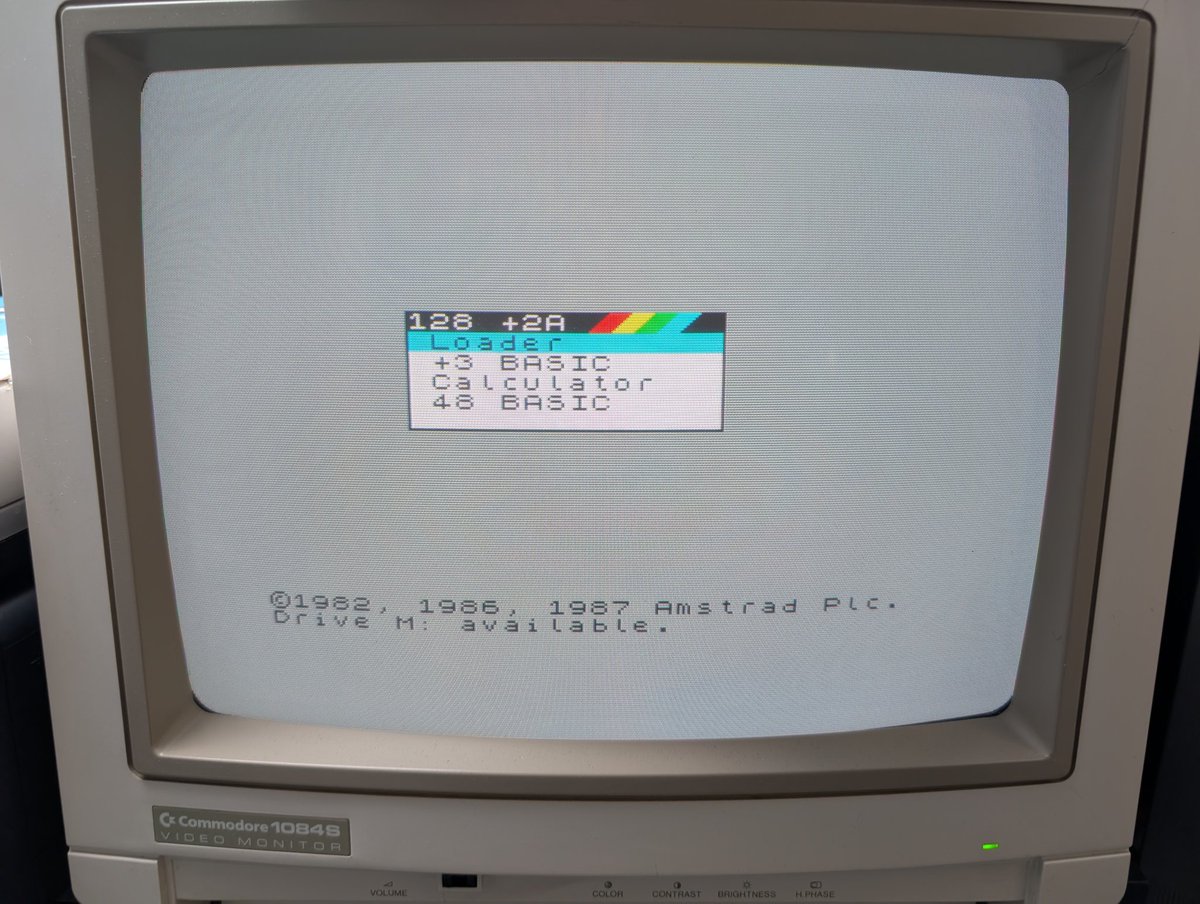
But, if I short out a few connections, below I figured out up, down and enter I can get into basic.
So I know that it's not the machine, it's something to do with the keyboard itself.
But, if I short out a few connections, below I figured out up, down and enter I can get into basic.
So I know that it's not the machine, it's something to do with the keyboard itself.
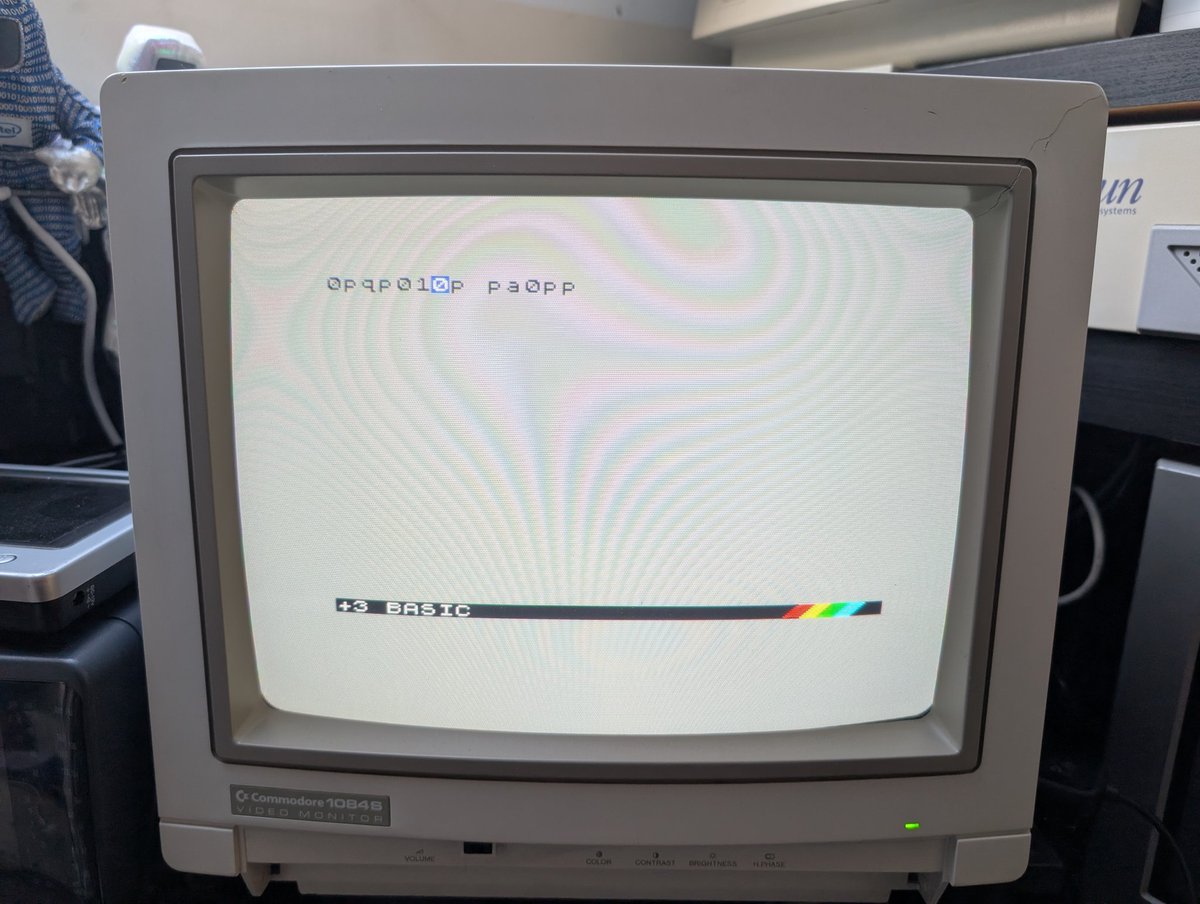
Also Basic works well and has a flashing cursor.
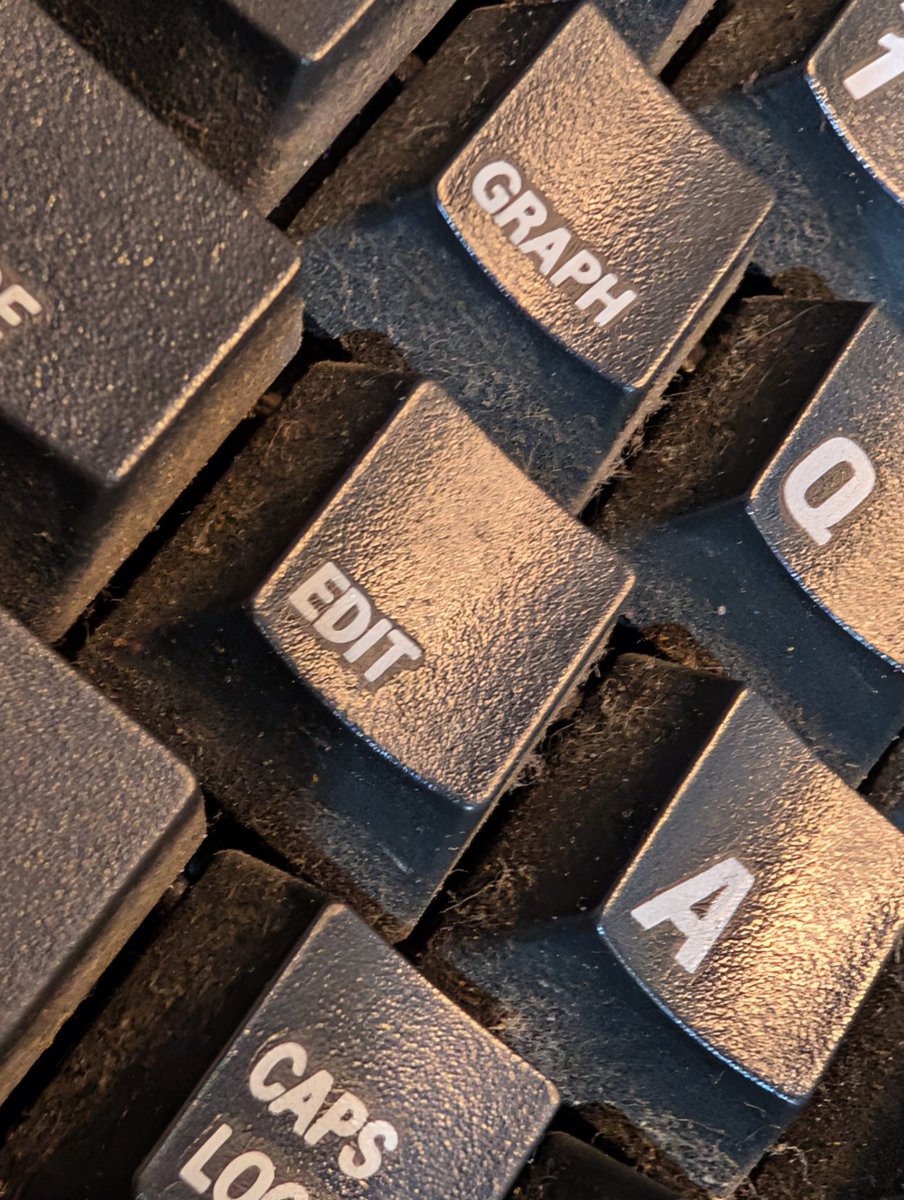
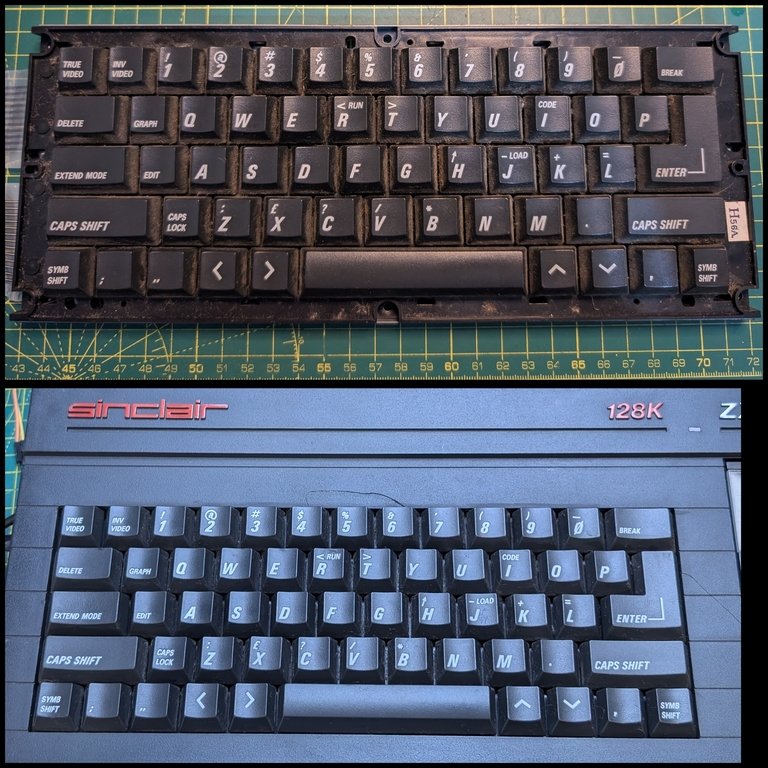
Membrane removed and it's really gross, also it looks like there may have been a spillage at some point.
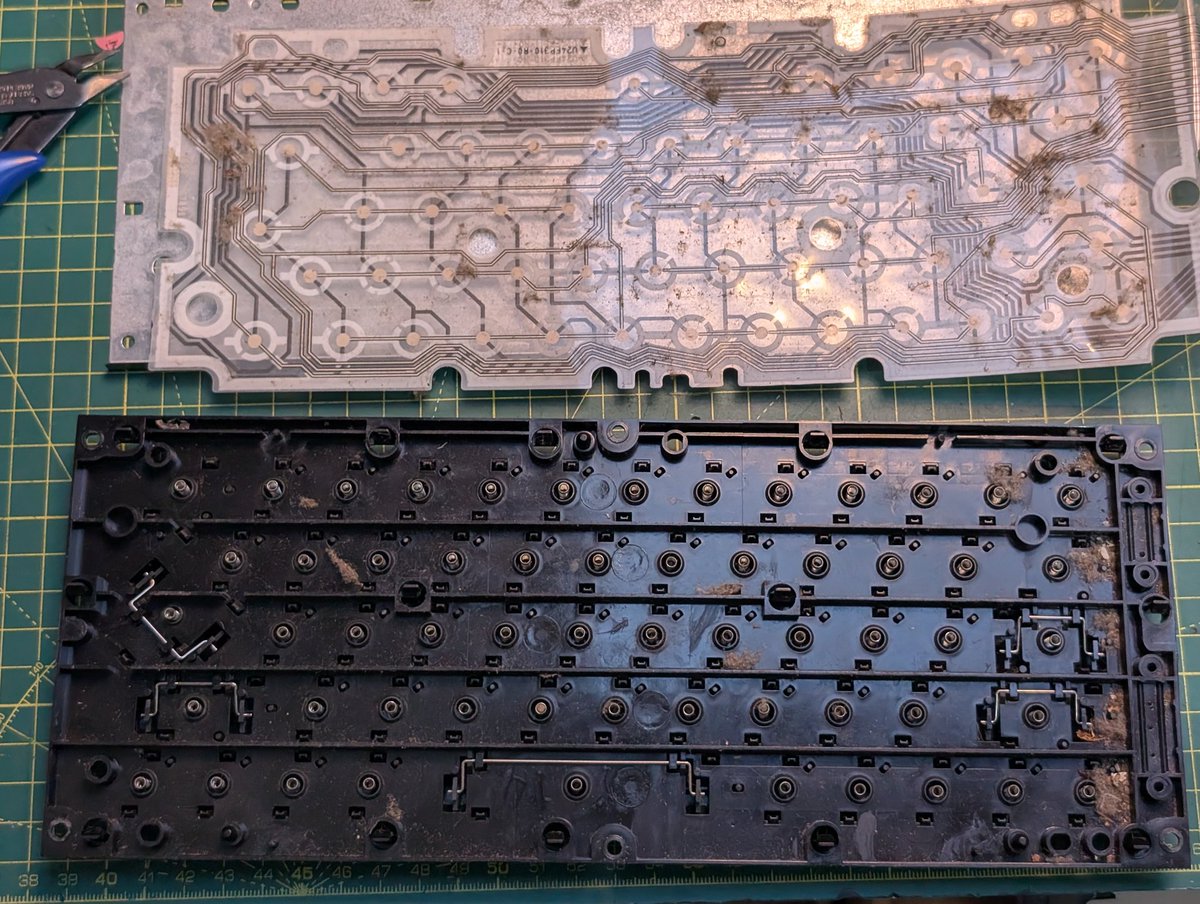
Yuck 🤮


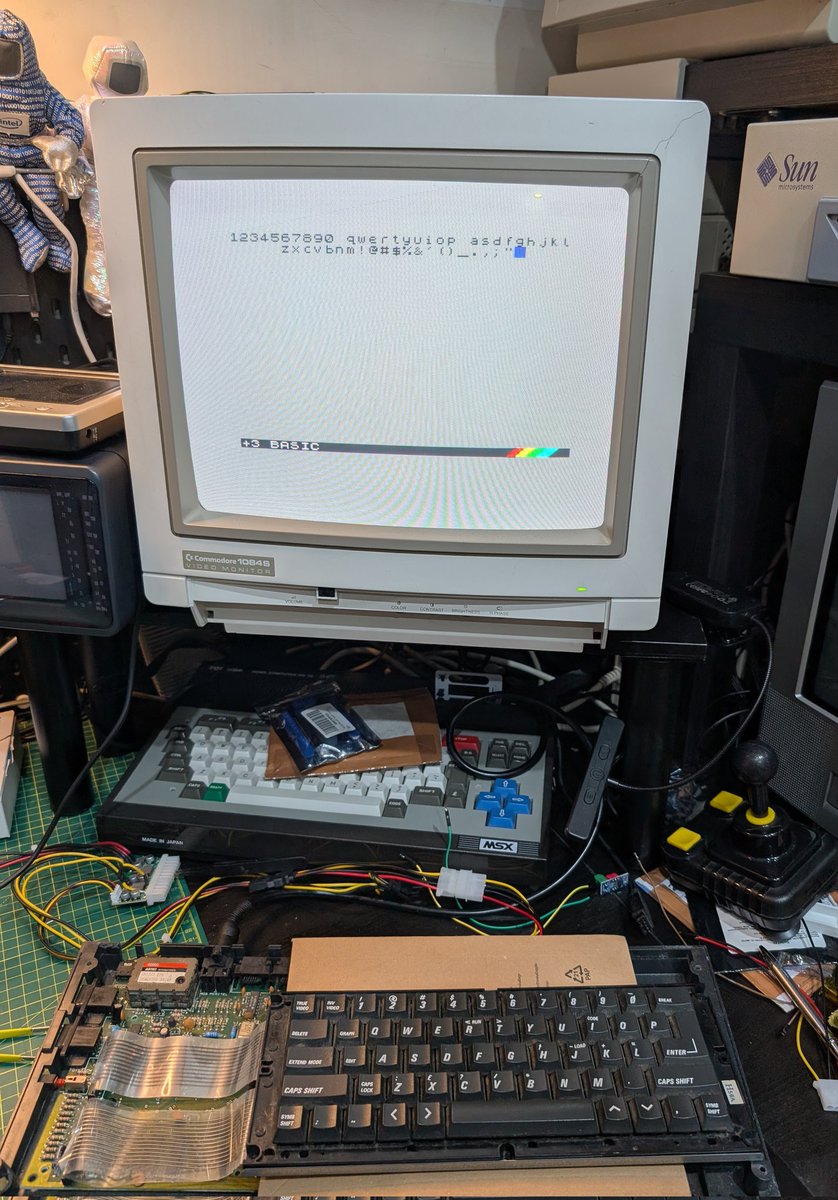
Keyboard membrane cleaned up, now let's test it.
Well that works nicely
I've quickly cleaned the springs and put it back together, this will have a nice deep clean though.
But I'm happy to report that every key now works. 👍
But I'm happy to report that every key now works. 👍
These keys and the board will all need individually washing, but I've other things to sort out first, like testing the Datacorder, mounting the new USB C PSU and fixing the case.

The Spectrum +2A saga continues.....

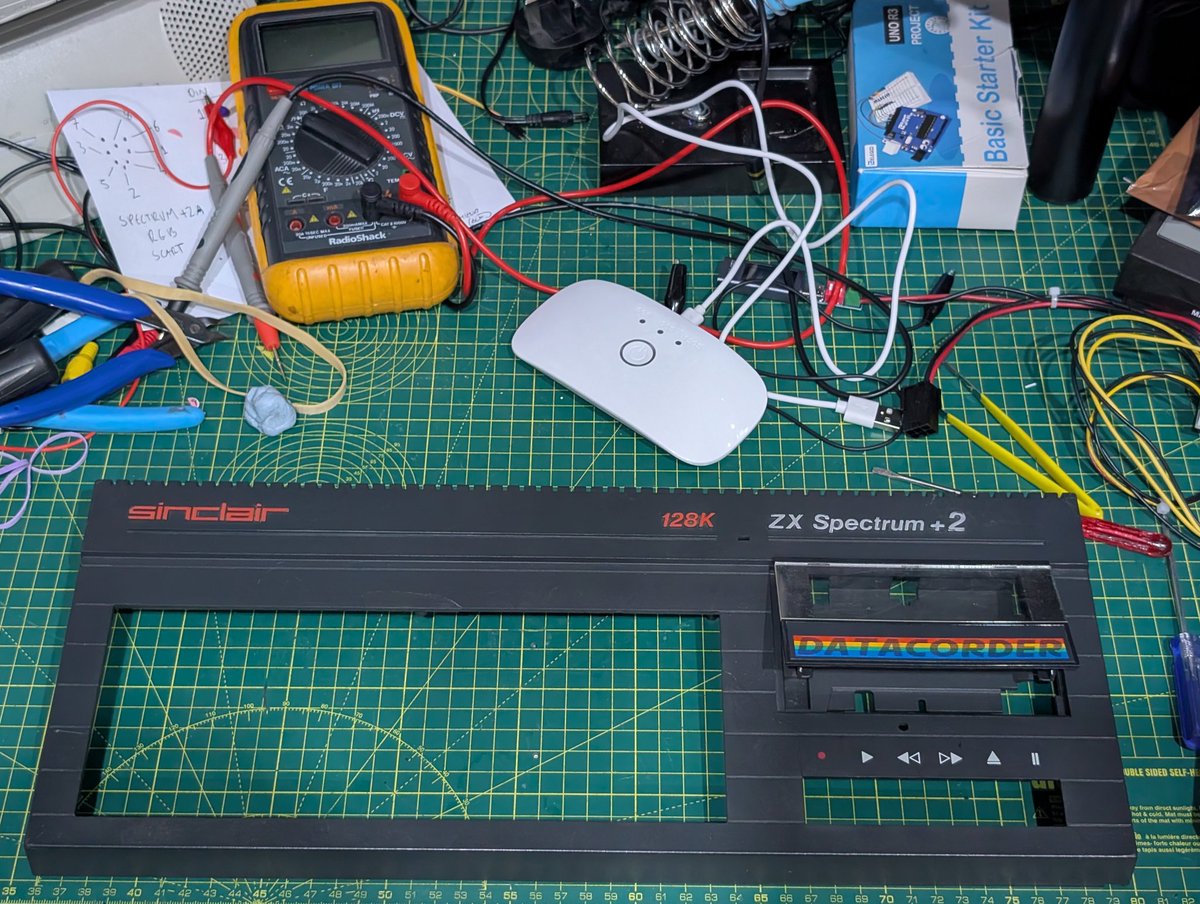
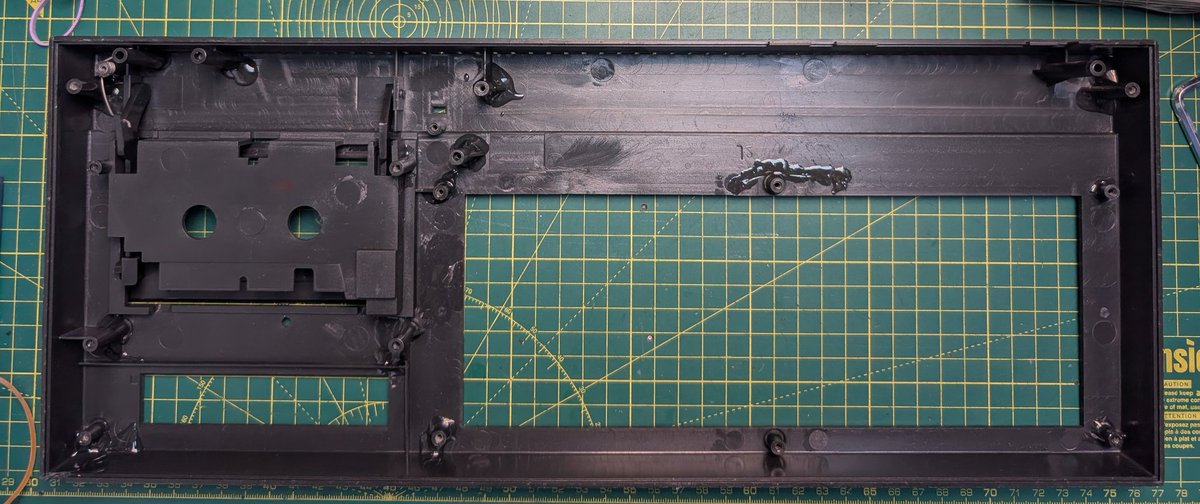
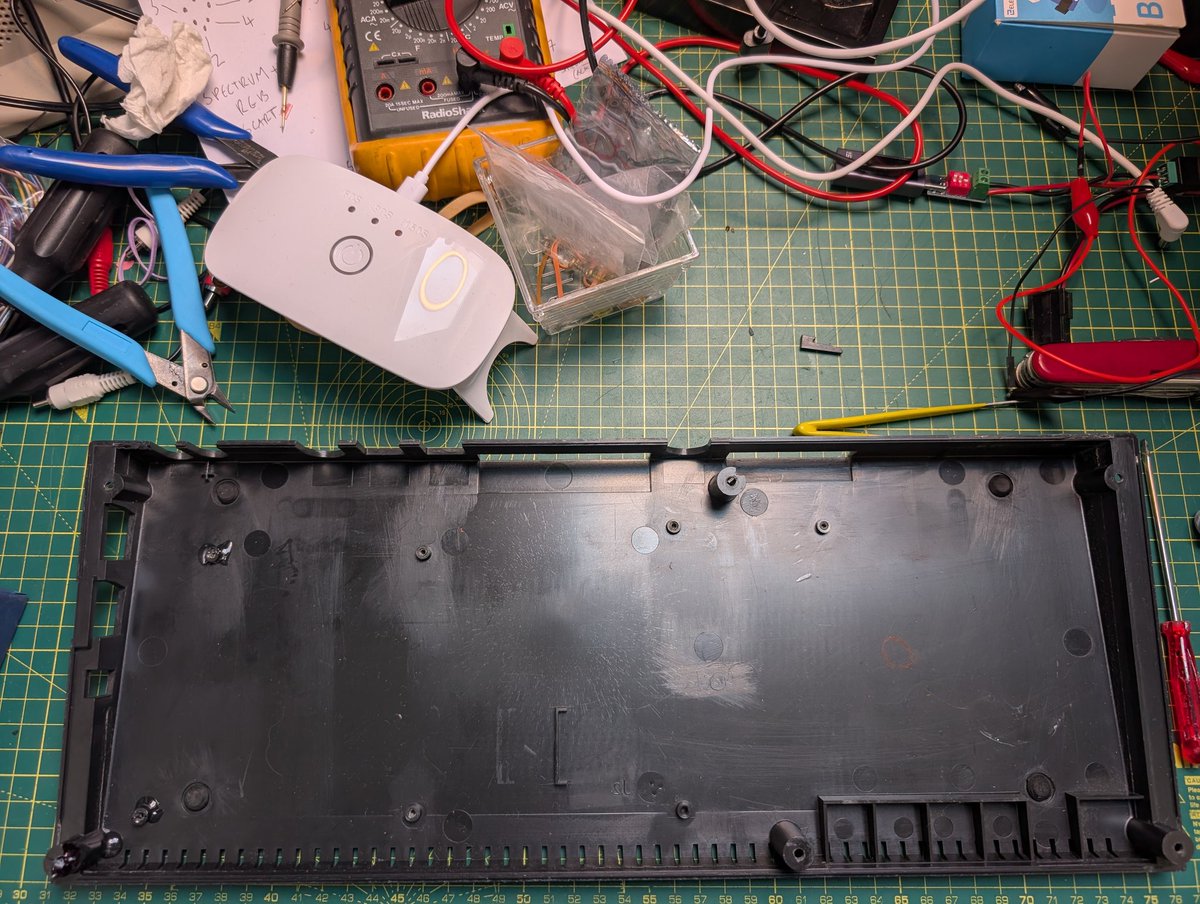
It's case cleaning time 🫧🪥
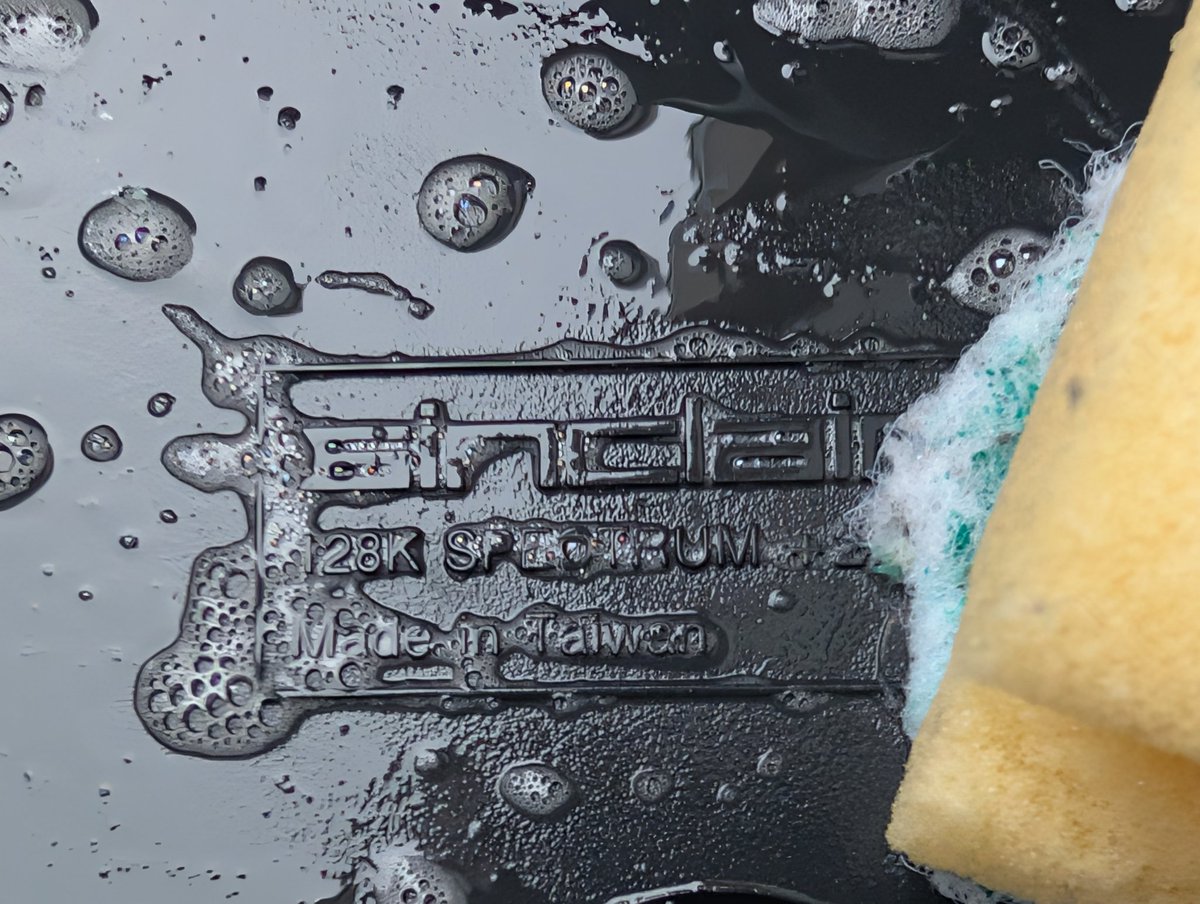
I've taken the tape deck out, cleaned and dried both sides of the case, looking a lot fresher now!
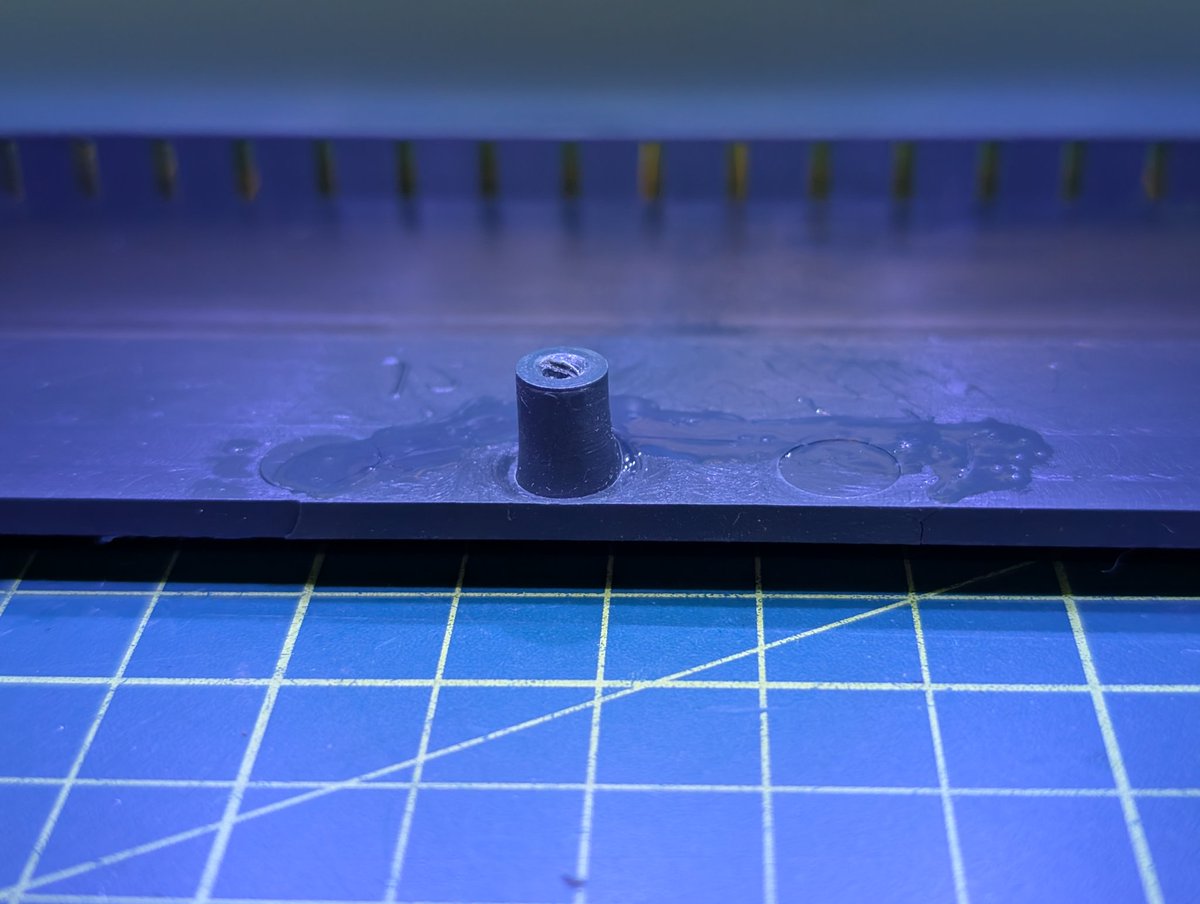
UV Resin repair time, first I'll start with the actual damaged case.


The resin is stronger than the case itself! 💪

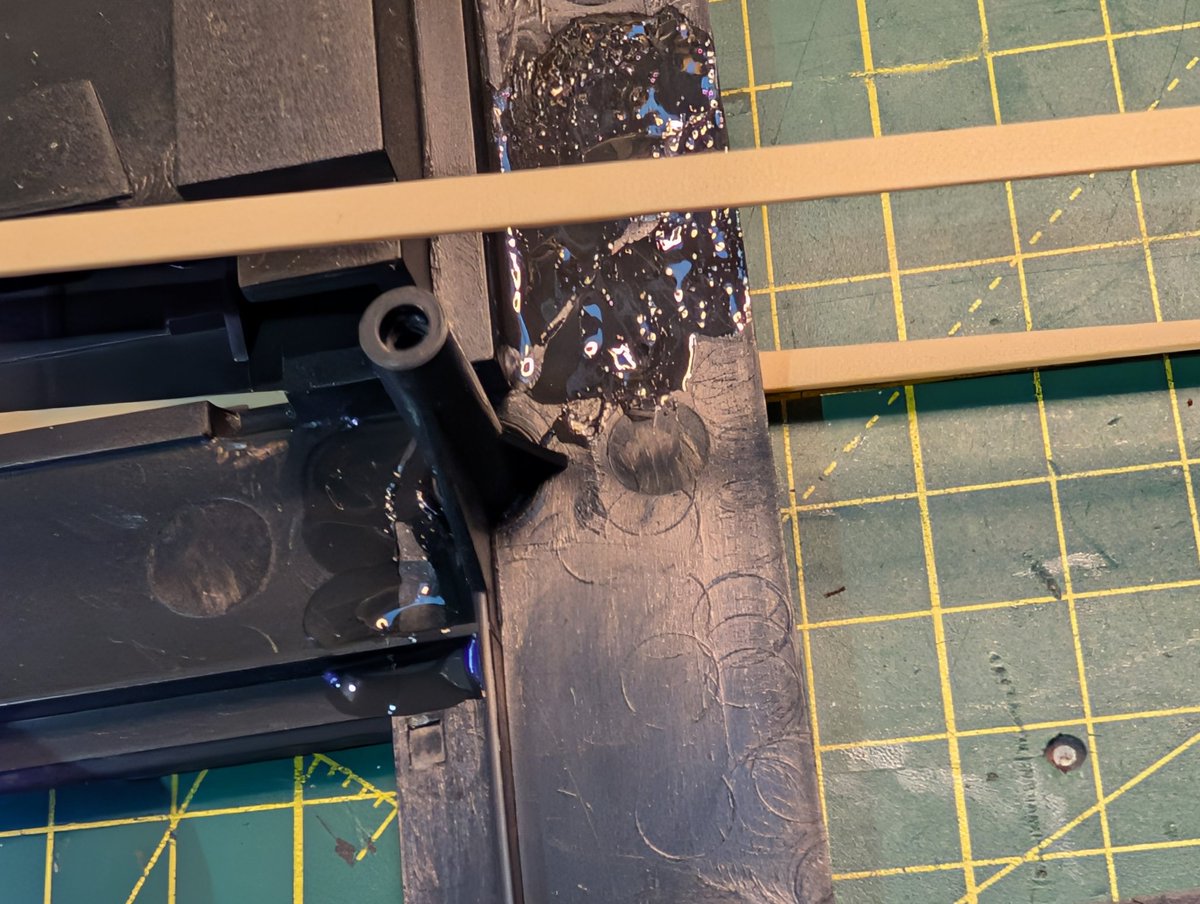
Happy with the case now! 😍
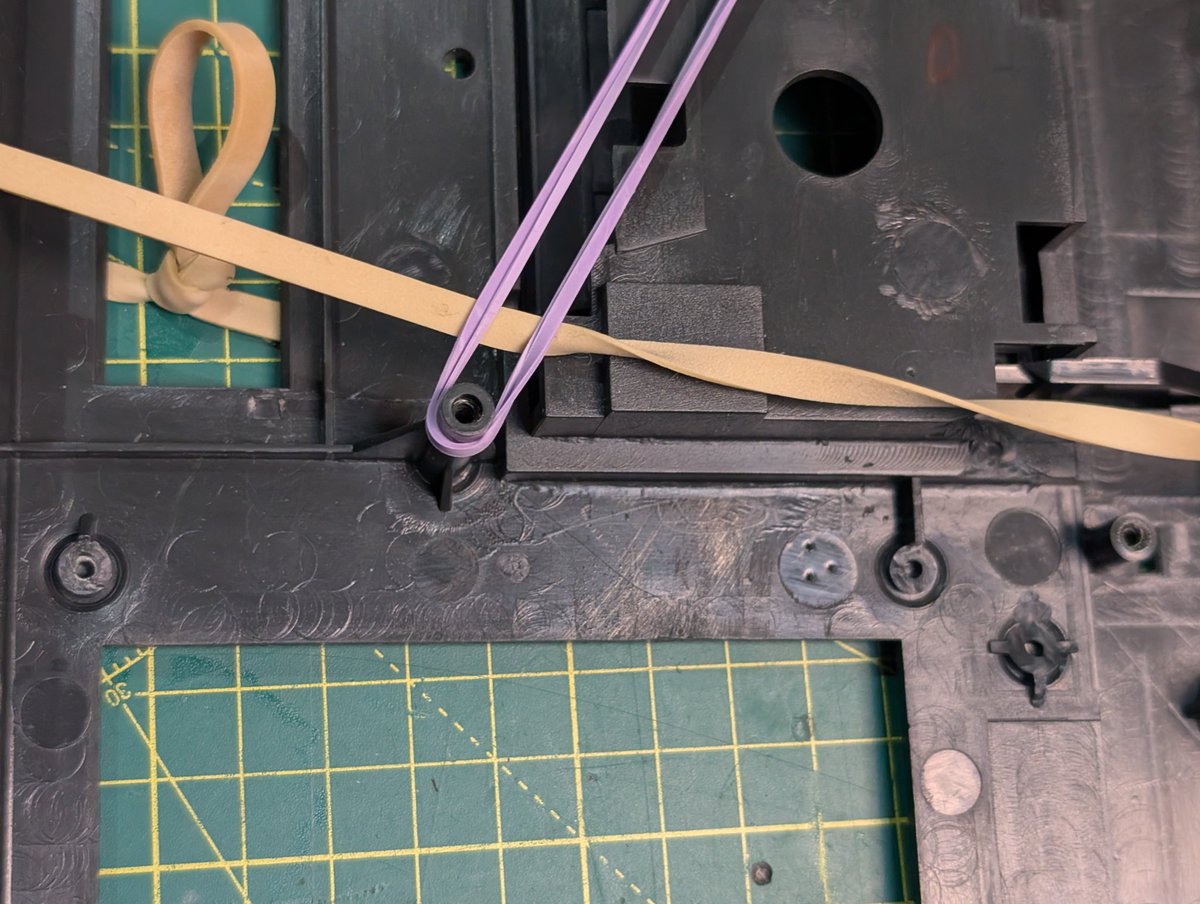
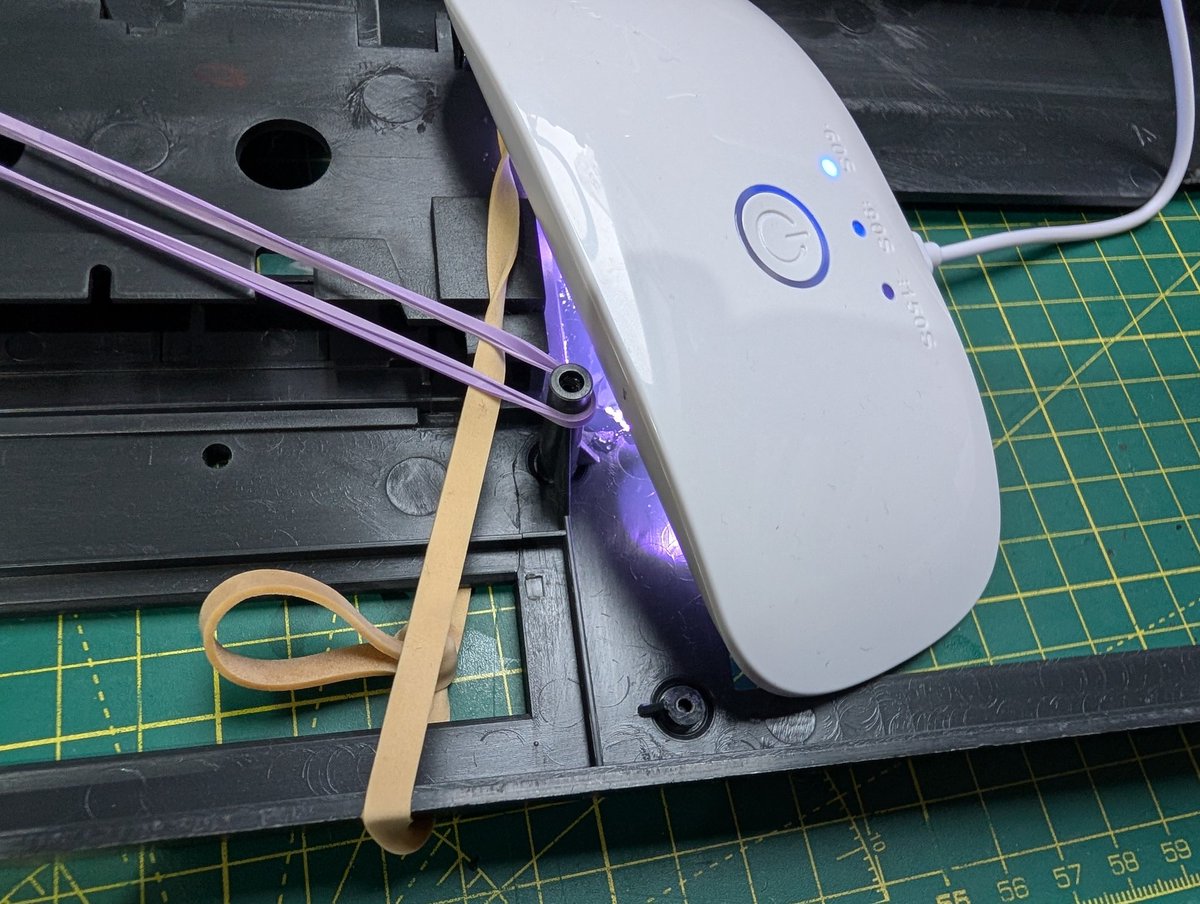
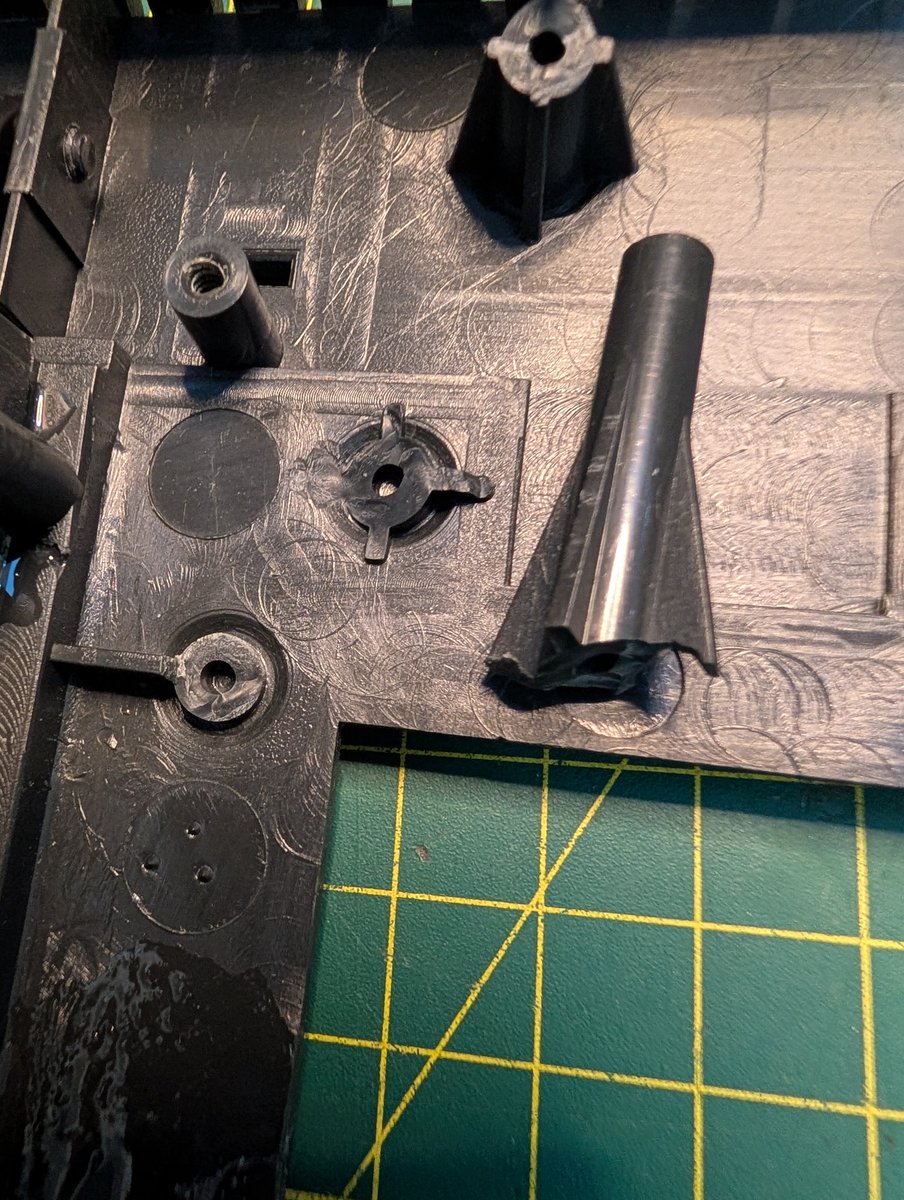
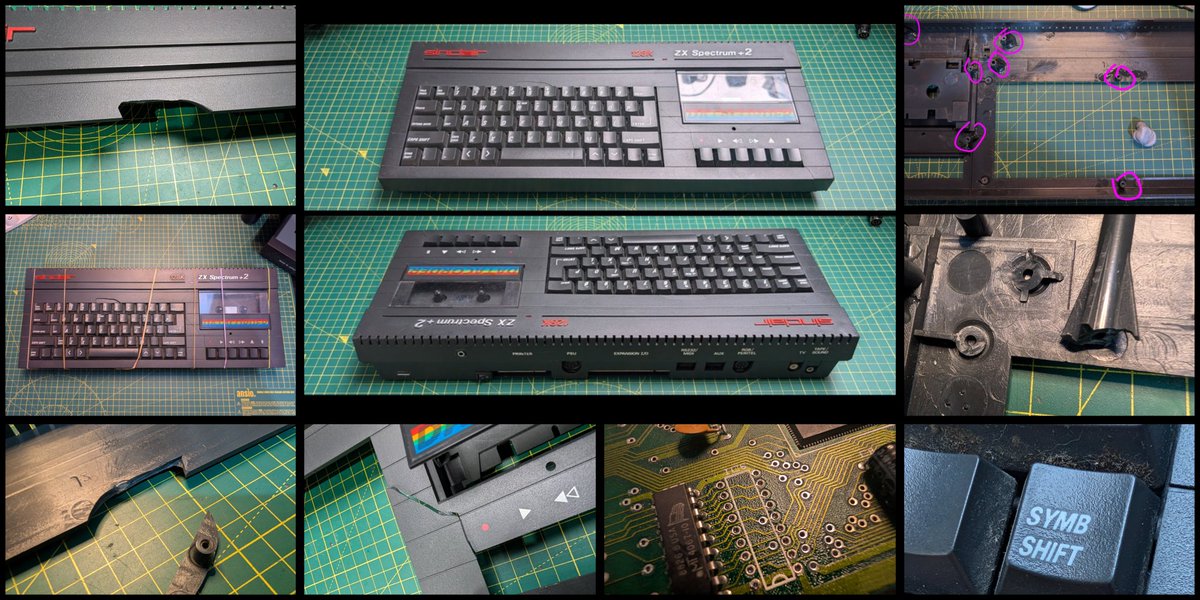
Next is the millions of posts that have snapped off 😔
Next is the millions of posts that have snapped off 😔
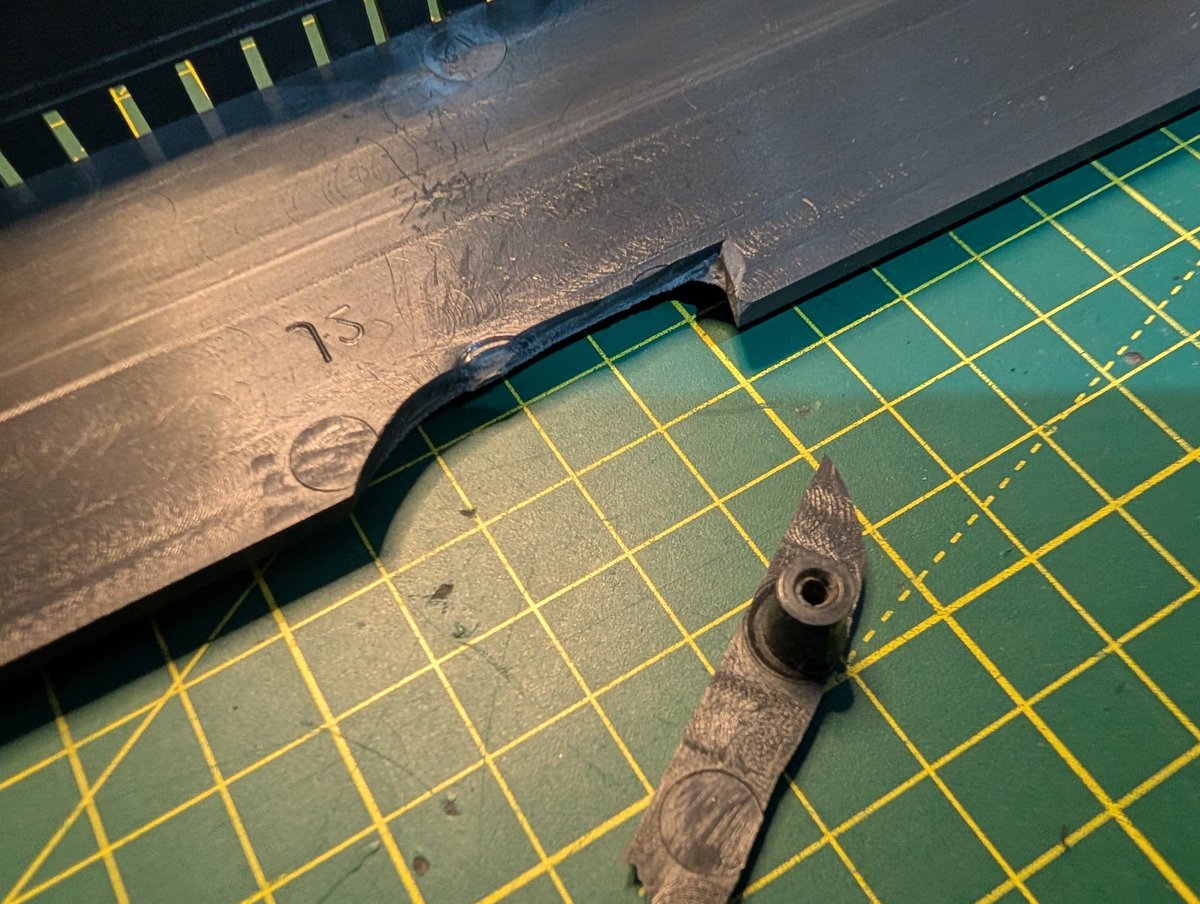
Post, by post, piece by piece, we will rebuild this!
Solid!
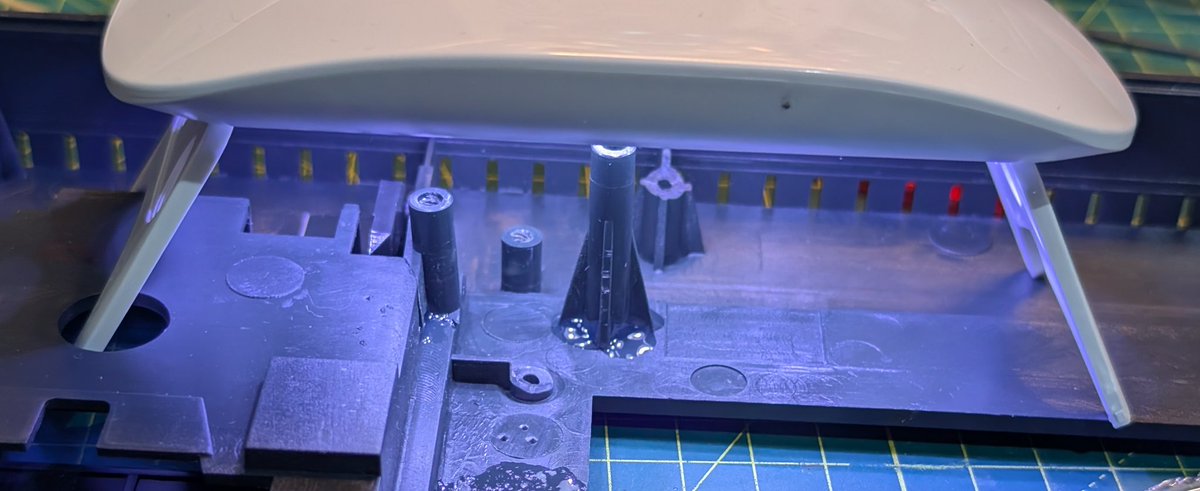
11 threaded standoffs repaired so far, 5 more to go 😌

16 standoffs repaired, now onto the front half and also the tape deck.
Bottom half sorted, the left standoff was destroyed, so I'll have to hope for the best as it's one that holds the front of the case down.
Part of the tape deck needs reattaching:

Sorted!
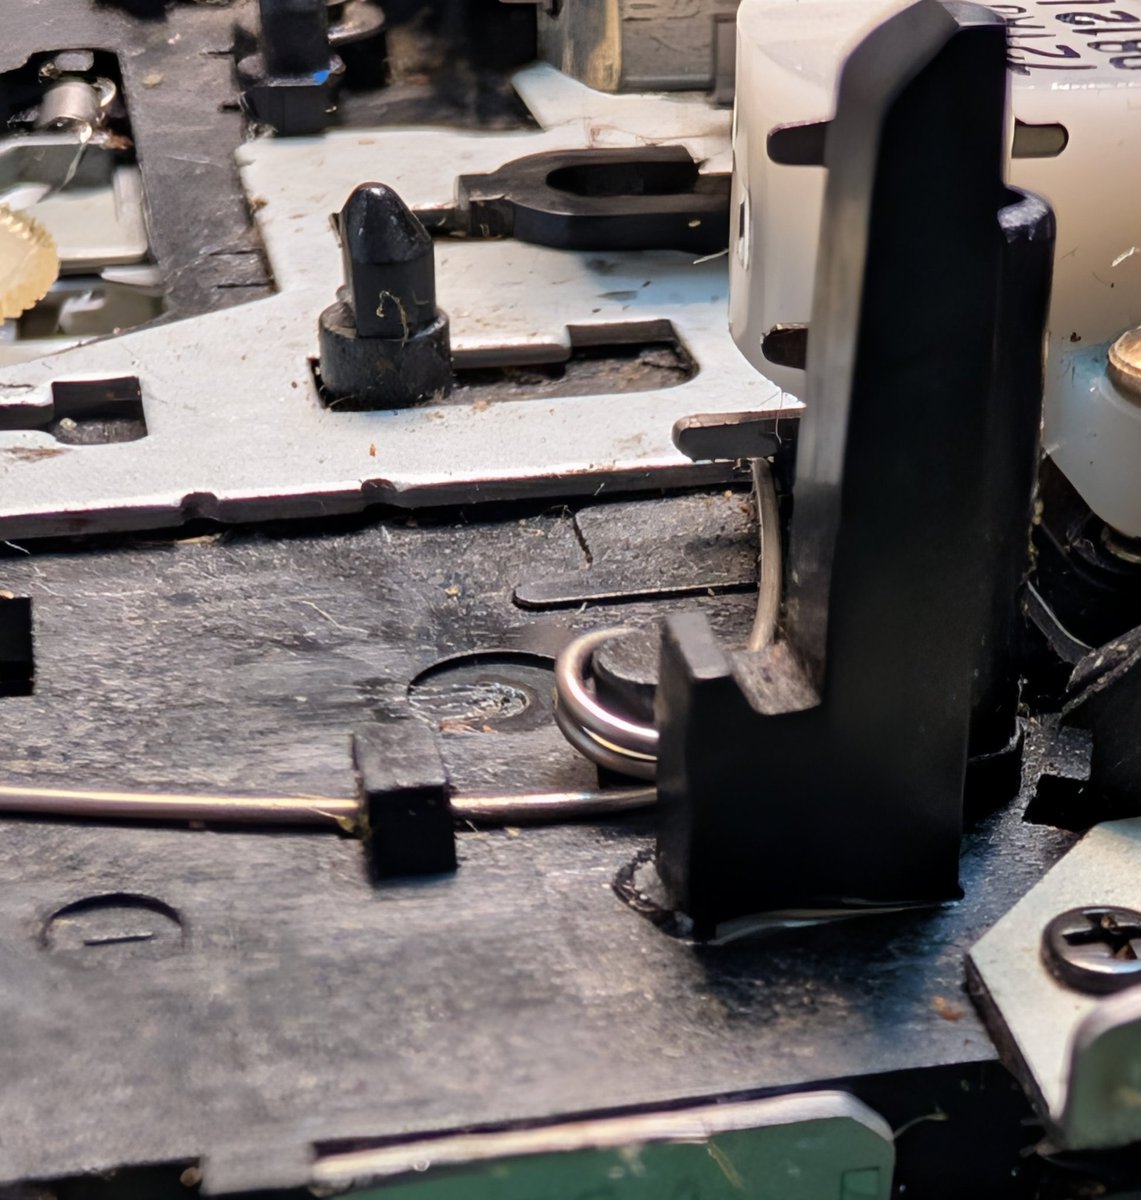
Can you tell where I've gone wrong? 🙃
Ok, so I've reassembled it, honestly it was a pain, but it's not completely done yet (keys not cleaned yet).
To Do:
- Take the keyboard back out and deep clean each key.
- Figure out how and where to mount the Pico PSU.
-Figure out where to put the USB C connector.
To Do:
- Take the keyboard back out and deep clean each key.
- Figure out how and where to mount the Pico PSU.
-Figure out where to put the USB C connector.

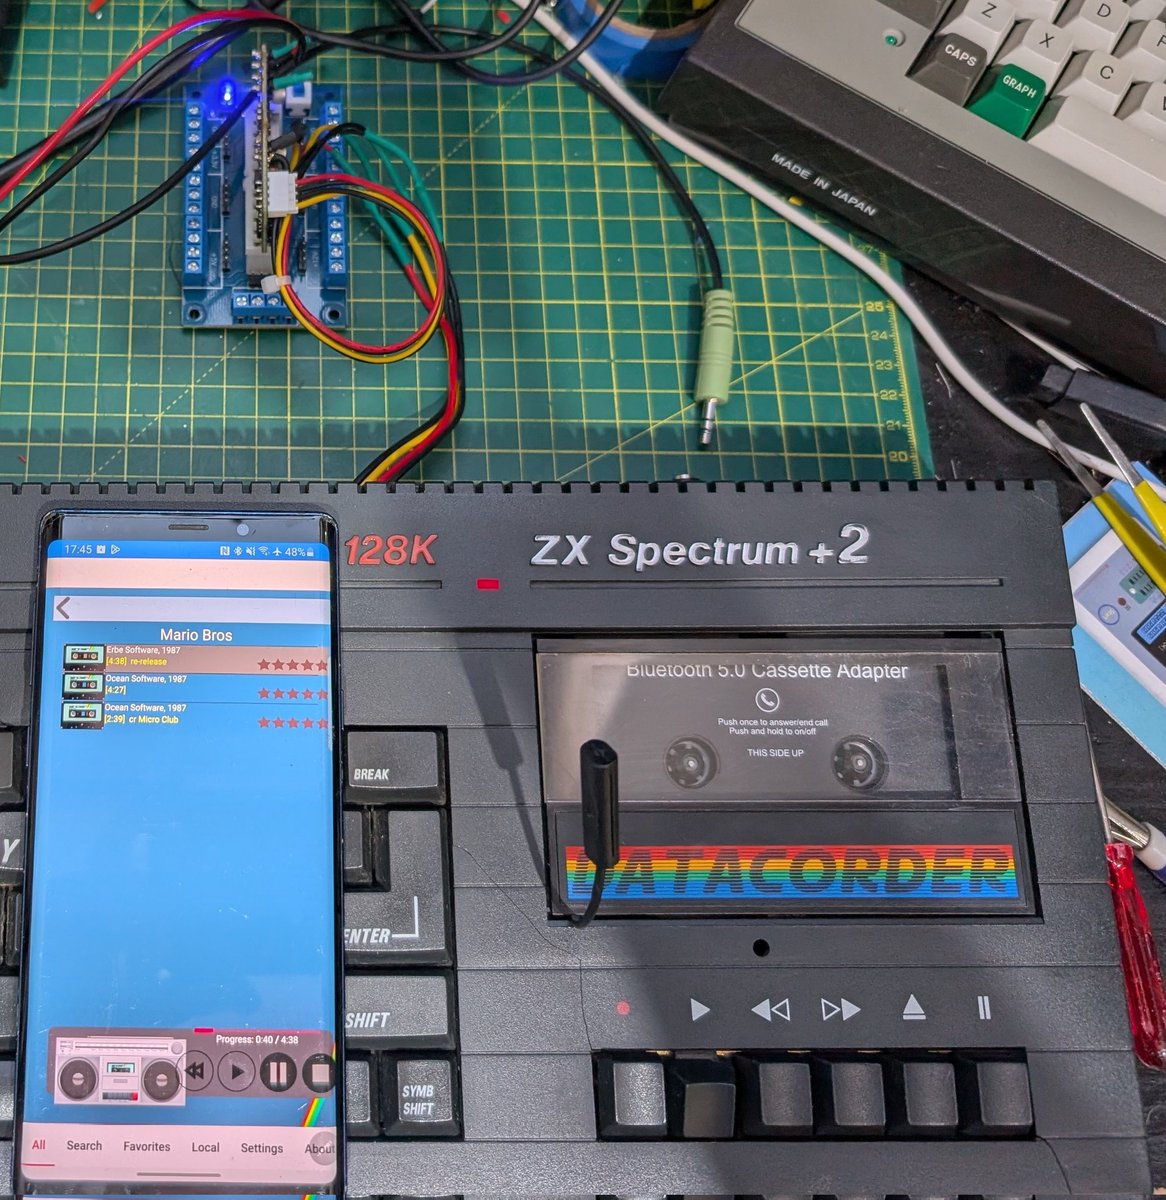
I'm shocked that a Bluetooth cassette tape works tbh!
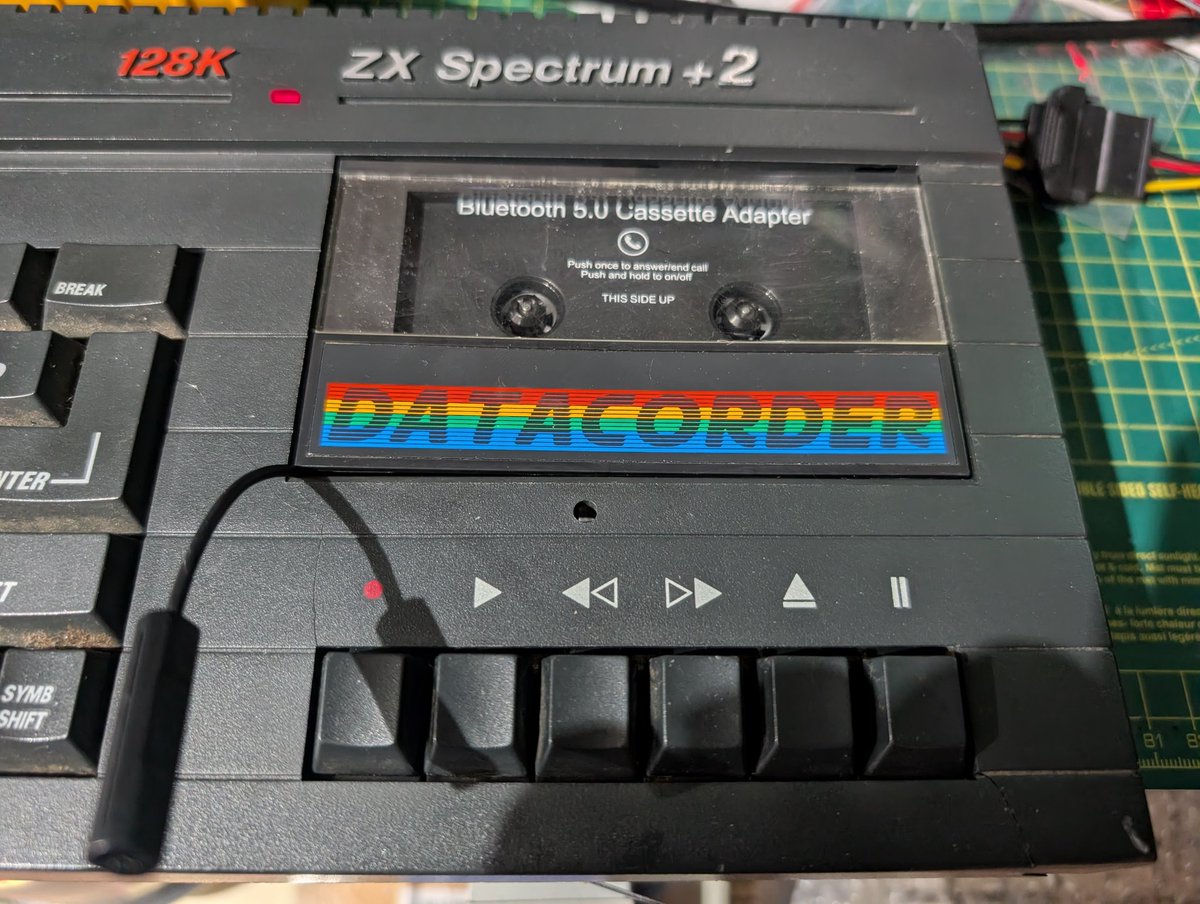
Digger Dan (1983) loaded and was the first ever game I've played on this Spectrum.
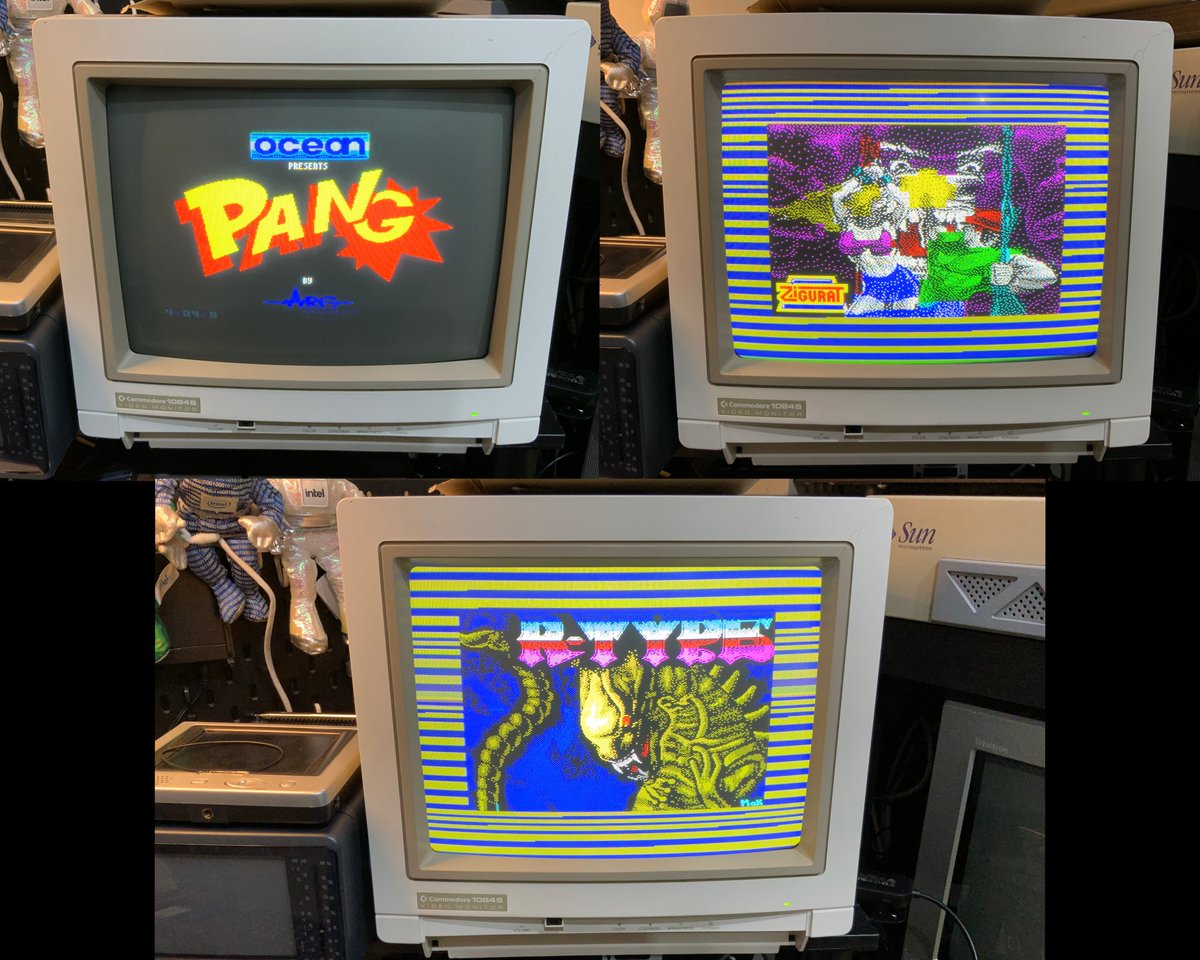
I'm struggling to get larger games to work at the moment, but the loading screens look cool 😎
I'm going to install an audio-in jack (the +2A doesn't have one), hopefully it will help the situation. 🤔
I'm going to install an audio-in jack (the +2A doesn't have one), hopefully it will help the situation. 🤔
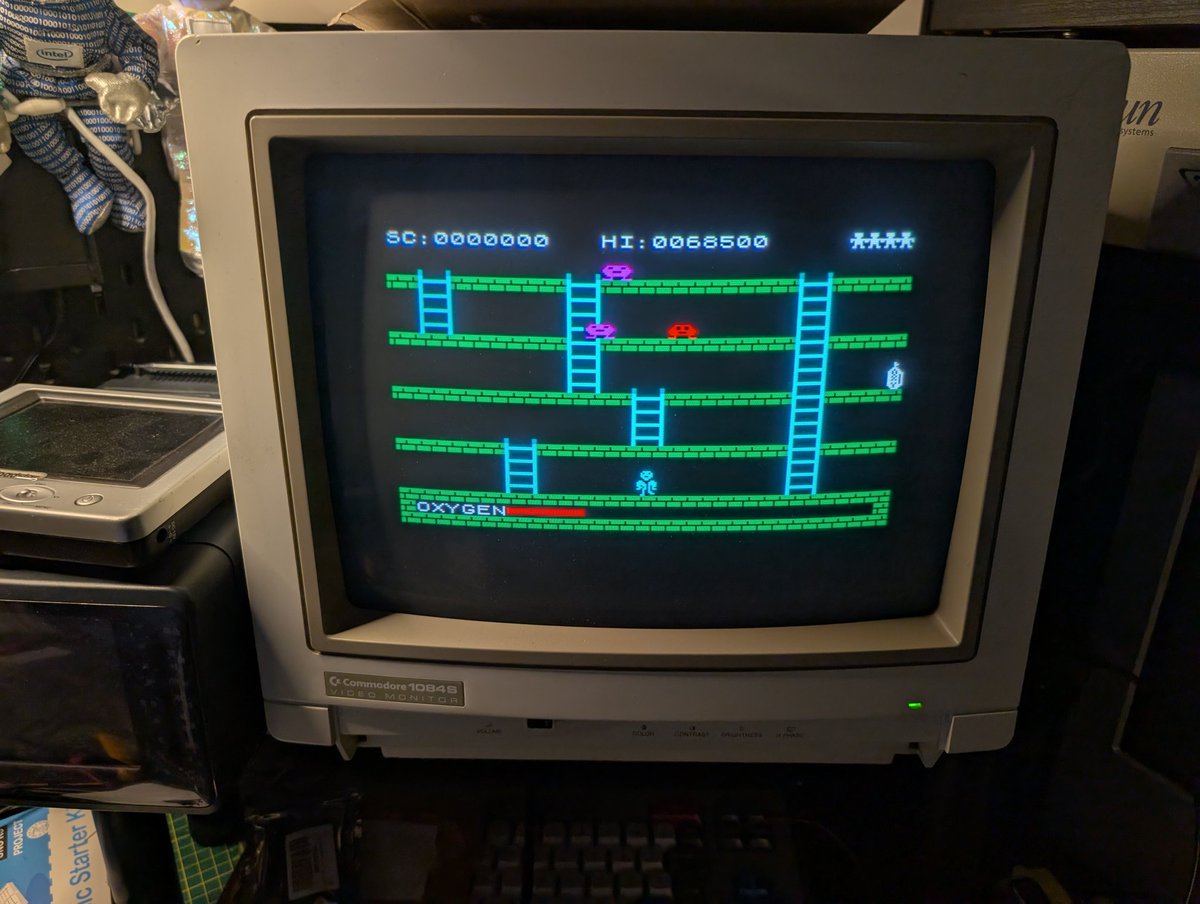
Ok, so I've sorted the issue, I needed to adjust the azimuth of the tape head! 👍👍
Everything is now loading on the 1st try, I'm so happy ☺️
Everything is now loading on the 1st try, I'm so happy ☺️
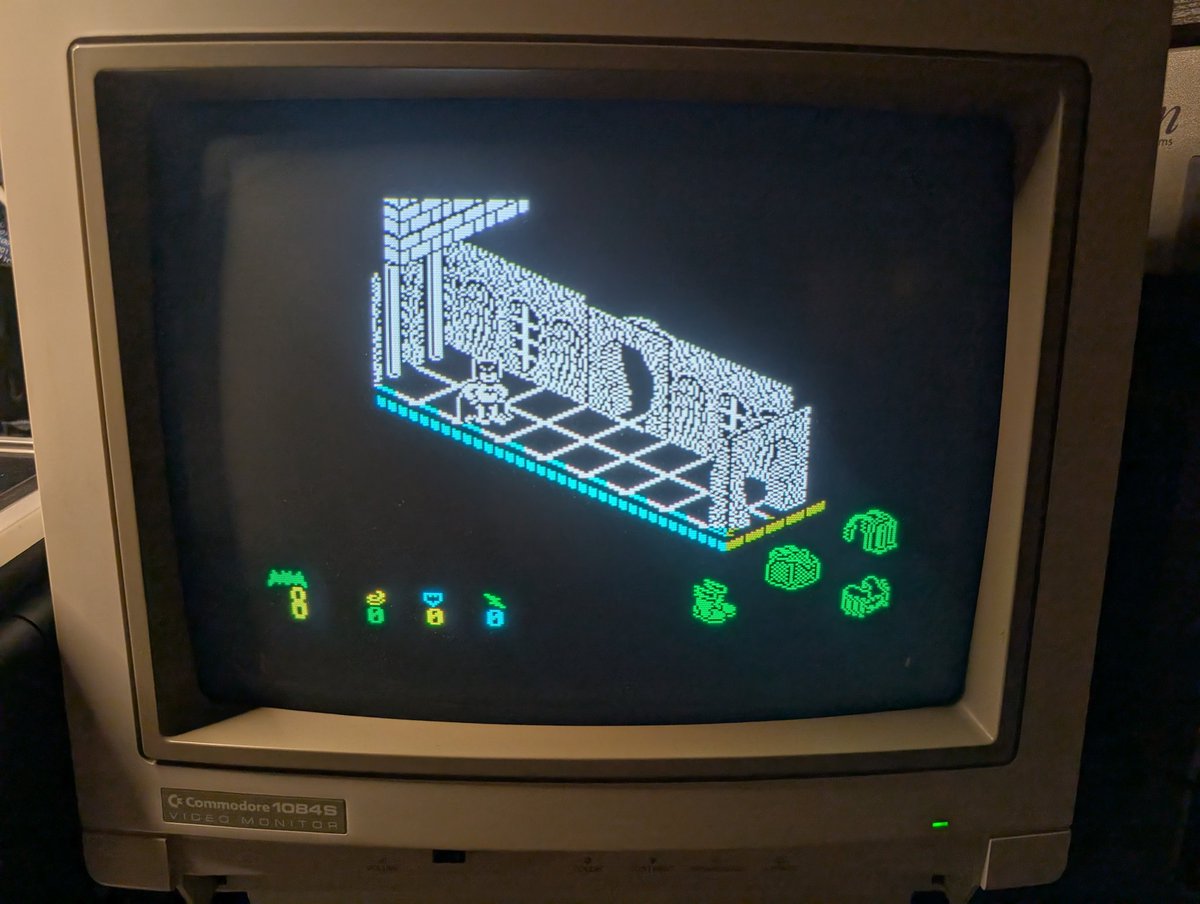
Not only did I fix the issue, I now by chance loaded a game and as soon as I saw it had an insane nostalgia hit from when I was young - I played this 40 years ago and forgot about it. Wow 🥹
I need to sort a joystick, playing with the keyboard is just not the same experience. 🕹️
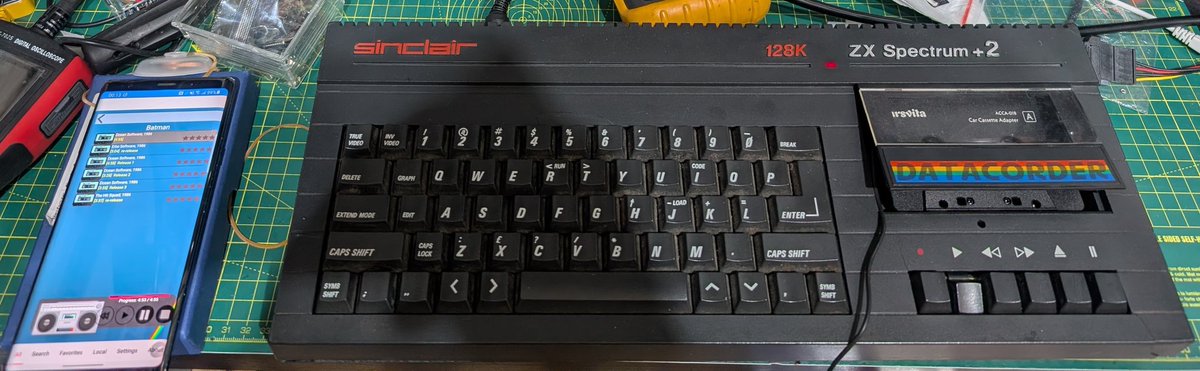
I've found out an old Android phone with a 3.5mm jack, wiped it and installed this app called: PlayZX. It plays the ZX game tapes into the cassette adapter in the deck. 👍
So the +2A is now playing anything I throw at it, this game takes 13 minutes to load from tape, but what a game, all time classic!
R-Type (1989)
R-Type (1989)


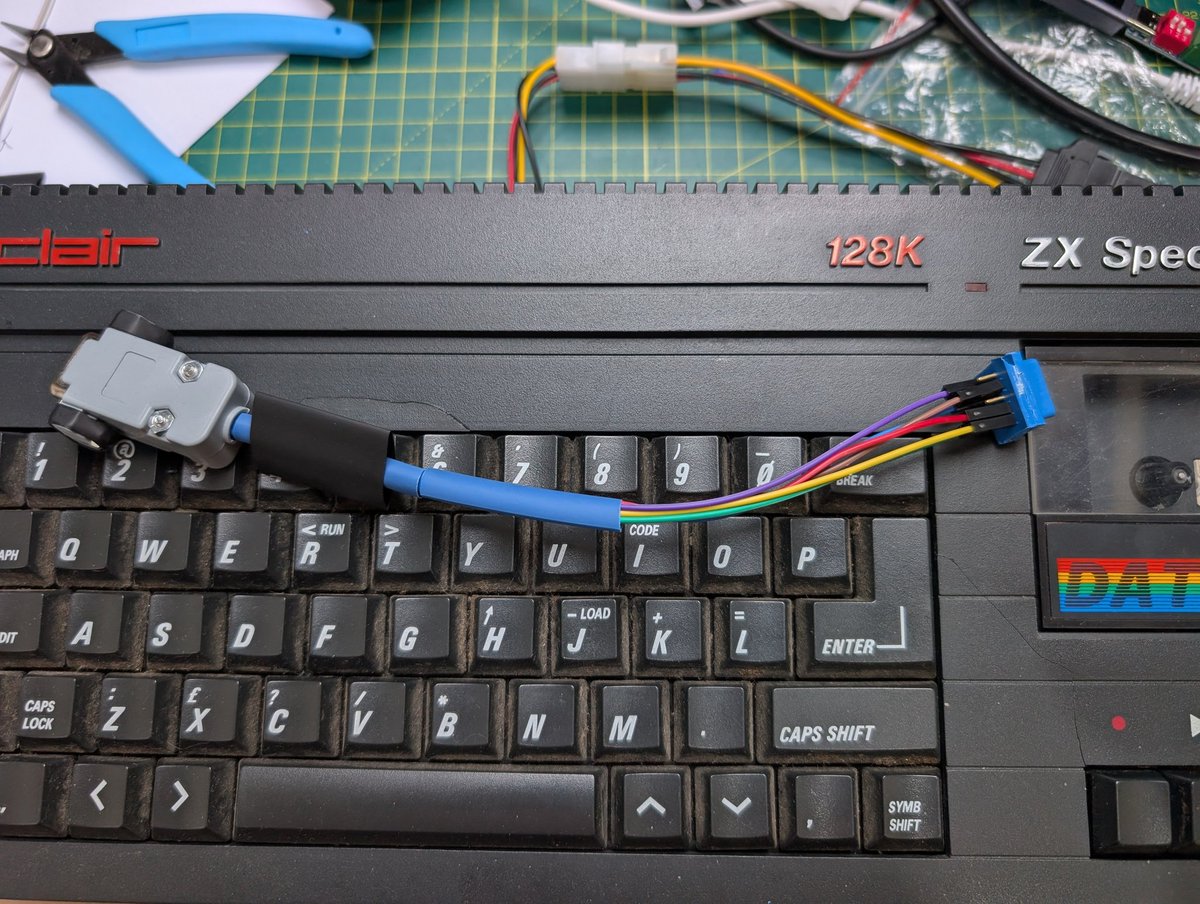
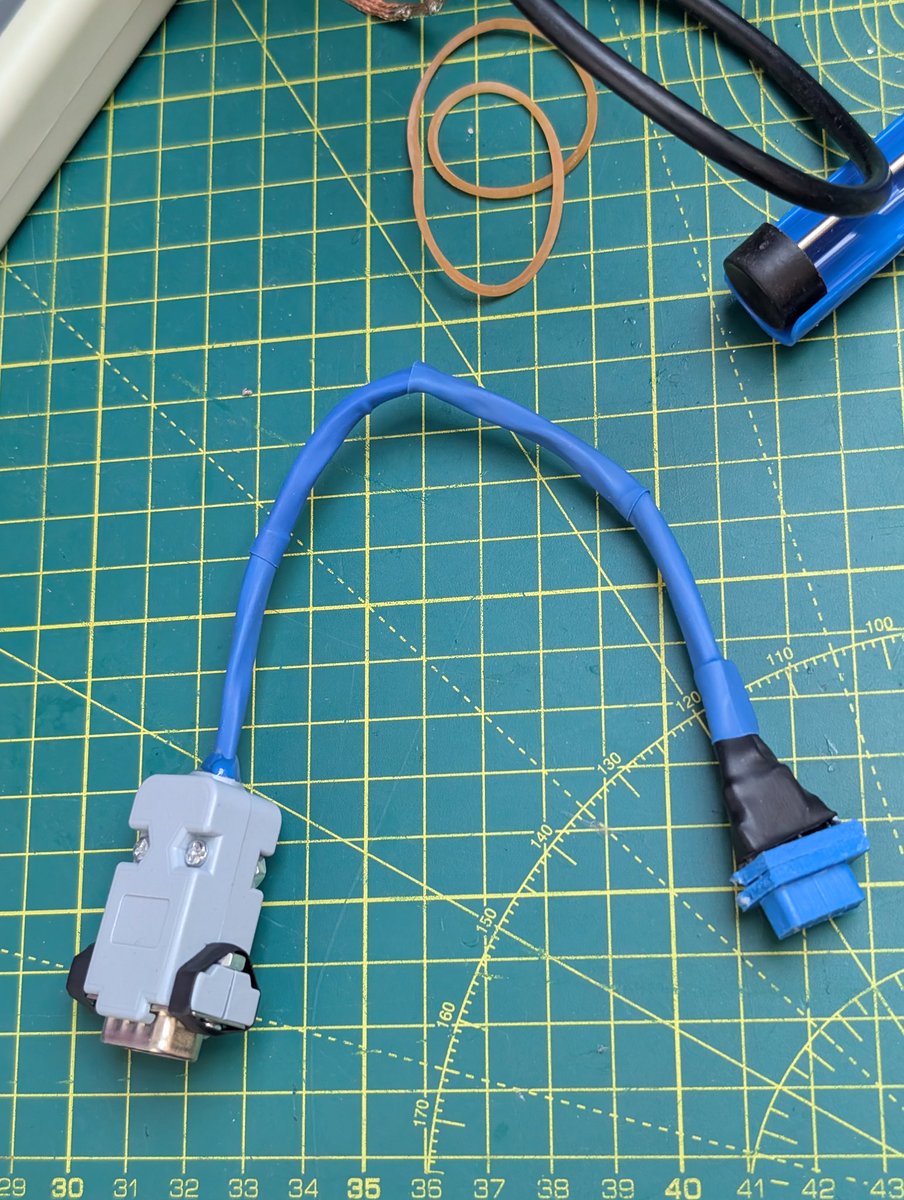
So I started to make a Spectrum to Atari joystick converter (need to finalise the heat shrink and resin the end) and I was about to test it, then........
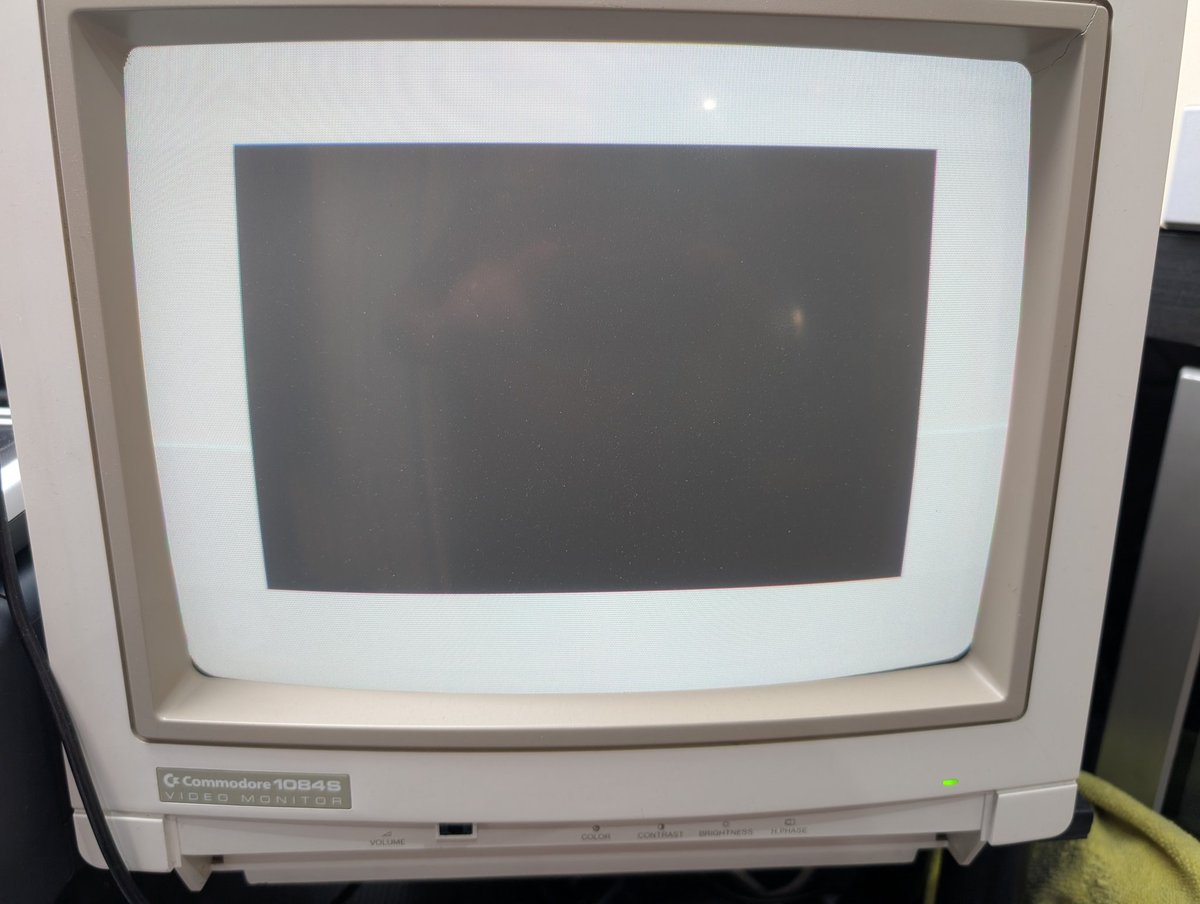
This is what I now get, I think the DRAM has failed 😒
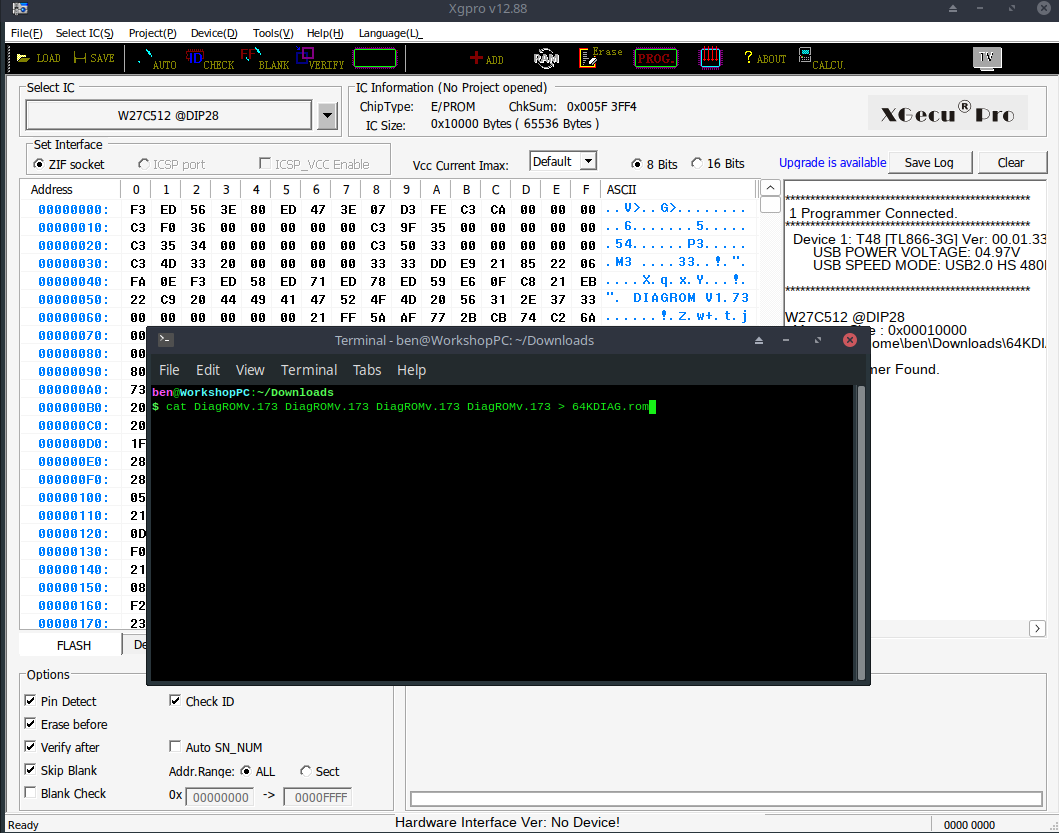
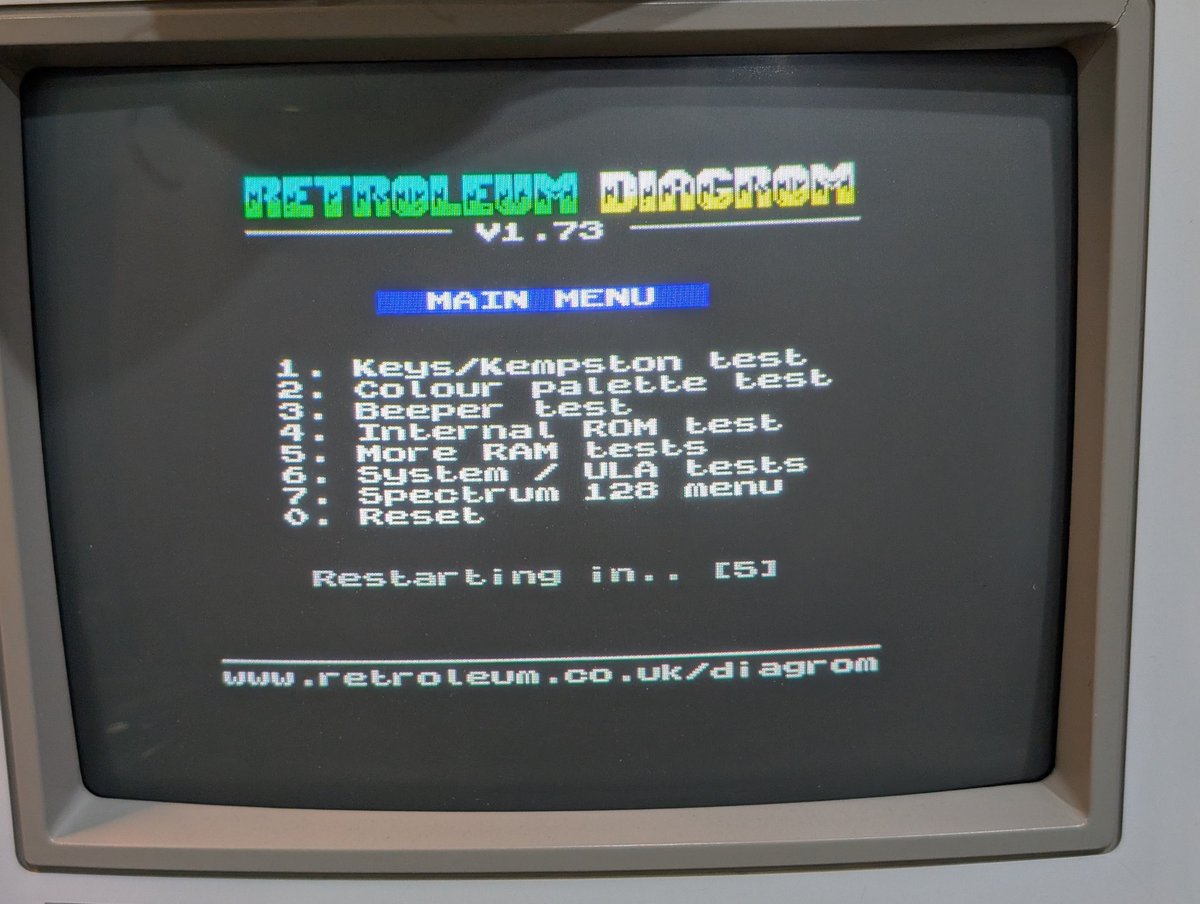
So one cool thing with the ZX Spectrum is that you can install a diag rom inside, I was looking for an EPROM to use and everything I found said the pins needed modifications.
Until I had a tip from a member of RHD - Luis. W27C512 will work as a drop in.
Until I had a tip from a member of RHD - Luis. W27C512 will work as a drop in.

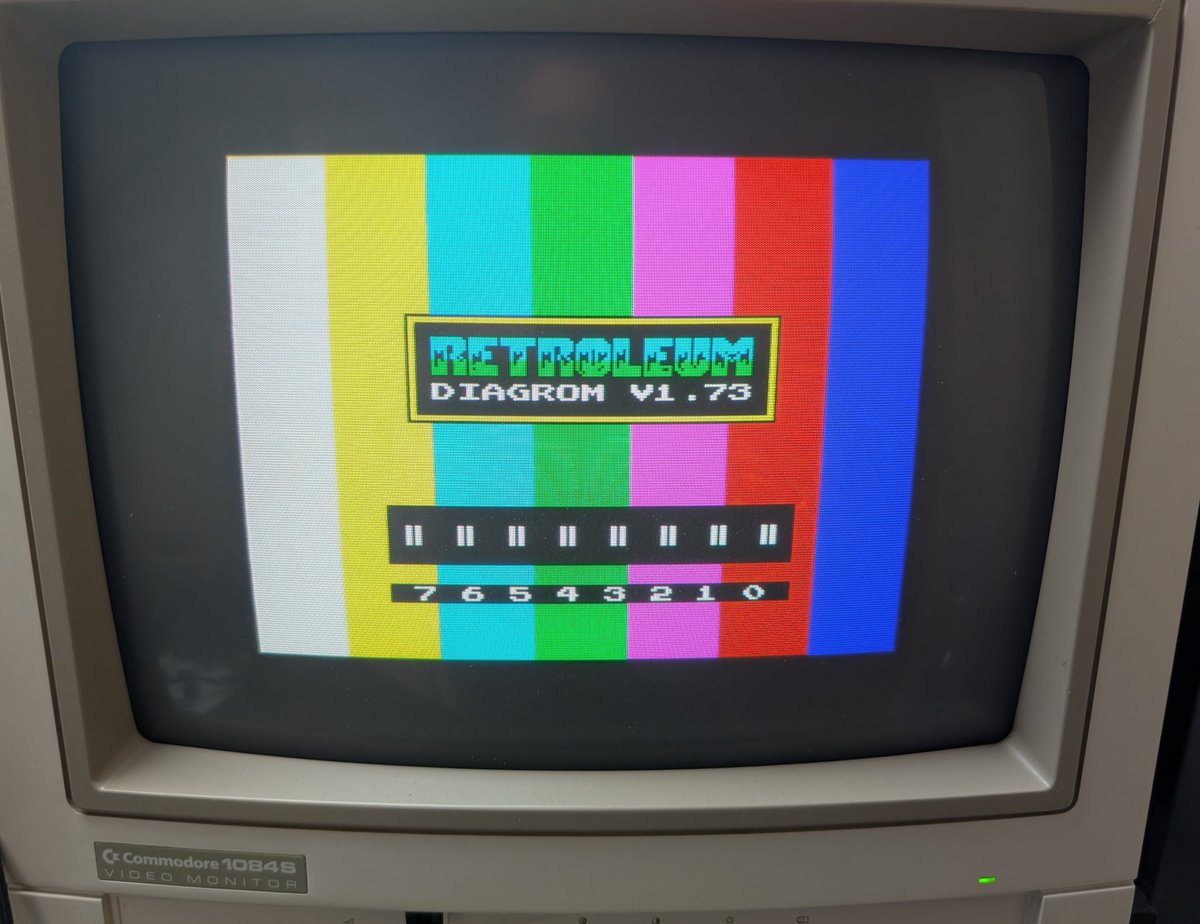
I joined 4 copies of the diag rom to make a 64k ROM image:
Well, that's a win, let's see if it is the ram that has gone faulty!?
Upper RAM fault confirmed 👍
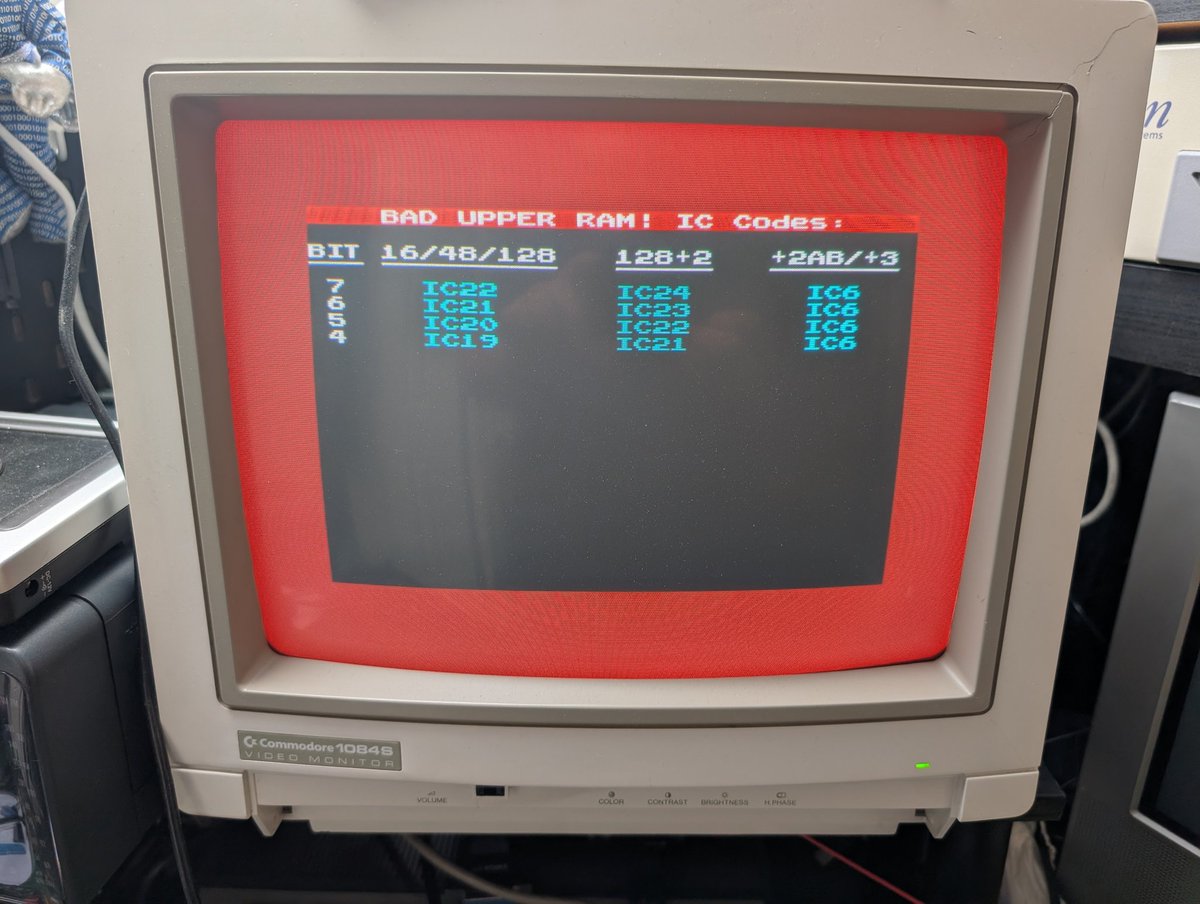
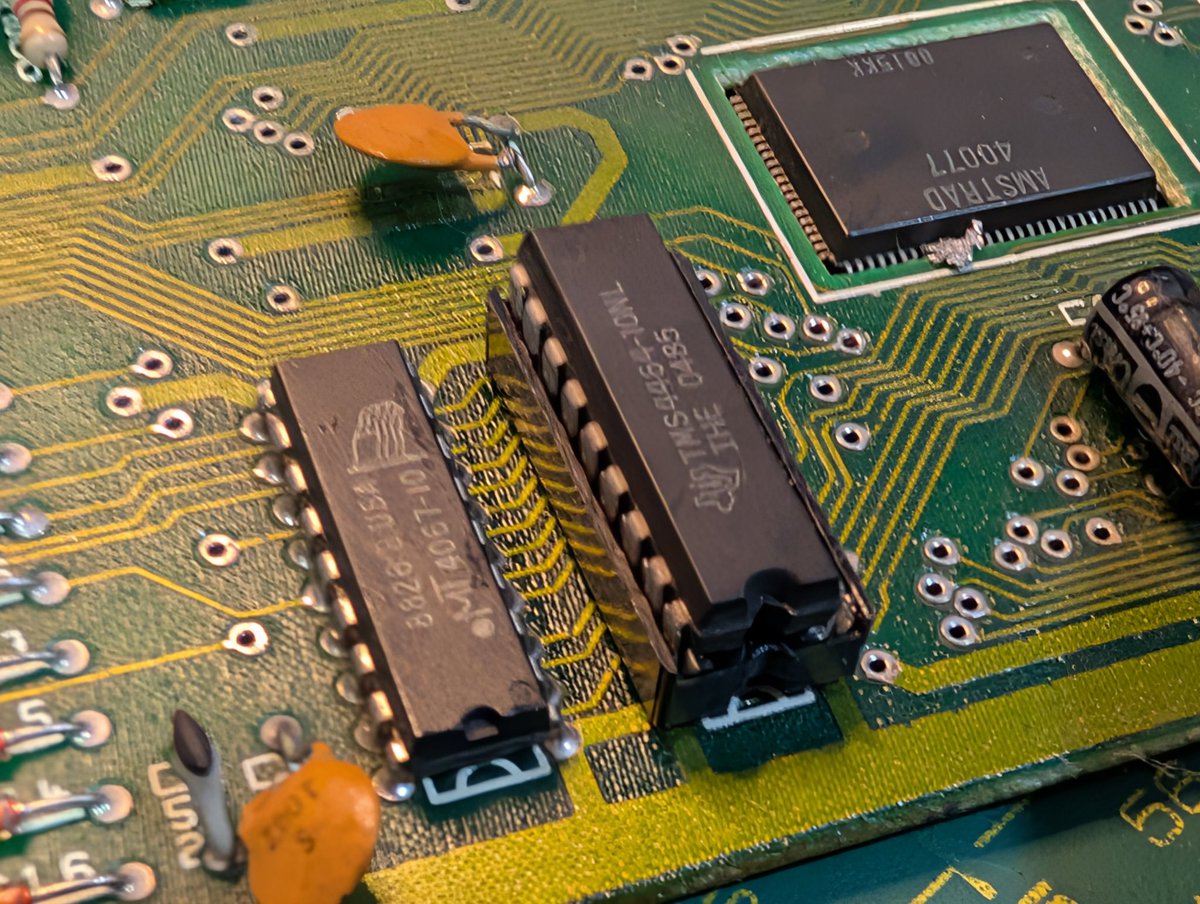
So the upper ram chip that's faulty (according to the diag) is IC6.
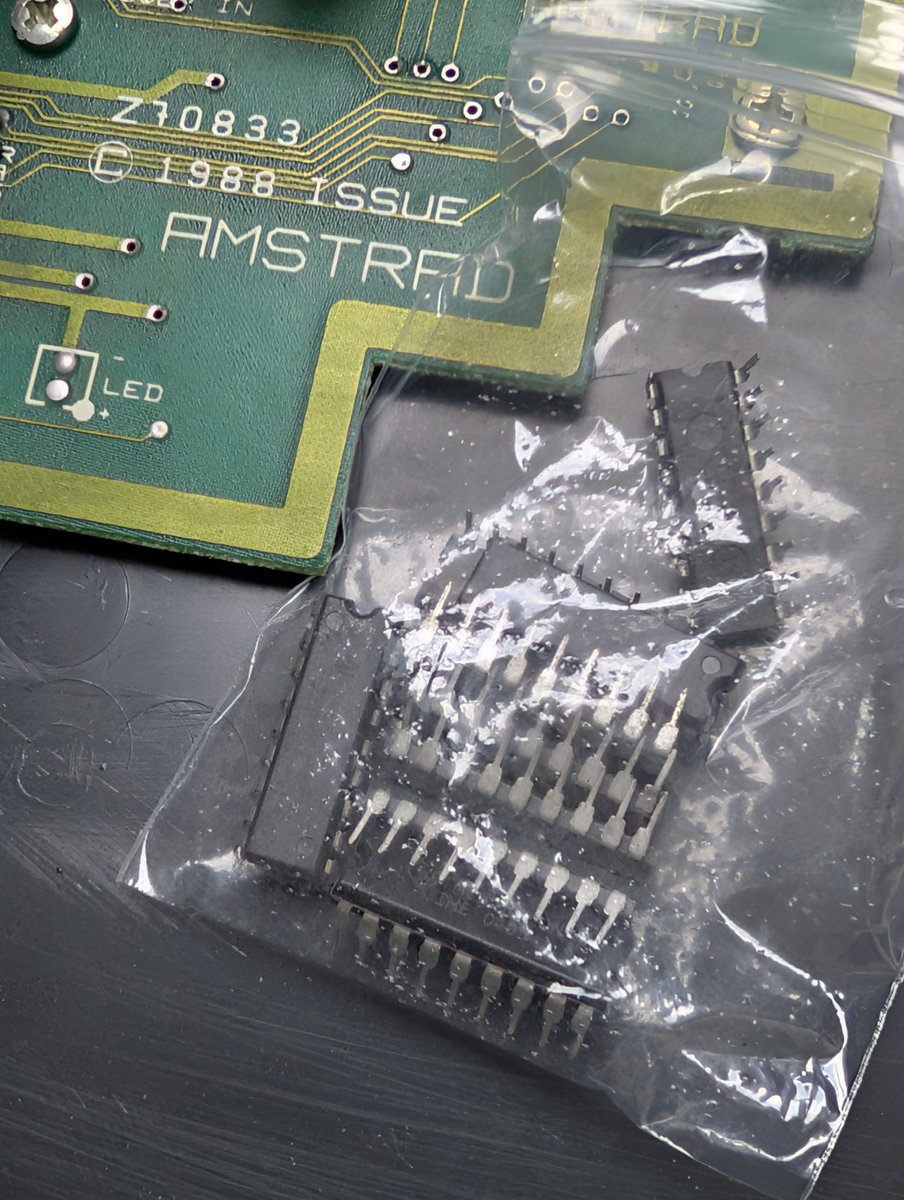
The original chip is a 4067-10, a pin compatible replacement is: TMS4464-10NL
I bought a bag of ten:
The original chip is a 4067-10, a pin compatible replacement is: TMS4464-10NL
I bought a bag of ten:
Piggybacking DRAM can sometimes work for a quick test, so let's give it a go:
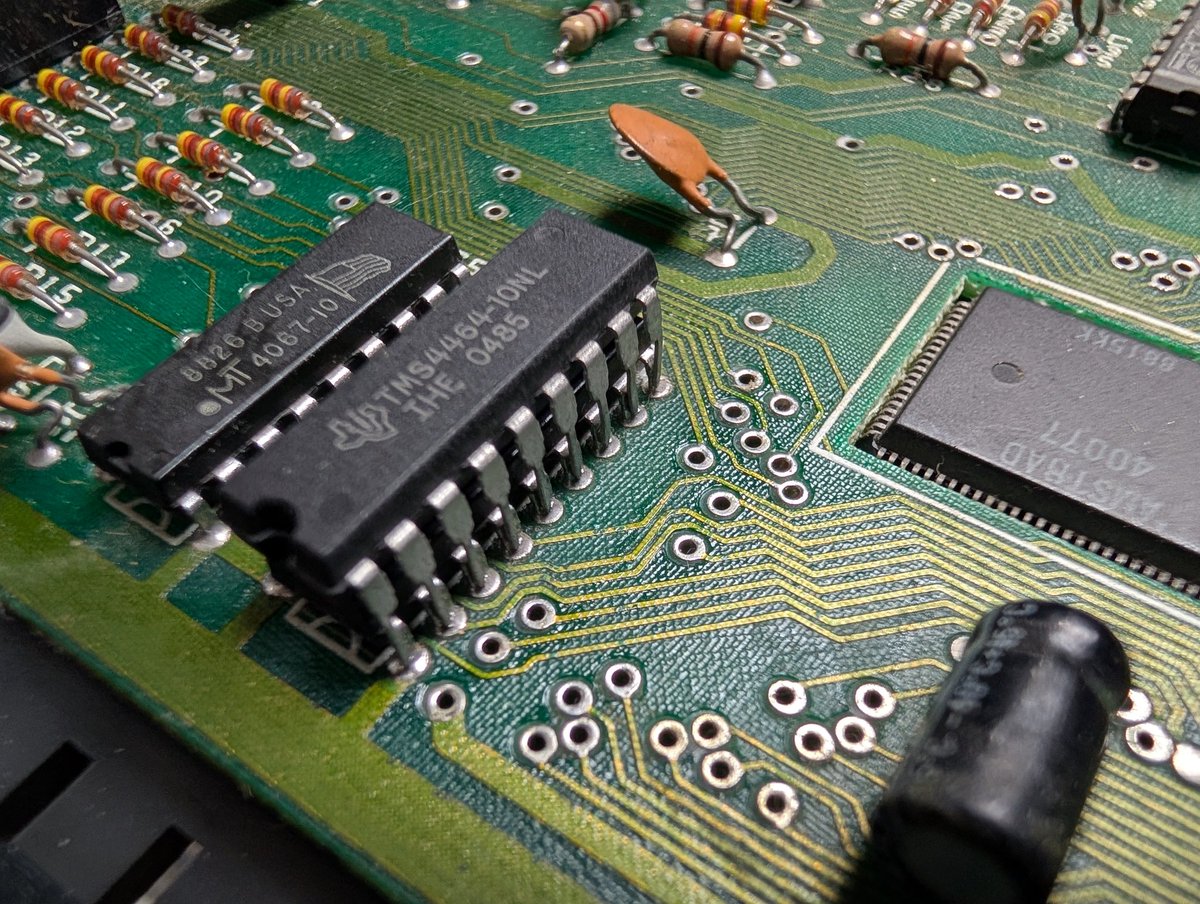
Amazing! IT LIVES 😍😍😍
Now I just need to get the old chip removed, install a socket and new chip!
Now I just need to get the old chip removed, install a socket and new chip!
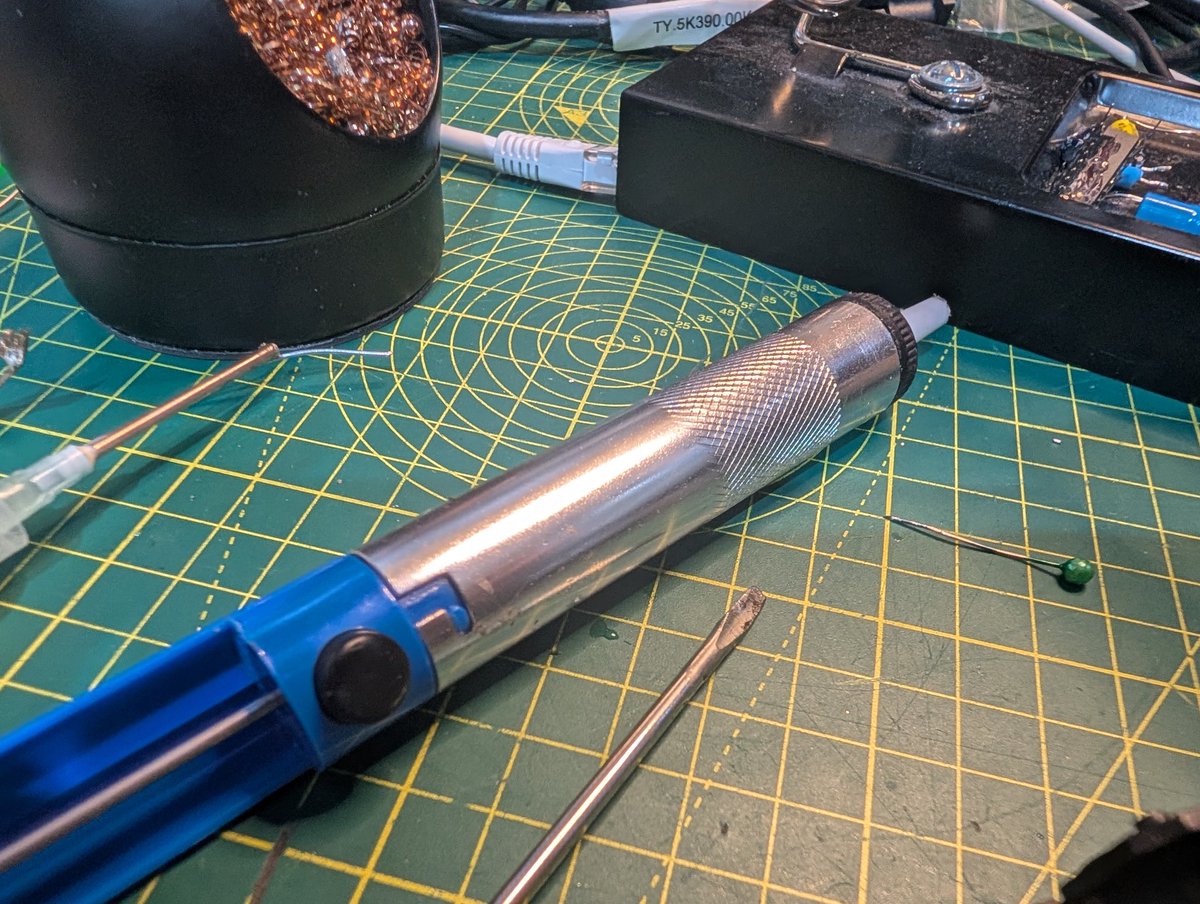
I don't own a fancy desoldering pump, one day I will, but I've been desoldering this way for over 35 years, kind of have my own method that works - slow, but get the job done neatly.
IC6 upper ram removed from my +2A, not too tricky tbh

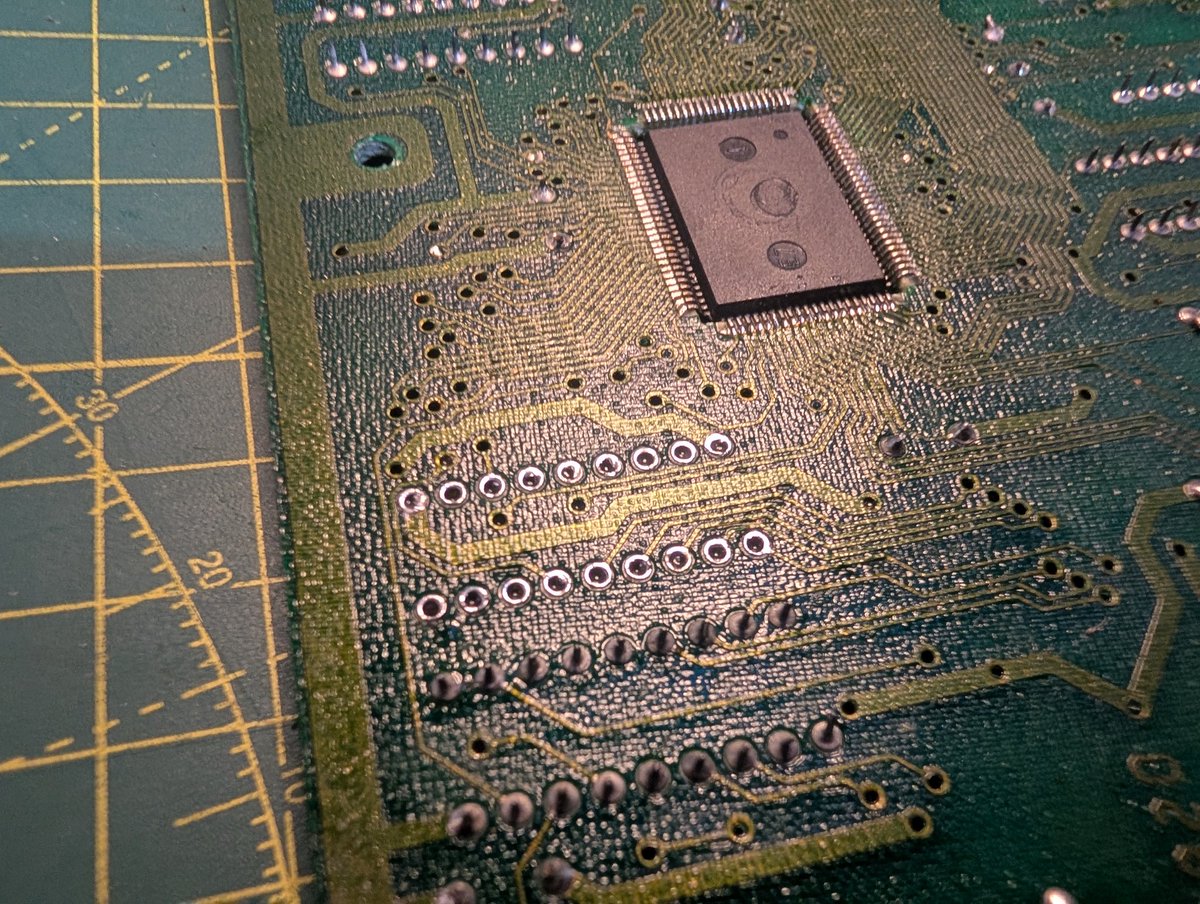
New socket is in:
Excellent, upper RAM now passes the tests:
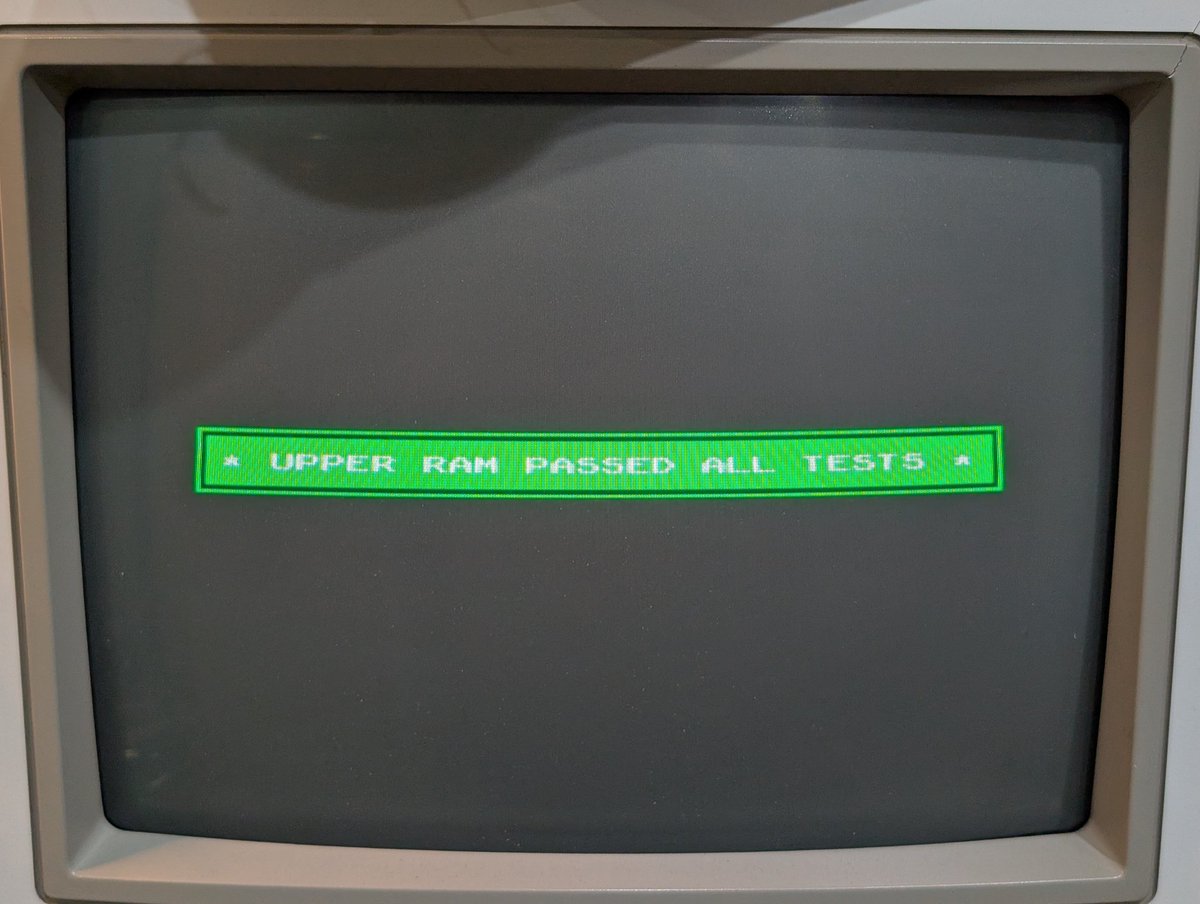
Perfect 👍
Finally got to test my SJS-1 to Atari joystick converter cable I made and it works well, had little blast on R-Type. I just need now do the heat shrink and probably resin the ends for strength. 🕹️
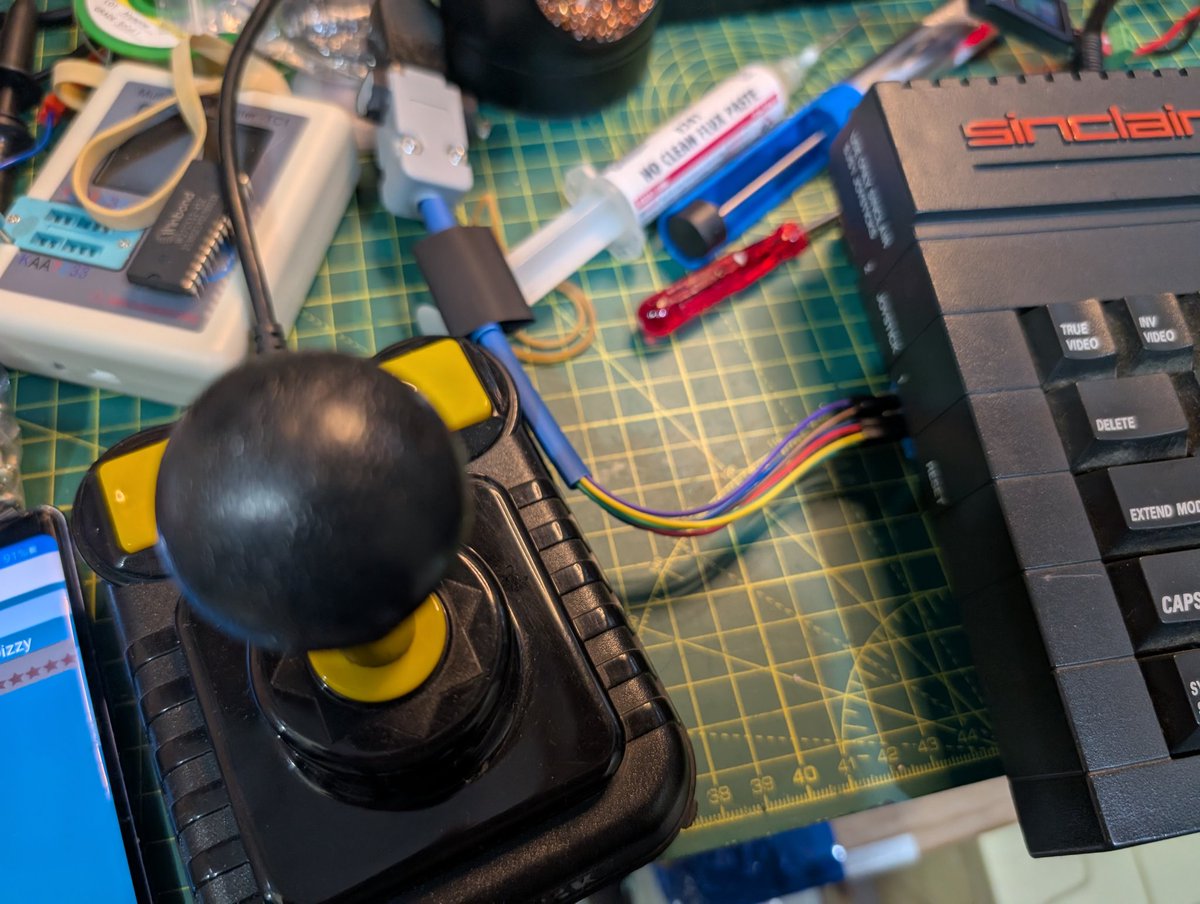
SJS-1 joystick converter tested and works great with my ZipStik, it's not pretty but I've used resin end, so it's solid to pull out.
What an awesome game Robocop is, brilliant trying games out now I've got a joystick. Fun times 🕹️
The next thing I want to do is to mod the tape deck, the +2A doesn't have an aux-in. A fellow RHD member Mogwaay shared this with me 🙏, so let's see what I can do:
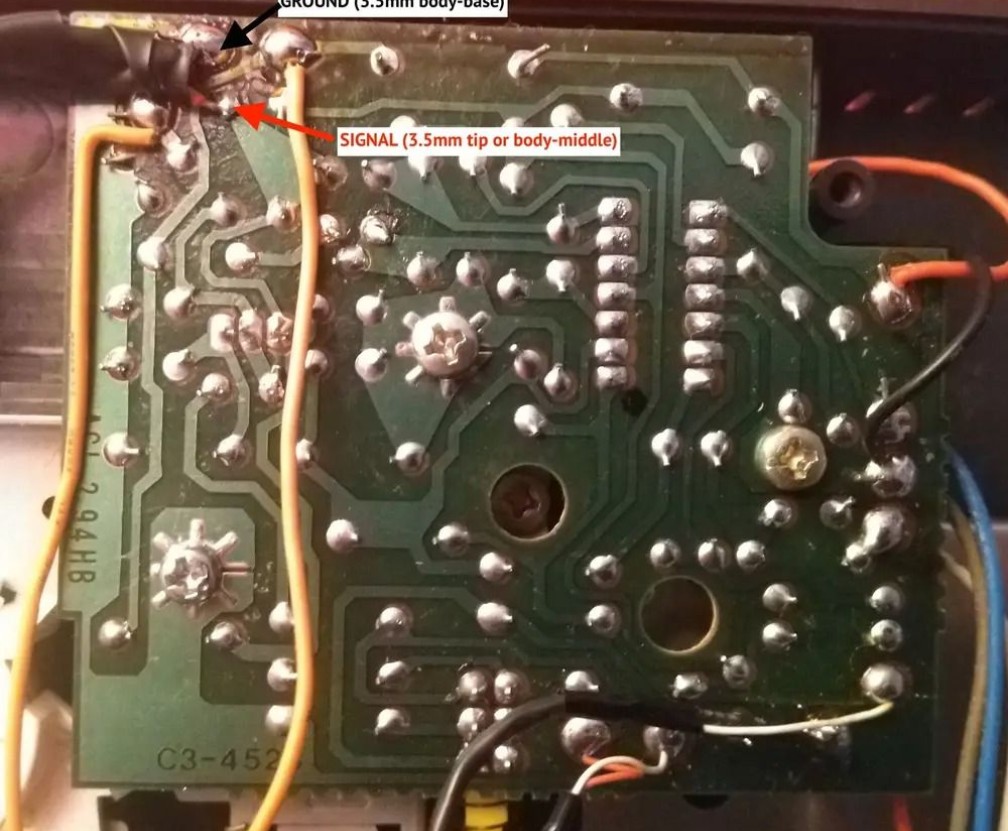
There we go:

Time to do a quick test:
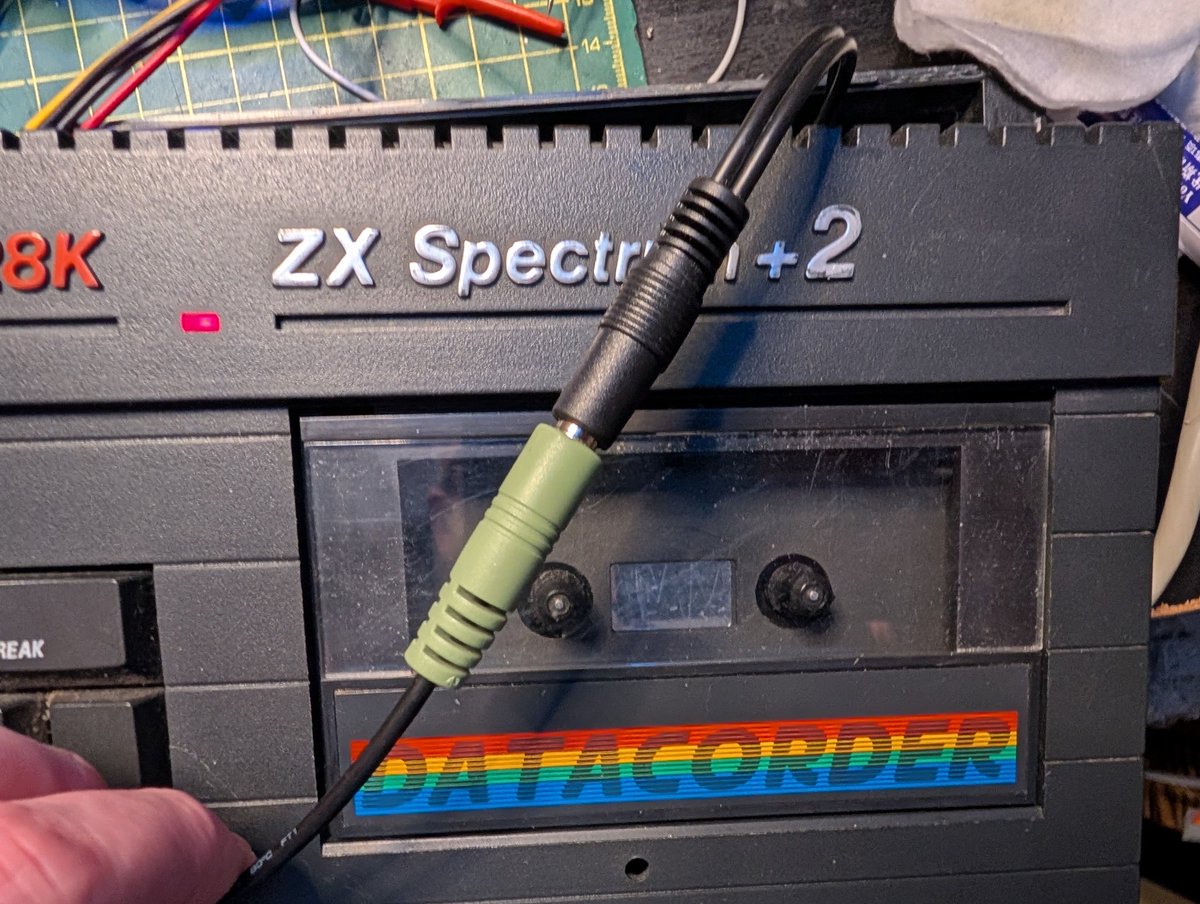
Wow, it works and very well!
I've deep cleaned the keyboard now, it was disgusting as you can see here:
🧽🧼🪥🫧🚿

Before
/
After
/
After
The USB-C PD Pico PSU has been cut down and is ready to be mounted inside.
I'm not a fan of drilling holes in retro computer cases, but I've made an exception for this, as the case was already smashed up when I got it - it's never going to be perfect anyway.

So I tried an internal Bluetooth module, but the power rail was too noisy for it unfortunately. I do however have another Bluetooth option, a Bluetooth tape (I've switched off the motor power to keep things nice and quiet).
I've mounted the Pico PSU in a way that it's firm, but can also be slid out if I need to.
I now need to add a power switch.
I now need to add a power switch.

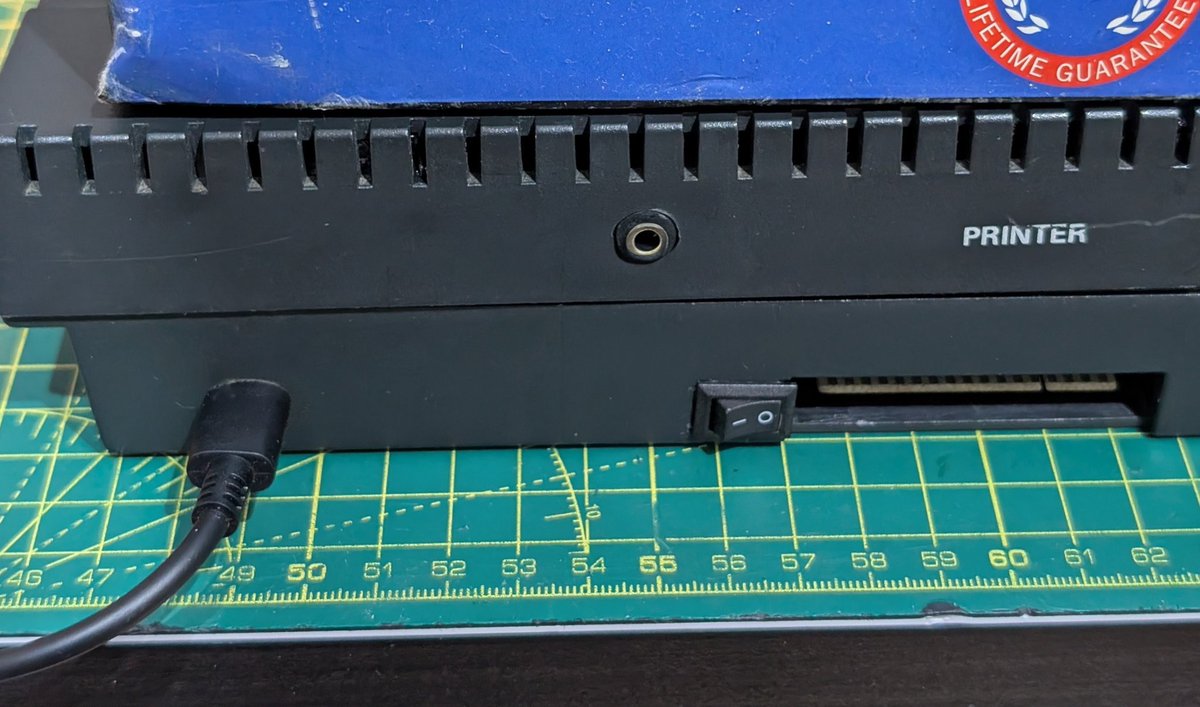
Power switch added:
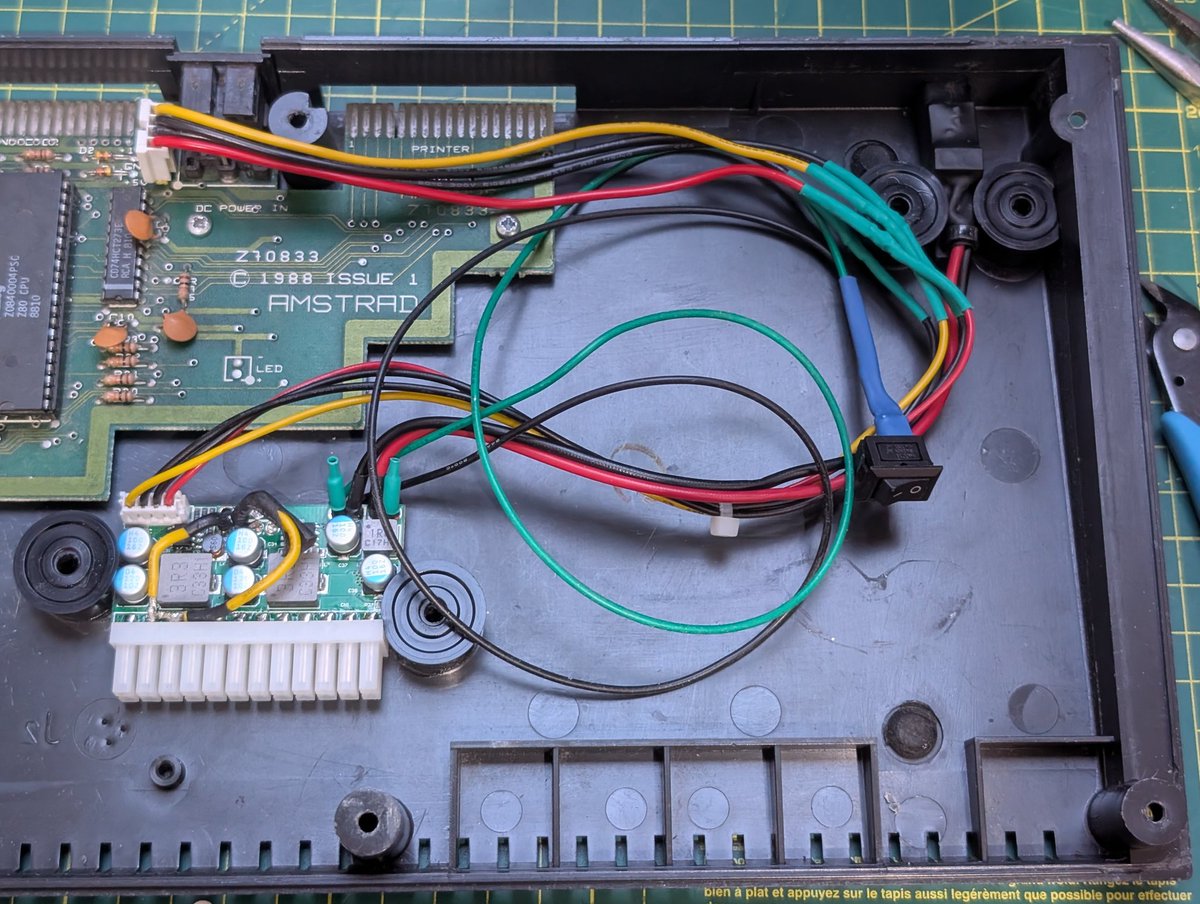
There we go:
USB-C ✅
Power Switch ✅
Aux Input ✅
USB-C ✅
Power Switch ✅
Aux Input ✅
Wow, well that was a really fun project, I love fixing up these systems I've not used before as it's a great learning journey.
Here's some final front and back shots, all back together and fully functional:
Here's some final front and back shots, all back together and fully functional:
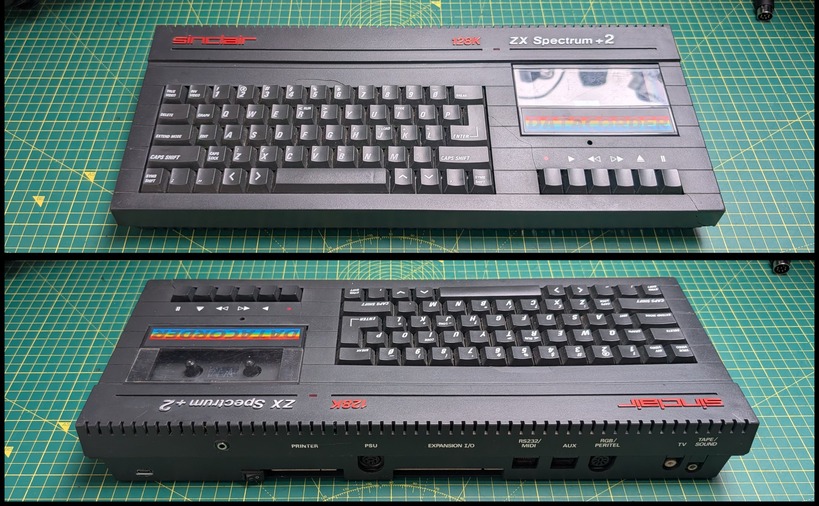
Sinclair ZX Spectrum 128K +2A - Repair, here's a summary of what I did:
✅ Pieced together the smashed case
✅ Made and RGB Scart cable
✅ Installed USB C PSU
✅ Installed an Aux input
✅ Replaced faulty DRAM
✅ Refurbed tape deck
✅ Deep cleaned KBD
✅ Made a Joystick Converter
✅ Pieced together the smashed case
✅ Made and RGB Scart cable
✅ Installed USB C PSU
✅ Installed an Aux input
✅ Replaced faulty DRAM
✅ Refurbed tape deck
✅ Deep cleaned KBD
✅ Made a Joystick Converter
Time for a little fun, then it's on the next project, thanks for following along 🙏
@threadreaderapp unroll
• • •
Missing some Tweet in this thread? You can try to
force a refresh


