
Hello! Today, I’d like to talk to you about paper. If you’d rather rush in (where this angel has no fear of treading), hasten forth and read ‘building the book block’. There you will find step-by-step instructions on folding and assembling your pages. #BookbindingWithAziraphale
However, understanding the structure and composition of the paper you’ll be using is fundamental to making a book that will last longer and look more professional, so I invite you to stay with me while I explain some concepts.
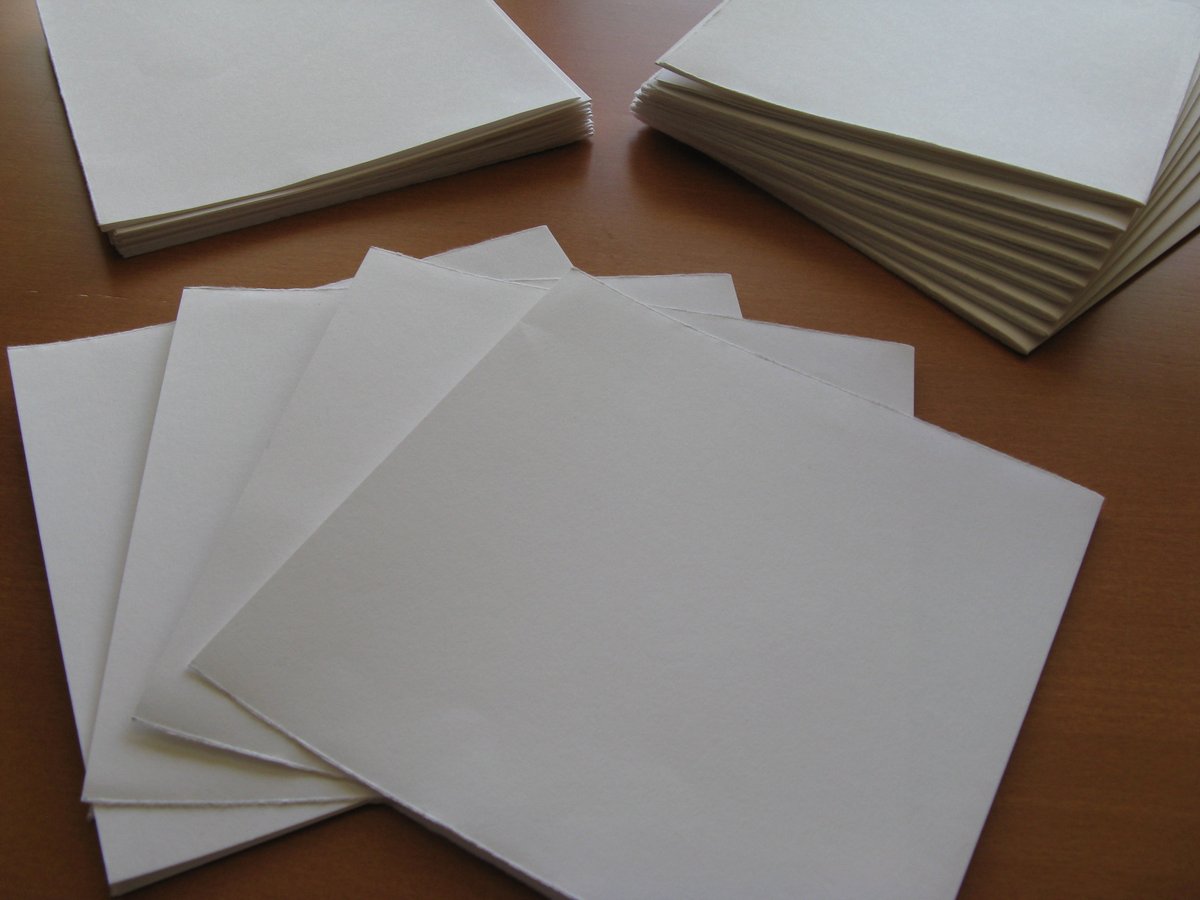
Paper is usually made from pulp – a mixture of water and plant fibres. These fibres might, for example, come from cotton, linen (flax), or wood. During the paper-making process, the fibres become aligned (imagine matches lying in a box) and consequently, the paper has a ‘grain’.
It’s important to know the grain of your paper for two reasons. 1) it will fold more easily along the grain, and 2) a book made ‘against the grain’ or where the grain of the paper and cover boards aren’t aligned will become distorted as glue wets and dries the component parts.
To check the grain of your paper, cut off a strip and wet it. The paper will curl around an axis – this is the grain direction.
The grain of the pages should lie along the length (head to tail) of the book.
The grain of the pages should lie along the length (head to tail) of the book.


Now, depending on the paper you’ve managed to acquire, that may mean you can’t simply fold the sheets in half to create your pages. If your paper is ‘long grain’ (the grain is along the length of the paper), you would have to halve the sheets, making the book smaller.

You can trim the paper to pleasing proportions if you aren’t happy with them, but for this first attempt it might be as well to work with what you have and aim for greater artistry when you have the resources available.
Before I continue, are there any questions? The next part of the 'thread' will cover the topic of assembling our pages.
'Building the Book Block'.
So, let us assume you are ready to begin, with a pile of paper to hand. You know the direction of the grain and will either be folding full sheets in half (short grain), or have halved your sheets (long grain) to create a more ‘pocket-sized’ book.
So, let us assume you are ready to begin, with a pile of paper to hand. You know the direction of the grain and will either be folding full sheets in half (short grain), or have halved your sheets (long grain) to create a more ‘pocket-sized’ book.

Each sheet, folded in half, forms a 'folio'. Those using long grain paper are effectively folding their starting page twice (once to halve the sheet, once to create the folded page), thus their book will be a 'quarto'.
Not vital to know, but interesting, I feel!
Not vital to know, but interesting, I feel!
Using your bone-folder or other implement, ensure the creases in your pages are sharp. Once you have folded sufficient pages, these should be nested or 'gathered'. The diagram below shows a 'folio in 8s' - a gathering of eight leaves.
Repeat for the remainder of your paper.
Repeat for the remainder of your paper.


There. Now that's already starting to look like a book, isn't it?
In order to sew the pages together, you will need to make holes. Where and how many depends upon the size of your paper and whether you will be using tape or cords on the spine of your book.
In order to sew the pages together, you will need to make holes. Where and how many depends upon the size of your paper and whether you will be using tape or cords on the spine of your book.
I will give examples for both cord sewing and tape sewing. If you've ever seen an old leather-bound book with ridges along the spine, those are the cords. For either method, you will need at least three tapes or cords (for a larger book you might use five, but three should do).
While we're working on making a 'pricking template', your folded pages should be stacked neatly with a clean board and weight on top.
In the picture you can see I'm using 'grey' or 'millboard'. You may have to improvise - stiff card of around 2mm thickness will suffice.
In the picture you can see I'm using 'grey' or 'millboard'. You may have to improvise - stiff card of around 2mm thickness will suffice.

For the pricking template, cut a piece of thin card to the length of your pages and fold it in half.

You will be making marks on the folded card to guide placement of sewing holes. At the outer edges, mark the card 10mm from the ends, then divide the space between into four equal portions. If you will be sewing onto tapes, mark the width of the tape at the dividing points.

Now, using some spare board to protect your work surface, use a bodkin to pierce holes in your folded pages. The template can be refolded so that the markings are inside, and laid in the groove of the pages (not pictured here) for easy alignment.

If you are using three cords, you will need five holes in each set of pages. If using tapes you will make eight holes - one at each end, and one either side of where your tape will lie.
If you've been careful with your template, you should be able to stack your pages and see the holes line up neatly. If you haven't, please try not to bleed on the paper.

I think I've gone on for long enough for today. As always, please ask questions if anything is unclear, be very careful with sharp bodkins. Next time we'll look at how to improvise a sewing frame, and if a sleeping snake makes an effective paperweight.
#BookbindingWithAziraphale
#BookbindingWithAziraphale


