
First, decide on a manual format. Take into consideration available printing methods (professional printing, local copyshop, or DIY desktop printing for instance), run size, and intended price / audience.
There are four formats I usually choose among depending on these factors:
There are four formats I usually choose among depending on these factors:
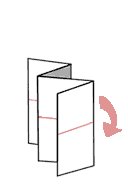
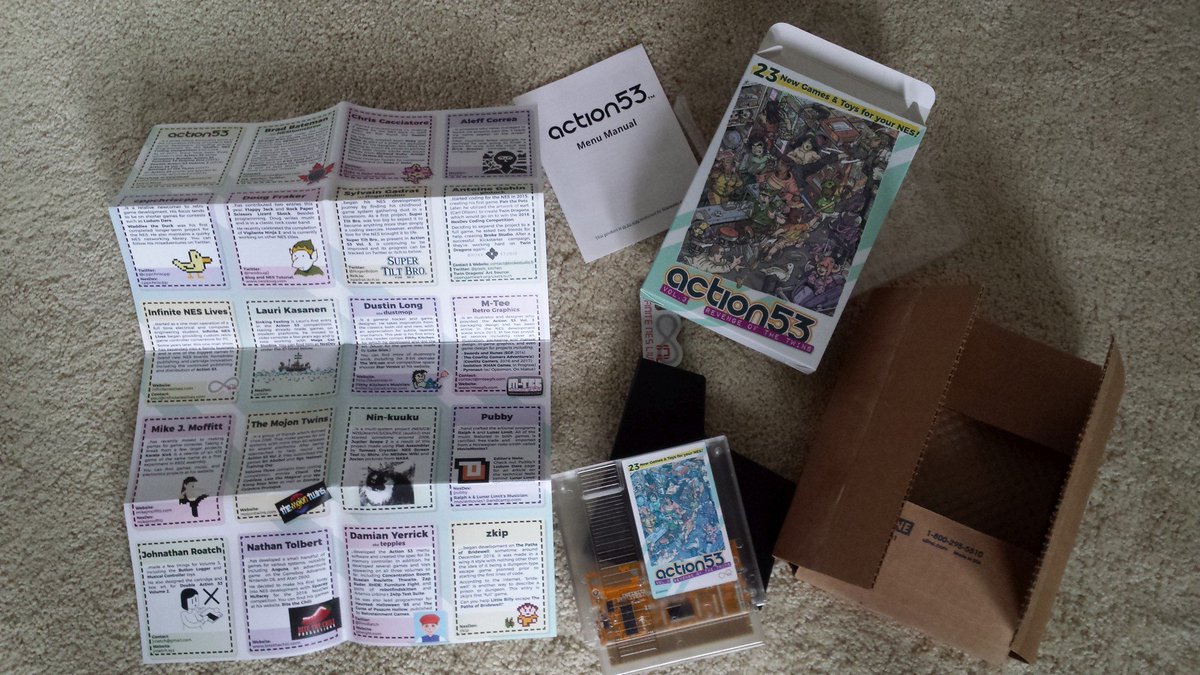
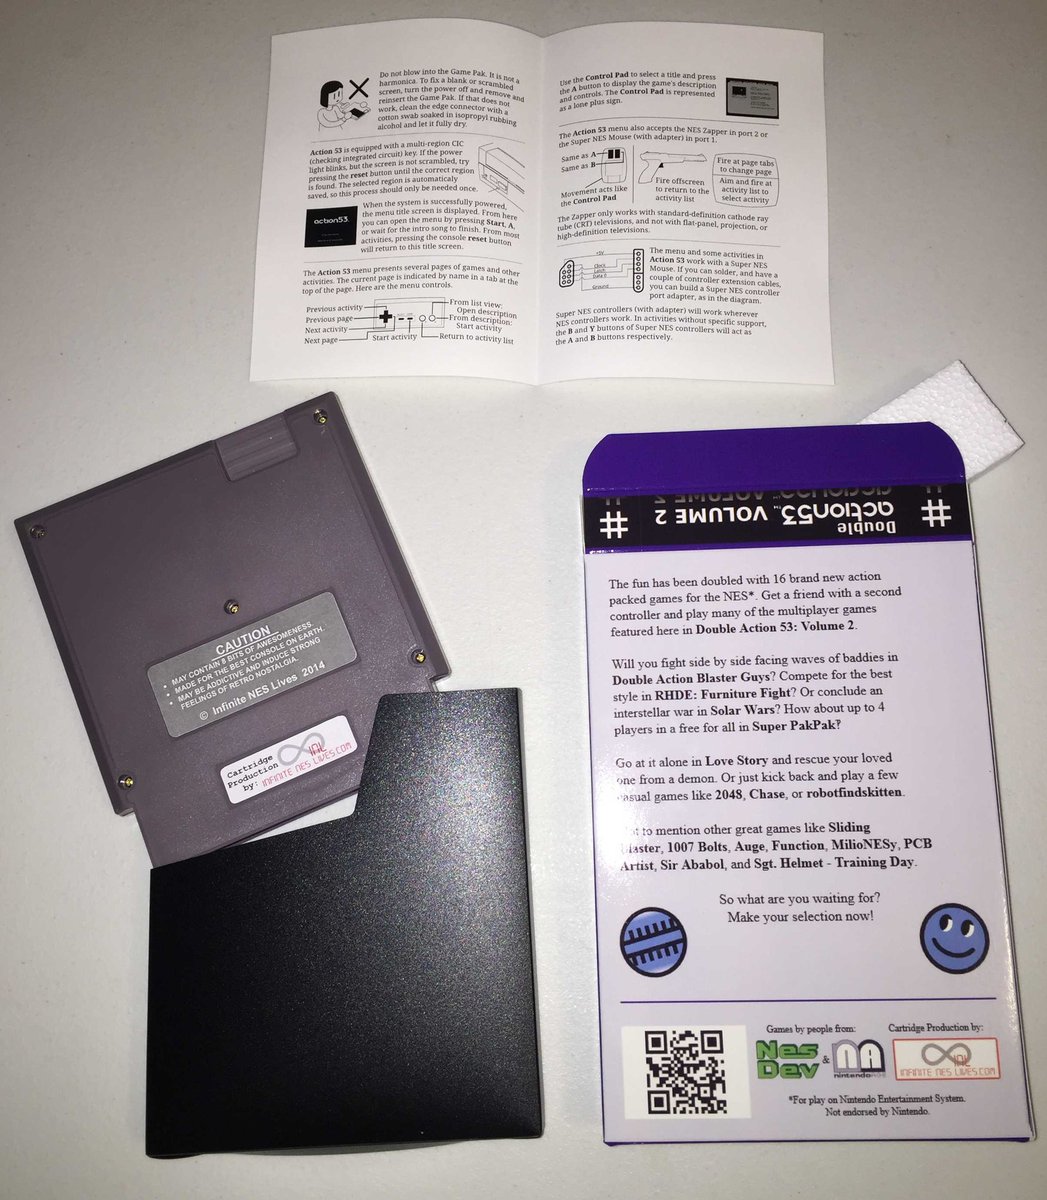
My fav? Foldout posters. A normal manual is 5.25 x 4". An 11x17 sheet folds to 5.5 x 4.25" (A3 to 5.85 x 4.125). I use an accordion fold followed by a bifold.
Pros: Easy layout, many printshops offer machine folding. Is a poster.
Cons: Creased artwork.
(a53 pic by @bbbradsmith)
Pros: Easy layout, many printshops offer machine folding. Is a poster.
Cons: Creased artwork.
(a53 pic by @bbbradsmith)
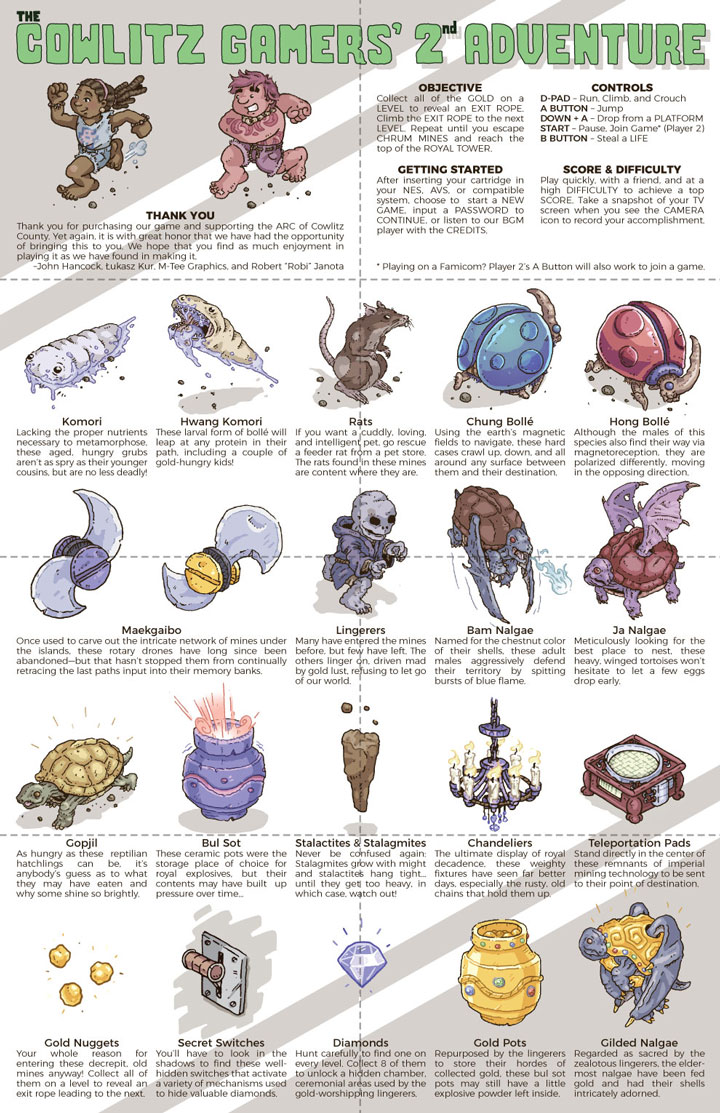
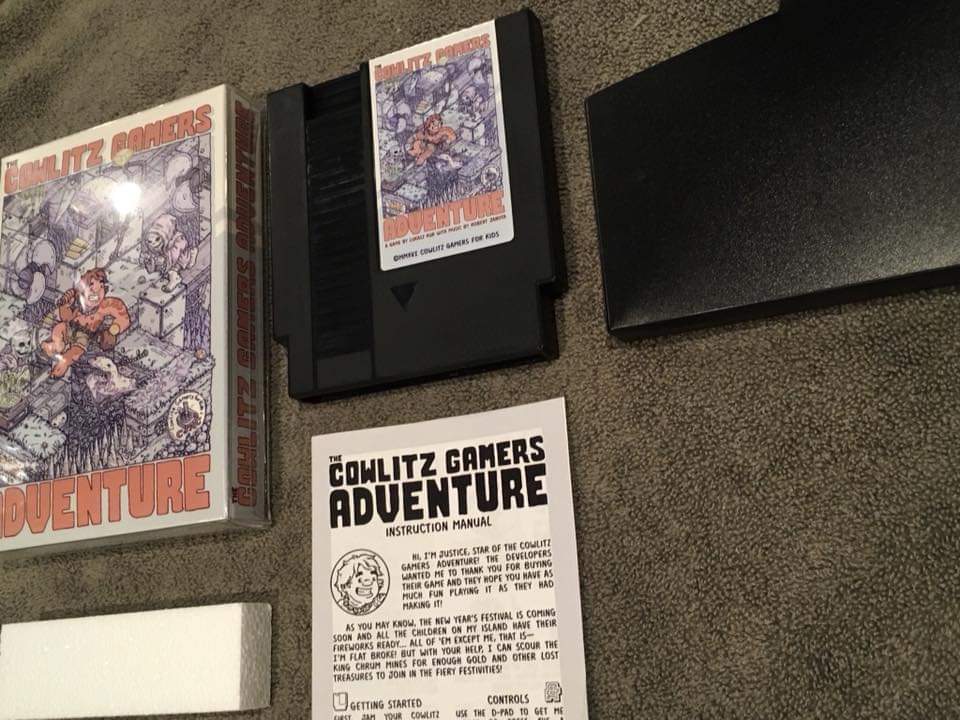
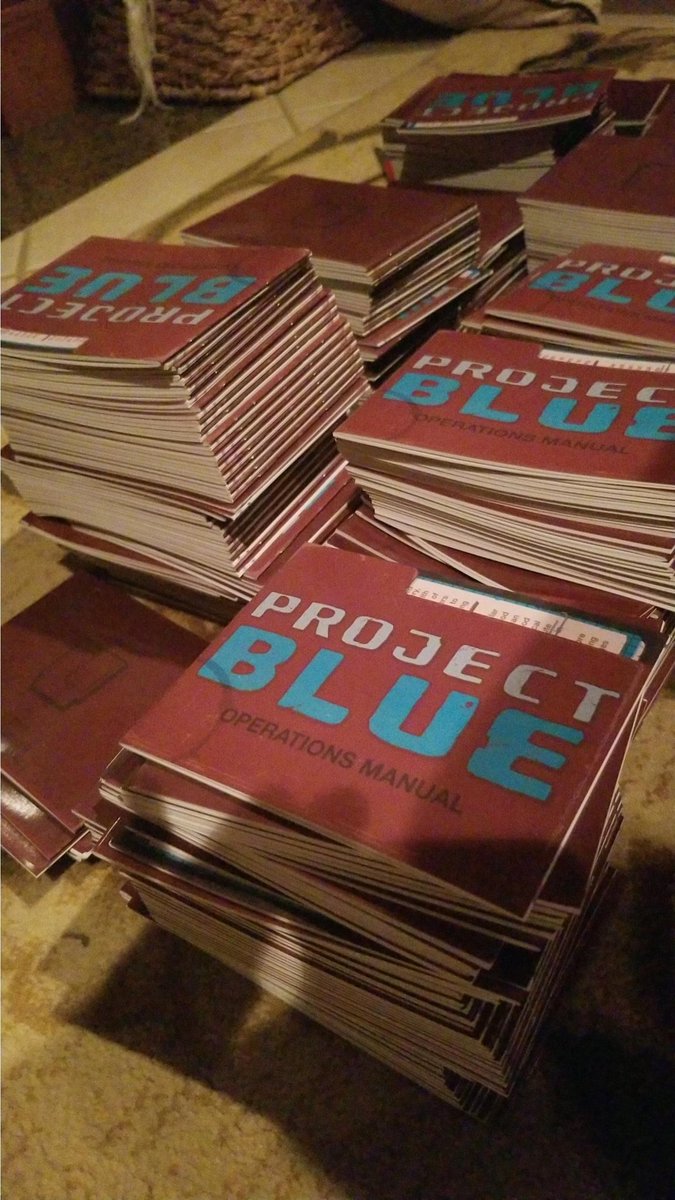
When keeping cost and labor at the lowest possible points, a 4-page bifold format can offer 2 manuals from a single sheet of paper, one fold, and as little as one cut. Because these're flimsy, it's better to opt for a vertical (portrait) layout instead of horizontal (landscape).

Since seeing @InfiniteNesLive use it for the Action 53 series (which funds the NESDev compos), I've used it to keep costs down on two charity projects: The Cowlitz Gamers (1st) Adv. budget release and Gruniożerca 3.
Pros: Low cost & labor.
Cons: Flimsy.
G3 pic: @JustinOrenich
Pros: Low cost & labor.
Cons: Flimsy.
G3 pic: @JustinOrenich
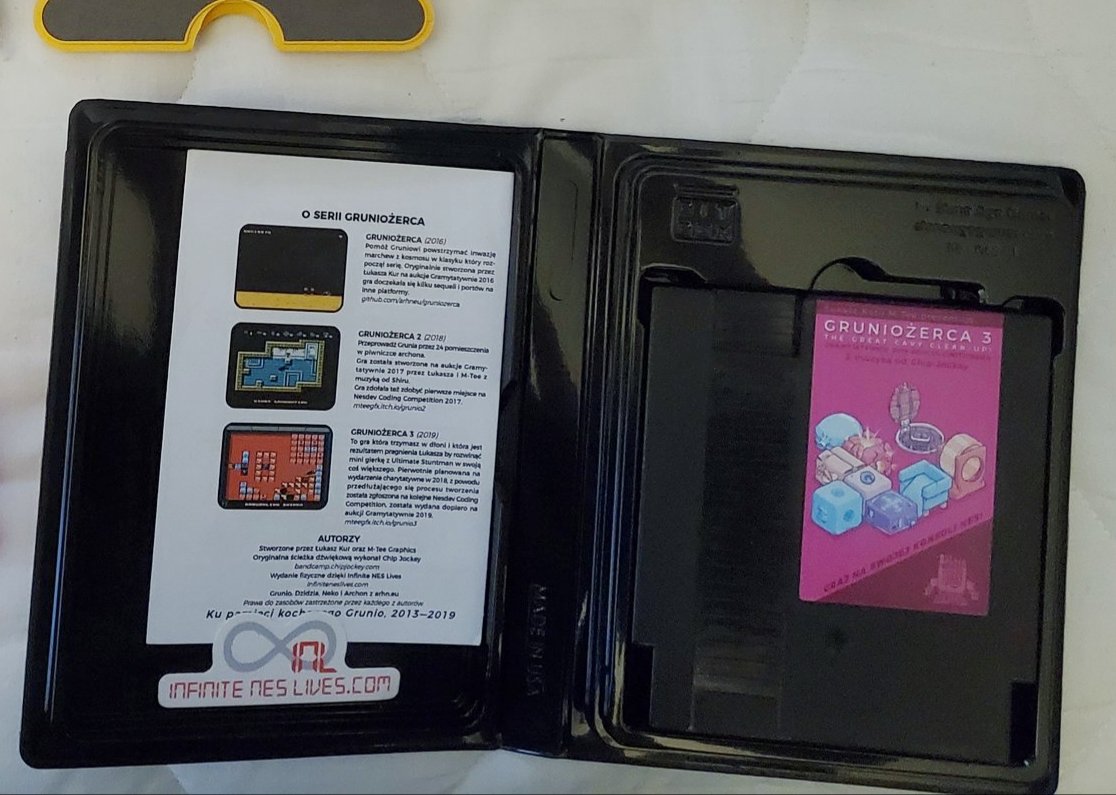
For the above, divide a LTR or A4 canvas into quarters. Each quarter is a page. On canvas A (front), pages 4 and 1. On canvas B (back), pages 2 and 3. Duplicate. Print, fold, and cut.
(Rotating the bottom copy 180° would've improved margin consistency due to printer alignment.)
(Rotating the bottom copy 180° would've improved margin consistency due to printer alignment.)


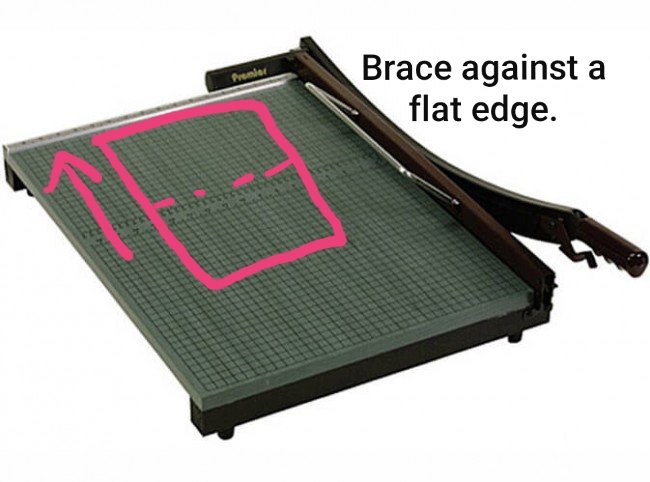
Working at a printshop, I learned this method for quick, accurate folds:
1. Position the sheet against a brace (like the edge of a paper cutter)
2. Roll, (don't fold) the paper away from your body.
3. Crease spine *from the center outward* in two motions. (a bone folder helps)
1. Position the sheet against a brace (like the edge of a paper cutter)
2. Roll, (don't fold) the paper away from your body.
3. Crease spine *from the center outward* in two motions. (a bone folder helps)


Let's say you want a normal, saddle-stitched (stapled) manual, but need to print too few for a pro order or want to reduce costs and print yourself. If willing to reduce the manual size slightly (to 5 x 3.75" for LTR), the next format's for you:
(Originally made for @FerrisonNA.)
(Originally made for @FerrisonNA.)
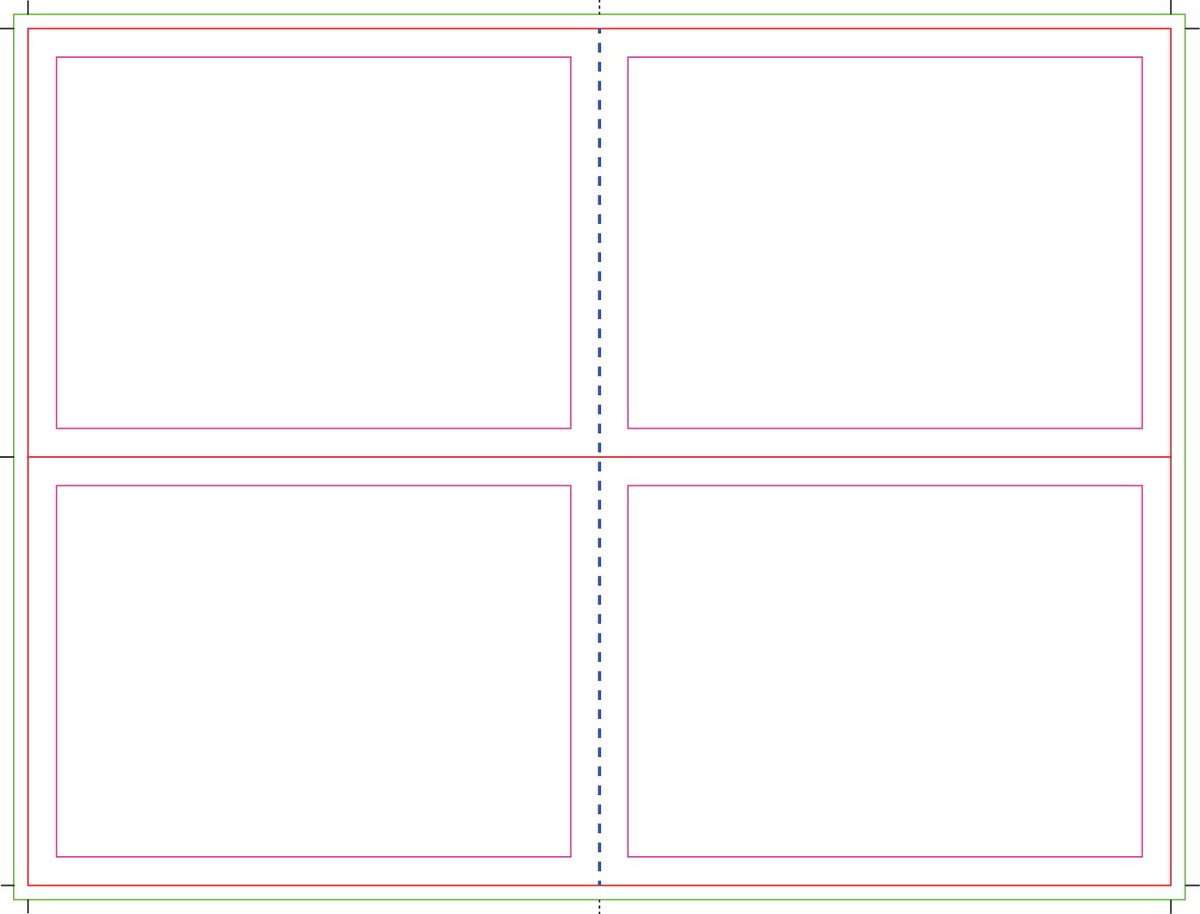
You can only have to-edge colors if your printer can print past the red line above on all four sides.
A caveat: since there's no center bleed (would further reduce size and add another cut), the design along the center line should be kept safe for imperfect cuts/print alignment.
A caveat: since there's no center bleed (would further reduce size and add another cut), the design along the center line should be kept safe for imperfect cuts/print alignment.


For the above, you'll need to impose manually (arrange document pages n-up for printing, and in print-order). The outer edge has to be trimmed due to page creep, but if you don't print all the way to the top and bottom edges, you can avoid those 2 cuts and get a size of 4 x 5".

DIY manual construction also requires a booklet (or at least long-reach) stapler and chisel-point staples. And like with all booklets, plan for a page count in multiples of four. (16 pages [4 sheets] is pretty manageable.) A Notes or Memo page can pad to the needed page count.


If you want standard 5 x 4.25" manuals, you can save yourself the imposition nightmare and production labor by having them printed by someone like Frank in the US (DM for his contact info) or @Broke_Studio in the EU. Following are some tips for designing booklet-style manuals:
I'll reference InDesign, but I don't condone software offered as subscription-only. You may need to google compatible terminology if using an alternative. In InDesign, you want a facing-page, multipage "document", not a "book" (which is actually just a collection of documents.)
Set bleed on the three outer edges. Page count is usually low enough that creep isn't necessary as long as your design doesn't Set edge margins as well. A common design mistake is putting text or images too close to the edges of a page.
Use Master Pages for as much as you can. Elements on master pages appear on all pages that have the same master applied to them.
Pro Tip: when editing a page, ctrl+click on a master element to edit its instance on that page independently. I used this for prBlue's section headers.
Pro Tip: when editing a page, ctrl+click on a master element to edit its instance on that page independently. I used this for prBlue's section headers.

If not already, become intimately familiar with styles (pargraph and character). Frustration can be avoided by staying aware of parent styles (the style another style is based on) and settings for next style. With styles, you can easily update all instances of text throughout.
I'm not a fan of raggedy-edged text, so I justify-align most of my text. InDesign's default justification rules aren't suited for such small pages, so try fiddling with the settings (for your paragraph style and each instance of it) to balance hyphenation and spacing.
Also, InDesign houses objects (images, text, etc.) within "frames". Often you may end up resizing a frame instead of an image or vice versa. Become familiar with shortcuts for stretch content to frame, fit proportionally, fit frame to content, etc.
Each printer may require different exports. For the two printers mentioned above, I believe I exported 600dpi pngs. I avoided jpg because in many cases, I needed to manually touch up the images afterward and didn't want to increase artifacts at each step.
For instance, InDesign and Illustrator both have a tendency to introduce halo-ing around the edges of opaque pixels in images with transparency. They seem to anti-alias to white regardless of the color behind the image, so I had to manually go in and clean all of those up.

The standard is for rightside (recto) pages to be odd-numbered and leftside (verso) even. Normally, booklets count the covers (inside and out), so the first internal recto page is 3. Most manuals abide, but many start on inside front cover or even the first internal recto page.


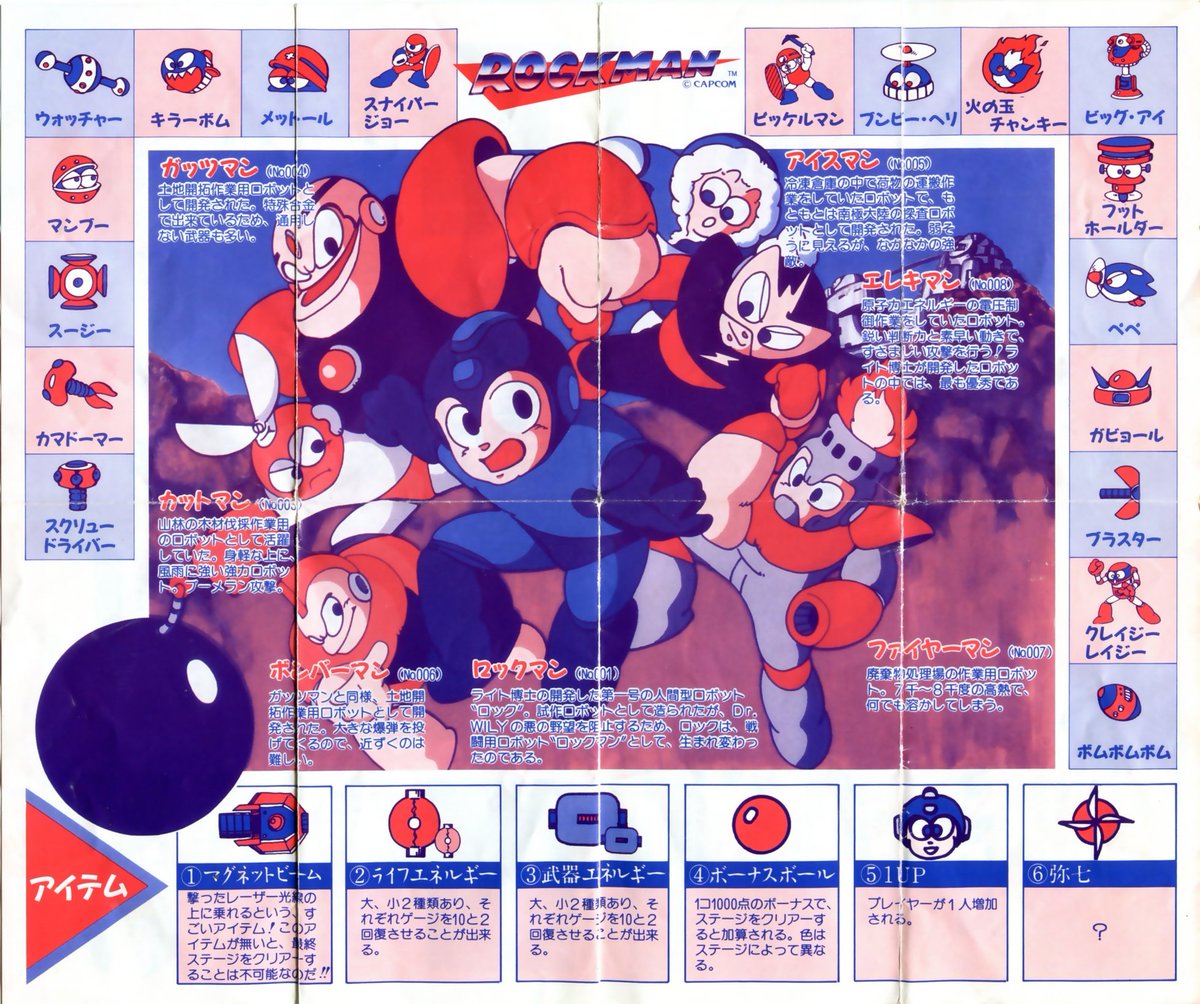
Check out era manuals:
Famicom manuals:
nintendo.co.jp/clv/manuals/ja…
NES manuals:
nintendo.co.jp/clv/manuals/en/
Famicom manuals:
nintendo.co.jp/clv/manuals/ja…
NES manuals:
nintendo.co.jp/clv/manuals/en/
Some other nesdevvers with solid manuals under their belt:
@cacciatc
@bbbradsmith
@atonofglaciers
@SpoonyBardToma
@Atelier_Betoux
...and more! There are a lot of strong manuals, content and design-wise, in homebrew.
@cacciatc
@bbbradsmith
@atonofglaciers
@SpoonyBardToma
@Atelier_Betoux
...and more! There are a lot of strong manuals, content and design-wise, in homebrew.
I reckon that sums up my manual advice. To other homebrewers: We're expanding the NES library, not imitating it, so be inspired--not restricted--by what's been done before.
To the bootleggers who've come across my thread: Don't be A-holes; don't bootleg homebrew.
To the bootleggers who've come across my thread: Don't be A-holes; don't bootleg homebrew.
Finishing a broken sentence from one of the above posts:
Page count is usually low enough that creep isn't necessary as long as your center margin is sufficient and it isn't obvious when two pages are printed adjacent to one another (such as different background colors for pages)
Page count is usually low enough that creep isn't necessary as long as your center margin is sufficient and it isn't obvious when two pages are printed adjacent to one another (such as different background colors for pages)
I mentioned creep before, but in InDesign, it refers to incrementally increasing the gap between adjacently printed pages the further away from the center of a booklet or signature they are--to compensate for paper thickness. It may be needed if your art spreads across two pages.

