
step by step tutorial on how to make this carrd :] (with screenshots) 

1.) first, you're gonna need a container. set the width to: 25, the vertical padding to: 0.5, horizontal padding to: 0.25.

2.) go to background and set "none" to "gradient." pick your two colors (something like the one in the second pic). make sure the darker color is in Stop #1 and the lighter color is in Stop #2. set the angle to 0.


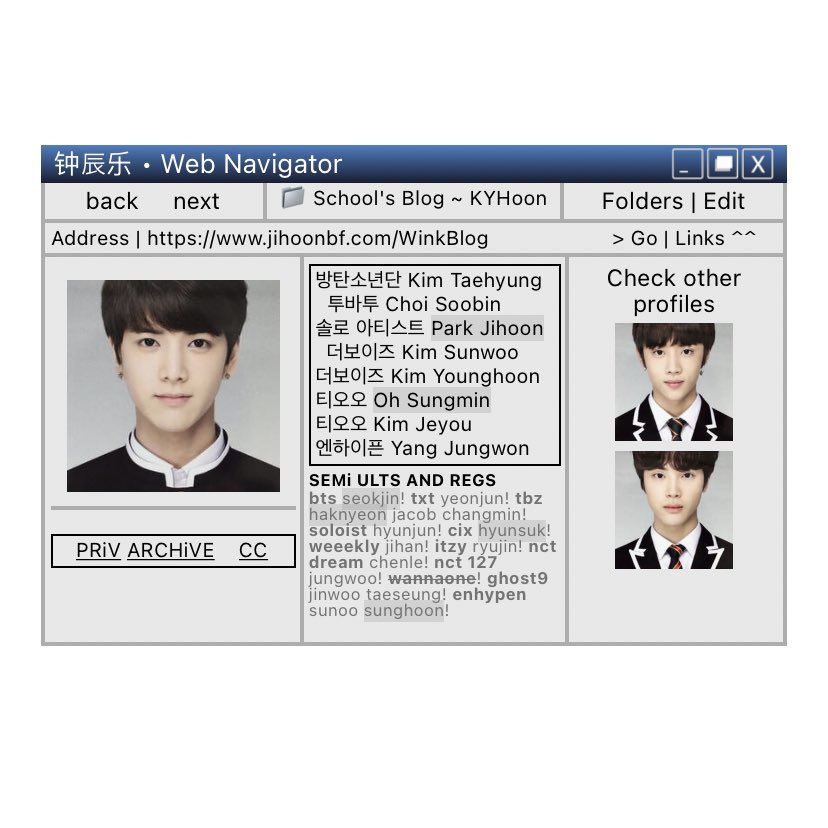
3.) add text to the container. it's up to you on what you want to put. set the color to #FFFFFF (white). it should look something like the first image.

4.) set the alignment of the text from "auto" to "left." it should come out like the second image.


5.) you can do this as the first step btw but that's up to you 😅. go to page settings > contents > set the spacing to zero.


6.) add another container and set the type to "columns." for this container we're gonna need three (3) columns. so go to columns and click "add."


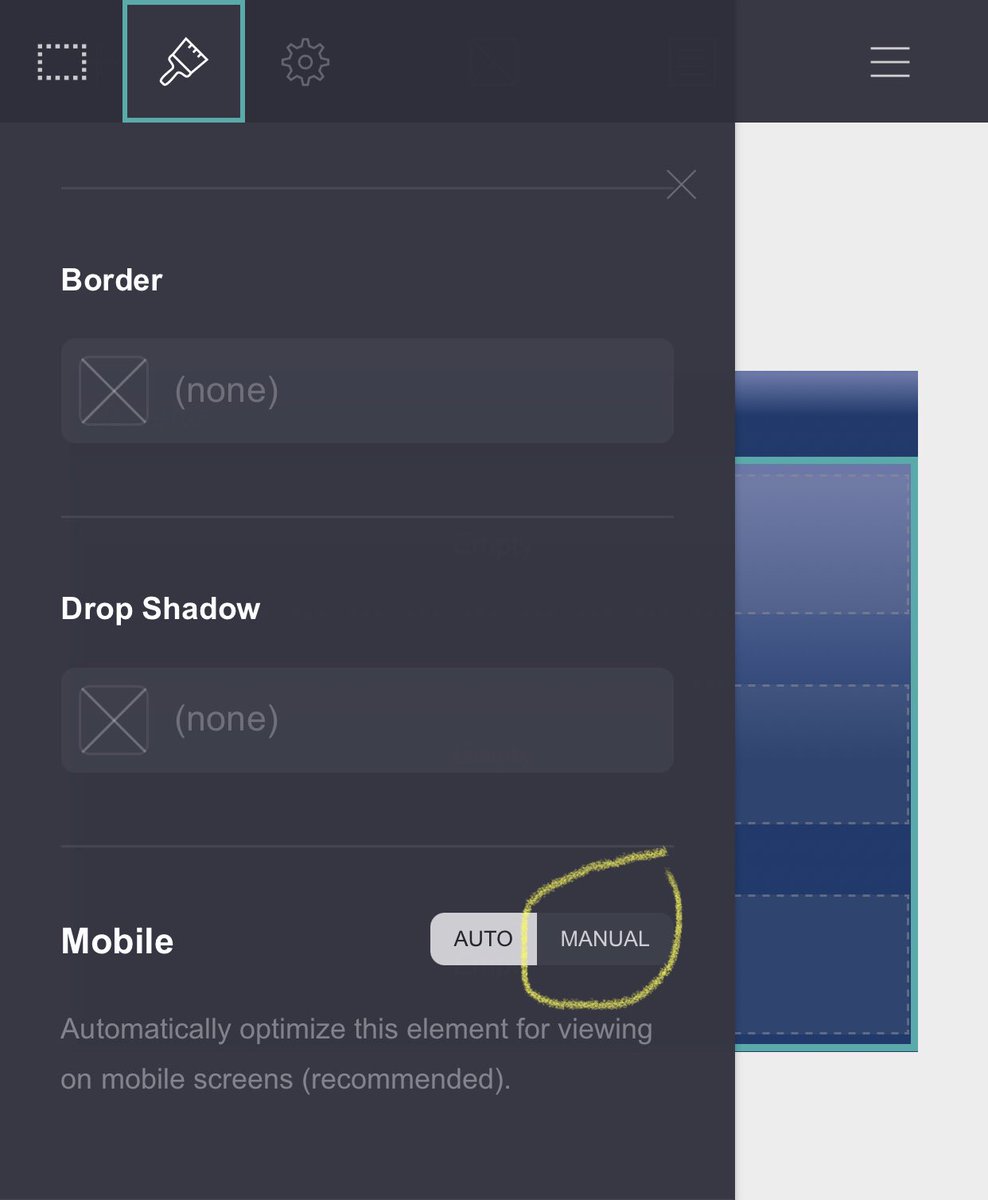
7.) go to container appearance and scroll down until you find "mobile." click on "manual," and change the layout from "stack" to "default."

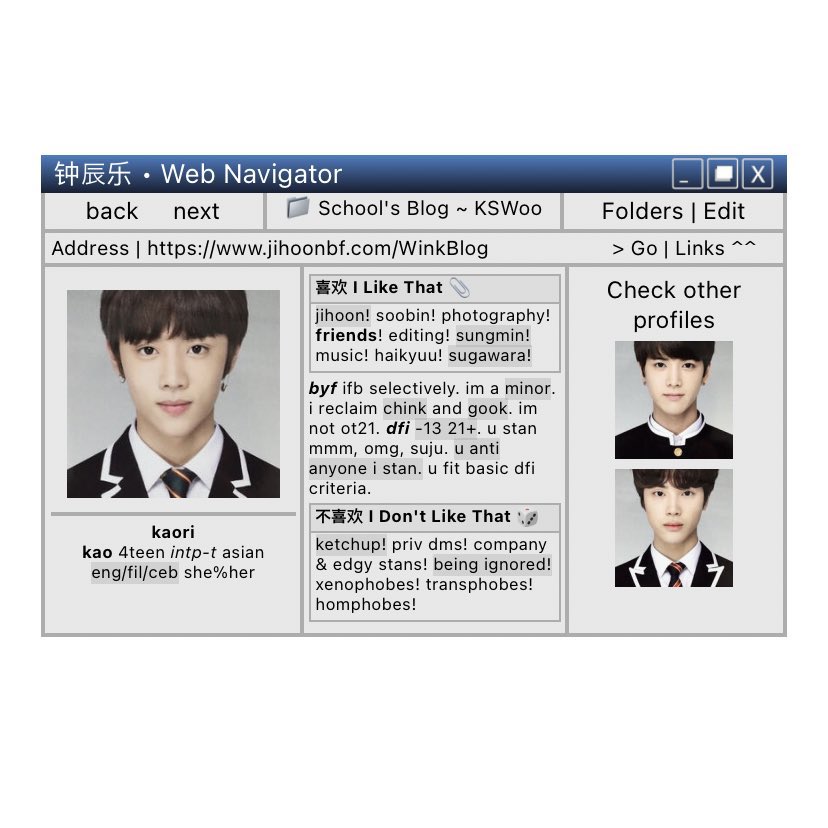
8.) look for "gutters" and set it to 0.25! after that, set the color to something like a dark-ish gray color. then make sure the width is set to two (2). click on "gutters," and then click on "flush to edges." it should come out looking like the fourth image.


9.) go to background and change "gradient" to "color." set the color to a lighter shade of gray compared to the borders we set earlier. it should come out looking like the third image.


10.) go to paddings and set the vertical padding to 0.25. then scroll down to contents and set the alignment to "center" AND "center."


11.) add text to the three columns of the container. (the first image is just an example.) make sure the alignment of the text is set to "center." the outcome should look like the third image.


12.) add a new container. go to appearance. go to border and make sure there's no checkmark for "top."


13.) add text like something in the first pic. go to text appearance and set the alignment to left. it should look like the last image.


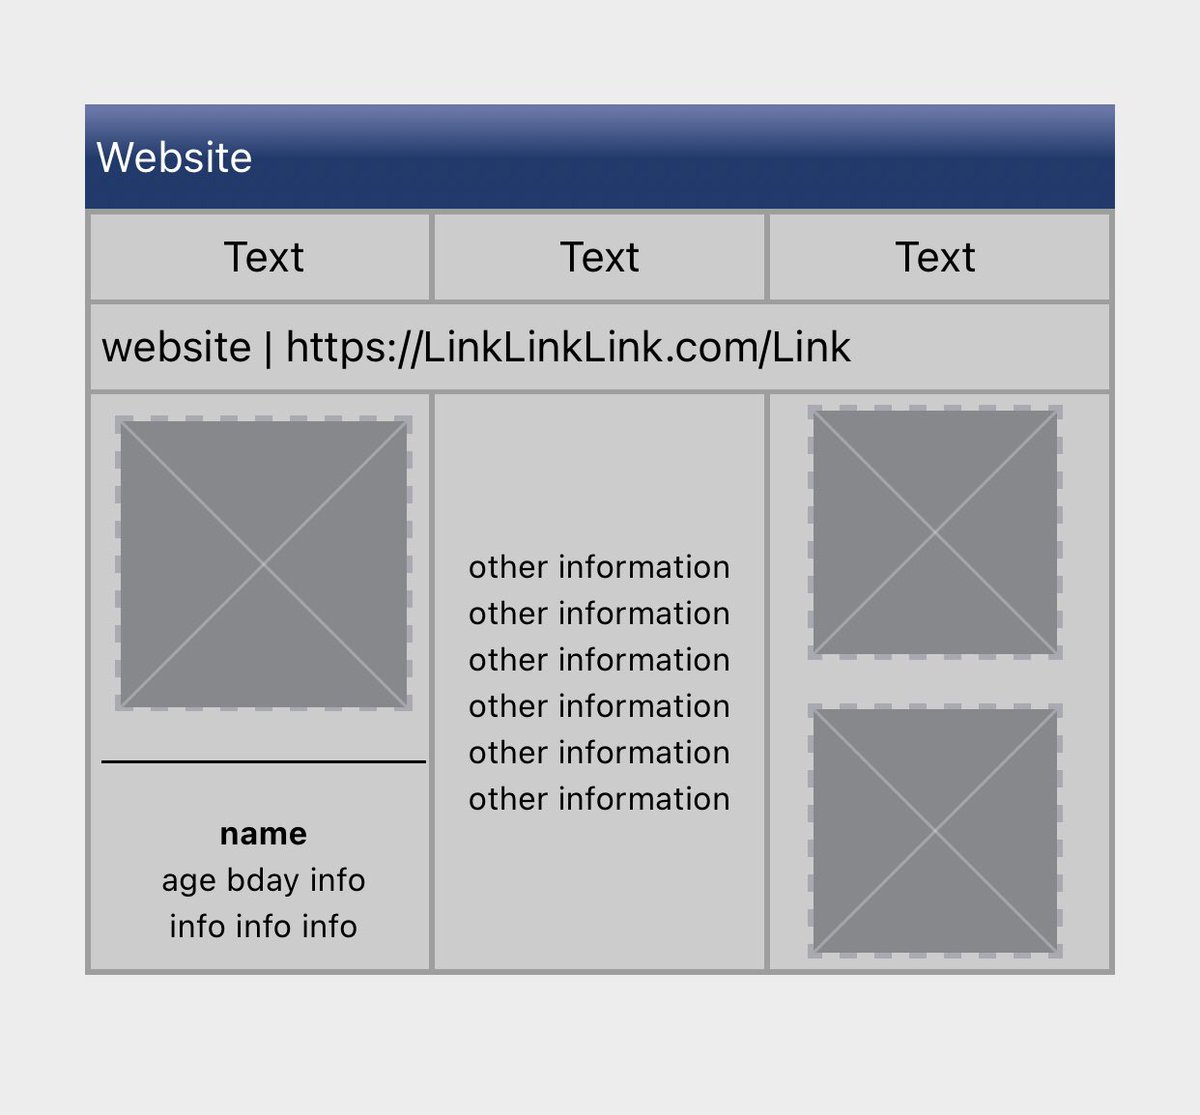
14.) add another container and set it again to "columns." add another column again. it should look like the third image.


15.) add an "image." and place it inside the left column. add a "divider" and place it under the image inside the left column.


16.) add text for your personal information such as name, age, etc. place the text under the divider inside the left column. set the text alignment to "center." it should come out looking like the third image.


17.) you can add anything you want inside the middle column. (tables, texts, etc."

18.) add a gallery and add any image you want to put. go to appearance and set the style to "fixed." place the gallery inside the right column.


19.) click the gallery. you're gonna want your images to be the "buttons" for you to go to the next page of your carrd. so click on the image (ex. the untitled image in the picture below). type in the name of the section break for your next page under "Link URL."

20.) for the next pages, you can just duplicate the containers to the next section of your carrd! all you have to do to duplicate them is click on the container and click on the duplicate button right next to the trash icon.

21.) once you've duplicated the container, drag it down to your next section under the section break.


22.) just repeat the process until your carrd is finished! you can adjust the settings to however you want your carrd to look like, this tutorial is just to explain the step-by-step process on how to make the layout for this carrd ^__^ everything else is up to u!
[🛒] hopefully this tutorial helps especially to the person who asked for a step-by-step tutorial 🥺 if you have any questions or if you're confused by anything please don't hesitate to dm us!
• • •
Missing some Tweet in this thread? You can try to
force a refresh


