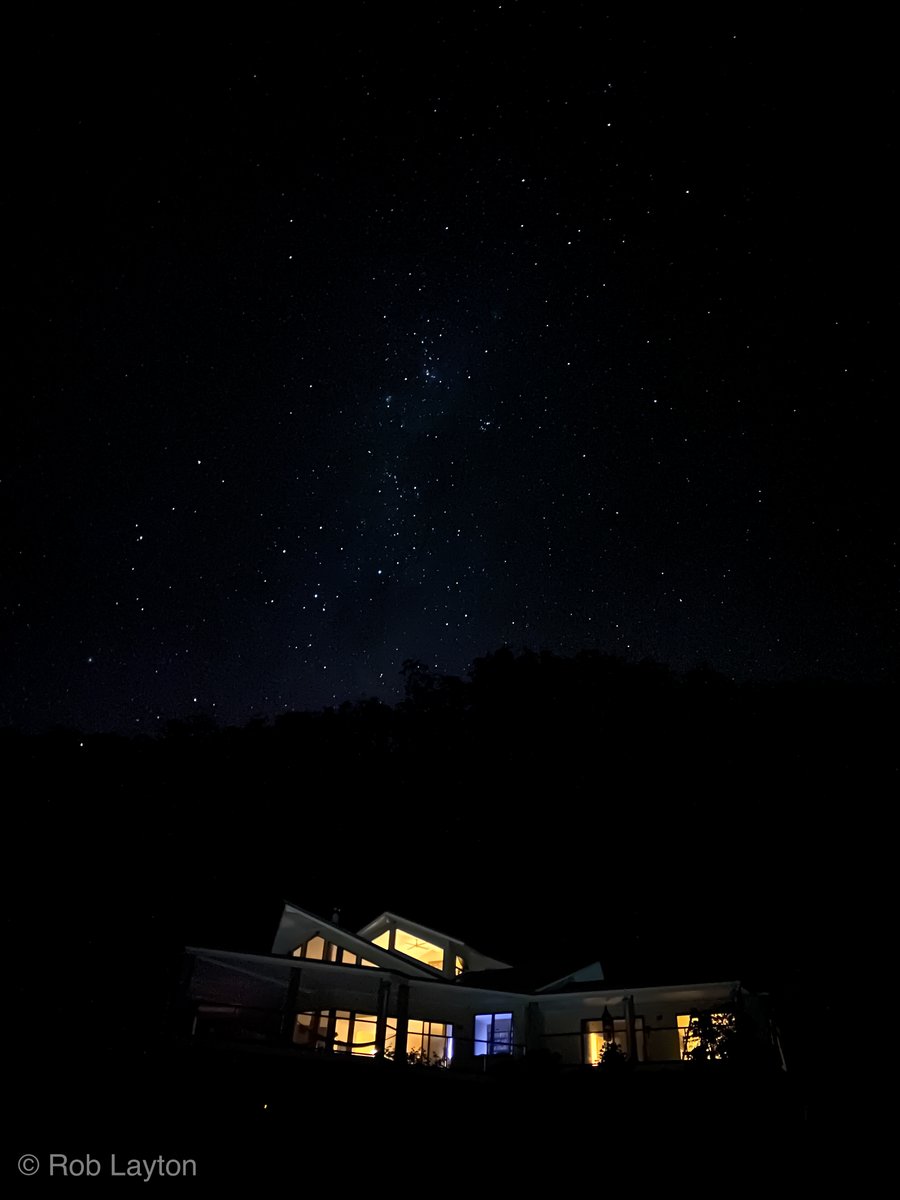
Thread: I’ve been using #iPhone12ProMax for the past week, mostly in low light. That bigger sensor, larger aperture, faster processor ... it’s truly incredible. Following pix: Night Mode; low-light wide Portrait Mode; low-light 65mm Portrait Mode; low-light 65mm; comparison
1/8
1/8

I shot this at 4am, Nautical Twilight, 15 minutes before blue hour. Pix in this light normally give awful artefacts. I’m using a $100 LED light at lowest intensity, 1sec NM was making him too bright. Using exp comp to set exposure (this bts shot with NightMode on #iphone12)
2/8
2/8

Dim venue, no natural night. This is sooc, no editing. Wide Portrait Mode, exposure set via tap and lock and then expo comp. Hair has always been an issue with Portrait Mode, I’m assuming LiDAR is operating here as the transition is beautifully smooth. Nice bokeh.
3/8
3/8

Same location, 65mm Portrait Mode. Auto in the native editor, some adjustment as skin tone was too pale (it’s the Gold Coast, the model is quite tanned) no bokeh adjustment. The longer focal length initially took me off guard but, oh my ..!
4/8
4/8

Shot with 65mm, evening blue hour, in a stairwell with a picture window facing the model and single tungsten light fixture in the stairwell. Auto native editor did a good job taking the tungsten’s yellow cast out of the shot.
5/8
5/8

Night Mode comparison: #iPhone12ProMax (left) and #iPhone12, identical settings, tap and hold and exp comp to set exposure. Hardly anything between them in this light (blue hour). Clearly the power of 12PM is in much lower light, where it excels. The image of the surfer..
6/8


6/8
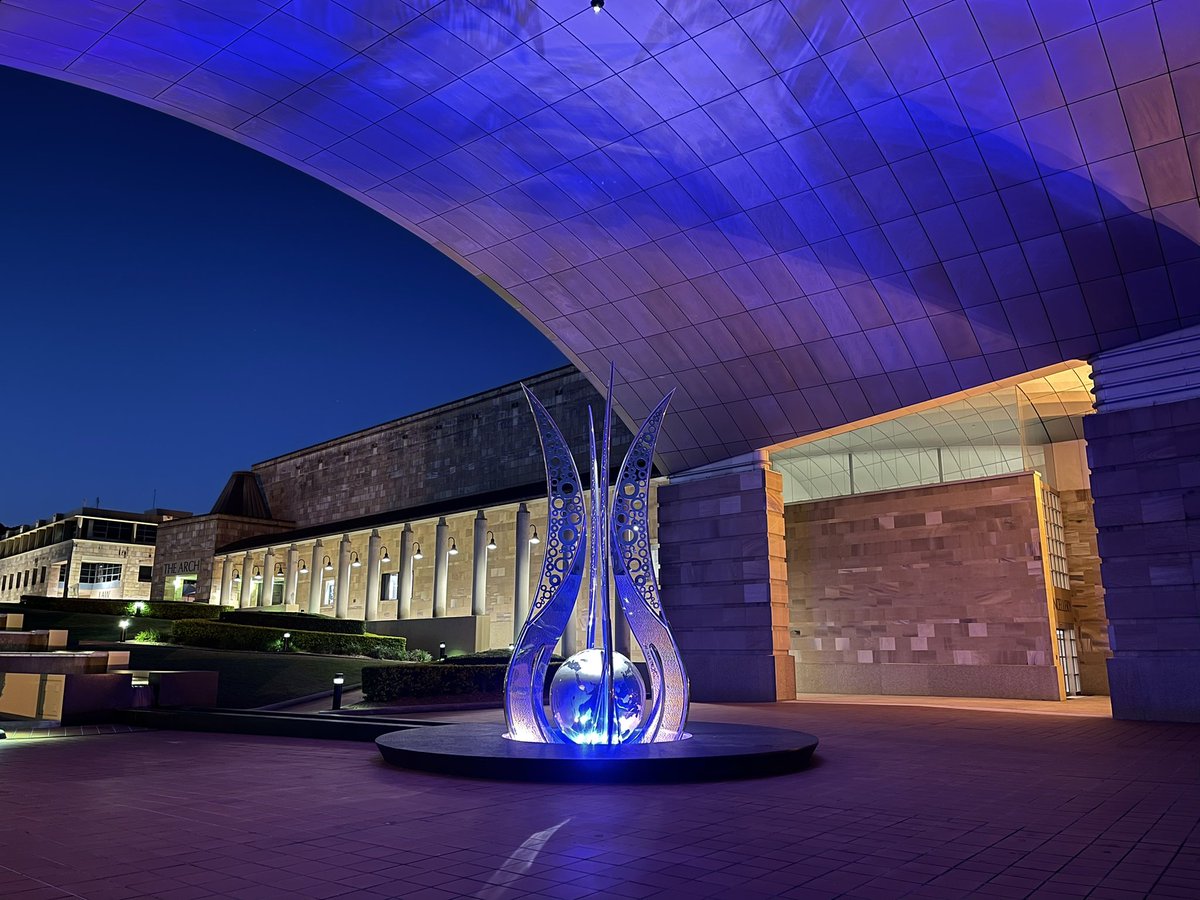


.... from my first post shows incredible fidelity in light, colours and texture. The #iPhone12ProMax is designed for serious users who want to take their mobile photography to the next level, or everyday users who just want great results. Next step - ProRaw 😀
7/8
7/8

Behind the scenes of #iPhone12ProMax photo shoot, #shotoniphone with #iphone12 , which makes his room look a lot brighter than it actually was! 


• • •
Missing some Tweet in this thread? You can try to
force a refresh

