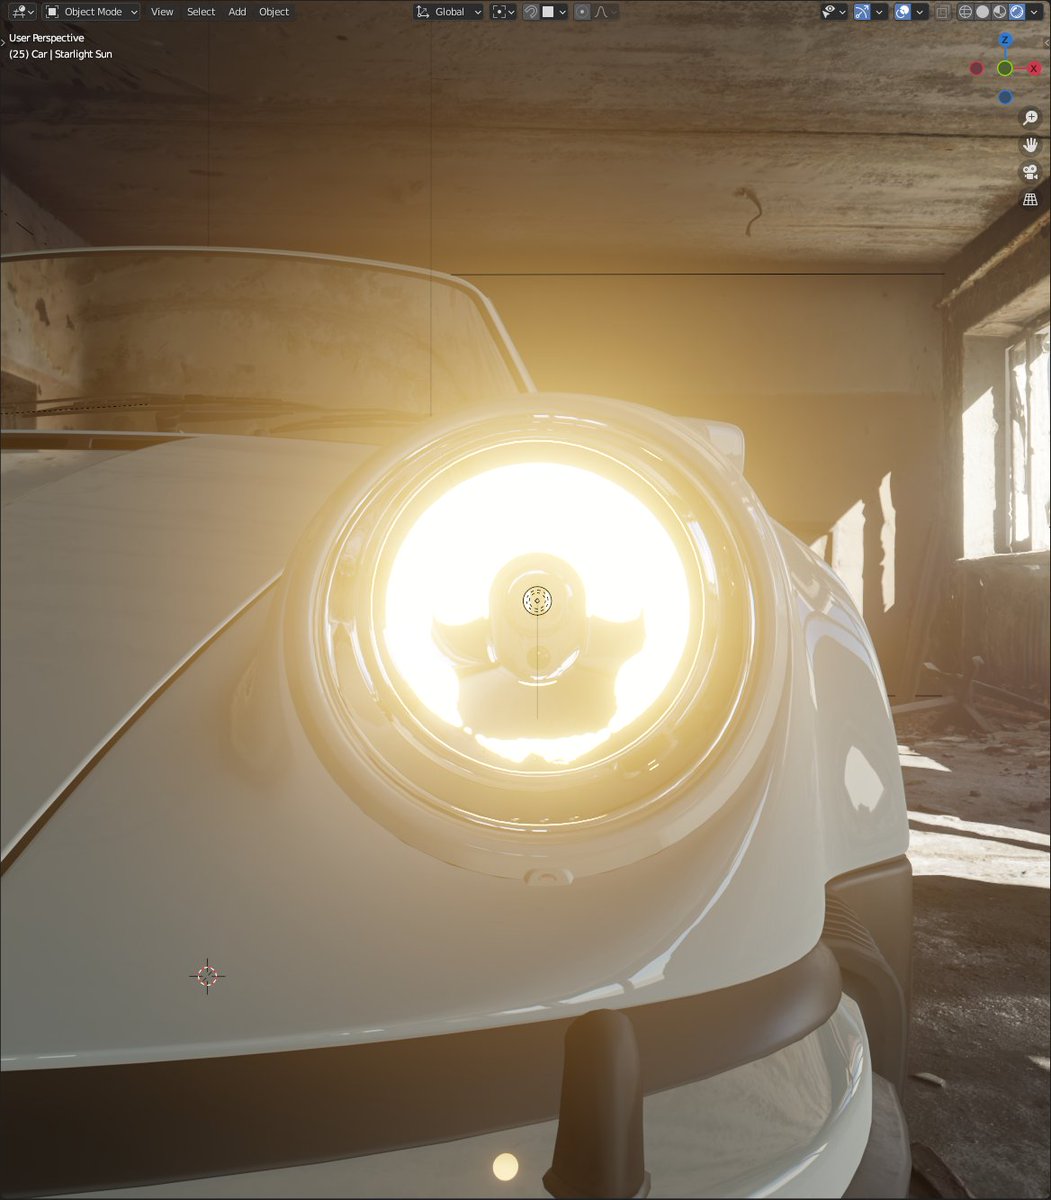
Now, let me tell you one of the secrets for a fine looking water surface. And it has nothing to do with the water itself! It’s the environment.
From visual aspect, water is a reflection and refraction of surrounding objects, so a good looking sky is where you should start. #b3d
From visual aspect, water is a reflection and refraction of surrounding objects, so a good looking sky is where you should start. #b3d

(This is my attempt for clickbaity advertisement)
So you want skies like image above? Buy ‘Physical Starlight and Atmosphere’ addon for Blender and support two brothers, entrepreneurs @_karlisup and me. We call ourselves @PhysicalAddons.
more info:
blendermarket.com/products/physi…
So you want skies like image above? Buy ‘Physical Starlight and Atmosphere’ addon for Blender and support two brothers, entrepreneurs @_karlisup and me. We call ourselves @PhysicalAddons.
more info:
blendermarket.com/products/physi…
This is going to be another rant about water rendering.
Topic - water surface shading.
Not about geometry and not underwater ‘volume’. Just the thin border separating the two worlds.
Topic - water surface shading.
Not about geometry and not underwater ‘volume’. Just the thin border separating the two worlds.

To understand the water surface shading better I’ll again establish concepts and praxis parts.
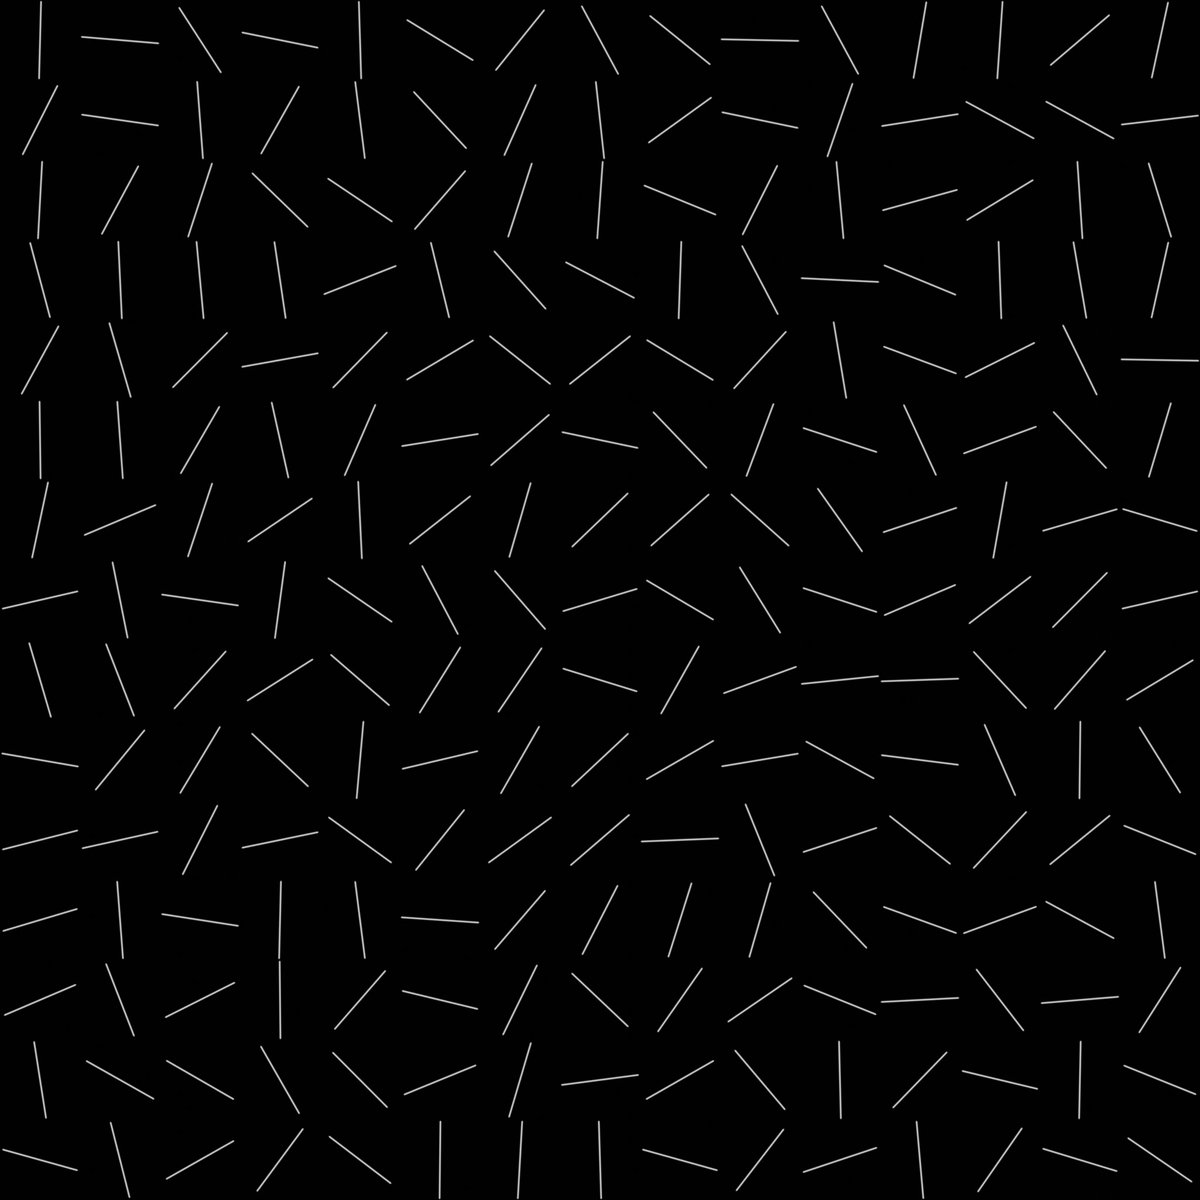
Concept 1 - we have to think of air and water as volumes. We observe the border (surface) between the volumes because of the difference of their densities.
Concept 1 - we have to think of air and water as volumes. We observe the border (surface) between the volumes because of the difference of their densities.
Bigger the density difference, more visible is the border.
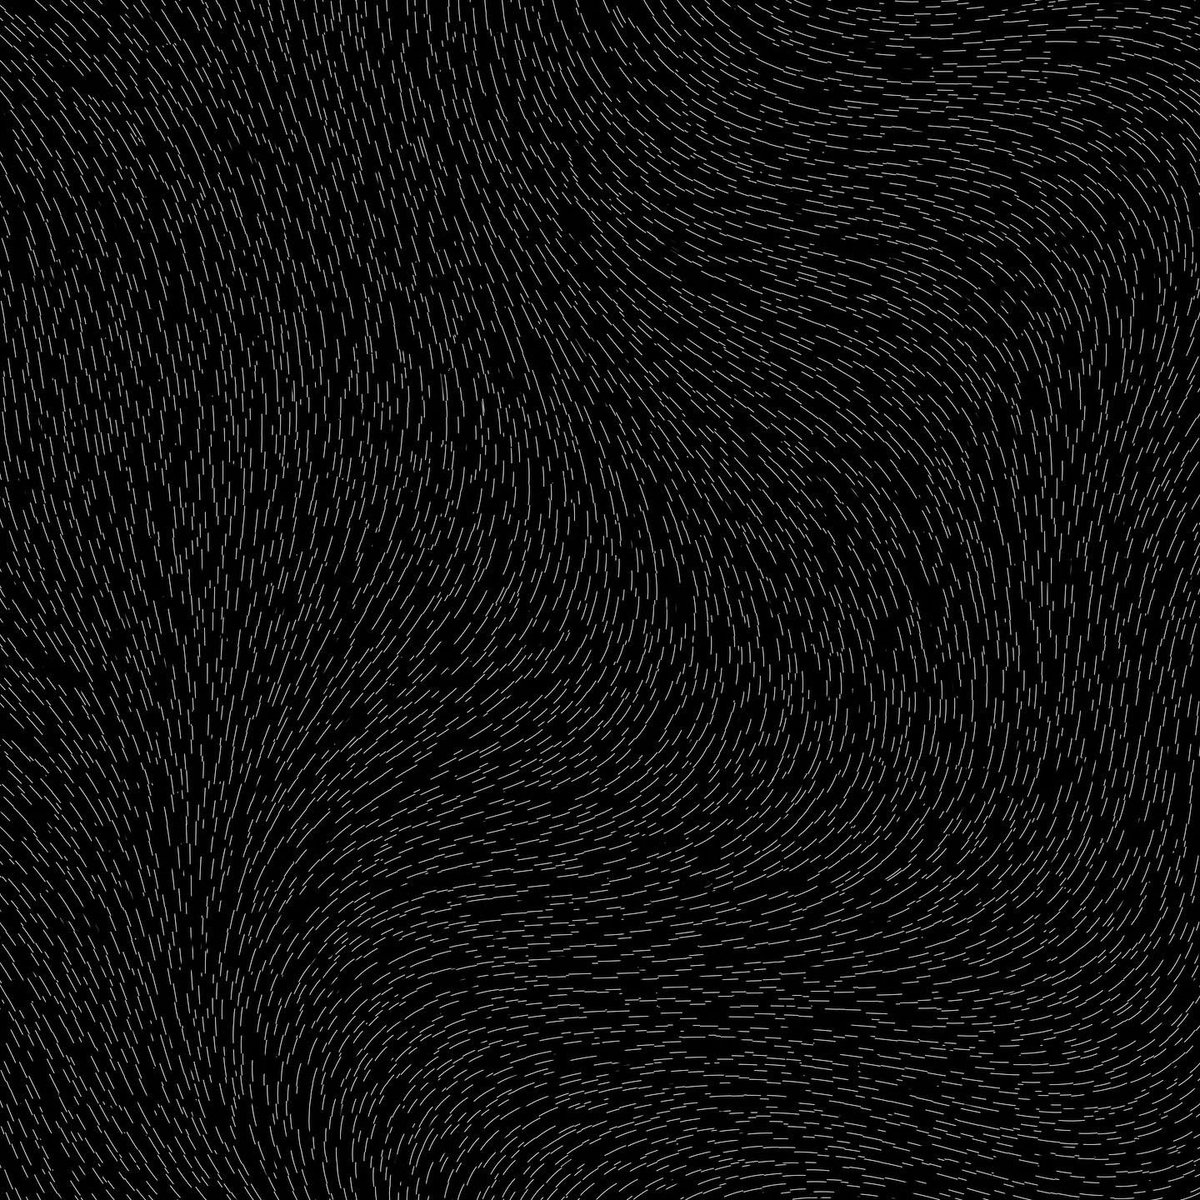
Just to make my point, here is an image of heat shimmer - basically, air/air border. Hot and cold air has different densities. The difference is so low that we can only notice it if we are really looking for it.
Just to make my point, here is an image of heat shimmer - basically, air/air border. Hot and cold air has different densities. The difference is so low that we can only notice it if we are really looking for it.

Perhaps the future Blender version will be able to calculate the borders between volumes automatically, and this thread will be obsolete, but till then we have to fake it!
So praxis part - simply imagine the water surface being a plane and approximate the physics with shaders.
So praxis part - simply imagine the water surface being a plane and approximate the physics with shaders.
First physics approximation and probably my all-time favourite effect - ‘Fresnel effect’.
A proper implementation will give you water look even without reflections.
Here’s an old video of mine of water with fresnel only, rendered in Blender Game Engine.
A proper implementation will give you water look even without reflections.
Here’s an old video of mine of water with fresnel only, rendered in Blender Game Engine.
A ‘proper’ Fresnel effect will have one very important behaviour - the surface does not behave optically same way from both sides!
This is because the refractive index (IOR) changes if the viewer is inside water or air volume.
Left: over water, Right: under water.
This is because the refractive index (IOR) changes if the viewer is inside water or air volume.
Left: over water, Right: under water.


Simple math time:
IOR of Air = 1.0
IOR of Water = 1.333
If viewer is in air,
IOR of water surface = Water/Air 1.333/1.0 = 1.333
If viewer is in water,
IOR of water surface = Air/Water
1.0/1.333 = 0.750
So in Blender, upper side of plane will have IOR of 1.333, lower - 0.750
IOR of Air = 1.0
IOR of Water = 1.333
If viewer is in air,
IOR of water surface = Water/Air 1.333/1.0 = 1.333
If viewer is in water,
IOR of water surface = Air/Water
1.0/1.333 = 0.750
So in Blender, upper side of plane will have IOR of 1.333, lower - 0.750
In Blender we disable ‘backface culling’ for our water surface and use ‘backfacing’ vertex attribute to mix between these two values. We then feed it to Refraction shader IOR input field.
Fresnel node in Blender already works this way so no value mixing is necessary.
Fresnel node in Blender already works this way so no value mixing is necessary.

In GLSL we use reflect(V,N) and refract(V, N, IOR) functions to calculate the texture coordinates, but in Blender, Eevee does all for us thanks to the magic from @hypersomniac_ and the team.
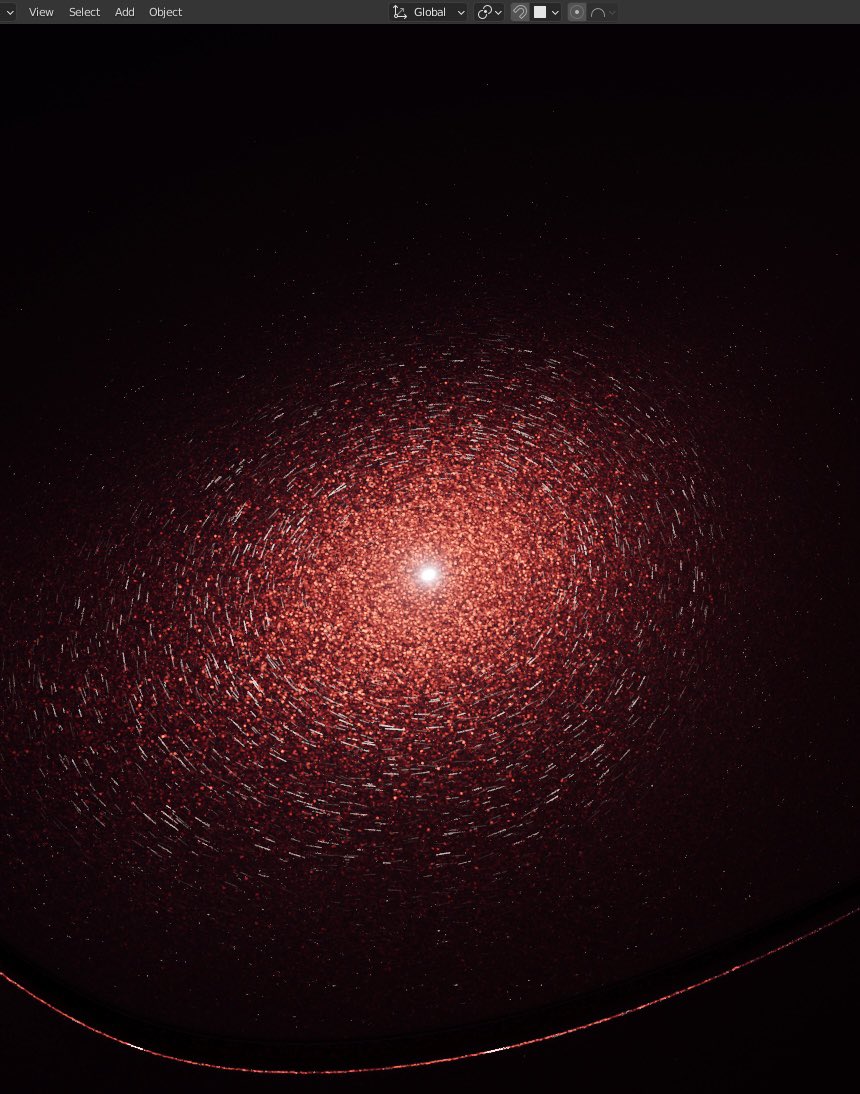
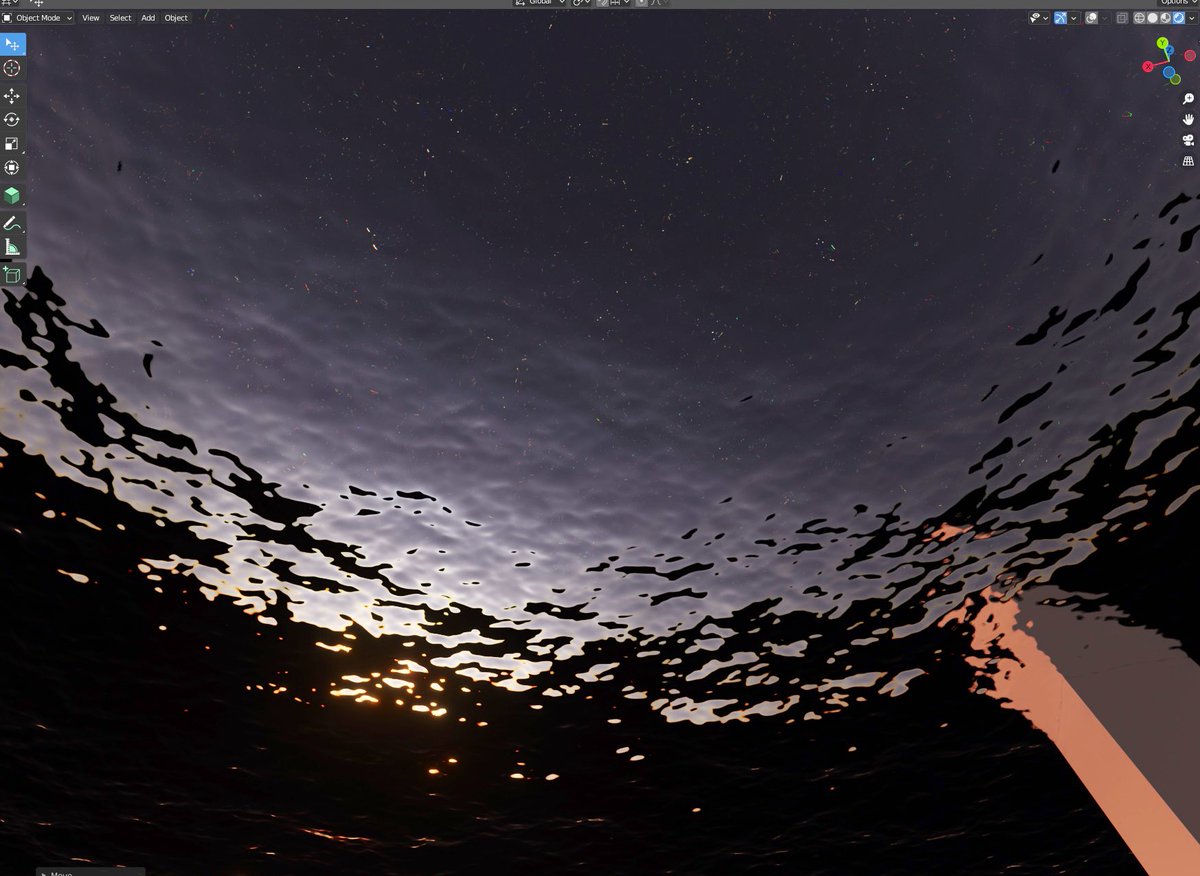
I love peeking up whenever I am under the water to observe the ‘Snell’s window’
I love peeking up whenever I am under the water to observe the ‘Snell’s window’

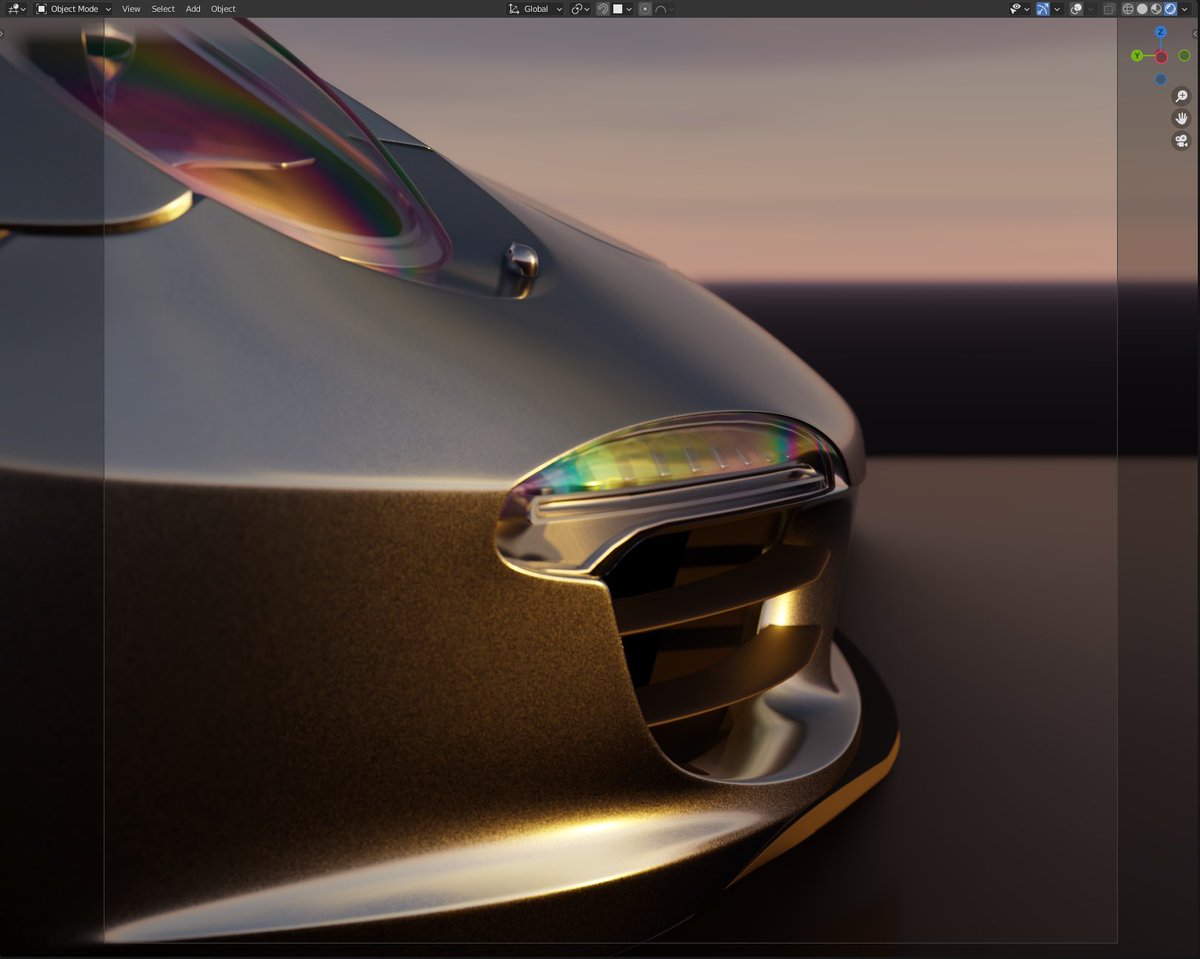
To make things more interesting, IOR for water is different for Red, Green and Blue wavelengths.
Red (700 nm) = 1.331
Green (550 nm) = 1.333
Blue (450 nm) = 1.337
This causes slight chromatic aberration for refracted light.
Red (700 nm) = 1.331
Green (550 nm) = 1.333
Blue (450 nm) = 1.337
This causes slight chromatic aberration for refracted light.

• • •
Missing some Tweet in this thread? You can try to
force a refresh