1. Here’s an explanation of how I photographed the galactic center with #iPhone13ProMax, following a number of requests. This works for iPhone 11 and up although 12/13ProMax will yield better results due to better camera specs.
#ShotOniPhone
⬇️ Image
2. I used Lumy & WillyWeather apps to determine when is last light, ClearOutside app to gauge cloud cover, and PhotoPills app to find where and when the galactic cloud would be optimal in my composition (luckily it was 8pm and not 2am!)
⬇️ Image
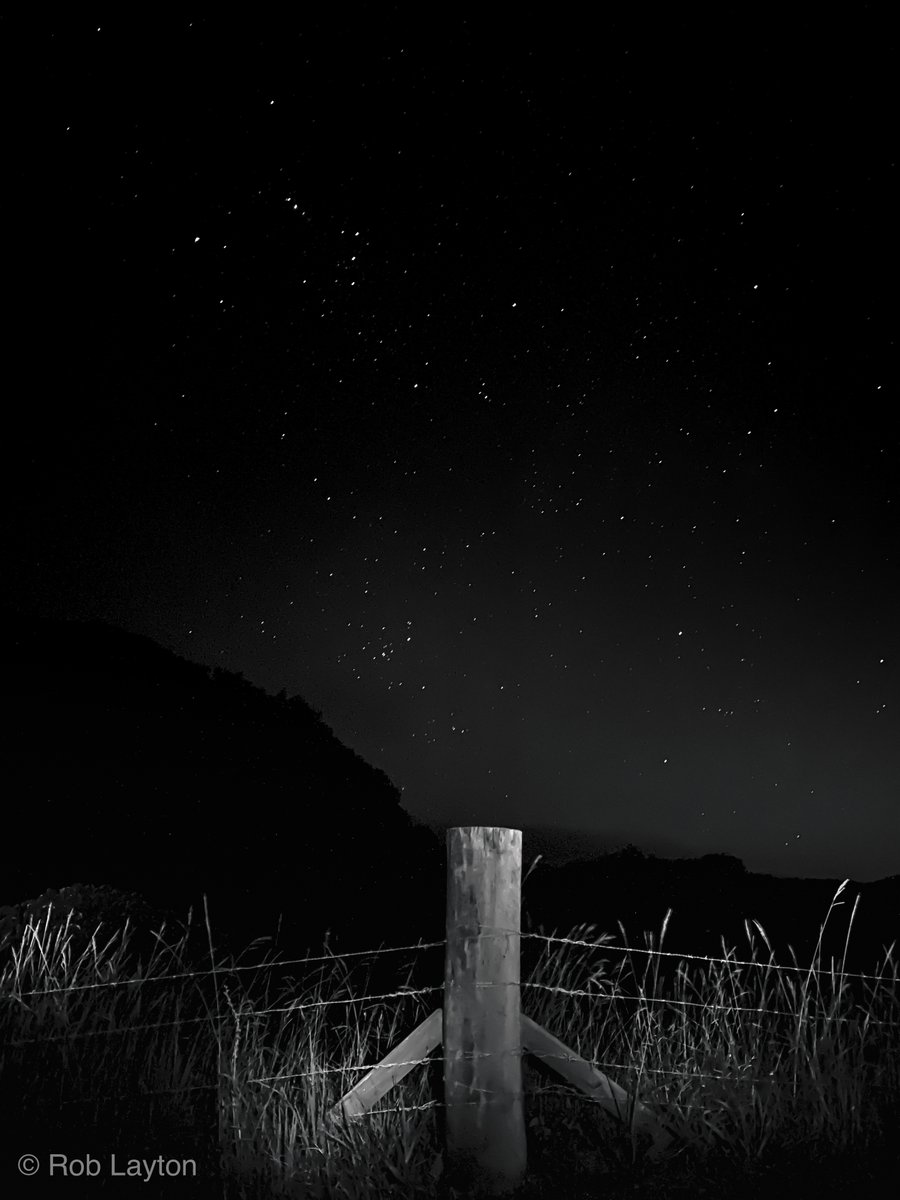
3. I ensured lights in the house were minimal (this process is incredibly sensitive to light). Phone in a tripod and picture composed. NightMode kicks in automatically, push the dial out to 30sec (max exposure handheld is 10s). More time = more light = better picture.
⬇️ Image
4. Tap and hold the screen to lock exposure/focus and run your finger down to reduce the exposure until you see the white noise reduce. You may need to try this a few times before you get it how you like. 12/13PM users turn on ProRaw, it will massively improve the image.
⬇️ Image
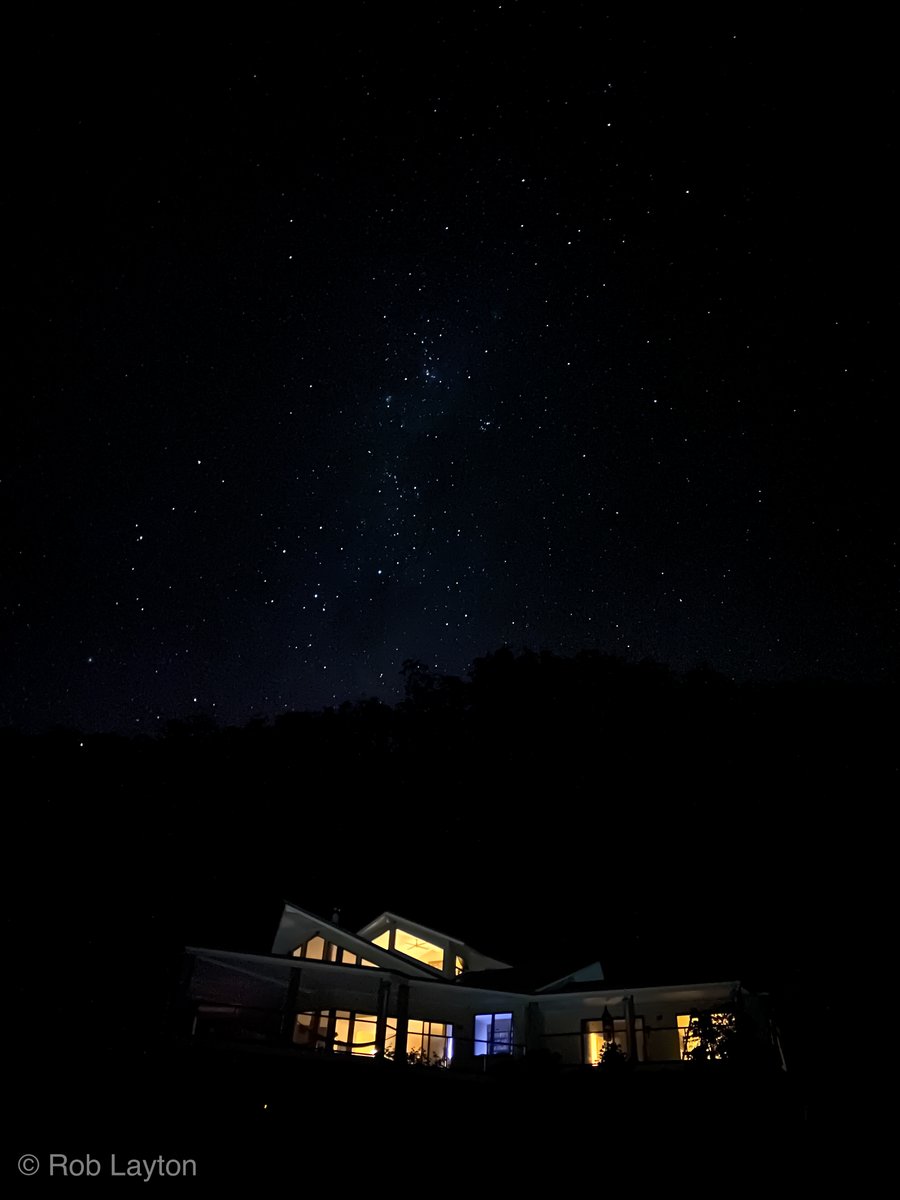
5. Take the picture. I use my Watch to fire the shutter (I keep the Camera app on my dial) so it essentially becomes a remote. This is how the raw image looked. Don’t worry if it’s a bit flat, all the information is there, it just needs to be revealed in the edit.
⬇️ Image
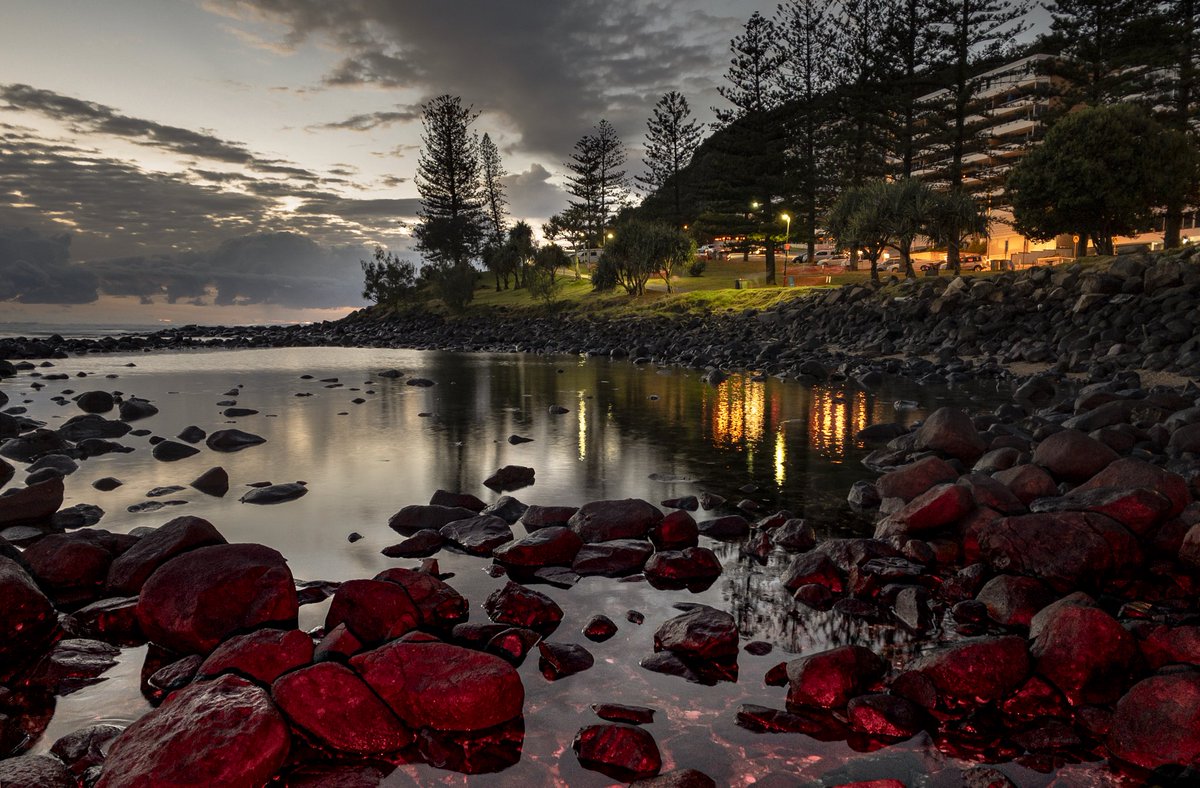
6. Share the image to @Lightroom on your phone. You can use other editors but I find the Dehaze slider in Lr gives best results.
Start with Light and add Contrast. Pull highlights down to remove the brightness and reveal highlight details in the stars.
⬇️ Image
7. Move onto Colour. My image was too blue so move Temp slider right to add warmth, and I moved Tint into magenta to counter the blue and enhance the colour of the cloud. Vibrance up to enrich the colours.
⬇️ Image
8. Onto Effects and move the Dehaze right up to reduce the haze and add more global contrast, with a little Clarity for mid-tone contrast. I used a linear selection to do this so the house was not affected. Texture down slightly to help reduce noise and soften the cloud.
⬇️ Image
9. By now the image and colours should pop. Go back and tweak to your liking. A final step may be to reduce noise, and colour noise, if there are too many artifacts but be cautious to not reduce the intensity of the stars.
That’s it. Experiment and have fun. Image

• • •

Missing some Tweet in this thread? You can try to force a refresh
 

Keep Current with Rob Layton

Rob Layton Profile picture

Stay in touch and get notified when new unrolls are available from this author!

Read all threads

This Thread may be Removed Anytime!

PDF

Twitter may remove this content at anytime! Save it as PDF for later use!

Try unrolling a thread yourself!

how to unroll video
  1. Follow @ThreadReaderApp to mention us!

  2. From a Twitter thread mention us with a keyword "unroll"
@threadreaderapp unroll

Practice here first or read more on our help page!

More from @Rob_Layton

9 Nov 20
Thread: I’ve been using #iPhone12ProMax for the past week, mostly in low light. That bigger sensor, larger aperture, faster processor ... it’s truly incredible. Following pix: Night Mode; low-light wide Portrait Mode; low-light 65mm Portrait Mode; low-light 65mm; comparison
1/8 Image
I shot this at 4am, Nautical Twilight, 15 minutes before blue hour. Pix in this light normally give awful artefacts. I’m using a $100 LED light at lowest intensity, 1sec NM was making him too bright. Using exp comp to set exposure (this bts shot with NightMode on #iphone12)
2/8 Image
Dim venue, no natural night. This is sooc, no editing. Wide Portrait Mode, exposure set via tap and lock and then expo comp. Hair has always been an issue with Portrait Mode, I’m assuming LiDAR is operating here as the transition is beautifully smooth. Nice bokeh.
3/8 Image
Read 8 tweets
14 May 20
Here’s a #mobilephotography tutorial if you’re interested in getting more out of your phone in low light.
.
I shot this 20minutes before sunrise this morning with @FiLMiCPro #firstlight using #iPhone11Pro and it was darker than this pic suggests. As you can imagine ....
1/5
black basalt in the dark is a challenge. To enhance shadow detail, using a tripod, I shot a number of raw frames (tip: set the timer to 2s to avoid camera shake) to later bring into Ps as a stack, which I will explain shortly ..
2/5
I selected two images that gave some nice reflected colour and moved them to @Lightroom on iPad. I did my usual edits on one image and then used the Previous function to apply those edits to the next image, ensuring they were identical (including the crop)...
3/5
Read 5 tweets
23 Mar 20
iPhone astro-photography tutorial: If you're self-isolated, have an #iPhone11 and able to see the night sky, you may find this short tutorial helpful (and relief from boredom) as I explain how I made these images and edited them in @Lightroom on iPad.
1/10
The addition of #NightMode was a boon to @Apple, and followed the pioneering work of Google's NightSight (check out Distinguished Engineer Marc Levoy's excellent blog bit.ly/2JktTIF ). However, it's often not used to potential.
2/10
NightMode will kick in as soon as the camera senses darkness. Tap the NightMode icon at the top left. It will default to either 3 or 5 second exposures, depending on ambient light. This is fine for globally lighting a restaurant or park at night, but ...
3/10
Read 11 tweets

Did Thread Reader help you today?

Support us! We are indie developers!


This site is made by just two indie developers on a laptop doing marketing, support and development! Read more about the story.

Become a Premium Member ($3/month or $30/year) and get exclusive features!

Become Premium

Too expensive? Make a small donation by buying us coffee ($5) or help with server cost ($10)

Donate via Paypal

Or Donate anonymously using crypto!

Ethereum

0xfe58350B80634f60Fa6Dc149a72b4DFbc17D341E copy

Bitcoin

3ATGMxNzCUFzxpMCHL5sWSt4DVtS8UqXpi copy

Thank you for your support!

Follow Us on Twitter!

:(