Unit Testing is the most important testing method, that is usually performed by the developer.
Unit Testing tests each individual modules (method, function or a class) for its proper functioning.
Unit Testing tests each individual modules (method, function or a class) for its proper functioning.
This indirectly means you have to maintain loose coupling in your application.
That is, each function or a method should be able to perform only one functionality.
This way it will be easier to test and even debug you codebase.
That is, each function or a method should be able to perform only one functionality.
This way it will be easier to test and even debug you codebase.
Let’s take an example.
Here, we have two classes and each of the classes have their own static method which performs addition and subtraction respectively.
Here, we have two classes and each of the classes have their own static method which performs addition and subtraction respectively.

Let’s say, these methods are used somewhere deep inside the application, ie, it might be in the last payment screen of your app.
You can’t possibly go to the last screen every time to check if these methods are returning proper data for various inputs right ?
You can’t possibly go to the last screen every time to check if these methods are returning proper data for various inputs right ?
Then, how will you check if these methods are returning the intended data ?
Unit Testing comes into picture.
Unit Testing comes into picture.
Now comes the Dart code.
Head over to the project directory and create a folder 𝘁𝗲𝘀𝘁 and create a new file 𝗰𝗮𝗹𝗰𝘂𝗹𝗮𝘁𝗼𝗿_𝘁𝗲𝘀𝘁.𝗱𝗮𝗿𝘁 .
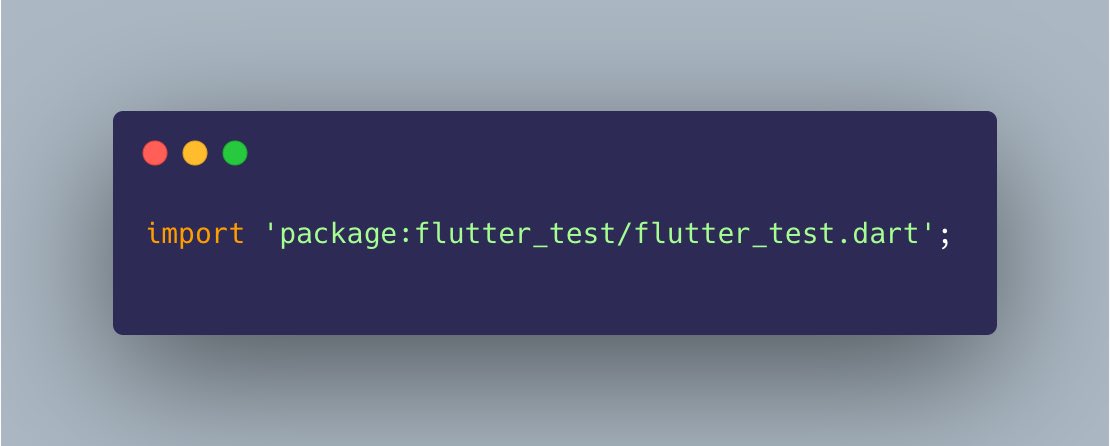
We start off by importing the test package:
Head over to the project directory and create a folder 𝘁𝗲𝘀𝘁 and create a new file 𝗰𝗮𝗹𝗰𝘂𝗹𝗮𝘁𝗼𝗿_𝘁𝗲𝘀𝘁.𝗱𝗮𝗿𝘁 .
We start off by importing the test package:

Here, the first parameter is the title of the test case. Second parameter contains the code to be run for testing the result.
The first line is the init and execute stage, which initialises an object for the class that we are using and executes the method to return a value.
The first line is the init and execute stage, which initialises an object for the class that we are using and executes the method to return a value.
The second line is the Assert stage, where we check if the returned value is what we expected it to be!
If both the values are same, the test will be successful, else it will fail.
If both the values are same, the test will be successful, else it will fail.
Now, the last two tests are somewhat similar right ? They are testing on the same method but on different results.
Why don’t we group those two tests ?
Why don’t we group those two tests ?
The group method groups tests which belong to the same category, or which has to run together.
This way we don’t have to run the entire main function for testing these two methods, we can just run this group instead.
This way we don’t have to run the entire main function for testing these two methods, we can just run this group instead.
Now, for the important part. How will you run the tests ??
If you are using IntelliJ or Android Studio, you will have a run button against each of the tests/group or even against the main function.
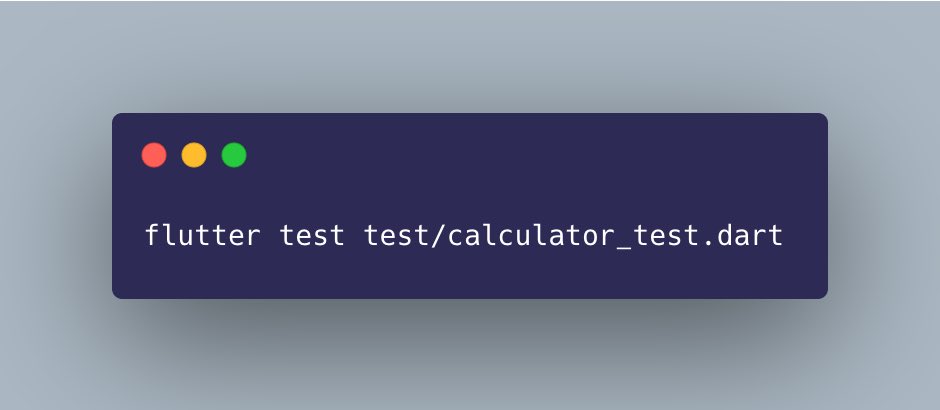
If not, you can type the following command in your terminal to run the tests:
If you are using IntelliJ or Android Studio, you will have a run button against each of the tests/group or even against the main function.
If not, you can type the following command in your terminal to run the tests:

Or, if you wanna run only a particular group/test from the terminal, follow the command below:
Here, we need to pass the title of the test/group which we would like to run.
Here, we need to pass the title of the test/group which we would like to run.

Well, that’s all the basics you need to know to Unit test your applications.
Always keep it as a priority to test your units before going live. It’s gonna make your life easier.
Always keep it as a priority to test your units before going live. It’s gonna make your life easier.
If you loved this thread, don’t forget to hit the like and retweet button, so that it can reach more wonderful developers like you! 💙
In my next thread, I will talk about the mockito package for creating mock dependencies while testing your code.
Don’t forget to hit the Follow button @GopinathanAswin to stay updated on latest threads where I talk about new things that I learn in the world of Dart and Flutter.
Don’t forget to hit the Follow button @GopinathanAswin to stay updated on latest threads where I talk about new things that I learn in the world of Dart and Flutter.
• • •
Missing some Tweet in this thread? You can try to
force a refresh


