
Congratulations to everyone that sees this tweet, as the road to photoshoping using your phone has started.
Course Title: PicsArt for Beginners (Removing Background)
This is the 2nd class in our series. Retweet for others to learn. As usual it is a thread and I will be brief.
Course Title: PicsArt for Beginners (Removing Background)
This is the 2nd class in our series. Retweet for others to learn. As usual it is a thread and I will be brief.

Before we proceed, I must say most of you passed the assignment with flying colours and some even tried it on other pictures. Remember to always use our hashtag #PicsartWithDAPSY to submit or ask questions, as it is easier for me to see them.
Now to the assignment solution.
Now to the assignment solution.

1. Load the image
2. Click on Tools
3. Click on Adjust
4. Use the Hue slider and other sliders to get the desired blue colour.
5. Click on the erase tool above
6. Select the erase option and start cleaning where you don't want the color to change.
2. Click on Tools
3. Click on Adjust
4. Use the Hue slider and other sliders to get the desired blue colour.
5. Click on the erase tool above
6. Select the erase option and start cleaning where you don't want the color to change.
7. U can use the restore option if you over erased some areas.
8. U can use the size, opacity and hard sliders to adjust your eraser.
9. When done click on ✔️ to exit the erase screen.
10. Click on ✔️ to accept your colored changes.
11. Click on save and you are done.
8. U can use the size, opacity and hard sliders to adjust your eraser.
9. When done click on ✔️ to exit the erase screen.
10. Click on ✔️ to accept your colored changes.
11. Click on save and you are done.

The video for the assignment, with voice explanation. I had to break it into two parts due to twitter video limitations.
The concluding part of the video. Hopefully next time it will be shorter.
Now let's move to the class for today. Removing background of an image.
Now let's move to the class for today. Removing background of an image.
There are different ways of removing background but for this course we are going to trace the unwanted background out.
Before we proceed let me introduce what layers is and how it relates to PicsArt. As layers is what makes this app interesting to use.
Before we proceed let me introduce what layers is and how it relates to PicsArt. As layers is what makes this app interesting to use.
Layers are just images stacked on top of each other. A Layer can be moved around or even made to be on top or below another layer. You will notice below that the red layer is in the middle. Which means the yellow layer supercede the remaining layers, as it is the topmost layer.

1. To add image layer to your existing background just click on "Add photo"
2. To add text layer click on "Text"
3. To add customized image layer just click on "stickers" you must be connected to the internet. PicsArt has more than 3 million customized stickers.
2. To add text layer click on "Text"
3. To add customized image layer just click on "stickers" you must be connected to the internet. PicsArt has more than 3 million customized stickers.
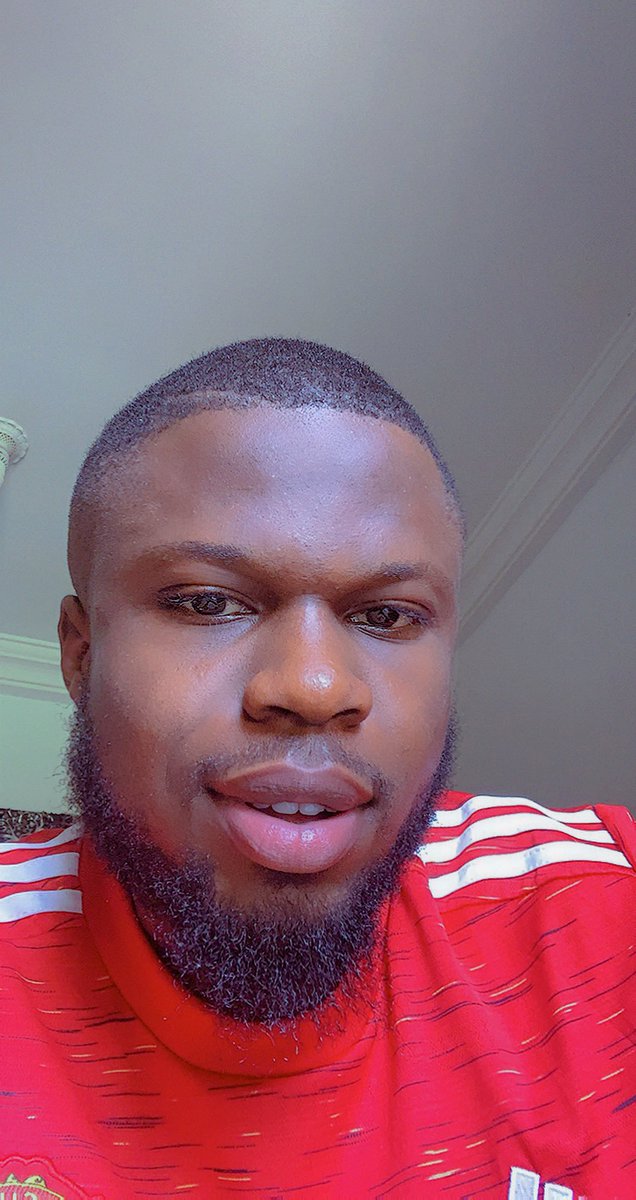
We are going to edit 2 of our popular influencers @_theladymo and @KhaySleek by doing the following.
1. Using his image as background
2. Remove her background (using erase tool)
3. Adding a microphone sticker and erasing part of it.
4. Use the adjust tool to blend the appearance
1. Using his image as background
2. Remove her background (using erase tool)
3. Adding a microphone sticker and erasing part of it.
4. Use the adjust tool to blend the appearance


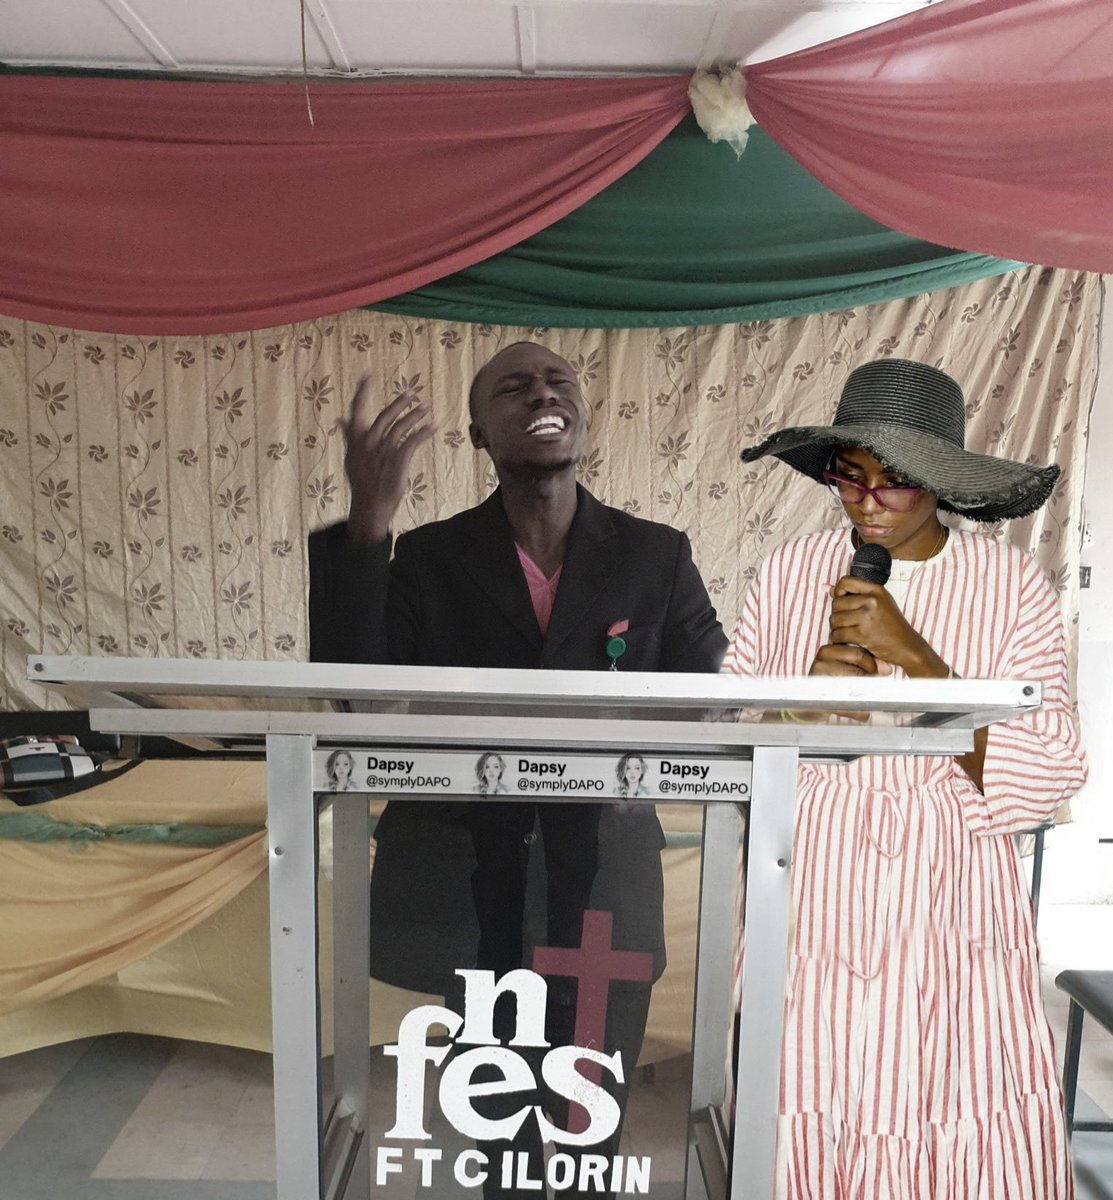
At the end of this class, the result will be like the image below. Don't be scared cos I believe in your ability.
Let's start by loading his image as the background image. By now we all know how to do that. If you are not sure go back to my 1st class
Let's start by loading his image as the background image. By now we all know how to do that. If you are not sure go back to my 1st class
After loading. Click on the "Add photo" you immediately notice that 14 features has been added. Note that these feature are related to image layers and differ slightly from text layers. If you are a premium user you will just use the "Remove BG" to remove the background.

I will quick touch on 7 tools regarding the image layer.
1. Erase: To erase any part of the image
2. Layer option: use to bring the layer above or below and used to duplicate a layer
3. Close: use for deleting a layer. For example you loaded a wrong image, u can simple delete.
1. Erase: To erase any part of the image
2. Layer option: use to bring the layer above or below and used to duplicate a layer
3. Close: use for deleting a layer. For example you loaded a wrong image, u can simple delete.

4. Rotate: use for rotating the image from 0 to 360 degree
5. Expand: use for increasing the image size from small to big or big to small
6. Deselect: use for deselecting a layer. You will need it mostly when you have overlapping layers
5. Expand: use for increasing the image size from small to big or big to small
6. Deselect: use for deselecting a layer. You will need it mostly when you have overlapping layers
7. Increasers: you will notice there are 4 circles surrounding the image. They are used to increase the image leftwards, rightwards, upwards and downwards.
We can use the crop tool to crop out the unwanted areas before proceeding to erase
1. Click on the crop button while her image is still selected
2. Use both sides and the up adjuster to crop out the area's you don't want
3. Click on ✔️to accept the new changes
Erasing is next
1. Click on the crop button while her image is still selected
2. Use both sides and the up adjuster to crop out the area's you don't want
3. Click on ✔️to accept the new changes
Erasing is next


1. Click on the erase tool above
2. Click on erase, kindly note there is undo and redo at the top, should incase of mistake.
3. Use the restore to restore places u cleaned too much and you don't want to undo.
4. You can also use select and click on person to remove background
2. Click on erase, kindly note there is undo and redo at the top, should incase of mistake.
3. Use the restore to restore places u cleaned too much and you don't want to undo.
4. You can also use select and click on person to remove background


5. Click on ✔️to accept your erased settings.
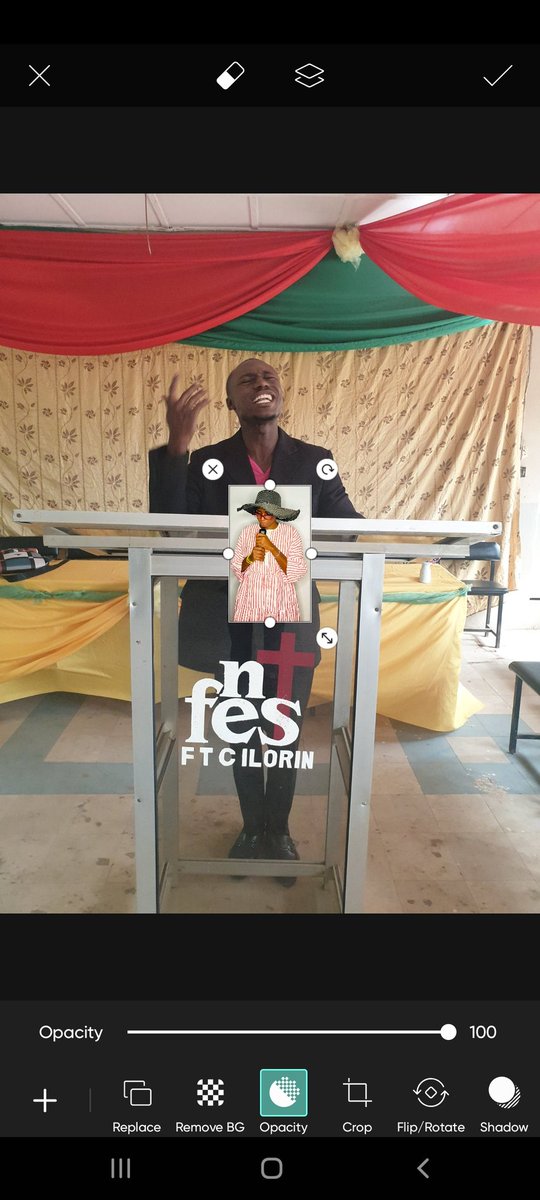
6. Now increase her image to be proportional to his image size
7. Now use the opacity slider to fade the image so as to enable erase the portion coving the pulpit
8. Click on the erase on top to erase those portion
9. Accept changes
6. Now increase her image to be proportional to his image size
7. Now use the opacity slider to fade the image so as to enable erase the portion coving the pulpit
8. Click on the erase on top to erase those portion
9. Accept changes


10. Increase the opacity back to 100%
11. Go back to erase and slightly adjust the mirror reflection by reducing the sliders of the size, opacity and hardness.
12. Accept changes
13. Click on the adjust tool
14. Now use those various sliders to get the desired complexion
11. Go back to erase and slightly adjust the mirror reflection by reducing the sliders of the size, opacity and hardness.
12. Accept changes
13. Click on the adjust tool
14. Now use those various sliders to get the desired complexion


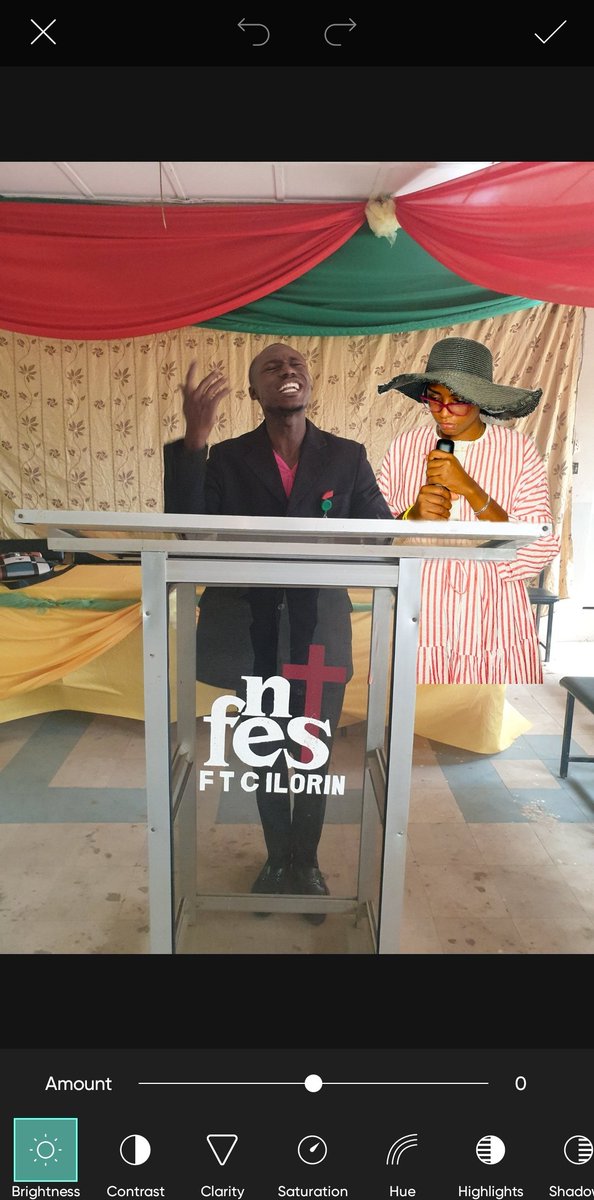

We have successfully removed the background and blended her completion.
If you are sure you won't want to edit her again. Just click on the ✔️ to merge the two layer together. As u will find out that undo doesn't work if u mistakenly move a layer.
So I am merging and cropping
If you are sure you won't want to edit her again. Just click on the ✔️ to merge the two layer together. As u will find out that undo doesn't work if u mistakenly move a layer.
So I am merging and cropping


Her skirt is not long enough, so I will just import her initial image to make it longer.
1. Crop the portion I want
2. Use the top circle to elongate it upwards
3. Use the erase tool to erase the unwanted areas
4. Using the adjust menu I can adjust it to the desired complexion
1. Crop the portion I want
2. Use the top circle to elongate it upwards
3. Use the erase tool to erase the unwanted areas
4. Using the adjust menu I can adjust it to the desired complexion


Now to add the microphone.
1. Click on sticker
2. Type microphone and select any one
3. It loads immediately as a new layer
4. Adjust the mic to the desired position.
5. Use the erase option to clean out the unwanted portion and accept changes
1. Click on sticker
2. Type microphone and select any one
3. It loads immediately as a new layer
4. Adjust the mic to the desired position.
5. Use the erase option to clean out the unwanted portion and accept changes


You can now use the adjust menu to make the mic look black and then accept changes and then merge the mic layer to the background image.
We are done. To add Extra, we can add text to it
1. Click on the text menu
2. Type whatever you want
3. Position it well and merge the layer
We are done. To add Extra, we can add text to it
1. Click on the text menu
2. Type whatever you want
3. Position it well and merge the layer


Video summary for what we did today. Remember to always retweet so others can learn as well.
Always remember there is always different ways to achieving your editting. For any questions use the #PicsartWithDAPSY
Always remember there is always different ways to achieving your editting. For any questions use the #PicsartWithDAPSY
Assignment for today's class.
We are to use the mix of @cuppymusic and @_AsiwajuLerry images to get 3rd frame.
Note: the wig can be gotten from "sticker" menu.
Submit you finished work with our hashtag #PicsartWithDAPSY
We are to use the mix of @cuppymusic and @_AsiwajuLerry images to get 3rd frame.
Note: the wig can be gotten from "sticker" menu.
Submit you finished work with our hashtag #PicsartWithDAPSY


• • •
Missing some Tweet in this thread? You can try to
force a refresh


