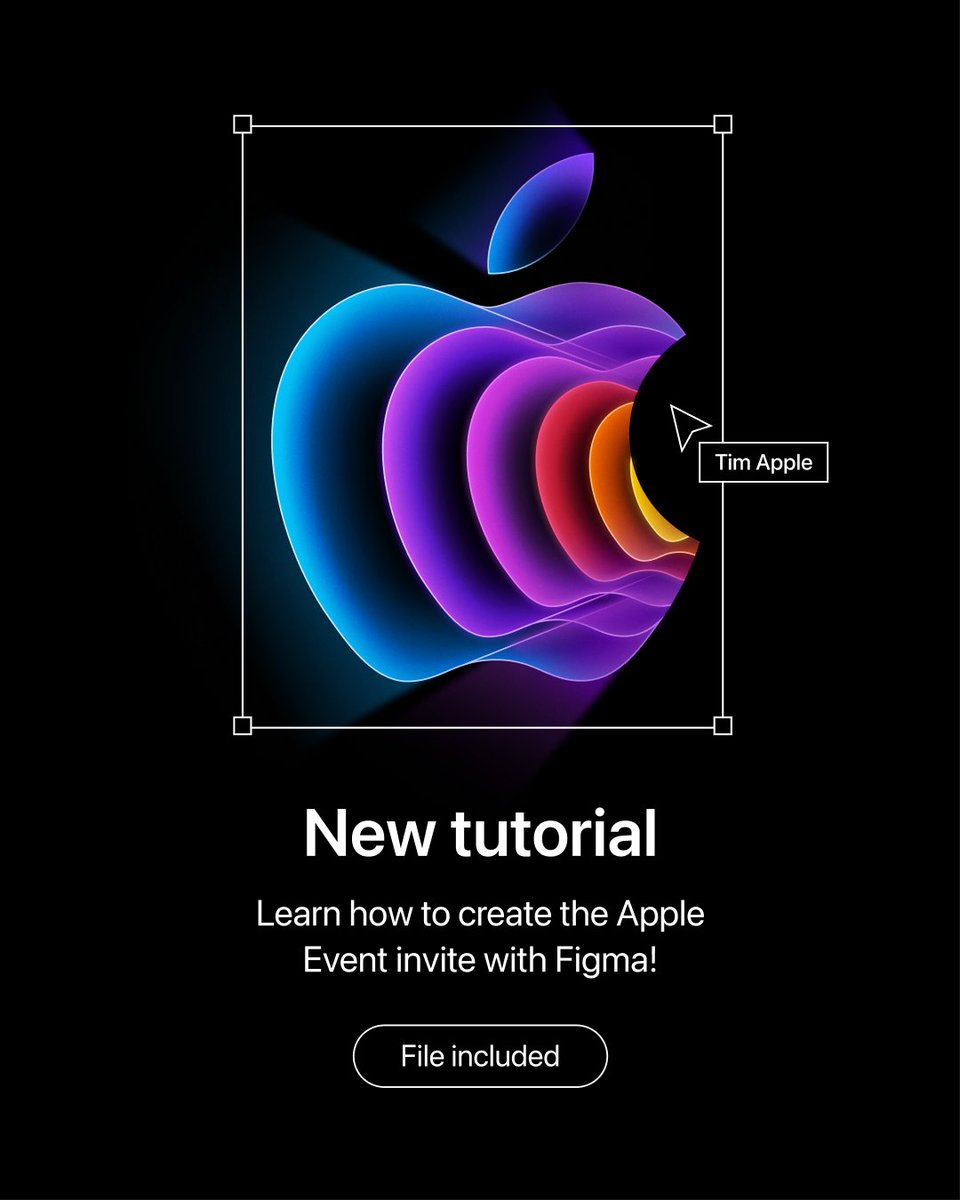
Let's get started.
Grab the apple logo and make sure it's a vector. I use the @figma plugin @brandfetch for this.
Give the logo a black fill and 2px white inner stroke
Grab the apple logo and make sure it's a vector. I use the @figma plugin @brandfetch for this.
Give the logo a black fill and 2px white inner stroke

Duplicate the shape, and make one of the duplicates a mask.
Now copy the shape again, remove the floating leaf and reduce the size so you end up with something like this:
Now copy the shape again, remove the floating leaf and reduce the size so you end up with something like this:

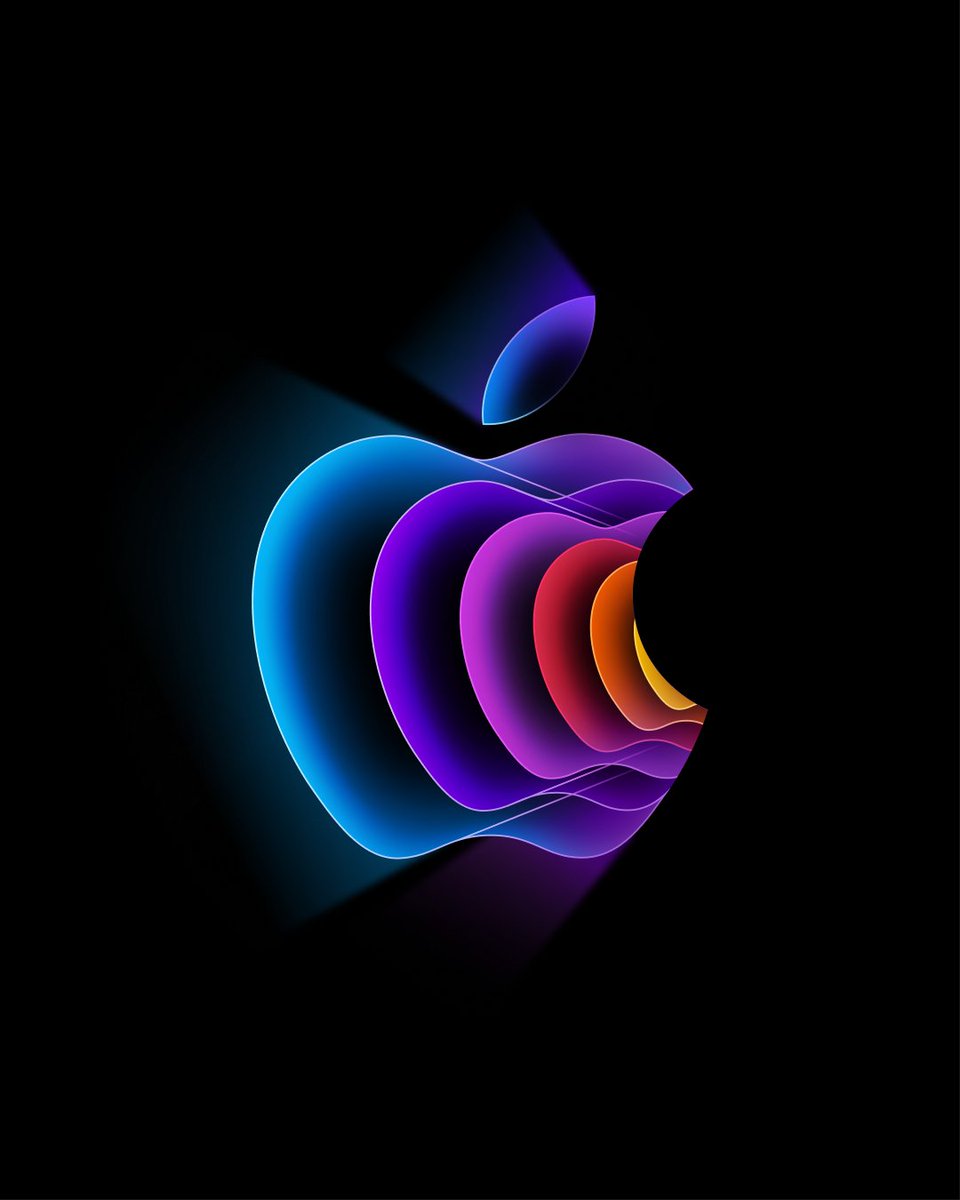
Repeat this process 3 more times to achieve the following 'tunnel' look:

Apply colours the different strokes, use the image below as a reference (Outer stroke is a gradient, the others are solid colours)

Now it's time for some glow! select the outer shape and apply inner shadow (yep we're using shadows as glow 😅) Make sure to: Set it to 100% opacity, give it a lot of blur and apply quite some horizontal offset.

If you're happy with the look, repeat the process for the other shapes to achieve a look like this:

To blend some of the colours together, add 2 purple ovals and give them quite some blur.
Also add a black oval and apply some blur as well (we'll use this one to create a shadow effect) - check the image below for the placement
Also add a black oval and apply some blur as well (we'll use this one to create a shadow effect) - check the image below for the placement

Now set thes purple layers to the 'color' blending mode

To give an extra tunnel effect, add 4 strokes as an extension of the 2 outer shapes. Check the image below for placement.
After placing them correctly you can play around with a gradient stroke to match the composition
After placing them correctly you can play around with a gradient stroke to match the composition

To add some directional outer glow to the apple, we are going to add 3 big shapes with the pen tool. lt should look something like the image below. (Make sure the shapes are behind your 'apples')
Yes this looks weird, we'll fix it in the next step!
Yes this looks weird, we'll fix it in the next step!

Now change the fill to a gradient and play around with the direction to give it a 'fade' effect.
To get rid of the hard edges, give the layers a little blur.
To get rid of the hard edges, give the layers a little blur.

Almost there! Let's make this pop just a little bit more.
Add a big white oval and set the opacity to 50%
Add a big white oval and set the opacity to 50%

Now change the blending mode to 'overlay' to give your colours a nice little boost.
Want more or less intensity? Play around with the opacity!
Want more or less intensity? Play around with the opacity!
That's it! If you want to dive a little bit deeper, you can check out my file here:
figma.com/community/file…
figma.com/community/file…
If you like my free tutorials & resources, consider 'buying me a coffee' to support my work 👊✨
buymeacoffee.com/fonsmans
buymeacoffee.com/fonsmans
• • •
Missing some Tweet in this thread? You can try to
force a refresh