Leon Aquitaine Profile picture
Jul 15, 2022 18 tweets 8 min read Read on X
GPose + Post-process guide: Diorama Shots

Let's use some light post-processing to give our shots that lovely toy-like feeling of a diorama!

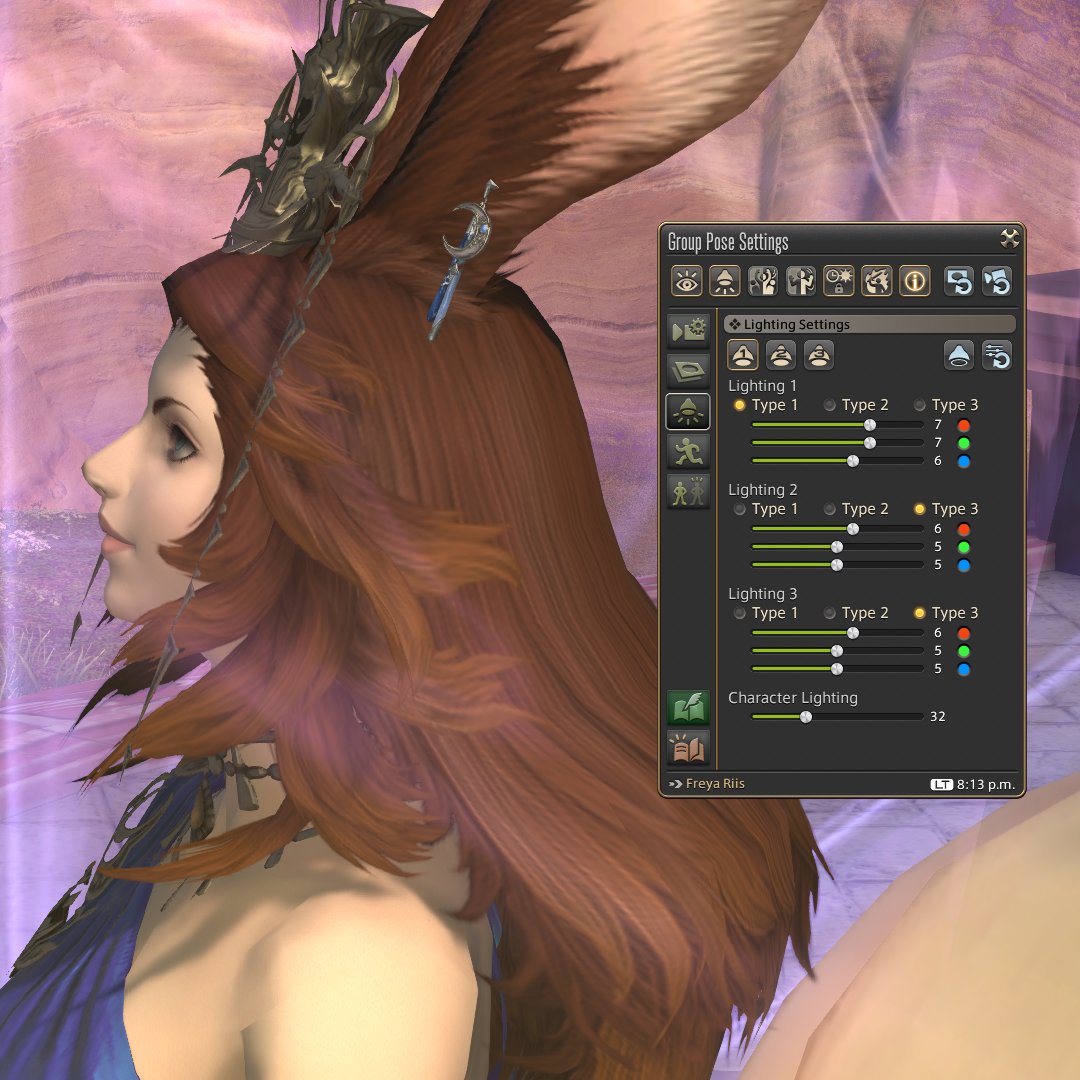
We'll use GIMP for post-processing, but any image editing tool with support for layers should work.

#ffxiv #gposeguide #gposers
This is an attempt to emulate the result of miniature effect/tilt shift, where a real place is made to look toy-like by clever usage of blur to simulate the loss of focus caused by the forced depth of field. The principle is explained here:

To further help with the feeling, let's use an isometric view. Quoting Gustavo Pezzi, it's "a method for visualizing 3D objects in two dimensions, but [...] we make the angles between the x-axis, y-axis, and z-axis equal 120 degrees."
pikuma.com/blog/isometric…
With that out of the way, let's take some shots! Pick a place with lots of interesting details around the subject, and set the camera to a position roughly matching that isometric feeling.
Keep lots of space around the subject. Let's use a gshade preset with subtle contrast and colors. For this example, I used Neneko Cream and disabled all DOF shaders.
Next, let's enable the Tilt Shift shader (TiltShift.fx). It provides us with a handy Center Line toggle that informs us where the focus will be strongest, with no blur effect.
This needs to be adjusted (by using the Angle and Offset sliders) to match the contact point between our subject and the ground. Also, make sure to make the focus is somewhat narrow (Blur Curve ~1.5-1.8), a decent multiplier (~12-15), and max samples for quality.
Disable the Center Line Toggle, and take a screenshot.
Now disable the Tilt Shift shader, and enable both the Chroma Key shader and the option to save transparent screenshots in GShade.
That'll allow us to basically create a cut-out of the subject with high contrast! Adjust the Chromakey distance to isolate the subject, and take a screenshot.
Depending on the complexity of the subject model, you may need a few more shots while moving the Chroma limit closer and closer.
Once we're done with the shots, let's move to GIMP; load up the screenshot with Tilt Shift shader, and then load the Chromakey shot as a layer. (In Windows you can do that by opening the Tilt Shift shot first, and then drag-and-drop the Chromakey from Windows Explorer.)
Hide the background layer, so you can better see the contents of each Chromakey layer, and remove everything that's not the subject from the Chromakey layer.
Once you show the background layer, what you get is a shot where the high-contrast subject is placed over the scenario with a very pleasant focus blur near and far from the camera!
Floating subjects are much easier to cut out with Chromakey.
Here's the same approach, with a different scenario:
Larger models (i.e. mounts) work better, but you can also apply the same technique to solo characters:
Now that you know how it's done, the whole Eorzea is your (very tiny) oyster. Give it a try, and show us your model figurines!

• • •

Missing some Tweet in this thread? You can try to force a refresh
 

Keep Current with Leon Aquitaine

Leon Aquitaine Profile picture

Stay in touch and get notified when new unrolls are available from this author!

Read all threads

This Thread may be Removed Anytime!

PDF

Twitter may remove this content at anytime! Save it as PDF for later use!

Try unrolling a thread yourself!

how to unroll video
  1. Follow @ThreadReaderApp to mention us!

  2. From a Twitter thread mention us with a keyword "unroll"
@threadreaderapp unroll

Practice here first or read more on our help page!

More from @LeonAquitaine

Nov 17, 2022
GPose Guide: Lighting 103 - Instances

Previously, we talked about gpose controls and how to use them in a controlled setting. But instances offer amazing places for scenario composition: so grab your backpack, we're hitting the Duty Finder!

#ffxiv #gposeguide #gposetutorial Image
One thing that may escape our attention when planning for solo shots is that it's very easy to use dungeons as backdrop: Newer dungeons benefit from Explorer Mode, while older dungeons can be entered solo by selecting Unrestricted Party. Both options can be found under Settings. ImageImageImage
Raids, on the other hand, can be finicky. There's no Explorer Mode, but regular 8-people raids can be accessed with Unrestricted Party.

Some (I'm looking at you, NiER raids) have access points that you can use to jump into an empty copy of the raid instances. ImageImage
Read 13 tweets
Oct 28, 2022
Quick GPose tip:
You can use profile-relative positioned point lights to give volume and definition to faces and expressions. It's super quick to set up, and it cleans up jagged light projections too!

#NenekoColorS #GPOSERS #FFXIVScreenshots #ffxiv #GShade #gposeguide #gposetip
Just position the camera in parallel to the character's face, making sure you get the full profile, and set up the point light.
Now that you know the trick, here are some examples of this lighting setup - notice how defined the profiles look:
Read 5 tweets
Sep 24, 2022
Did you ever lose your keybindings or HUD layout configuration?
Or maybe preset changes, or wish you could revert a preset you modified a bit too much?

Good news - we can use GitHub for backup!

[Difficulty: Savage, but worth it]

#ffxiv #gpose #gposeguide
🧵/ ∞
For this recipe, you'll need:

- 1(one) GitHub account
- 1(one) installed Github Desktop client
- 1(one) Game installation
- LOTS of patience

Ready? Let's do this!
Step 1 - Dude, where's my preset?

Let's start by finding where your FFXIV installation lives.
(I'm using the standalone client on Windows 10, so your mileage may vary.)
Read 28 tweets
Sep 22, 2022
「すこしだけあやしげな唇が私を溶かす」
"Just a taste of your suspicious lips melts me."
Adesso e Fortuna - Record of Lodoss Wars
#elezen #エレゼン #ElezenHours #NenekoColorS #GPOSERS #FFXIVScreenshots #ffxiv #GShade #XIV_PICTCLIP
*whispers an extra*
Read 4 tweets
Aug 13, 2022
GPose Quick Tips: Portraits

It's time to put your Warrior of Light in the spotlight, so let's borrow some IRL photograph techniques and tips and adapt them to gpose!

#ffxiv #gpose #gposeguide #gposers
From Wikipedia: "Portrait photography, or portraiture, is a type of photography aimed toward capturing the personality of a person or group of people by using effective lighting, backdrops, and poses."
en.wikipedia.org/wiki/Portrait_…
Given the nature of this theme, we'll be relying heavily on facial expressions. If you want to learn more about how to use the gpose tools for that, check out this thread:
Read 19 tweets

Did Thread Reader help you today?

Support us! We are indie developers!


This site is made by just two indie developers on a laptop doing marketing, support and development! Read more about the story.

Become a Premium Member ($3/month or $30/year) and get exclusive features!

Become Premium

Don't want to be a Premium member but still want to support us?

Make a small donation by buying us coffee ($5) or help with server cost ($10)

Donate via Paypal

Or Donate anonymously using crypto!

Ethereum

0xfe58350B80634f60Fa6Dc149a72b4DFbc17D341E copy

Bitcoin

3ATGMxNzCUFzxpMCHL5sWSt4DVtS8UqXpi copy

Thank you for your support!

Follow Us!

:(