GPose Guide: Group Posing
Have some friends visiting? Maybe a themed event? Or maybe your static got World First?
That moment deserves to be remembered, so let's learn how to give everybody an opportunity to shine - together!
#ffxiv #gpose #gposeguide #gposers
Have some friends visiting? Maybe a themed event? Or maybe your static got World First?
That moment deserves to be remembered, so let's learn how to give everybody an opportunity to shine - together!
#ffxiv #gpose #gposeguide #gposers

Group shots have their own complications. It can be hard to coordinate a large group, glams can clash with each other, or be unbalanced in the way they draw attention, and lighting can be tricky to set up.
So what can we do?
So what can we do?

1- Scene Composition
If you can talk with the group about positions, there are several that work well with minimal effort:
- Taller characters behind, shorter characters in front
If you can talk with the group about positions, there are several that work well with minimal effort:
- Taller characters behind, shorter characters in front

Smaller groups of up to 4 or so characters are easy to manage and the concerns are largely the same as shots with NPCs: 


Context is king, use the camera to set up symmetries, and keep light sources parallel to the characters so it distributes evenly. 


2- Use the environment as context/prop
The location can serve different purposes: Not only it can set the theme for the shot, but also provide elements to create balance. In this shot, the stairs provide different heights for the characters.
The location can serve different purposes: Not only it can set the theme for the shot, but also provide elements to create balance. In this shot, the stairs provide different heights for the characters.

3- Avoid distractions
There will be lots going on, and the last thing you need is a distracting background/off-focus element. Slap a stronger DoF effect, or look around for a composition with fewer elements drawing attention from the group.

There will be lots going on, and the last thing you need is a distracting background/off-focus element. Slap a stronger DoF effect, or look around for a composition with fewer elements drawing attention from the group.


4 - Create narratives
Let the group tell a story. Set up characters to talk to each other, laugh at each other, get mad at each other, and capture the moment.

Let the group tell a story. Set up characters to talk to each other, laugh at each other, get mad at each other, and capture the moment.


5- Prefer environment lighting for large group poses
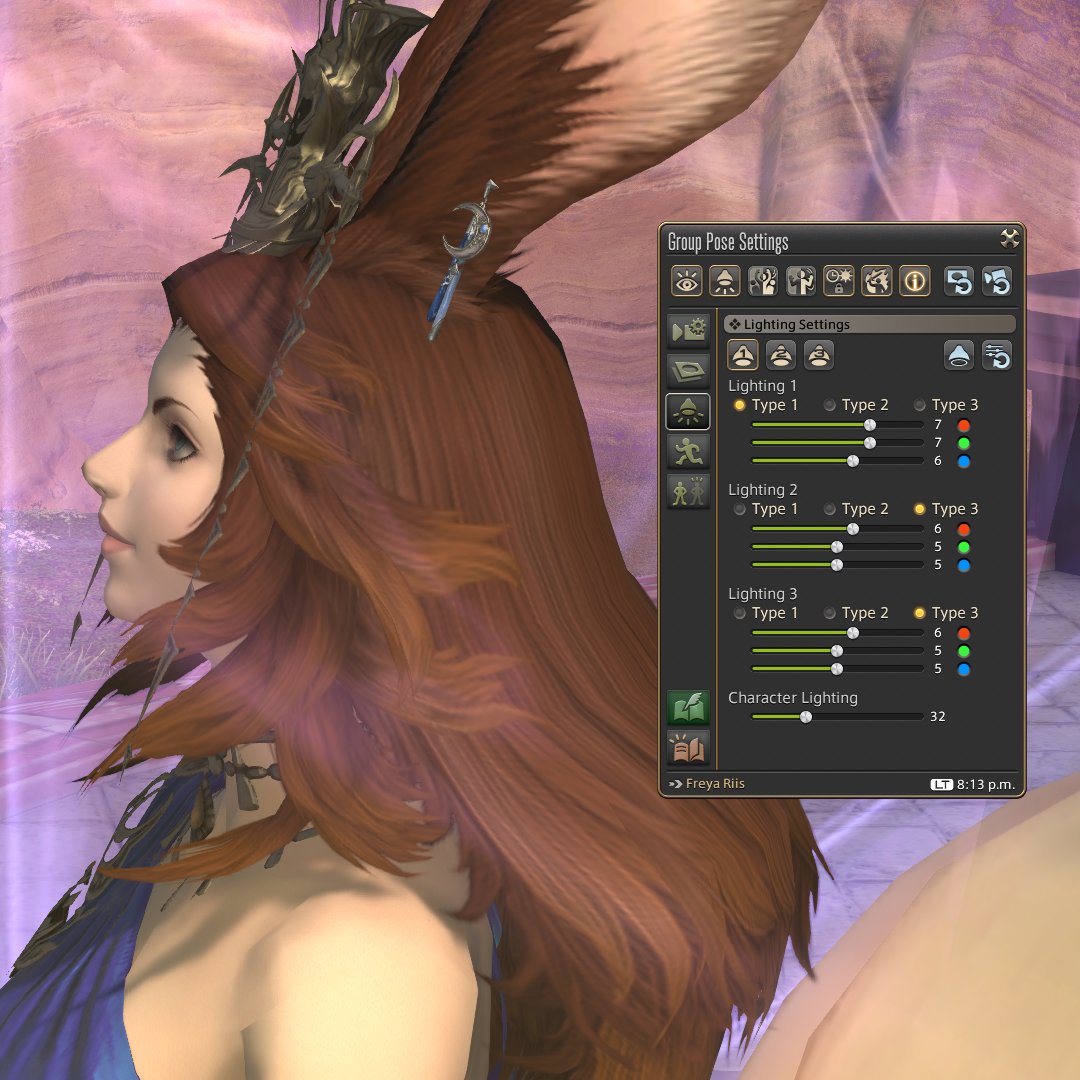
Point Lights have falloff, and depending on the size of your group you'll have a problem: Type 1 and 2 won't cover the whole group, and sometimes we won't be able to zoom out far enough to place a Type 3 properly.
Point Lights have falloff, and depending on the size of your group you'll have a problem: Type 1 and 2 won't cover the whole group, and sometimes we won't be able to zoom out far enough to place a Type 3 properly.

Move the camera up/parallel to the group: that distributes the group members across the camera's point of view. 

You can control another player's Expression as well as Lip and Body animations if they're in your Party. Use that to set up your narratives.
Players outside your group can still set up Expressions, Lip animations, and Actions before you enter /gpose mode.

Players outside your group can still set up Expressions, Lip animations, and Actions before you enter /gpose mode.


I find it very hard to get group shots right on the first try. Play around, test multiple points of view, and make sure everybody is on display and their expressions are visible. 


That's all I have for now, but if you have any questions feel free to ask; meanwhile, have fun with the G part of Gpose! 

• • •
Missing some Tweet in this thread? You can try to
force a refresh


