👐 Introducing Playwrite for @playdate
A dock and software combo that let you use the gorgeous screen of the Playdate for all your slow-tech typing needs, using a #teensy microcontroller and a bit of hackery.
🧵⤵️
A dock and software combo that let you use the gorgeous screen of the Playdate for all your slow-tech typing needs, using a #teensy microcontroller and a bit of hackery.
🧵⤵️
The dock charges the Playdate – of course, and can also be used to play games with a keyboard or third party controller, so you can Executive Golf on your executive desk, using the input method that you're most comfortable with.
No bluetooth at the moment, but that's doable too.
No bluetooth at the moment, but that's doable too.
Here are a few more pictures before this thread dives into the details of how it was made 🤿 (after a short break) 


It all started when @marzeeya gifted me an eink display to tinker with. I thought of building a retro-dystopian typewriter thingy because it's a thing I do lately (
https://twitter.com/t0m_fr/status/1465465658519572480). But soon I realized that the refresh rate of these displays is nowhere near fast enough.
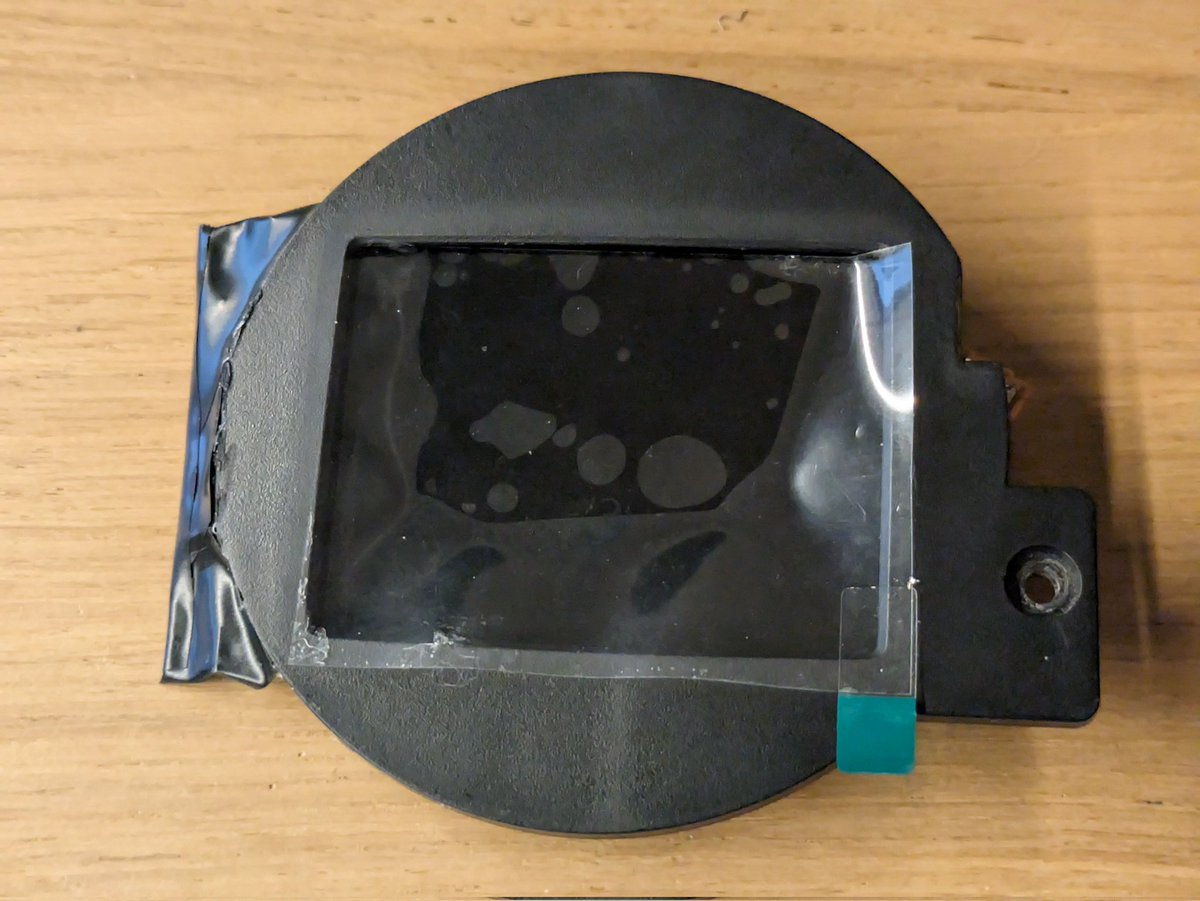
And then I saw my @playdate lying on my desk. It has this amazing Sharp 1-bit display. Same feeling, super fast refresh rate. Couldn't find a larger screen of that same type, so the project became about hacking my Playdate into a typewriter!
One day I might be able to get back to the original plan: hackster.io/news/e-ink-sha…
OK so the Playdate is an awesome little console with an open SDK, but it doesn't provide network access or USB host at the game level. However being a quite open platform it has some intersting perks like serial over USB for debugging. Intersting...
A quick look at this very cool documentation told me that yes, you can emulate button presses via serial commands. Great. With a microcontroller with USB host support that could talk through that serial port, a joypad adapter is within reach.
github.com/jaames/playdat…
github.com/jaames/playdat…
I had a Teensy 4.1 lying around and this is the perfect device for the mission thanks to its built-in USB host port and the library that supports keyboards, controllers and USB serial among other things.
github.com/PaulStoffregen…
github.com/PaulStoffregen…
Teensy forwarding serial commands to the playdate: we were off to a good start.
For the keyboard I initially meant to encode keystrokes as a series of button presses, but there's no need for the system to be that slow and convoluted! It turns out the serial console accepts a "crank change" angle. Anything between -180 and 180 degrees, iiinteresting again!
That's more than enough to assign one angle to each printable character of the extended ASCII table. And I could even keep some padding in the low values so manual cranking isn't interferring (unless you crank Crankin's Time Travel kind of fast).
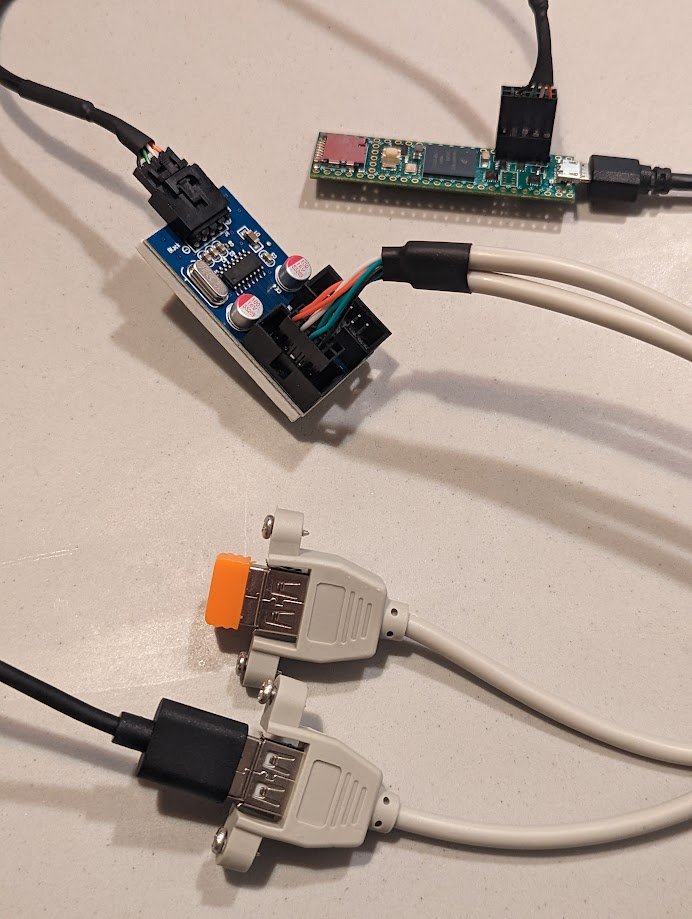
To be able to connect the Playdate and the controller or keyboard simultaneously, I ordered an internal USB 2.0 hub and a couple of female USB plugs mounted on a PCI plate. These are super cheap and easy to source, thanks RGB PC gamers ;) 

I wrote the firmware for the Teensy and a test Lua "game" for the Playdate to decode the unnatural crank changes. I realized that the Teensy was sending keystrokes faster than the console could handle so I added rudimentary 2-way communication.
The print() Lua function outputs to serial, so the Teensy can wait for a specific string before sending the next keystroke stored in a circular buffer.
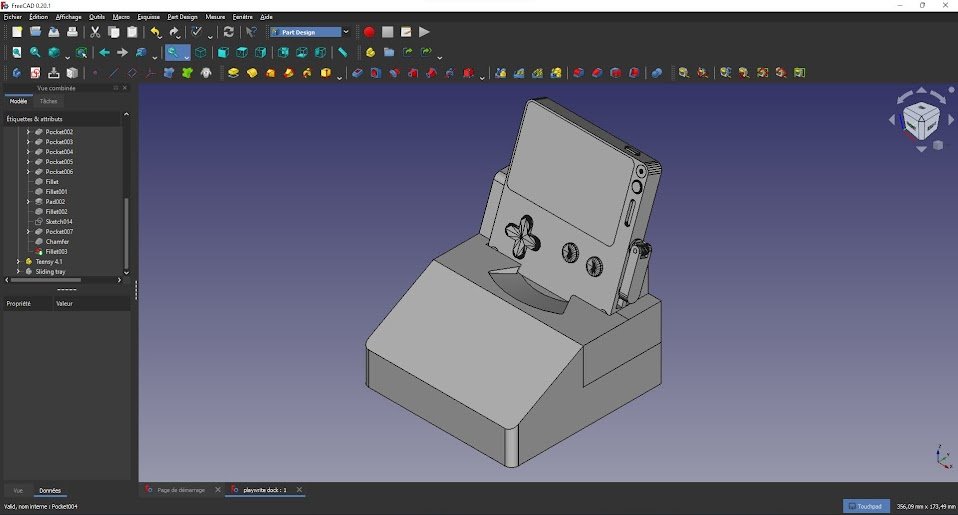
Now was time to design a dock. I decided to make it look like a typewriter. Took me a while, I had to learn FreeCAD from scratch :) 


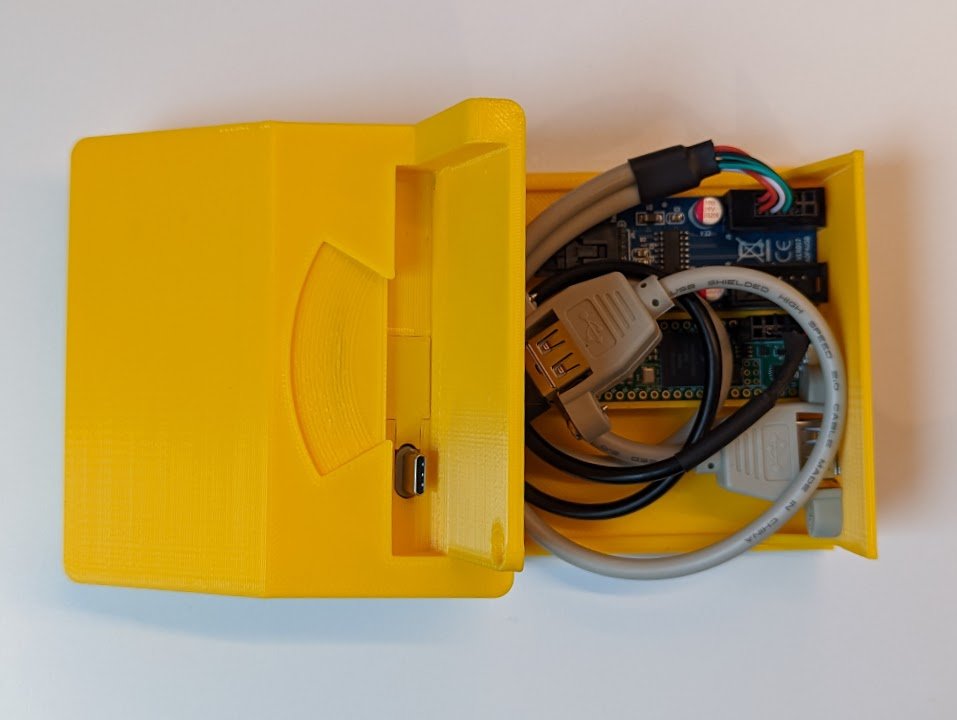
I made the case roomy enough that it could fit all of the parts and cables without any soldering (save for the 4 pin header for the USB on the Teensy). Everything goes on a tray that closes from the back. It's a bit bulky but it makes the whole project very easy to build! 


The hole in the dock is specifically designed around the USB A to angled USB C cable that I got for this project. It slides and locks into place without any glue or screws. The only screws are to hold the USB A plug and they were included since they came mounted on a PCI plate :) 


It was time to go back to the Lua code and implement a full text editor that can export to a text file. Turned out to be more challenging than it seemed when I started to implement cursor movement, line breaks and insertion...
Lastly I added joypad support at that point because that might actually make the dock useful beyond the gimmick of writing text on a tiny screen :)
I actually wrote that entire thread on the Playwrite and it was quite enjoyable to use. Also forced me to fix a couple of bugs. And to add a little character counter for the current paragraph so I can make sure it'll fit in a Tweet.
That'll be all for now. I'll be putting all the files for the project on GitHub and adding a link here, so that you can build a Playwrite too if you want!
... and here's the GitHub repository with everything you need to make your own Playwrite :)
github.com/t0mg/playwrite
github.com/t0mg/playwrite
@threadreaderapp
unroll please!
unroll please!
• • •
Missing some Tweet in this thread? You can try to
force a refresh


