#Dreambooth will change how 2D game assets are being designed or generated.
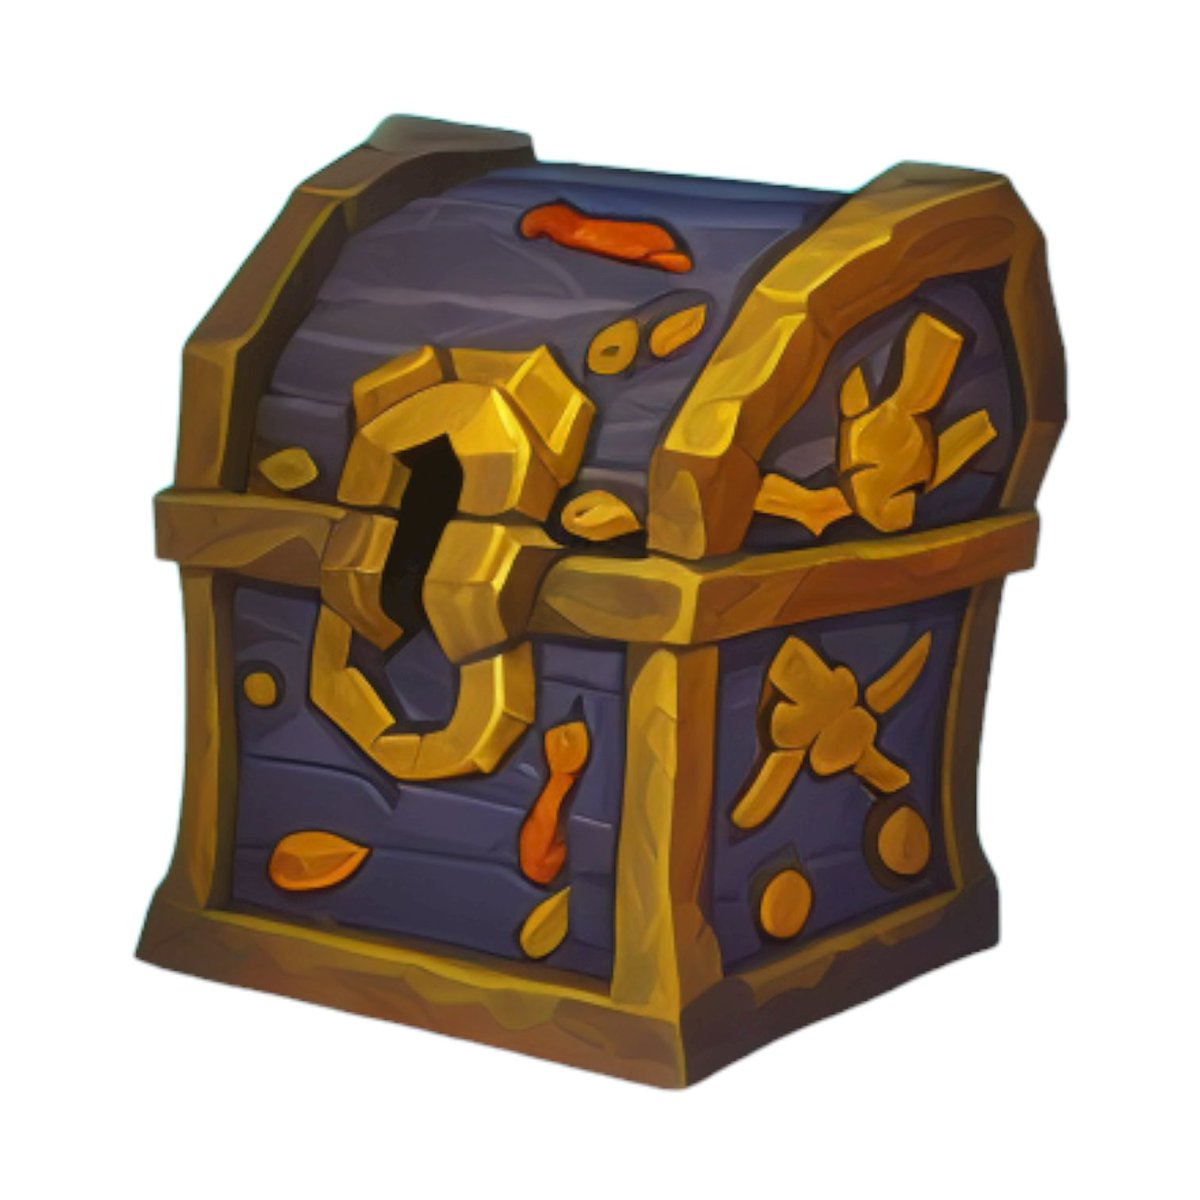
Today's exploration: treasure chests ππ°.
I trained Stable Diffusion with some low-poly treasure chests (23 images). 1h later, here's what's possible (π§΅):
At first, I randomly generated a set of 64 items, without any specific prompt engineering ("a treasure chest").
Here's a close-up view:
It's possible to add some backgrounds as well (forest, ocean)...
... or to generate a set of icons (with the squircle frame)
Let's be more specific and design "an old Asian treasure chest". Like the one pictured below.
Pretty easy... by using #img2img, I'm getting similar low-poly chests that look like the original photograph.
The same concept, this time with a "wooden pirate chestβ. The model keeps the shape of the original image.
There's literally no limit.
In the example below, I added: "wooden", "steel", "golden" and even "Halloween" & "Christmas".
Some more explorations (spaceship chest, superhero chest, chest with legs...)
Please reach out if you're a concept artist and would like to try this with your own art/style/content (from props to characters, weapons, environments, etc).
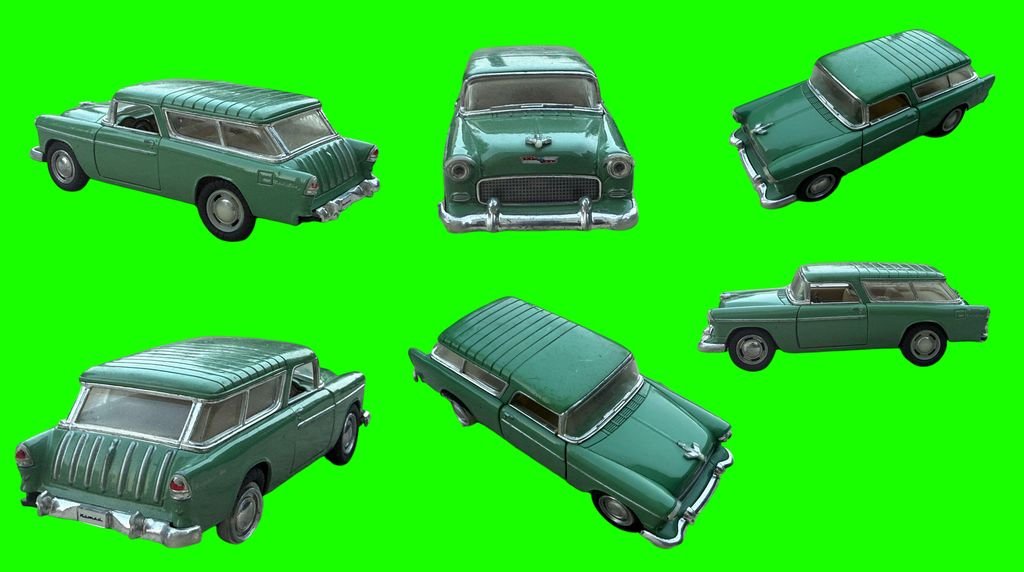
Here are the key steps to creating stunning turnaround, using #Scenario ()
1/ Train or pick a character model (A).
2/ Optionaly>, pick a style model (B). Use it to create training images for (A), or you can merge both (A + B = C) for example.
3/ Utilize the custom model (A or C) to generate consistent characters. Then select a reference image to produce initial character turnarounds in your desired poses.
4/ Refine these initial outputs using Sketching and image2image.
5/ Select the best result and refine details in the Canvas for maximum consistency.
6/ Finally, upscale your final image (up to 8K resolution.)
@ClaireSilver12 - (I hope you don't mind me RT this for a broader reach and to share it with more users.)
Here's an advanced use case for the IP Adapter. You can adjust or remove the steps depending on the desired output/goal. Bear with me; it's actually quite straightforward.
1 - Train a LoRA on a specific subject (e.g., character).
2 - Blend the LoRA to perfectly capture the style (e.g., comic, cartoon, oil painting, 3D...).
3 - Run inference on that "blended" model.
4 - Select an image that stands out and use it as a reference with the IP Adapter.
5 - Modify the prompt to create variations of the subject.
Let's get started ππ
1/ The first step is to train one (or more LoRA) models on a specific subject (e.g. character or object), or also a style.
The process is straightforward. I'll use the example of the "girl with pink hair" (ππ« ) that I shared before (12 training images)
Simply select "New Model - Train" on . I use 9 images of the model, showcasing various angles and zoom levels, accompanied by concise captions (details below).
This could be the best model I've ever created for generating isometric buildings, on Scenario.
Output consistently match the style I wanted, and the model responds perfectly to (short) prompts, without any reference images needed.
It's a LoRA composition. More below.
Process: it's pretty simple.
I created a LoRA composition from 4β£ distinct LoRA.
(i) - My own "Fantasy Buildings" LoRA
(ii) - Three LoRAs available on #Scenario: "Isometric Storybook", "Stylized Fantasy Iconic Imagery" and "Belgian School Comics".
The influence of each LoRA is below.
My prompt structure was dead simple... less than 10 words!
(type of building/scene), solid color background, highly detailed, centered.