Sound smarter on the jobsite: lightening round. Will we be here tomorrow? I don't know. So here's a firehose of jobsite terminology:
Disclaimer: this is just a quick reference. This is for folks who are learning construction. Don't be a mean dork to noobs please.
Disclaimer: this is just a quick reference. This is for folks who are learning construction. Don't be a mean dork to noobs please.
They're called CMUs, not cinder blocks. CMU stands for "concrete masonry units." They are designated as "8x8x16" [for example; they come in many sizes] but they actually have smaller dimensions than that, to allow for mortar joint thickness. 


They're called drawings, not blueprints or plans. "Blueprints" is an obsolete term referring to a [very smelly and toxic] printing method using blue ink. They aren't "plans" bc there are many more drawing types included than just plans [elevations, sections, details, etc].
Gutters run horizontally, downspouts run vertically.
Beams are horizontal structural members, columns are vertical structural members.
Plates and headers are horizontal framing members, studs are vertical framing members.
Beams are horizontal structural members, columns are vertical structural members.
Plates and headers are horizontal framing members, studs are vertical framing members.
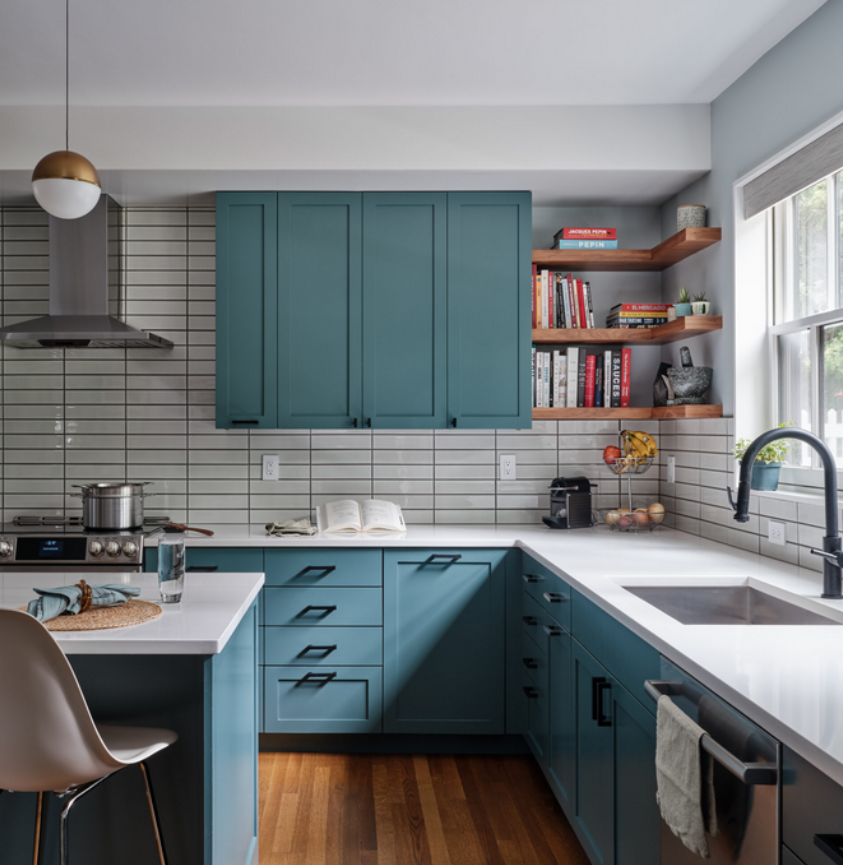
Muntins vs mullions. Muntins are the horizontal and/or vertical dividers bw panes of glass in a window, mullions are dividers bw window units. Muntins are often called "grilles" these days, bc they don't actually divide the glass anymore, they're just a grid on top of the glass.

Drywall vs sheetrock vs gyp board vs board: depends on where you are! These are all the same thing, but regional differences [or even commercial vs residential contractors in the same region] will call them different names. In Boston, in residential, it's called "board."
Concrete: measured in cubic yards [a standard truck holds 9 yds].
Roofing [usually shingles]: measured in squares [100 sf].
Bulk lumber: measured in board feet [1 sf of 1" material = a board ft].
A 2x4 is 1.5"x3.5" [bigger thread coming soon, but the short reason is: kerf]
Roofing [usually shingles]: measured in squares [100 sf].
Bulk lumber: measured in board feet [1 sf of 1" material = a board ft].
A 2x4 is 1.5"x3.5" [bigger thread coming soon, but the short reason is: kerf]
A "lite" [not light] is a pane of glass. These windows are called "6 over 1's" because there are 6 lites in the upper sash, and 1 lite in the lower sash. Each window is divided by a mullion [but you already know that!]

16" o.c. = "16 inches on center," typical stud, joist, and rafter spacing. It lines up w/ 4x8 sheet goods [drywall, plywood]. Studs are the common wall vertical members, joists are the common floor horizontal members, and rafters are the common roof horizontal or sloped members.
Footing not footer.
Joists not joisteses.
Duct not duck.
Sill plate or sole plate, depending where you are.
Concrete not cement [see my previous thread].
And...don't listen to anyone who sends you to look for a board stretcher.
Joists not joisteses.
Duct not duck.
Sill plate or sole plate, depending where you are.
Concrete not cement [see my previous thread].
And...don't listen to anyone who sends you to look for a board stretcher.
Believe it or not, I have so many more! I'll keep sharing :)
Btw, if you're a newbie, and you're asking questions, you should NEVER be made to feel dumb. Asking questions is how we all learn, and good professionals love sharing their knowledge! What are some of your favorites?
Btw, if you're a newbie, and you're asking questions, you should NEVER be made to feel dumb. Asking questions is how we all learn, and good professionals love sharing their knowledge! What are some of your favorites?
True. Or did I use the archaic and seldom seen shortening of "enlightening"...?
https://twitter.com/SpartanBlock/status/1592511426136244225?s=20&t=tGKc9AB_QIiiPk1XgXzgSQ
• • •
Missing some Tweet in this thread? You can try to
force a refresh