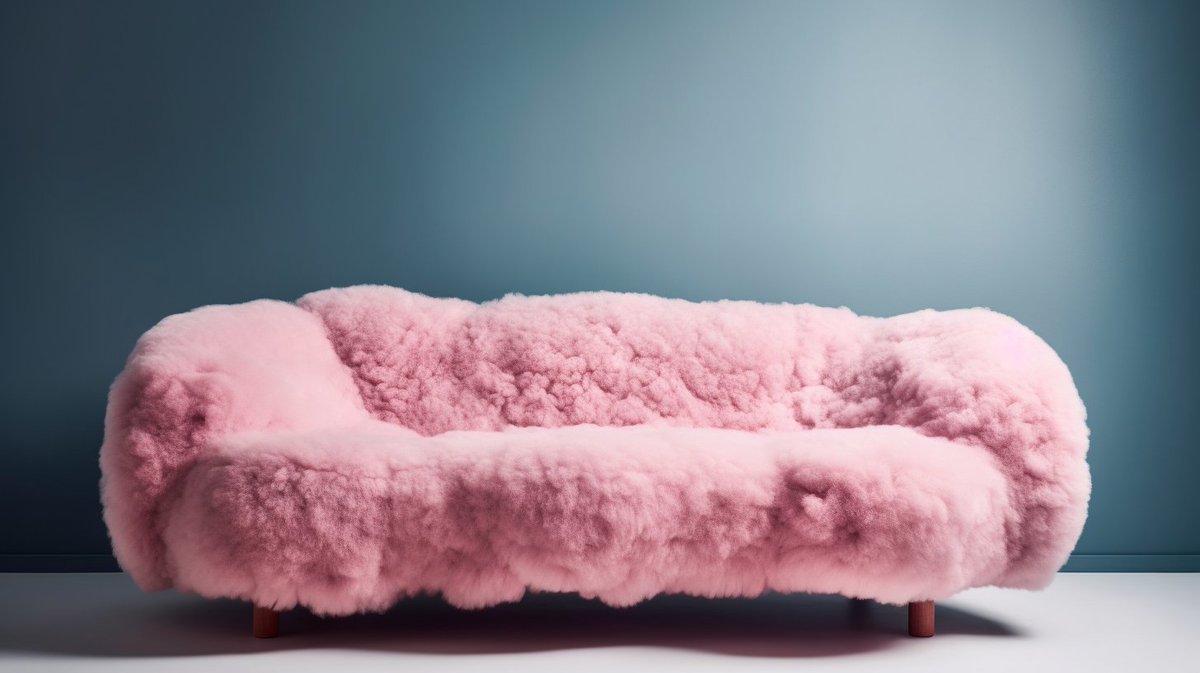
First tests Adobe @Photoshop (beta) + Generative fill magic ✨
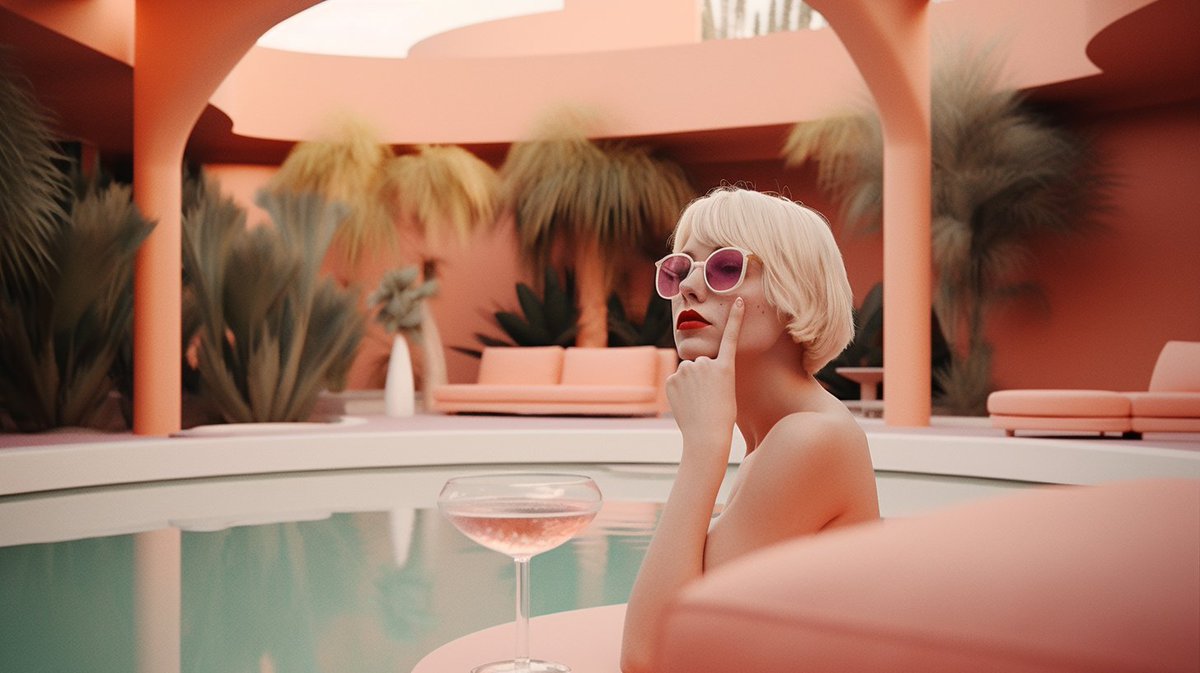
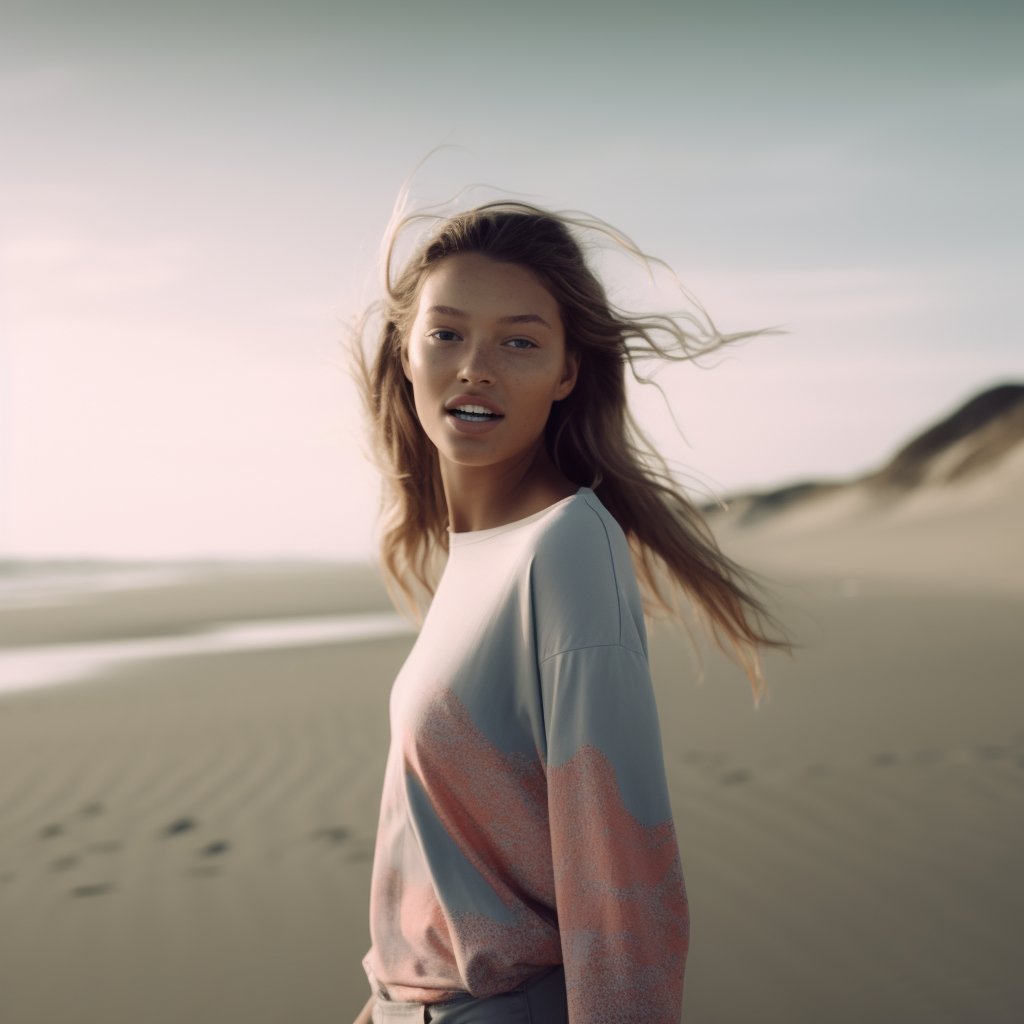
She doesn't know it yet, but I'm going to take her to the beach now 🤭 This is the starting image.
She doesn't know it yet, but I'm going to take her to the beach now 🤭 This is the starting image.
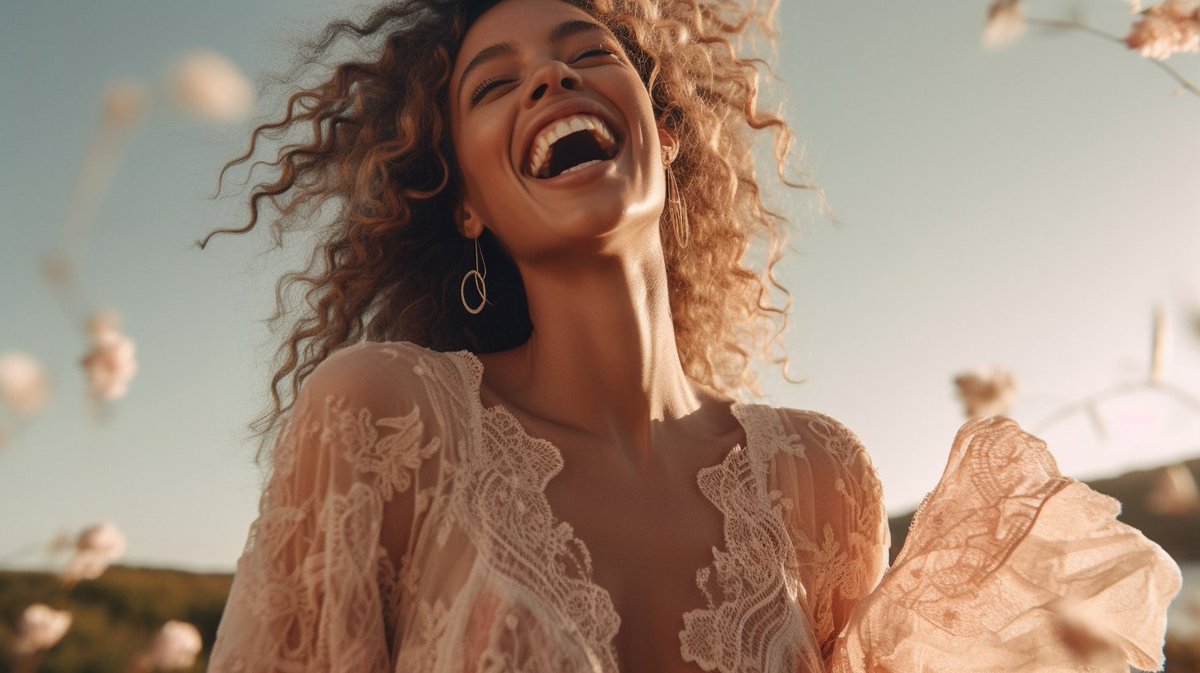
1/13 Click select subject button + invert selection all in the same easy panel. Type your replacement background. 


2/13 Here she is at the beach. This looks great! You can click more until you have a good fit. This was the second background. 
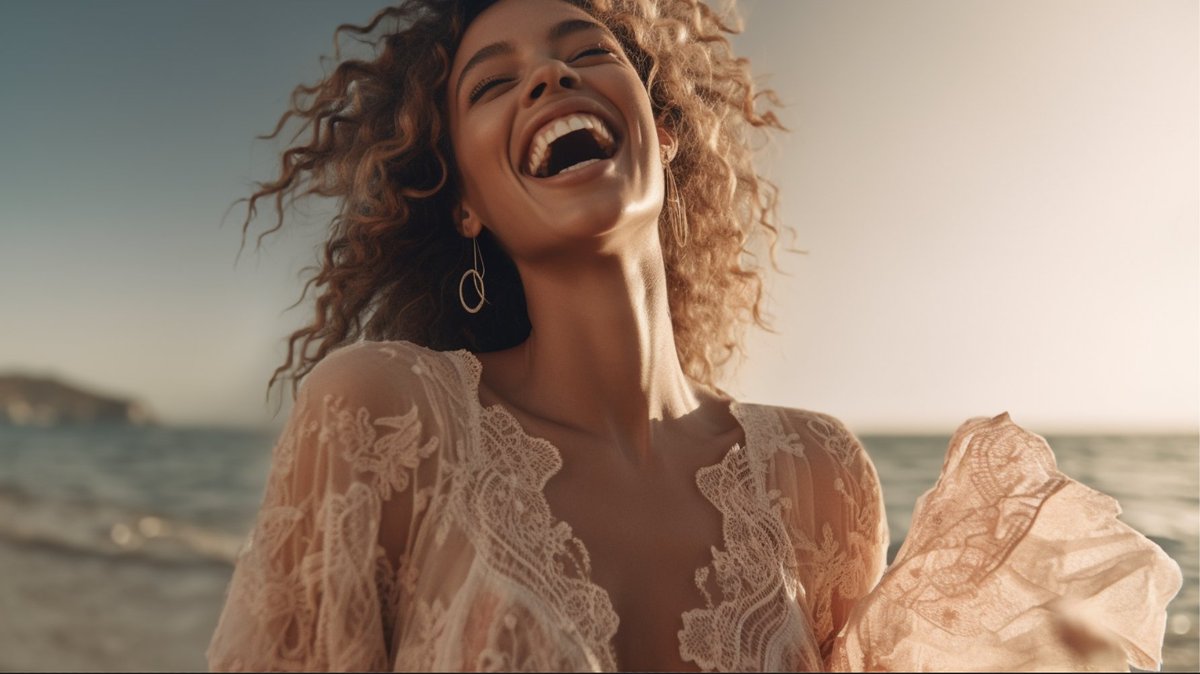
4/13 Click Generate (leave it empty) and so it fills your selection based on the image that is visible. 

8/13 Good to know: it also create separate layers (unless you keep regenerating the background), so easy to edit or change afterwards. 

9/13 I encountered two difficulties:
1 - I wanted to remove the little flower on her dress. After making a selection and clicking Generate (empty), I got the following message. Not sure what I'm doing wrong as it keeps popping up.
1 - I wanted to remove the little flower on her dress. After making a selection and clicking Generate (empty), I got the following message. Not sure what I'm doing wrong as it keeps popping up.

10/13
2 - Adding some birds in the distance was also a bit tricky. It kept giving big birds instead of a set of small ones. I tried making smaller selection (still big enough), but nothing shows up anymore 🤷🏼♀️
2 - Adding some birds in the distance was also a bit tricky. It kept giving big birds instead of a set of small ones. I tried making smaller selection (still big enough), but nothing shows up anymore 🤷🏼♀️

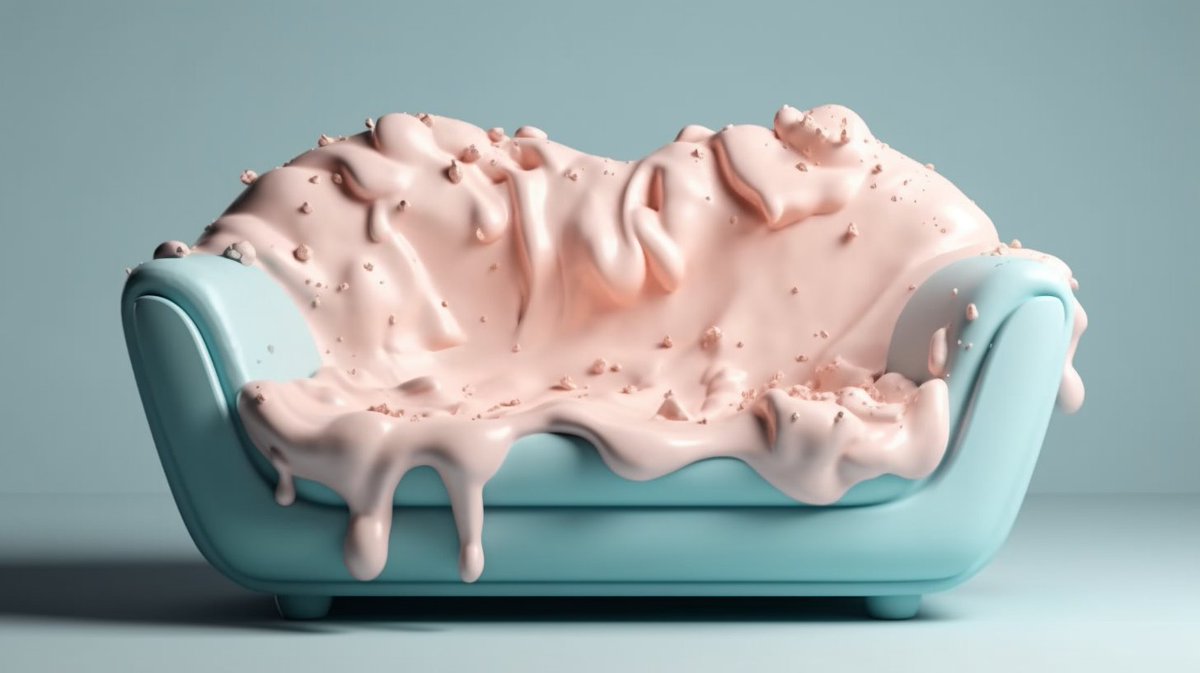
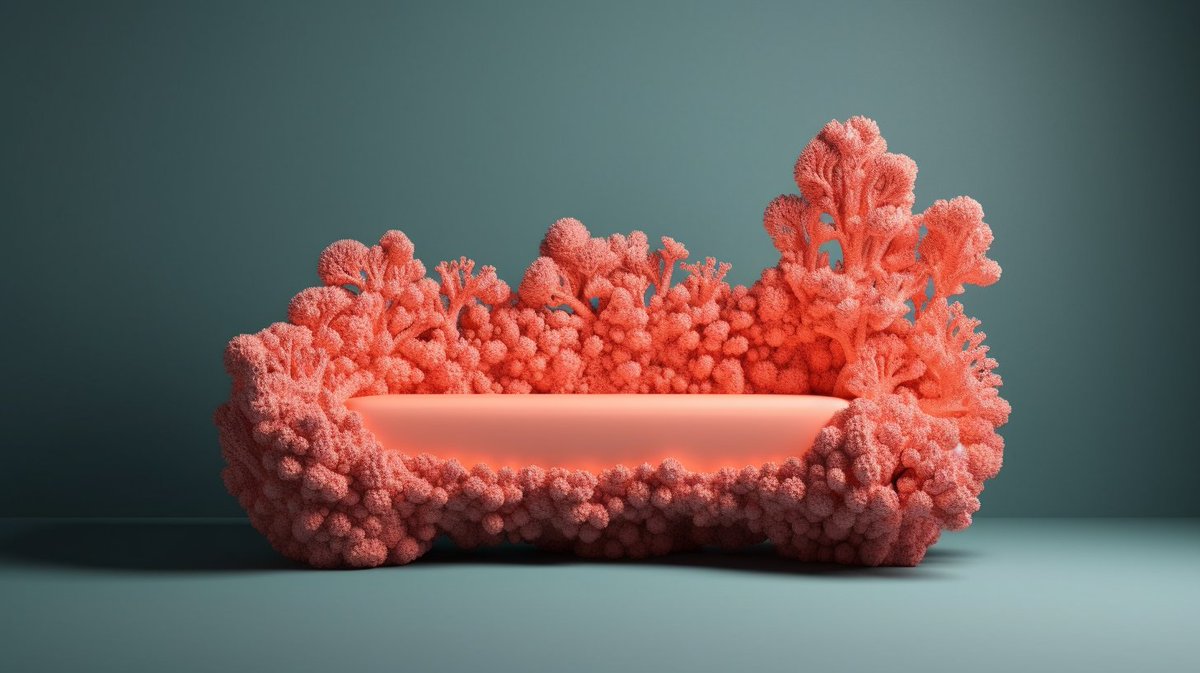
11/13 Another example - left initial images, on the right two examples on how it fills new parts.
Cool stuff!! 🔥


Cool stuff!! 🔥


13/13 Nice, first run looks great! Not entirely sure about the shadow on the glass, I would have to test that myself 😅
These were fairly simple tests. I'll be trying this with some other images. But this was all done in just a few minutes 🤩 #photoshopbeta #firefly
These were fairly simple tests. I'll be trying this with some other images. But this was all done in just a few minutes 🤩 #photoshopbeta #firefly

Going from this boarding gate - made by @gen_ericai (thanks for letting me share your beautiful image!) 

To one that's more crowded.
Overall the images needs some more edits (colors, potentially an even better generative fill etc.). But this was done in a just couple of minutes!
There are still limits to this, not everything goes or is easy to accomplish. Cool nonetheless!
Overall the images needs some more edits (colors, potentially an even better generative fill etc.). But this was done in a just couple of minutes!
There are still limits to this, not everything goes or is easy to accomplish. Cool nonetheless!

If you are looking for some extra tips and tricks (live atm):
• • •
Missing some Tweet in this thread? You can try to
force a refresh

 Read on Twitter


