I've been experimenting w/ a bunch of zoom-out workflows in Midjourney.
I've found adjusting the aspect ratio with "Custom Zoom" while keeping the zoom set to 1 give you really nice control.
Here's a super simple prompt + a lil' step-by-step workflow you can use to test it out.
I've found adjusting the aspect ratio with "Custom Zoom" while keeping the zoom set to 1 give you really nice control.
Here's a super simple prompt + a lil' step-by-step workflow you can use to test it out.
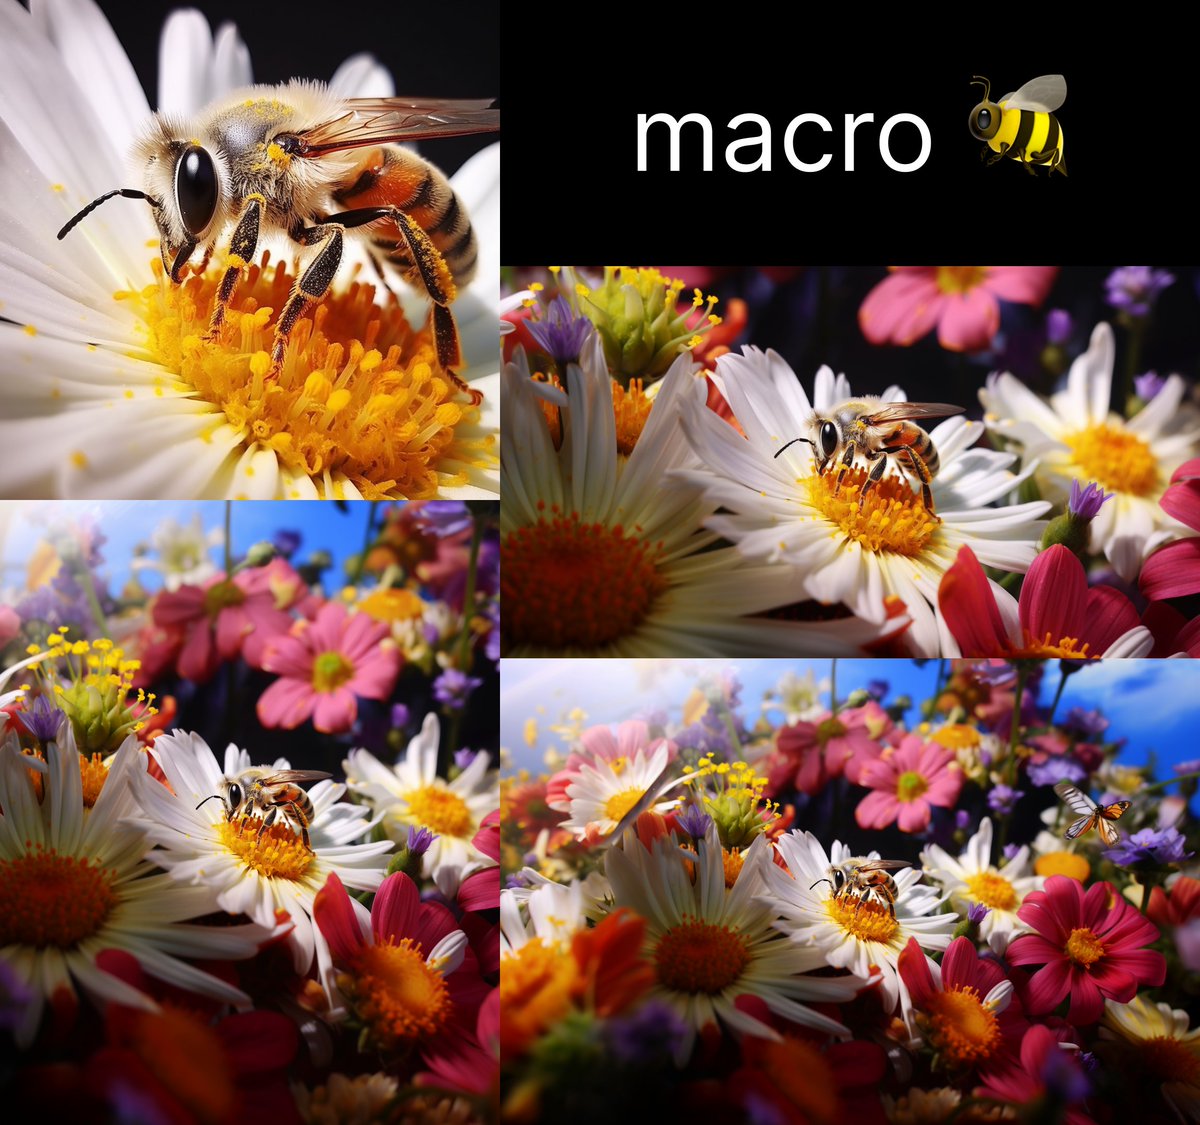
Base prompt to get you started. Super simple, just one word and an emoji.
Prompt: macro {🐝}
I used the bee emoji, but you can use any emoji you want. The insect emojis are great for this, but have fun with it. The eye emoji is really cool too 👁️
Prompt: macro {🐝}
I used the bee emoji, but you can use any emoji you want. The insect emojis are great for this, but have fun with it. The eye emoji is really cool too 👁️
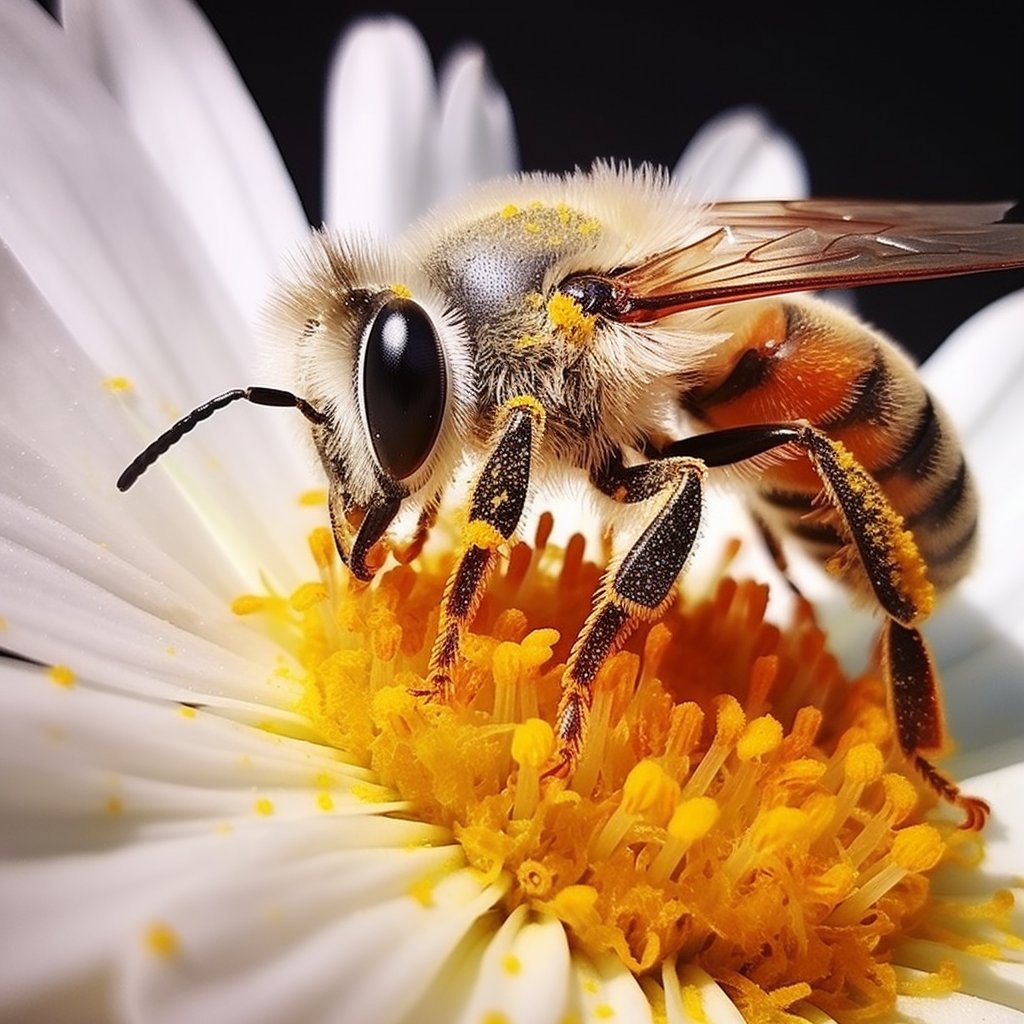
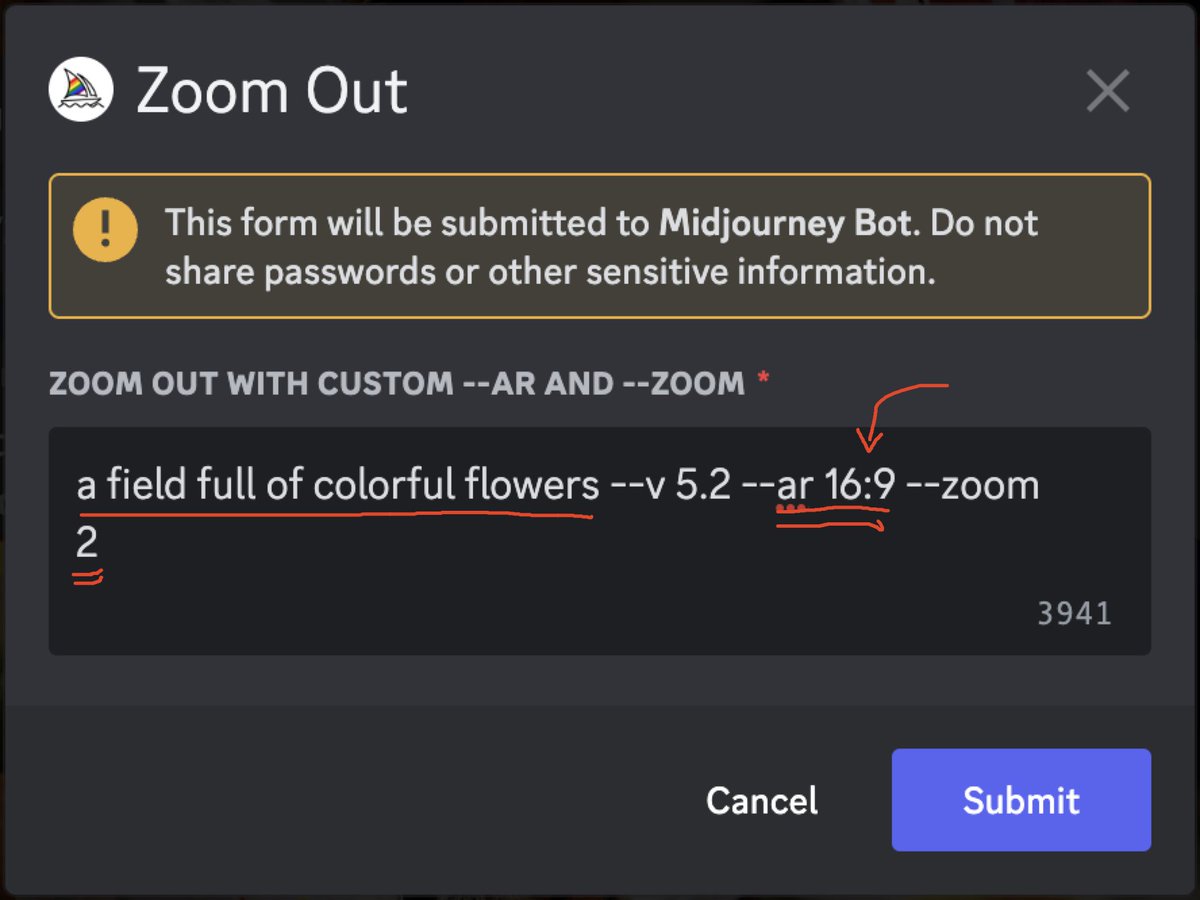
Upscale your favorite image & hit "Custom Zoom"
Here you can change your prompt, adjust the aspect ratio, & set the zoom level.
For your first one, keep zoom at 2 and adjust the --ar from 1:1 to something wide, like 16:9.
Then write a prompt to fill the new space with.
Here you can change your prompt, adjust the aspect ratio, & set the zoom level.
For your first one, keep zoom at 2 and adjust the --ar from 1:1 to something wide, like 16:9.
Then write a prompt to fill the new space with.
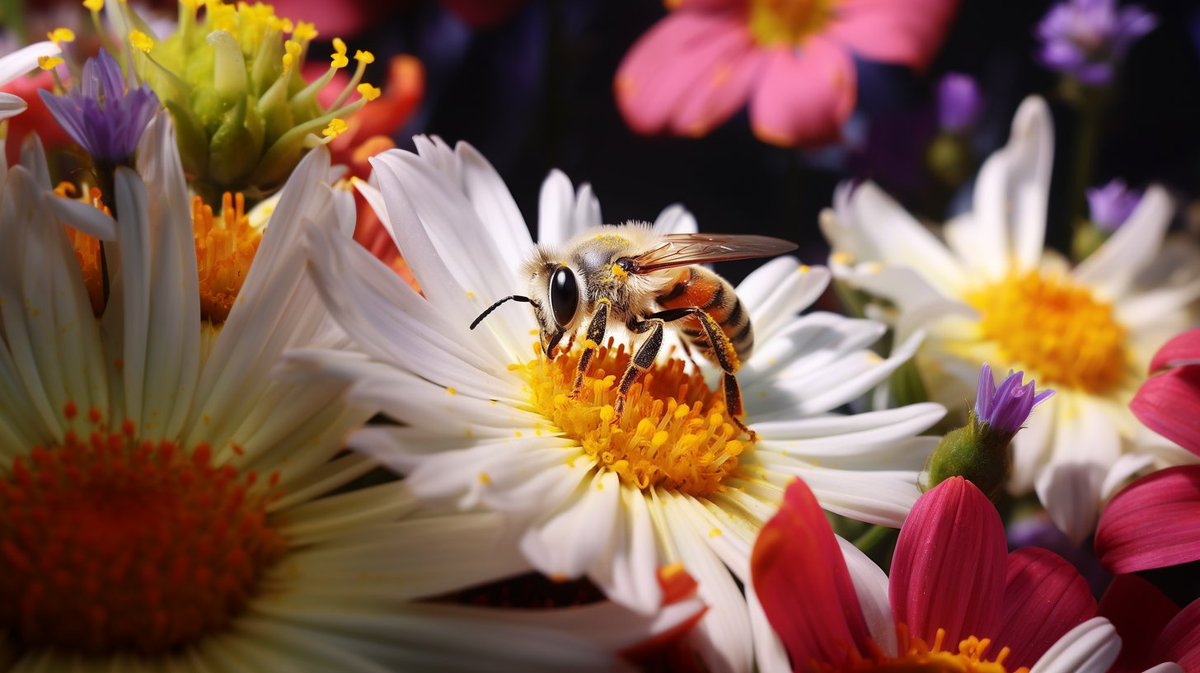
I prompted a "a field full of colorful flowers" to get some nice contrast against the white flower & the bee to make it pop more.
By setting a wide aspect ratio, we were able expand the sides much more than the top and bottom.
Next we'll adjust to reimagine the top/bottom
By setting a wide aspect ratio, we were able expand the sides much more than the top and bottom.
Next we'll adjust to reimagine the top/bottom
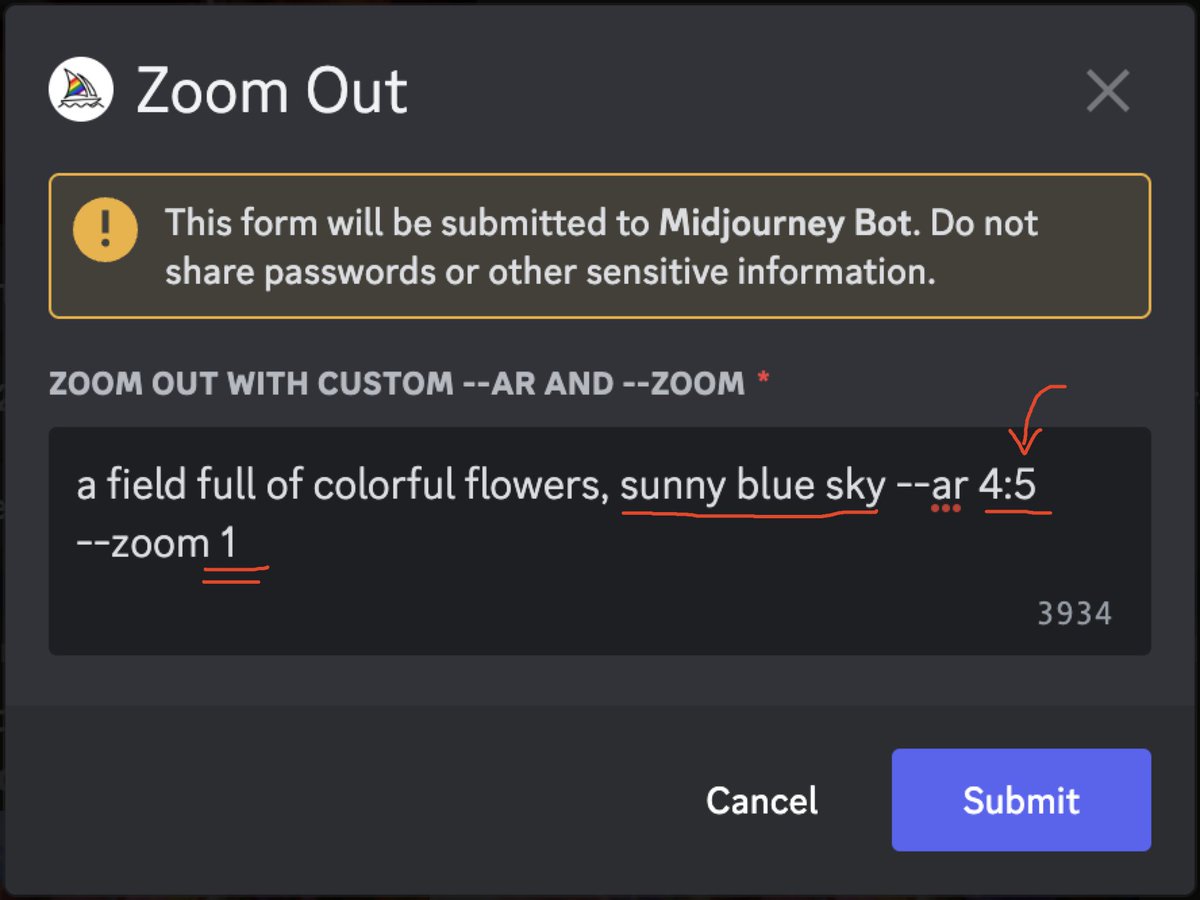
Custom zoom again, changing aspect ratio from wide back to portrait. But this time, set the zoom to 1.
Setting the zoom to 1 helps us expand the top/bottom of our frame without our subject getting super far away.
Since we're expanding the top, I prompted for a "sunny blue sky"
Setting the zoom to 1 helps us expand the top/bottom of our frame without our subject getting super far away.
Since we're expanding the top, I prompted for a "sunny blue sky"
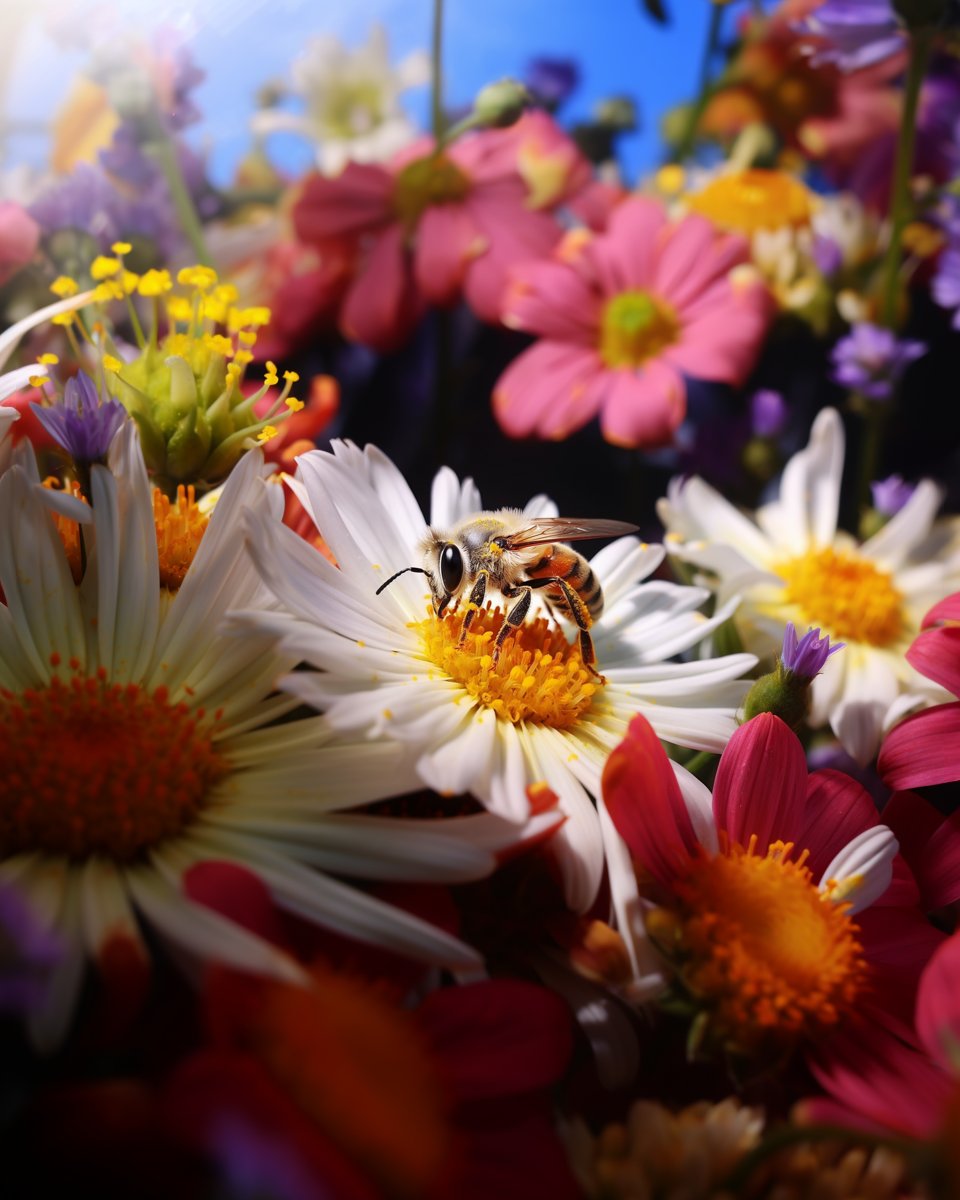
Here's the image. Sunny blue sky & the bee is still very clear & visible from keeping that zoom at 1.
So far we've ran 3 prompts:
1️⃣ macro 🐝 --ar 1:1
2️⃣ a field full of colorful flowers --ar 16:9 --zoom 2
3️⃣ a field full of colorful flowers, sunny blue sky --ar 4:5 --zoom 1
So far we've ran 3 prompts:
1️⃣ macro 🐝 --ar 1:1
2️⃣ a field full of colorful flowers --ar 16:9 --zoom 2
3️⃣ a field full of colorful flowers, sunny blue sky --ar 4:5 --zoom 1
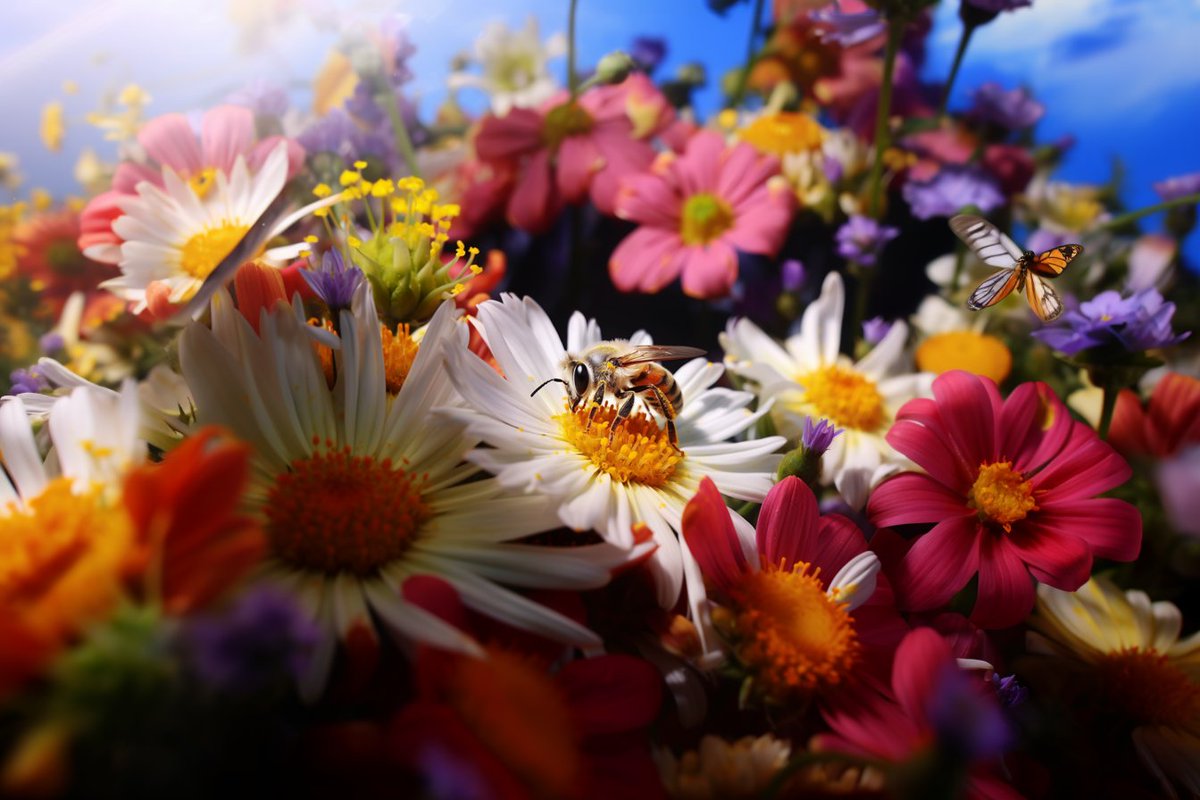
I did one last custom zoom out to bring it back to landscape, keeping the zoom at 1 so I didn't get too far away from my lil' bee.
The prompt I ran was "a field full of colorful flowers, sunny blue sky, butterfly --ar 3:2 --zoom 1"
Now our lil' bee has a lil' butterfly friend
The prompt I ran was "a field full of colorful flowers, sunny blue sky, butterfly --ar 3:2 --zoom 1"
Now our lil' bee has a lil' butterfly friend
You can keep going w/ this as much as you'd like.
Adjusting the --ar lets you separate the sides from the top/bottom so you can apply unique prompts to each.
Keeping zoom at 1 prevents your subject from getting super tiny while expanding.
Have fun, & follow me @nickfloats
Adjusting the --ar lets you separate the sides from the top/bottom so you can apply unique prompts to each.
Keeping zoom at 1 prevents your subject from getting super tiny while expanding.
Have fun, & follow me @nickfloats
@BitBuster01 i gotchu!
@Kieran_Does_AI_ inpainting is being worked on and might get released before v6, so in just a few weeks. it will be limited due to discord, but it will be a start. they may send you to the web when you inpaint so you can do more with it, but the ux would suck. its coming tho
• • •
Missing some Tweet in this thread? You can try to
force a refresh