
Huge strides have been made for creating consistent characters with Midjourney.
Using an inpainting technique, we can go further.
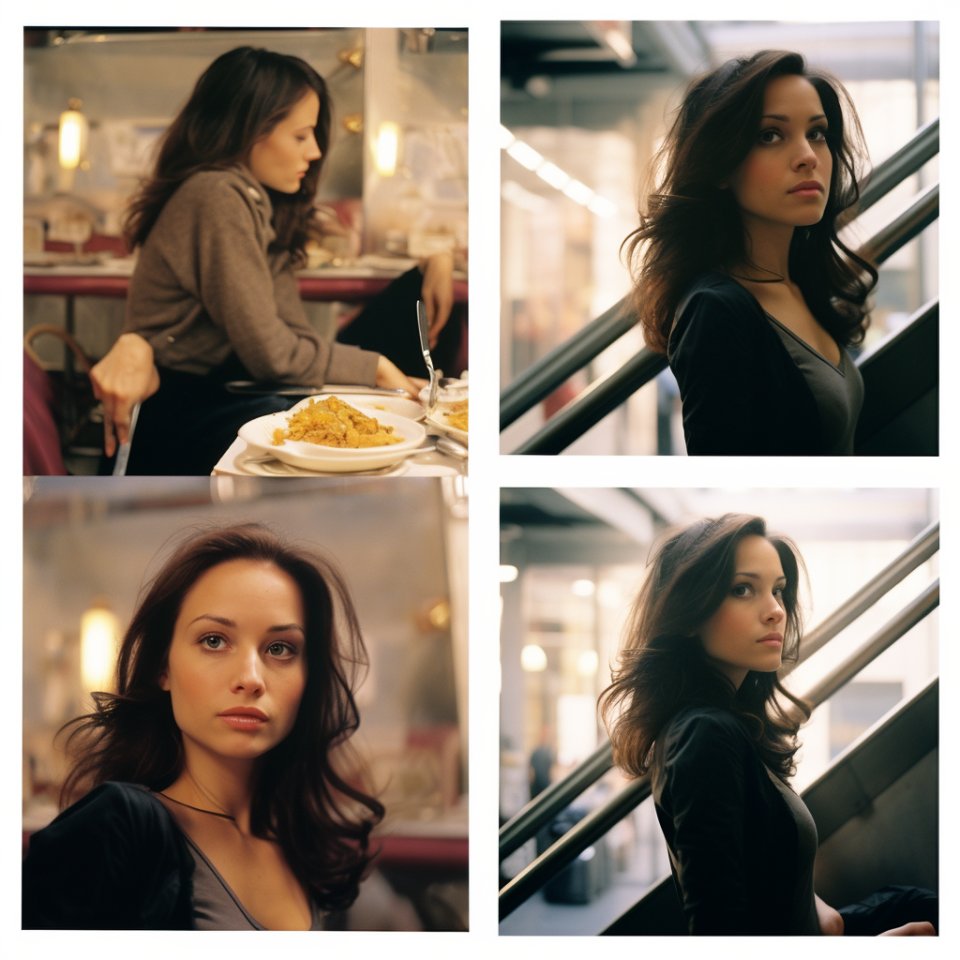
With this workflow, you can bring a character into new scenes with different expressions.
This is big. Especially for video storytelling.
Using an inpainting technique, we can go further.
With this workflow, you can bring a character into new scenes with different expressions.
This is big. Especially for video storytelling.

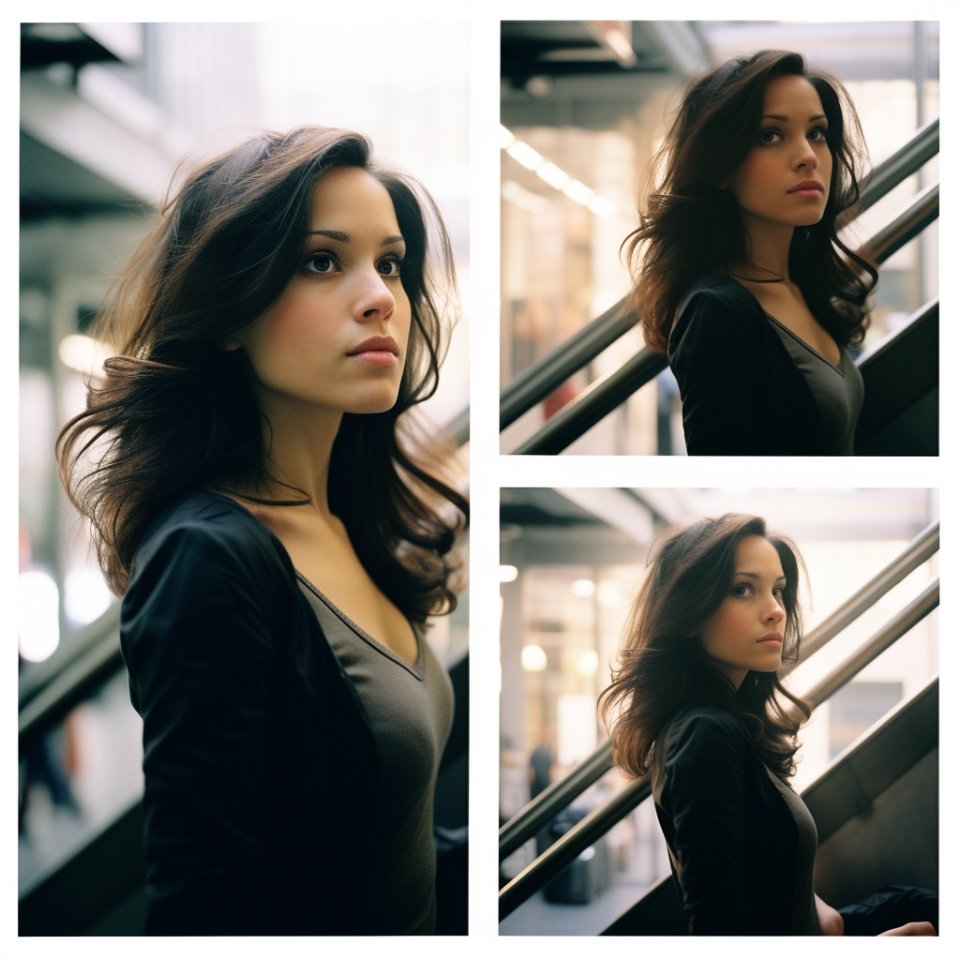
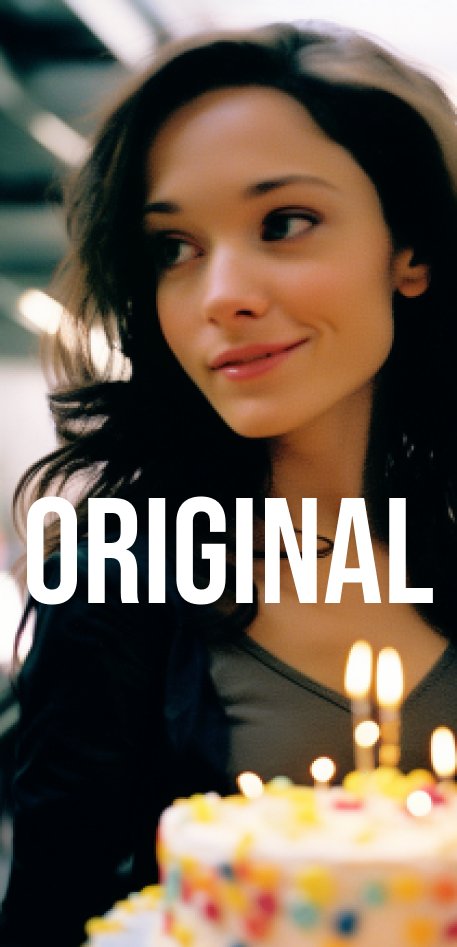
1) First, let's start with the amazing prompt from @chaseleantj and @juliewdesign_
Prompt: [Subject], split into 3 different images, shot from multiple angles --s 50
Important: You want three (3) panels for this workflow.
Prompt: [Subject], split into 3 different images, shot from multiple angles --s 50
Important: You want three (3) panels for this workflow.
https://twitter.com/chaseleantj/status/1692155286306668840
2) Once you have a generation that you like, upscale it.
Reminder: You want a three panel image. Preferably with a large panel and two small panels.
Reminder: You want a three panel image. Preferably with a large panel and two small panels.
3) With your upscaled image, click on the vary region button. Using the square selection tool, select only one panel. Make sure your selection slightly extends past the edges of the panel.
Important: Only select one, or at most, two panels. Do not select the entire image.
Important: Only select one, or at most, two panels. Do not select the entire image.
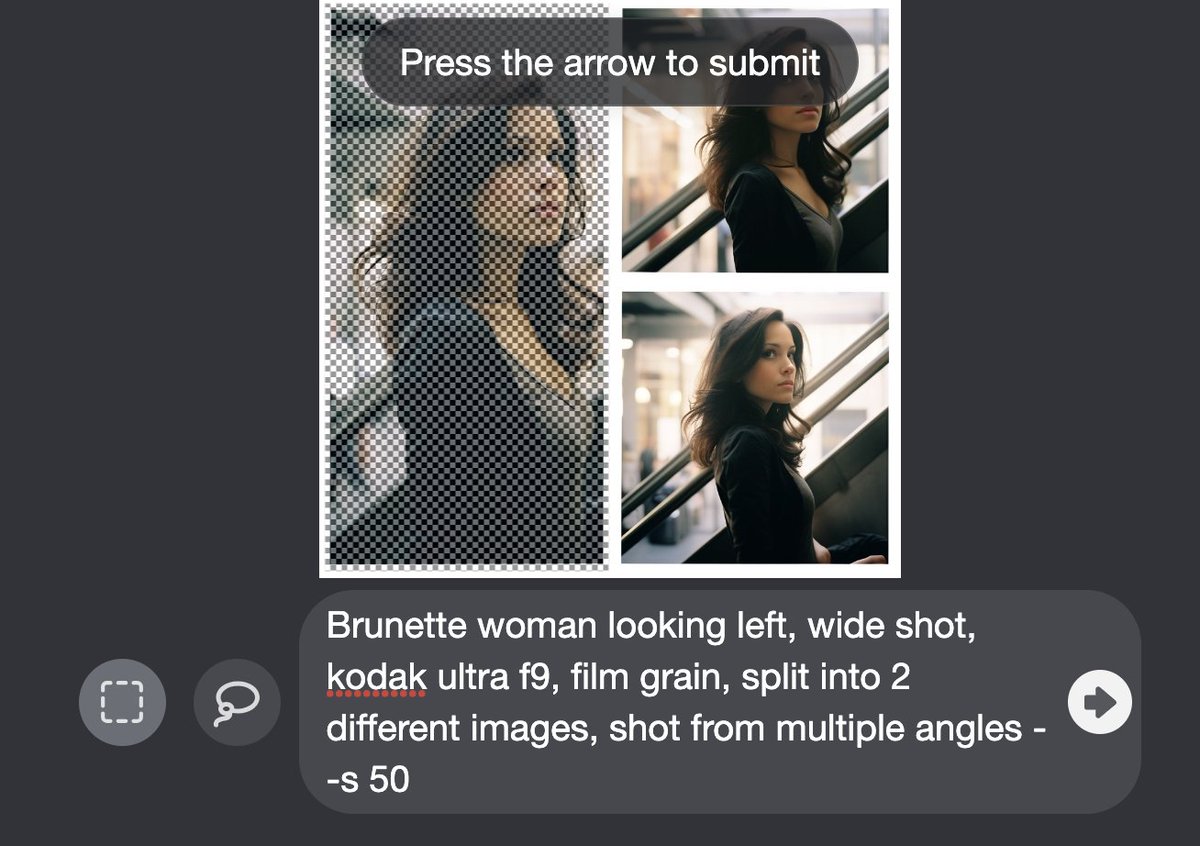
4) Edit only the subject of the prompt and change the stylization to low.
For example, if your subject is a brunette woman, you can change the subject to brunette woman at dinner. Do not change any of the remainder of the prompt.
Important: Add --s 50 to the end.
For example, if your subject is a brunette woman, you can change the subject to brunette woman at dinner. Do not change any of the remainder of the prompt.
Important: Add --s 50 to the end.
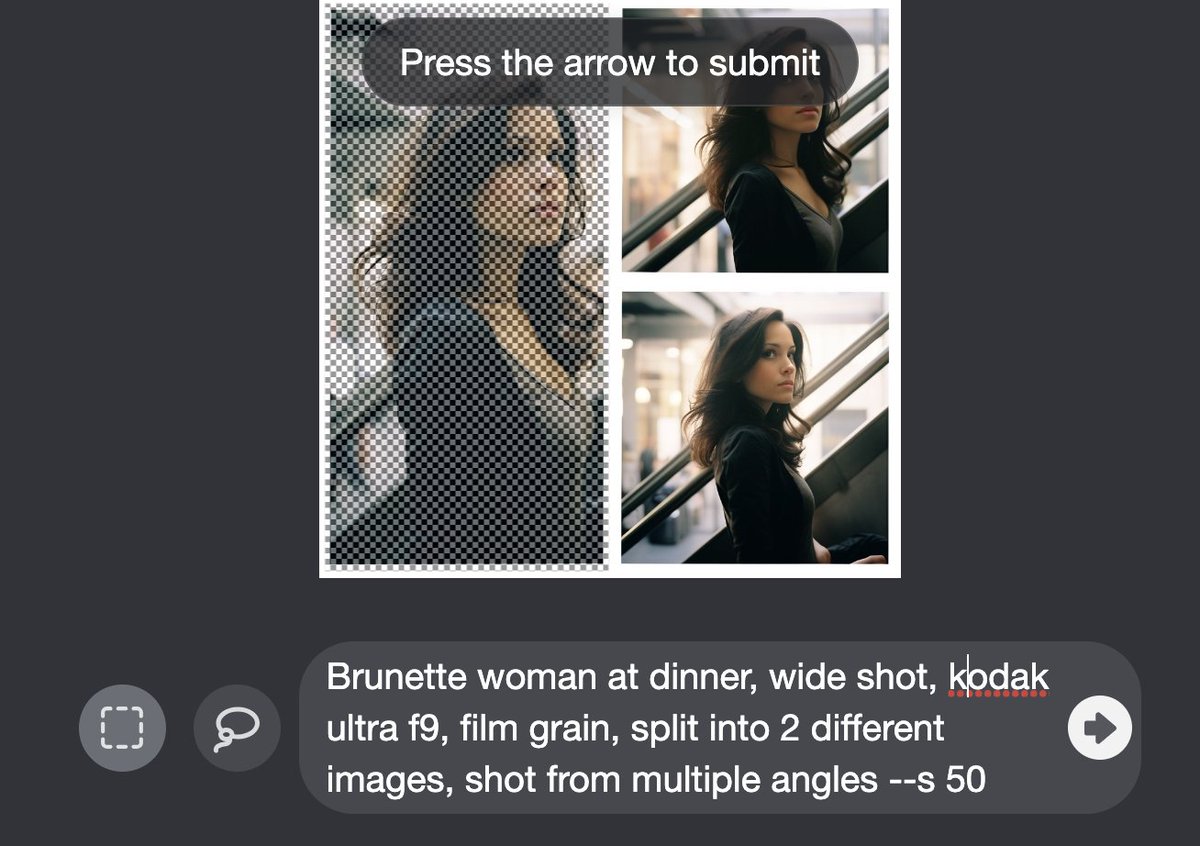
5) This is where the magic happens. It appears that by selecting one panel for inpainting, Midjourney will reference the subject in the other panels.
If you are having issues, try selecting a different panel and re-running the inpainting prompt. Also make sure to use --s 50.
If you are having issues, try selecting a different panel and re-running the inpainting prompt. Also make sure to use --s 50.
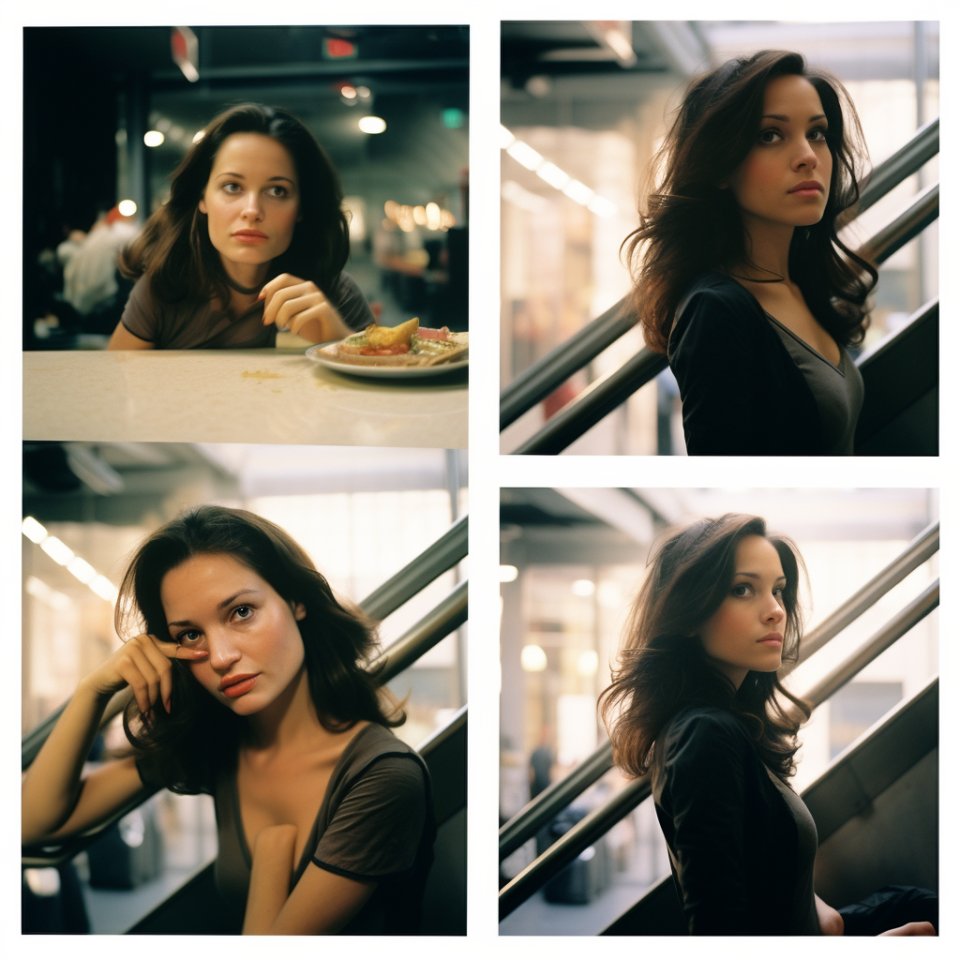
6) To go a step further, upscale one of the inpainted versions and click the vary region button again. This time select every panel besides the one that you like.
This is less stable, but with some re-rolls you can create multiple images of your subject at the location.
This is less stable, but with some re-rolls you can create multiple images of your subject at the location.


7) If you would like to extend the height and width of your panels, I recommend using adobe's Gen Fill for this task.
This last step is optional.
This last step is optional.

Thank you for reading along! If you enjoyed these posts,
1) Follow me @Mr_AllenT for more AI content and tutorials.
2) Bookmark, like, and repost to share with your friends!
1) Follow me @Mr_AllenT for more AI content and tutorials.
2) Bookmark, like, and repost to share with your friends!
https://twitter.com/Mr_AllenT/status/1696869609683440003
• • •
Missing some Tweet in this thread? You can try to
force a refresh


