RetroTech Chris Profile picture
Apr 16, 2024 19 tweets 13 min read Read on X
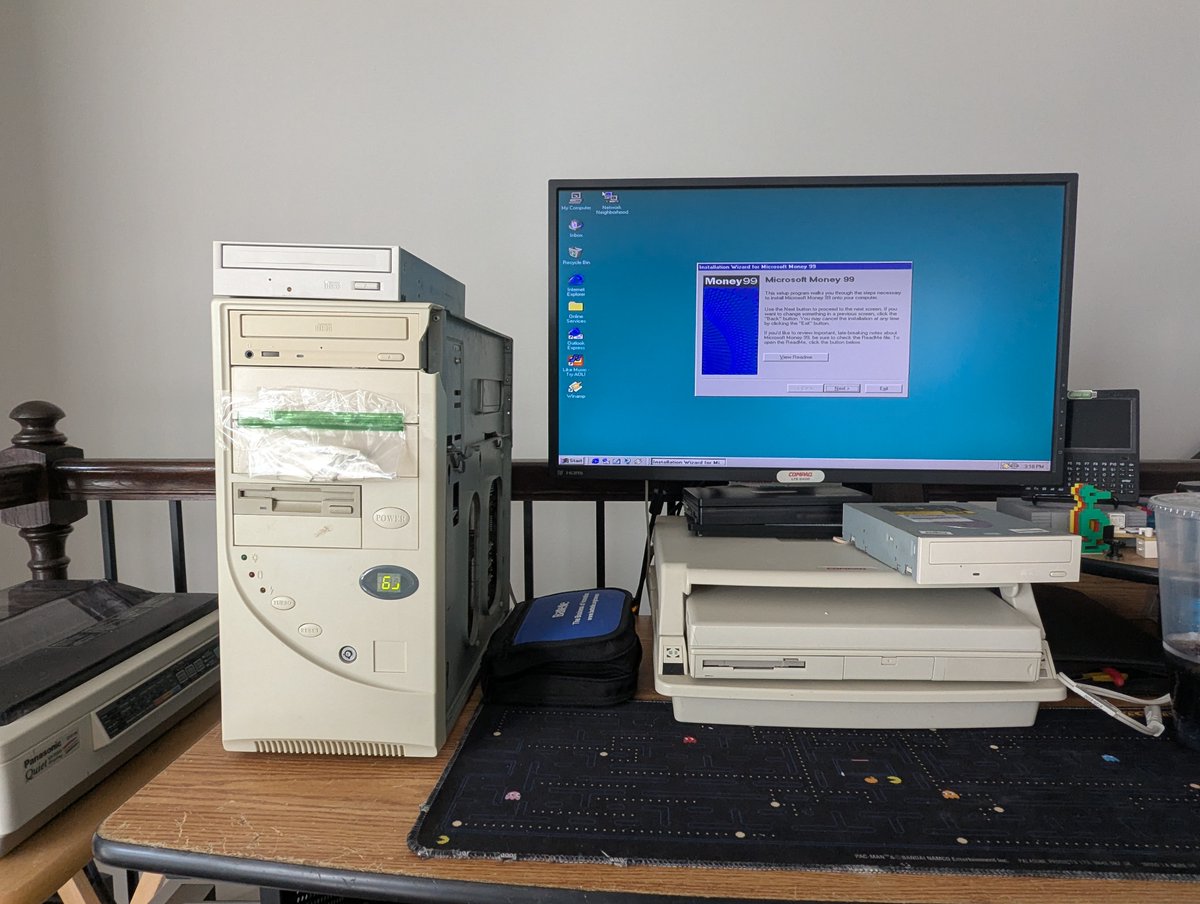
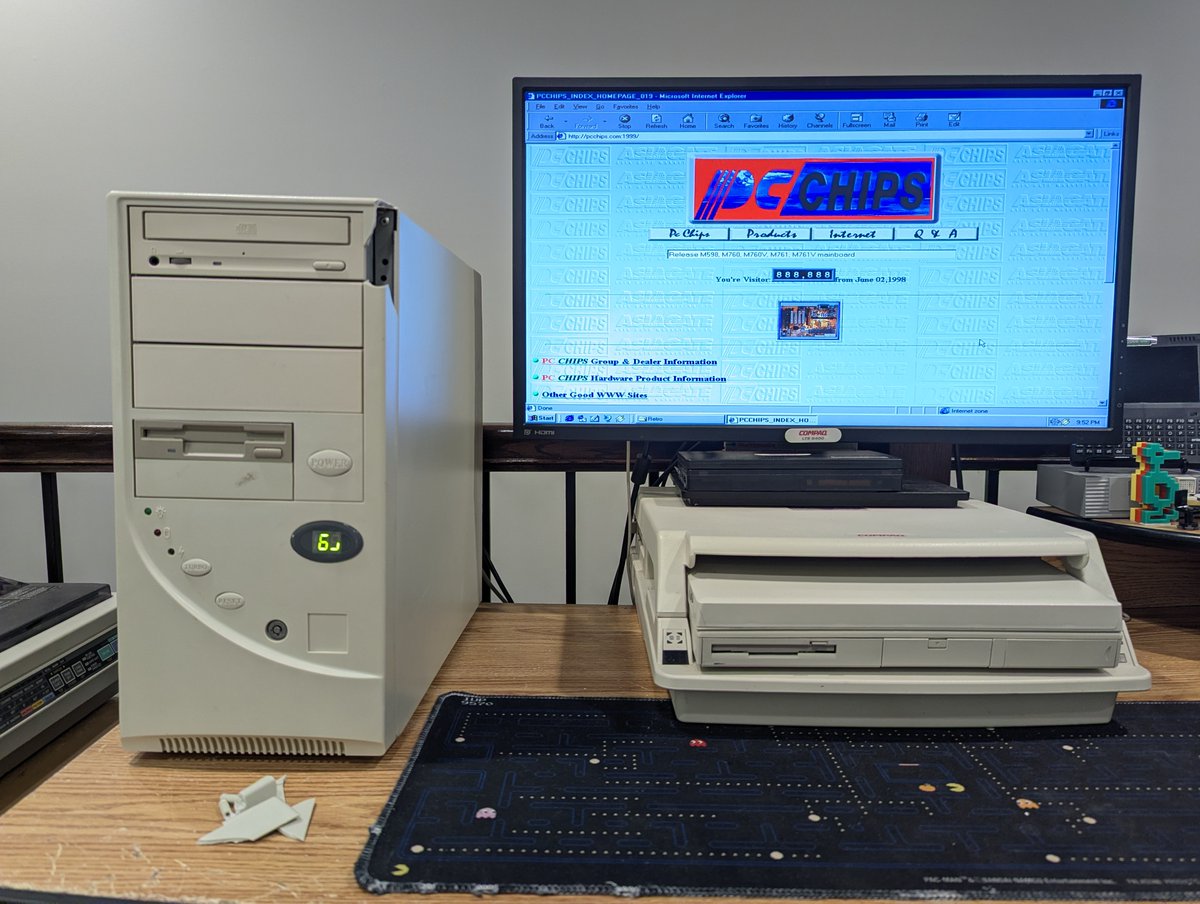
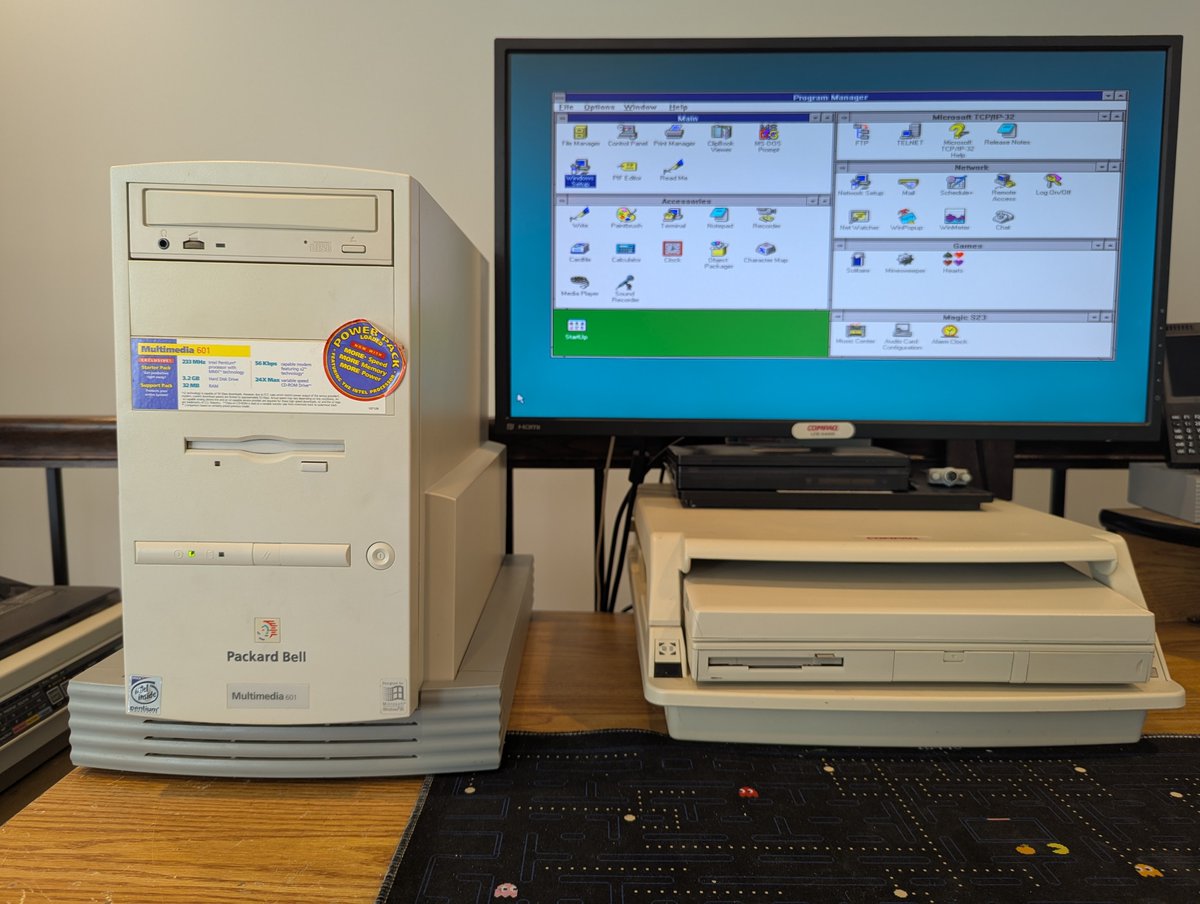
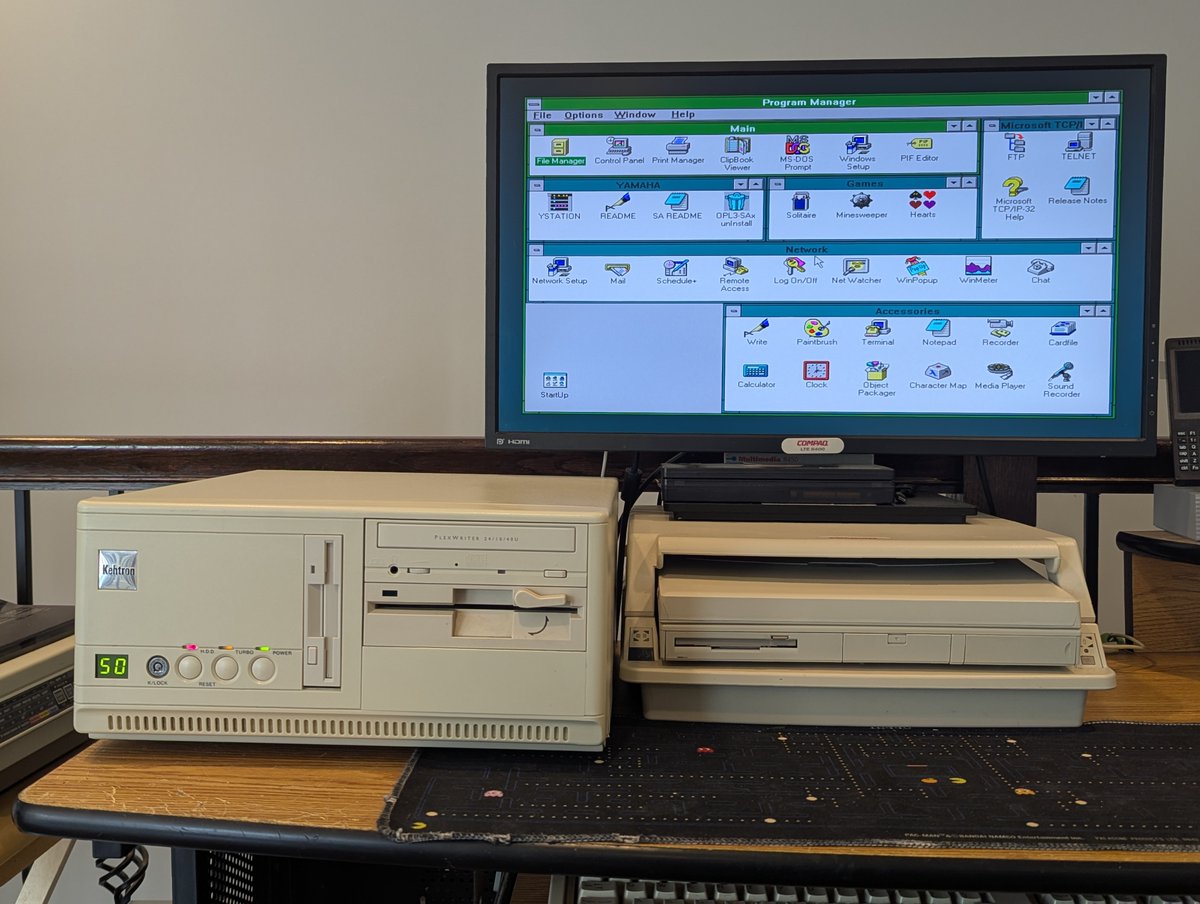
I've started to dive into the #VCFEast haul! First up is this nice Pentium Pro Compaq Deskpro 6000. It has 64MB of memory, a CD-ROM, Iomega Jaz Drive, PCI SCSI controller, and a 20GB IDE HDD. Let's explore a bit and talk about setup!

Image
Image
Image
So, first of all, I bought two Deskpros in anticipation of making one "good" one. I was hoping to swap the faceplates since this one had some broken tabs. No such luck, they are different sizes! I was at least able to swap the power button over!

Image
Image
Image
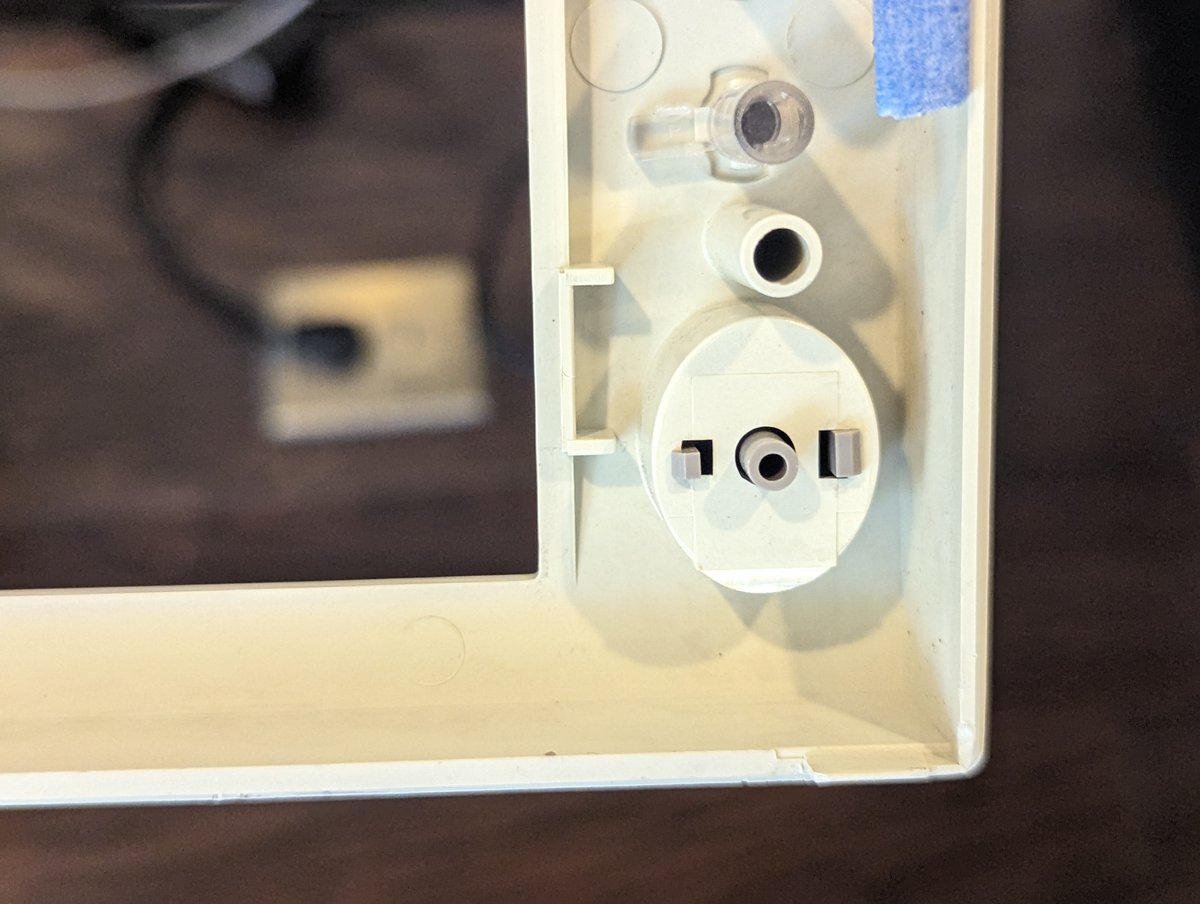
For the curious, here are those broken tabs.


Image
Image
Image
Image
Also, "someone" has been in here before! I found a "non Torx" screw. Definitely not from the factory that way. These little grey nubby Torx screws are more common, there are black ones too! And...oh, the Deskpro engineers were smart: they give you spares! Just unscrew and use.

Image
Image
Image
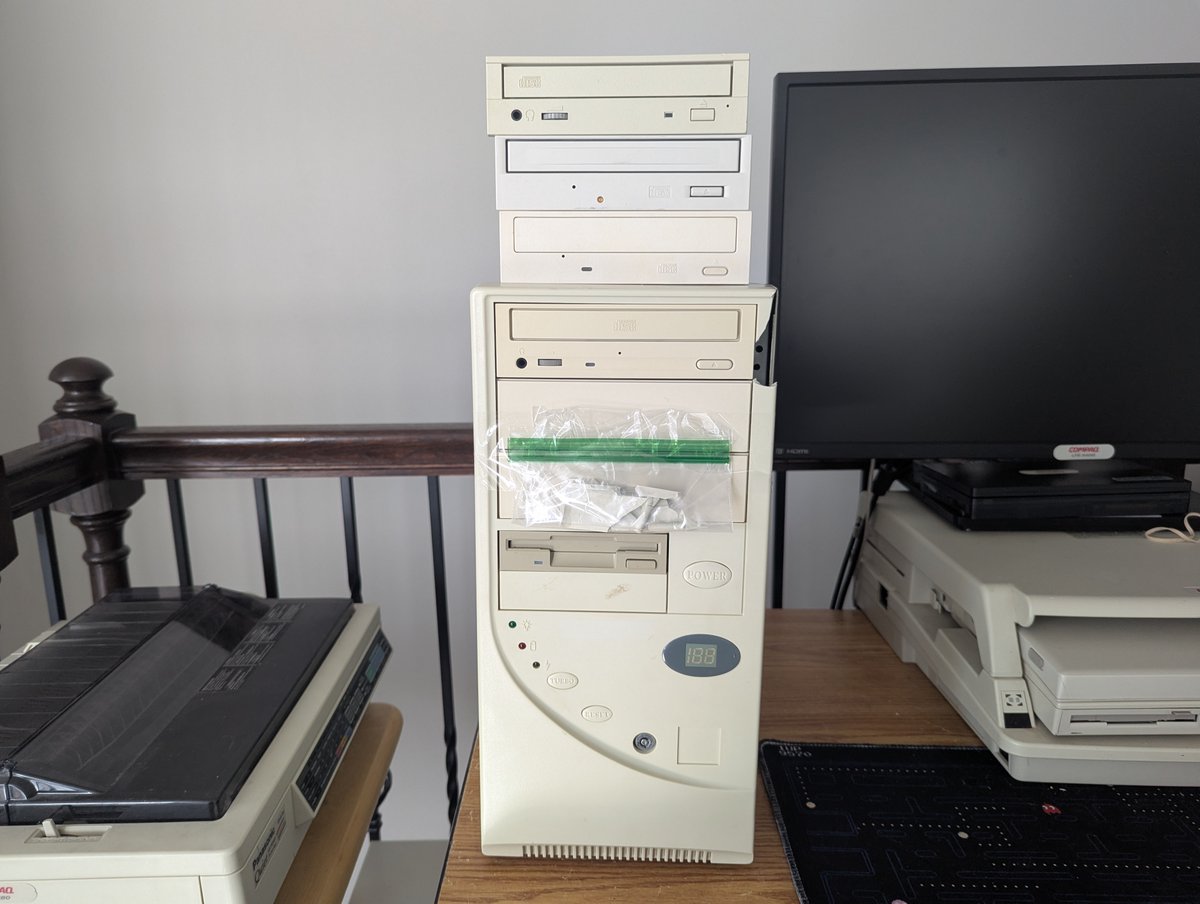
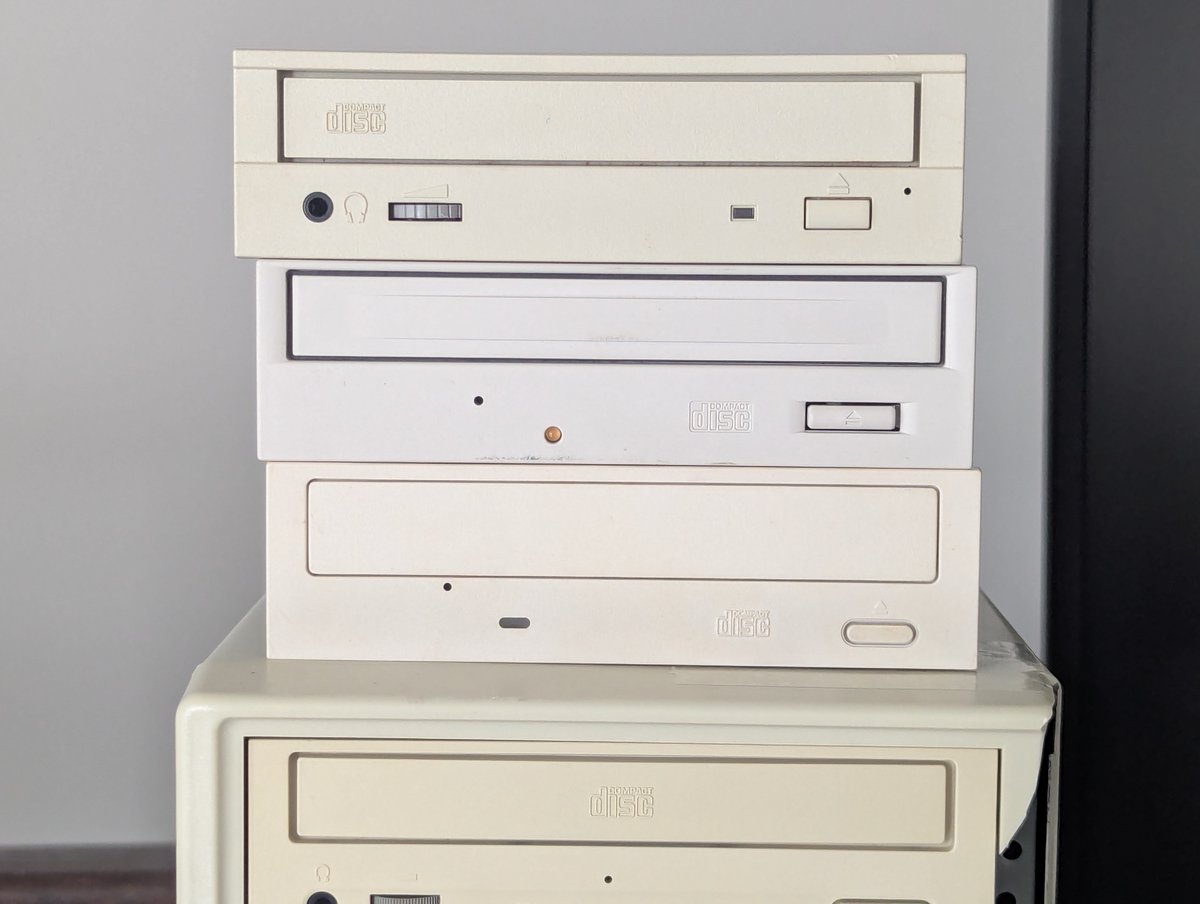
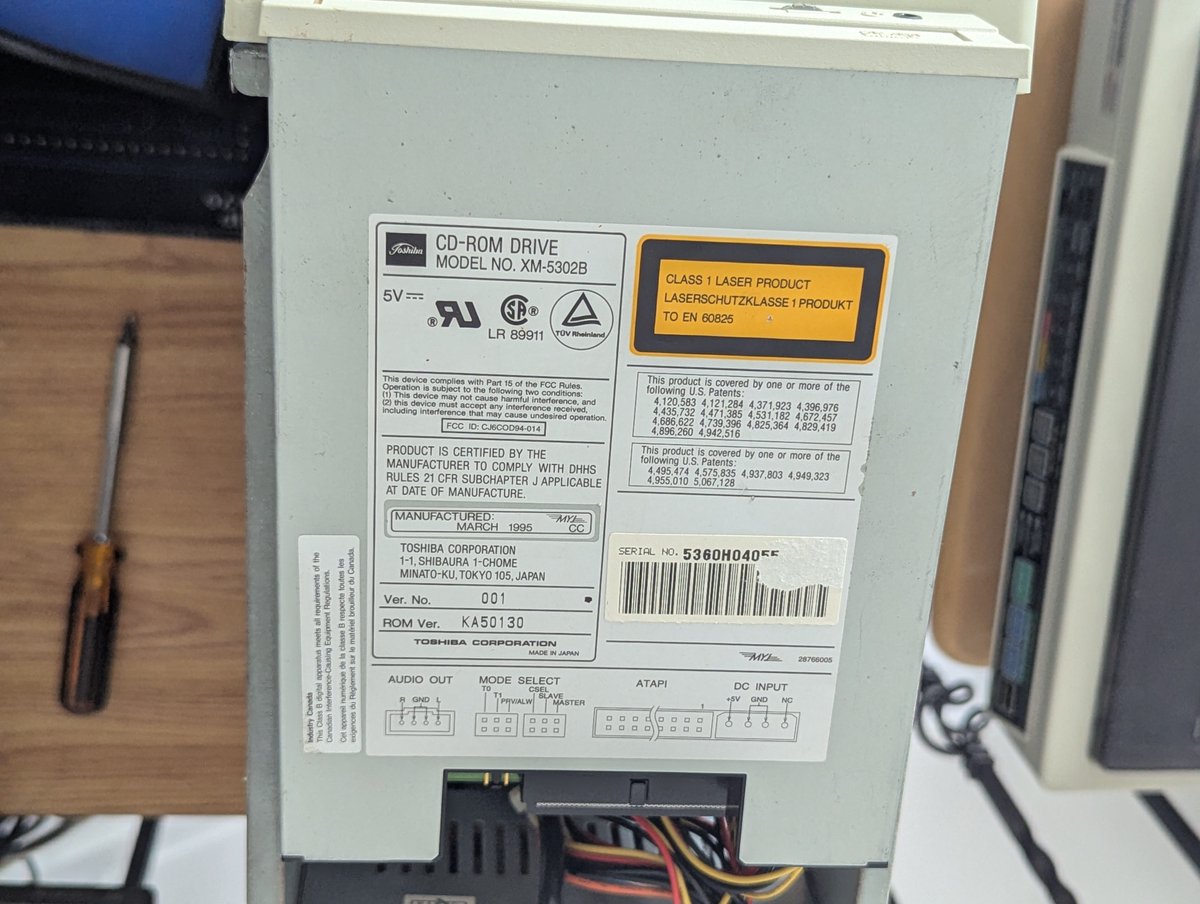
Originally, this system had a different optical in it. But the drive had a broken belt, so I swapped in a drive from the "power of CD-ROM power" that you might have seen a few weeks back on here!


Image
Image
Image
Image
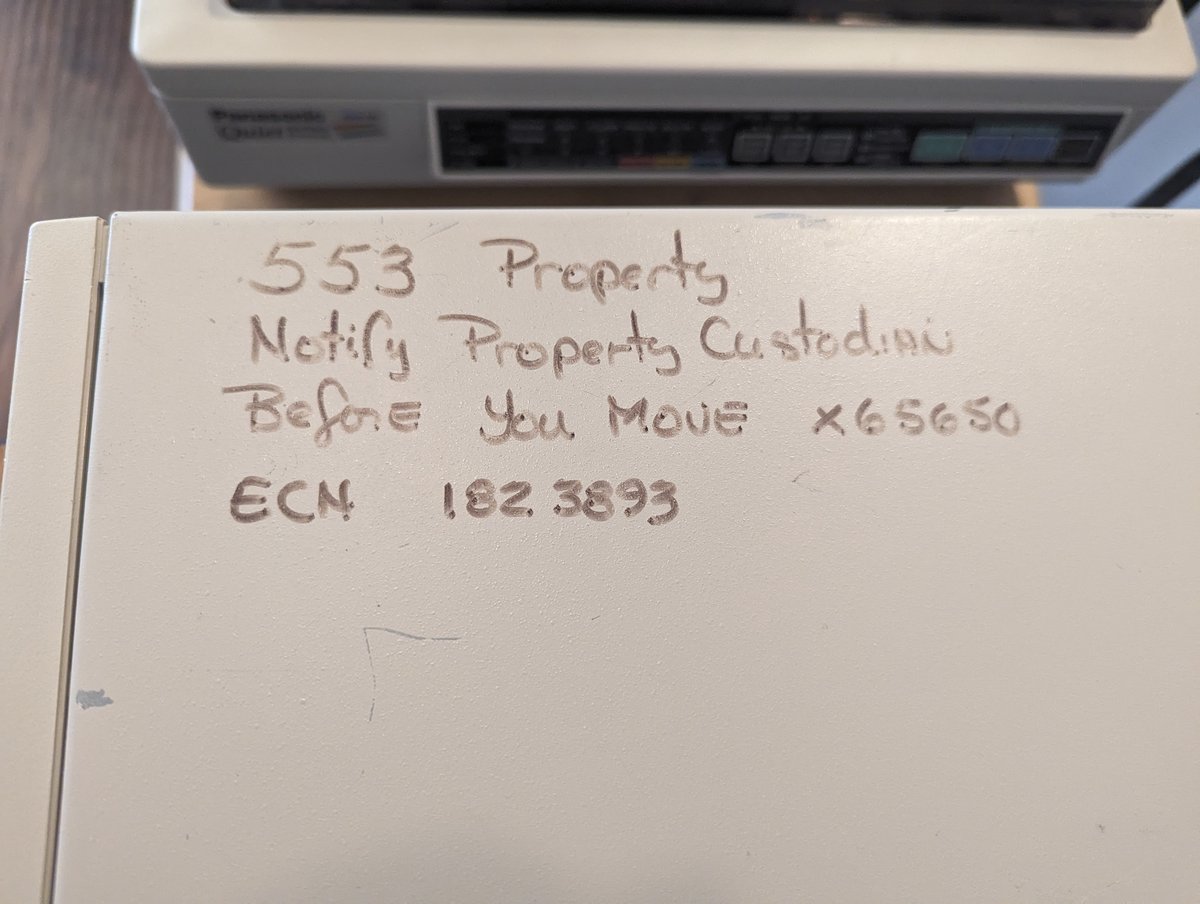
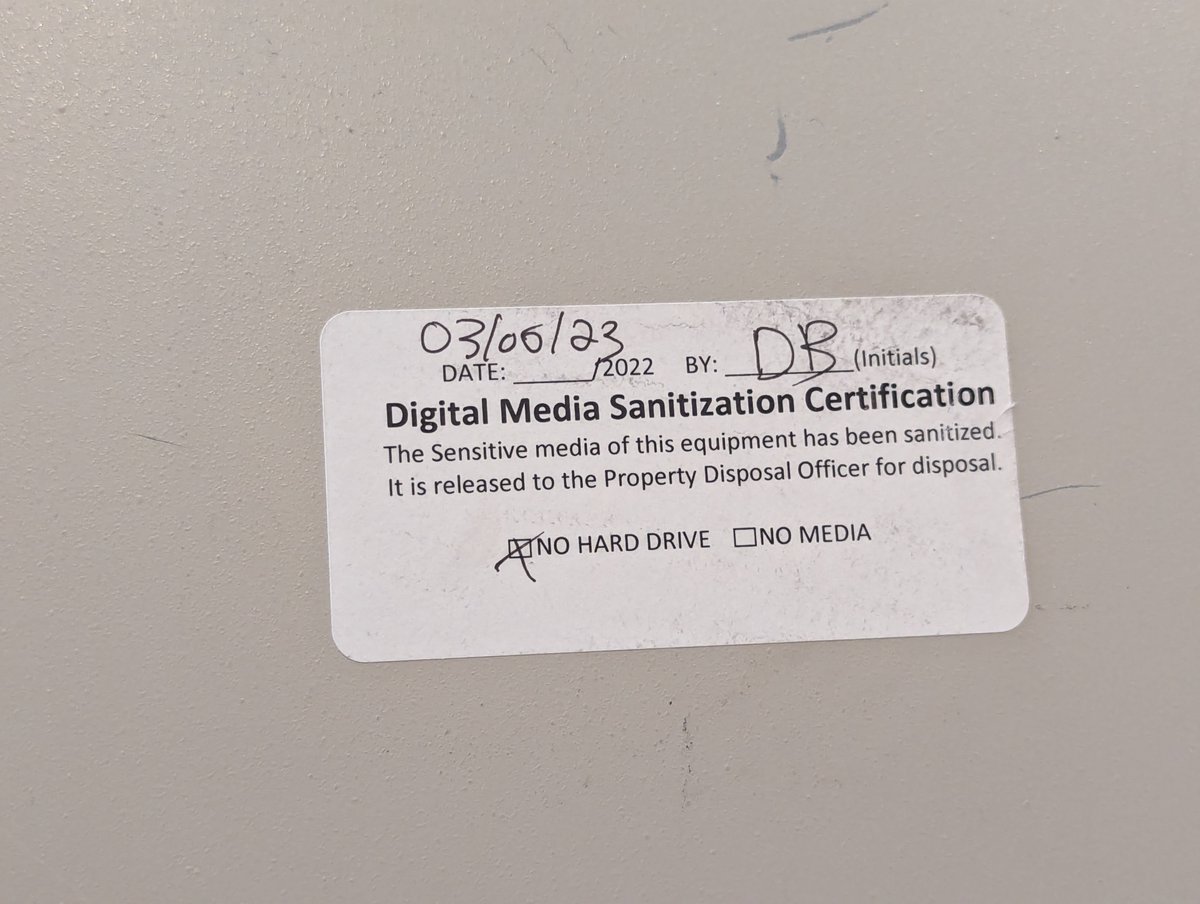
Let's look at the stickers and writing on this thing! I think this was a government PC. Was it really in use (or at least inventoried) until 2015 and decommissioned in 2023? It could be! There was no HDD, I added one, so we may never know.


Image
Image
Image
Image
Yay! Pentium Pro. And the original Compaq identifier tag with specs too!
Image
Image
Here's my attempt at keeping the faceplate on. Some tape on the bottom, pulled "tight," and a little bit of tape on the inside. It'll do for now.
Image
Image
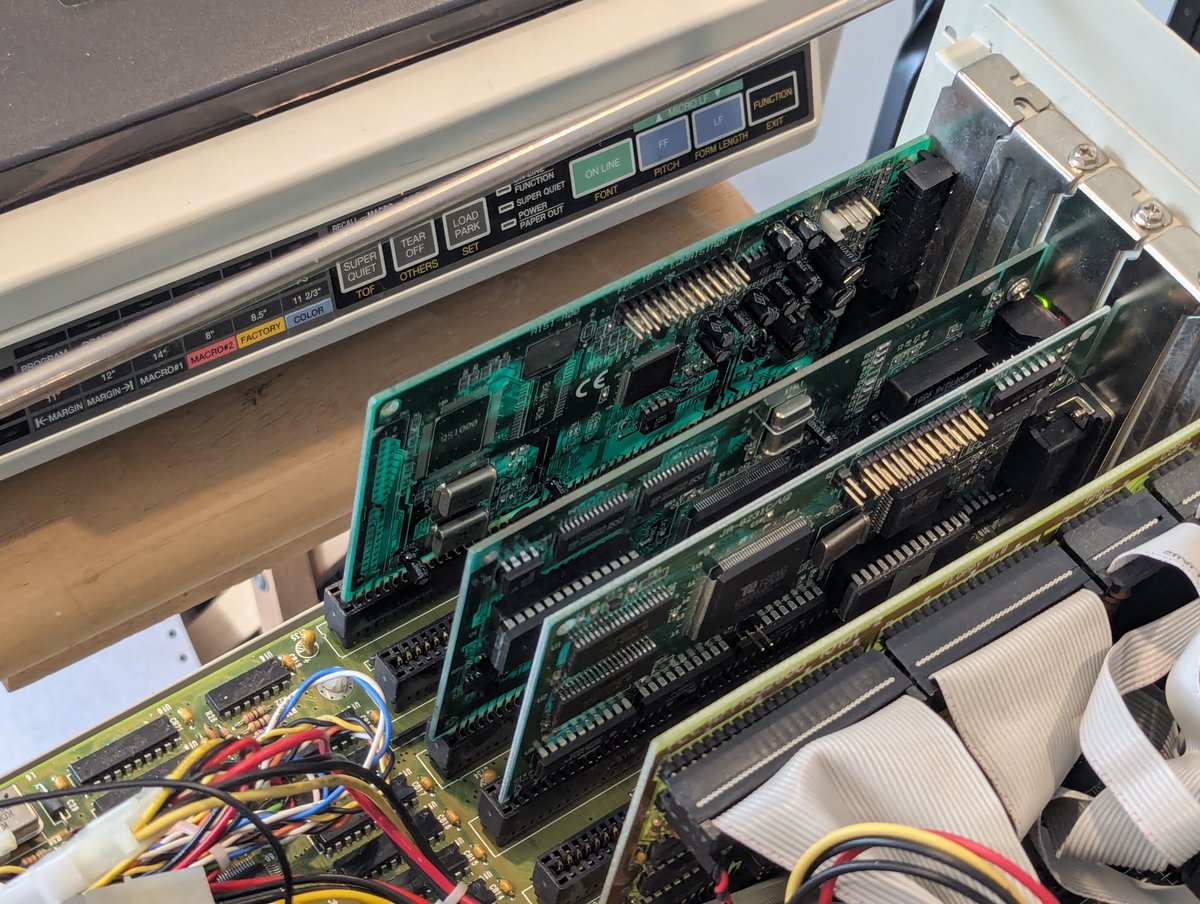
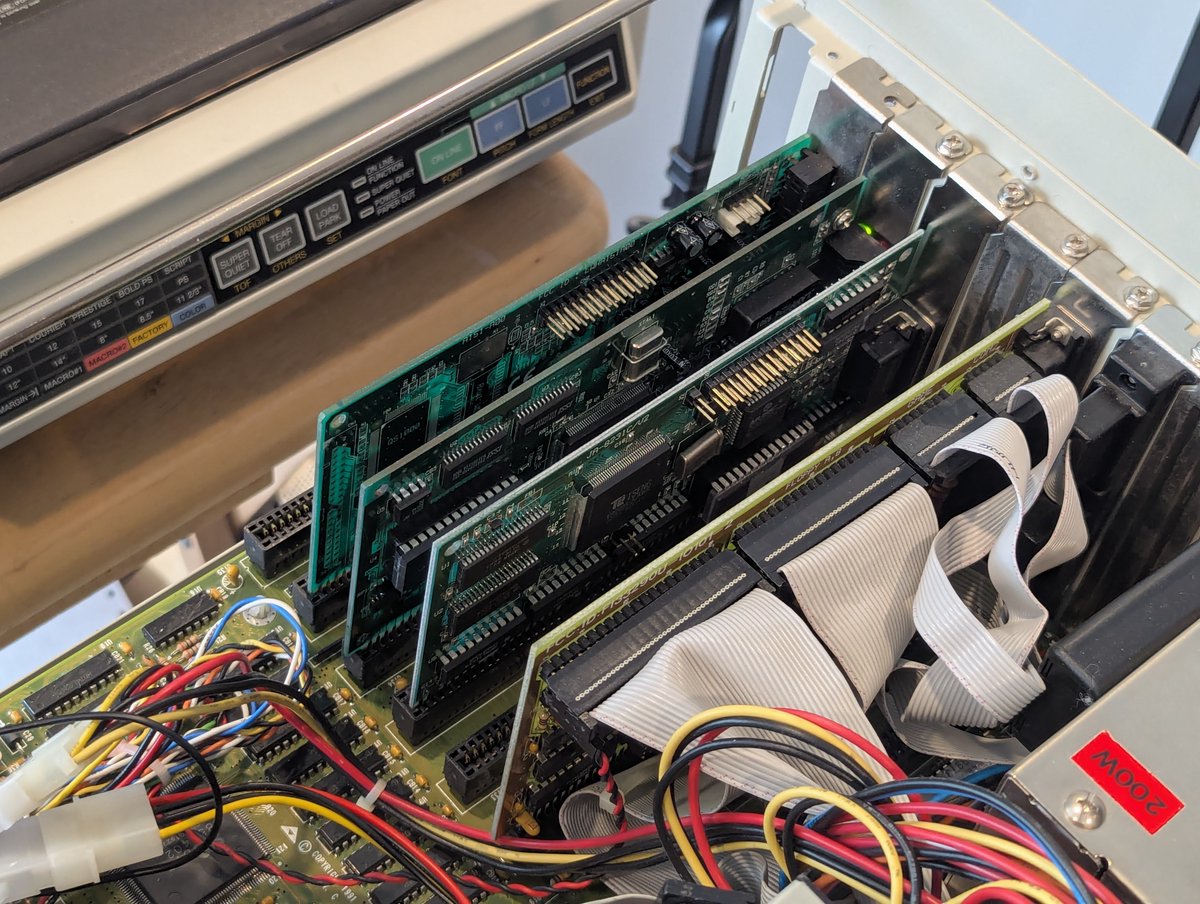
Looking inside, we can see that these are pretty modular. You can pull out the expansion card riser as a complete unit!


Image
Image
Image
Image
With the expansion card riser out, we can get a good look at the mobo. Look at that huge heatsink for the Pentium Pro! Image
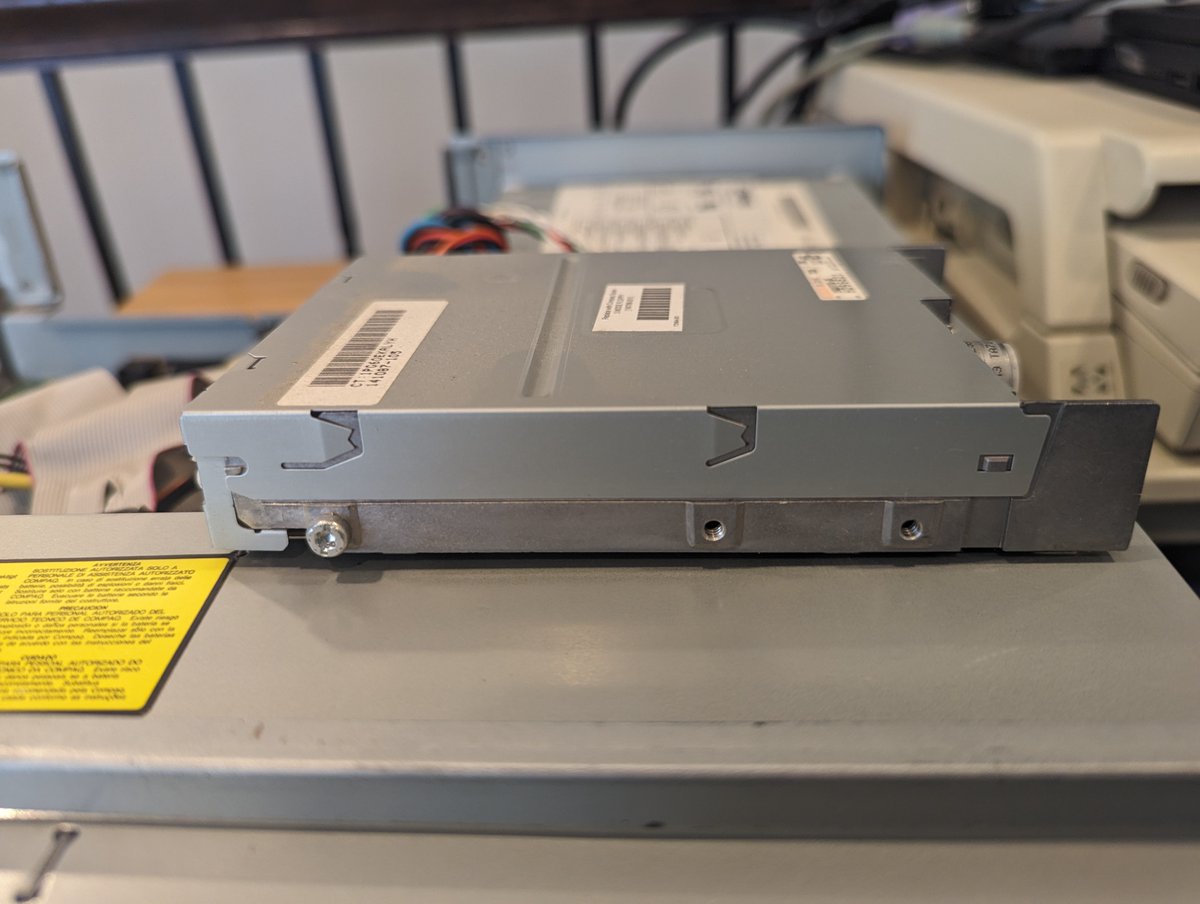
Drive bays are also a bit modular. What's interesting is that you use a "guide screw" to align the drive, then you add more screws to tighten it down! You can see me pointing to the "guide screw hole" here with my screwdriver. And there is a "guide screw" installed on the FDD.


Image
Image
Image
Image
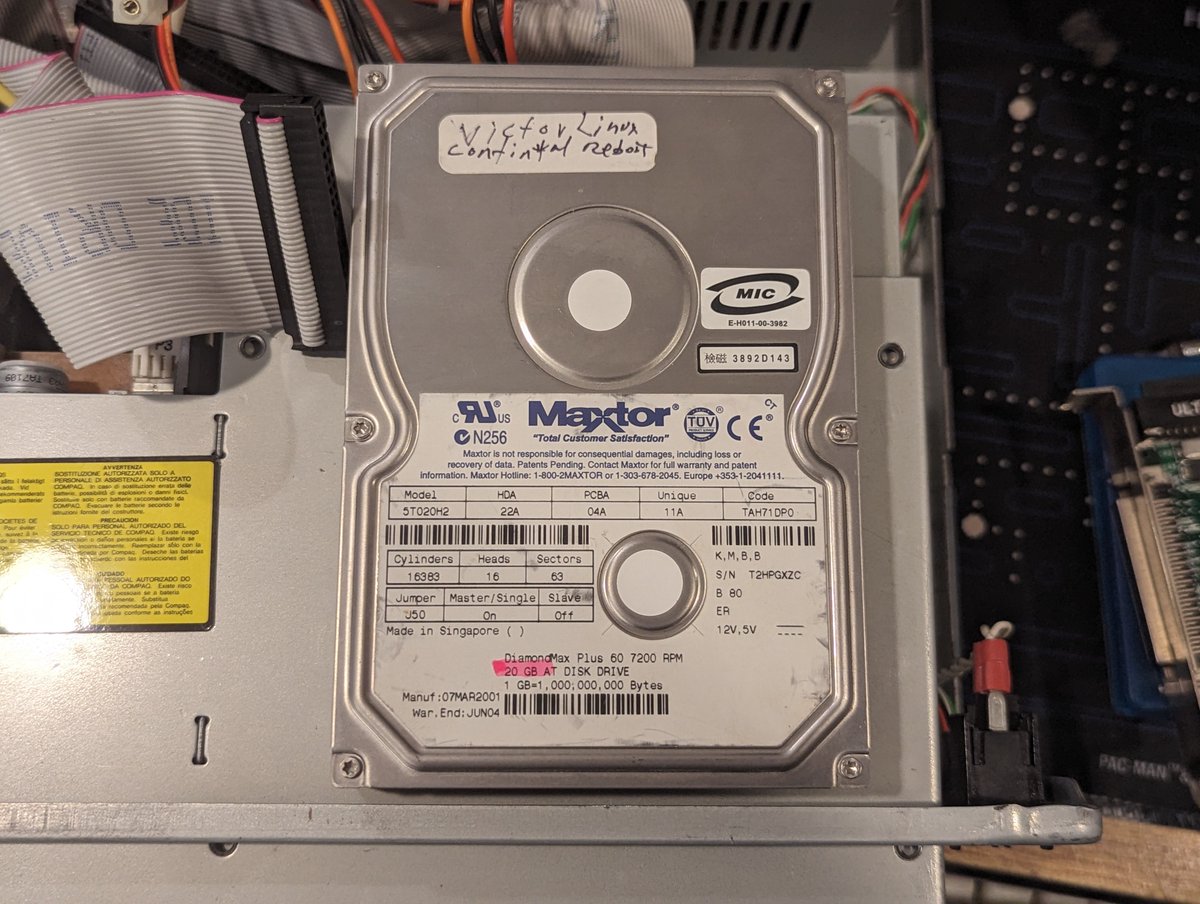
For the curious, here is the HDD I added. It's a 20GB Maxtor. Image
Here's a look at the back of the case, as well as one of the "sliders" you use to take the case off! There is one on each side.
Image
Image
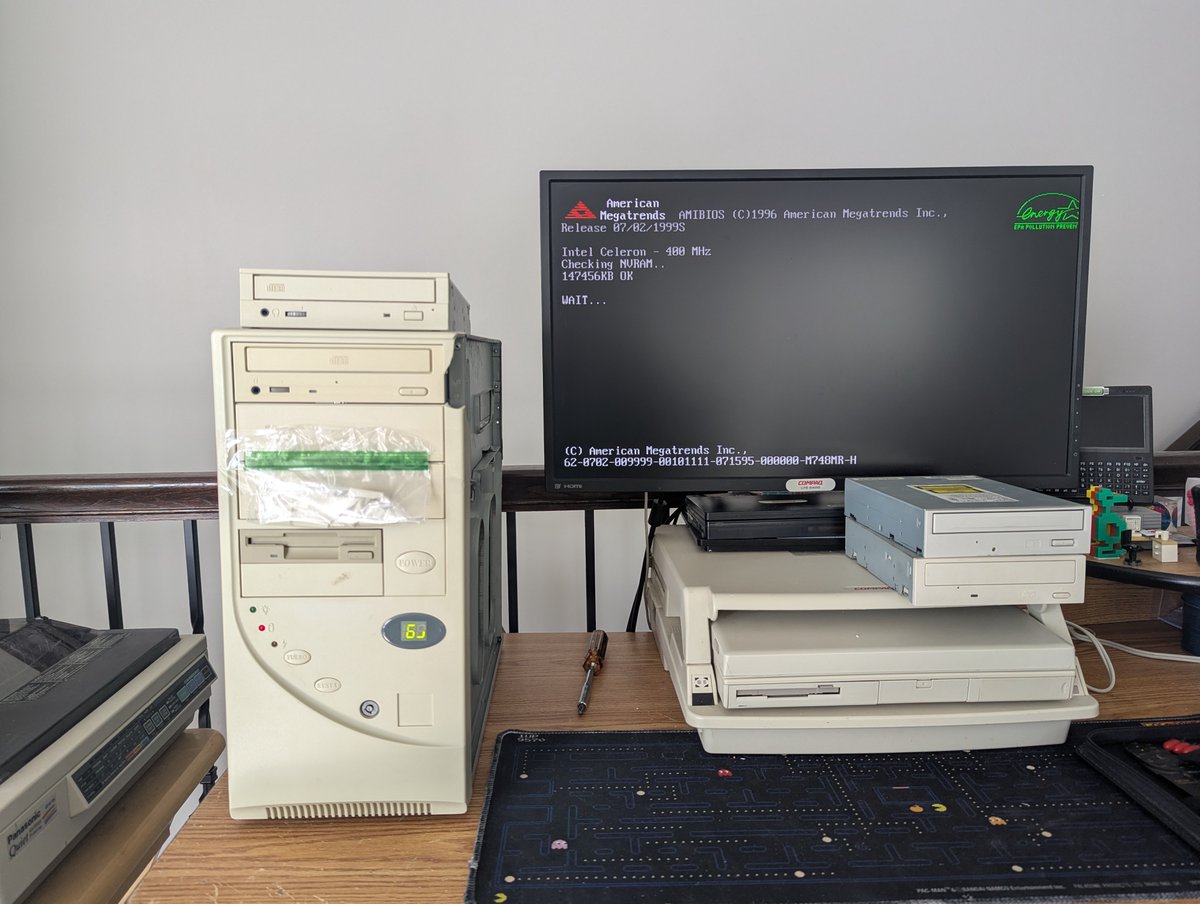
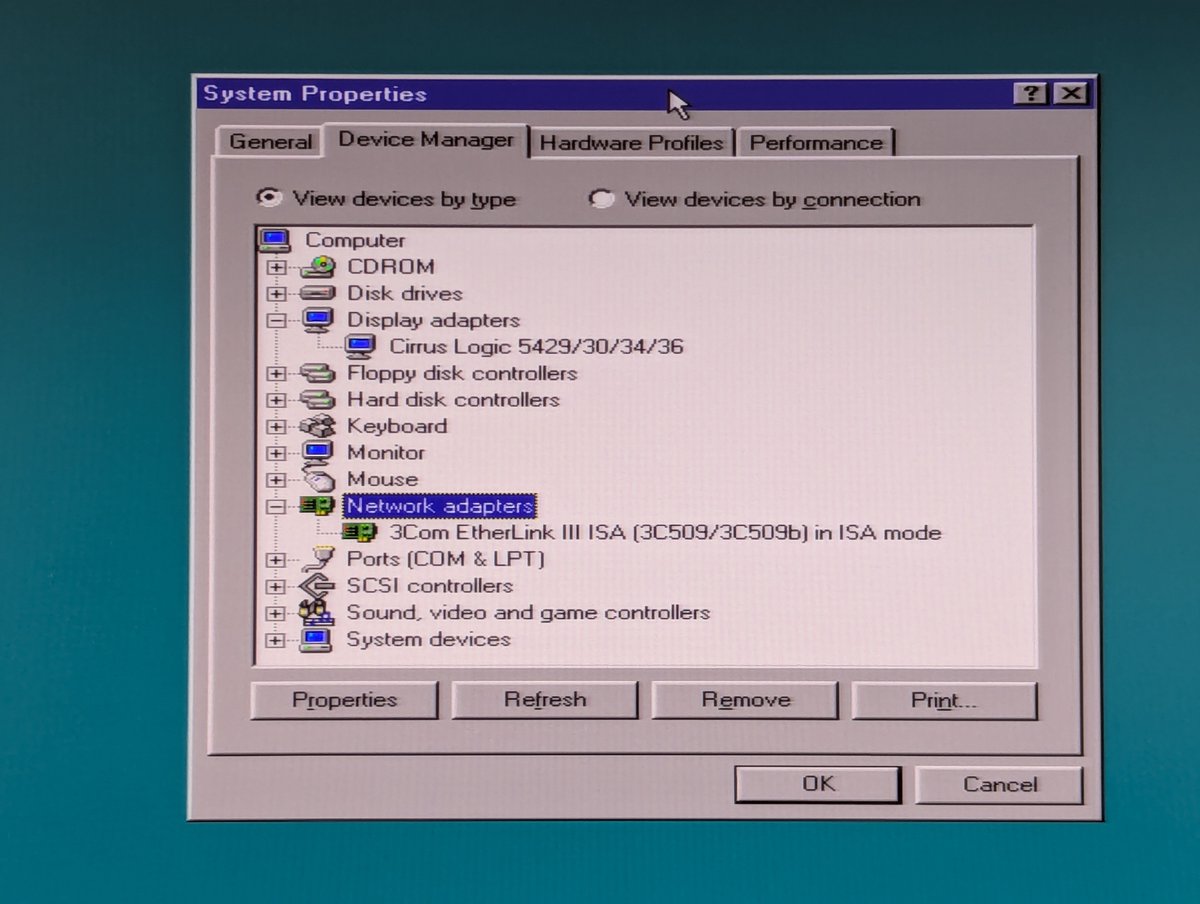
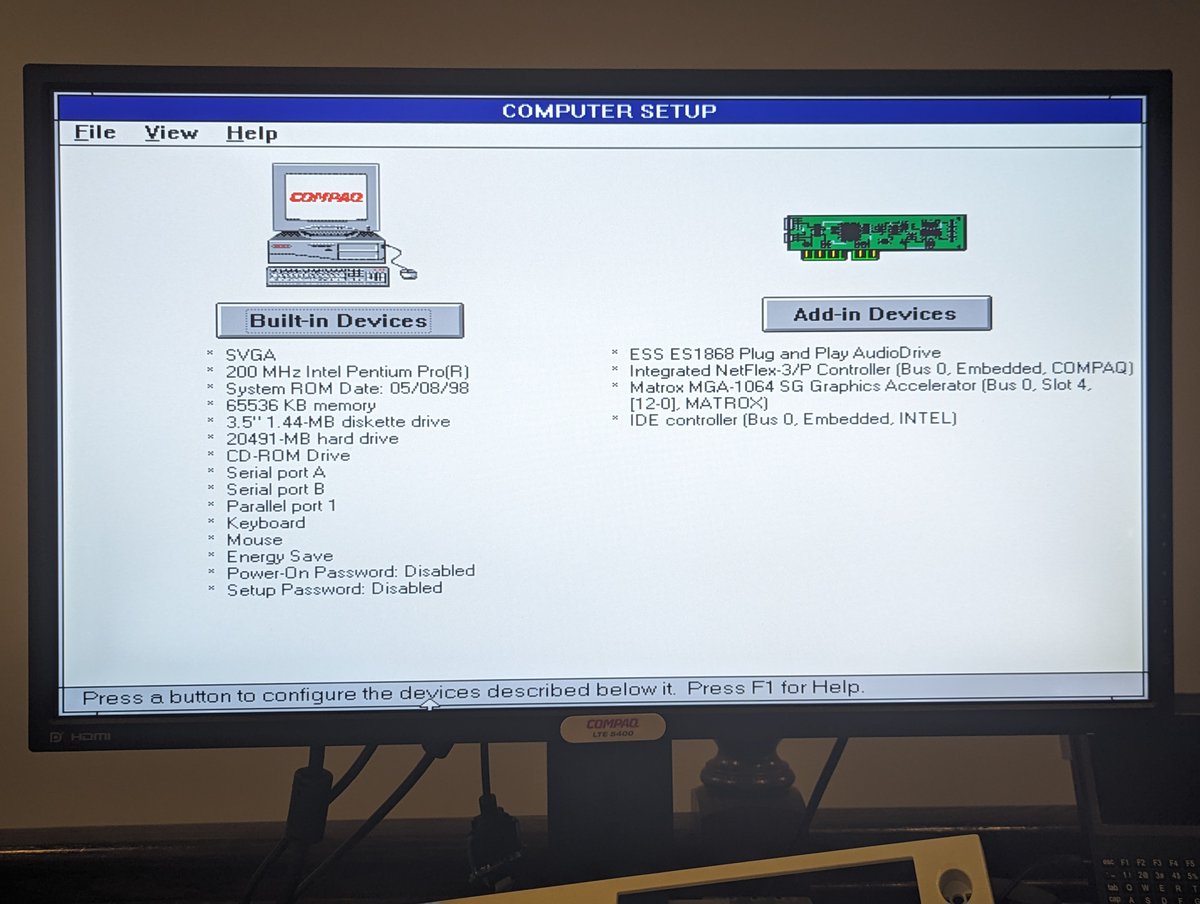
When I added the Maxtor drive, the BIOS picked up the change! Image
That said, I did have an issue. The BIOS version installed didn't support BIOS HDDs over 8GB. So I used the Internet Archive to figure out which ROMPaq I needed and pulled the file from the Compaq FTP site archive that I have! From there I made a disk using an LTE 5300.


Image
Image
Image
Image
Flashing the BIOS was a cinch. Now we are up to date!


Image
Image
Image
Image
From there, I also installed a Diagnostics Partition on the hard drive. This allows the setup program to be on the hard drive as well for ease of configuration.

Image
Image
Image
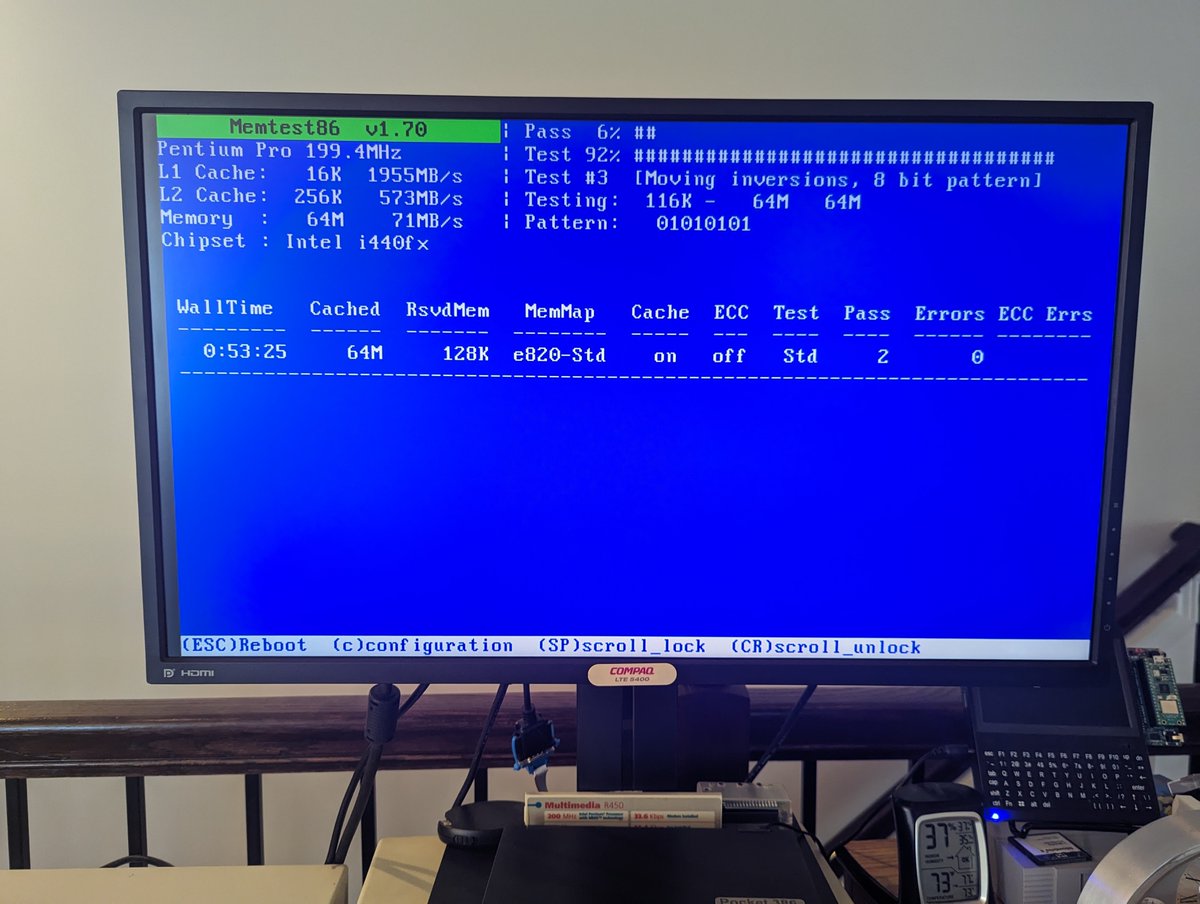
And finally, I ran MemTest, and it passed! And with that, we are all set. I am going to leave this machine as a "blank canvas" for @robivy64 who is going to have some fun with it. Thanks for following along! Image
@robivy64 @threadreaderapp unroll

• • •

Missing some Tweet in this thread? You can try to force a refresh
 

Keep Current with RetroTech Chris

RetroTech Chris Profile picture

Stay in touch and get notified when new unrolls are available from this author!

Read all threads

This Thread may be Removed Anytime!

PDF

Twitter may remove this content at anytime! Save it as PDF for later use!

Try unrolling a thread yourself!

how to unroll video
  1. Follow @ThreadReaderApp to mention us!

  2. From a Twitter thread mention us with a keyword "unroll"
@threadreaderapp unroll

Practice here first or read more on our help page!

More from @RetroTechChris

May 2
I picked up this $5 USB to Parallel adapter at the System Source Swap Meet. I thought it would be cool to print to my HP LaserJet 5L from a modern computer! Let's talk about it briefly in a 🧵 here! Image
Image
So, here it is unboxed. Looks to be a decent length cable. Great! Image
Getting connected up is pretty straight forward. I'll use the HP Universal PCL5 driver and we'll set the port to be the detected "virtual USB printer port" Image
Image
Read 4 tweets
May 2
I picked up a $5 SCSI CD-ROM drive (or two!) at the System Source Swap Meet in hopes of "righting" a "wrong" on this PC. Let's talk about it in a 🧵 here! Image
Image
So, first, for those who didn't see it, here's everything I picked up at the swap meet. You can see the two CD-ROM drives I grabbed in the middle of the picture!
Now let's talk about the issue. The CD-ROM in the top of this PC is in poor cosmetic shape. It's a result of a retr0brite gone wrong that we talked about here: Image
Read 9 tweets
Apr 30
I bought this $20 PC at the System Source Swap Meet since I really wanted an Enlight ATX case! I didn't inspect it close enough, and thus didn't realize at the time I was buying a project 😅. But I think it worked out in the end. Let's talk about it in a 🧵 here! Image
Image
Image
So, as you saw from the initial picture, this thing has seen the elements. As I look inside, I also see leaves and other debris. Makes me wonder if this was stored in a shed or something of the sort. Image
I took some time to strip out the components and clean the case up a bit. Okay, this is an improvement. Just don't look at the bottom 😂 Image
Image
Image
Read 29 tweets
Apr 28
I picked up a "new old stock" ATX case at the swap meet today. I moved my ITX Llama motherboard over to it. Time for a quick 🧵! Image
Here's the back and inside of the case, and some included hardware. Look at that nice diagram that shows you where to use all of the screws and parts. Nice! Image
Image
Image
Image
Here's the box for it! I'll probably be keeping this. Maybe I will store the computer in this box when not in use, who knows! Image
Image
Read 9 tweets
Apr 28
I picked up the 386SX/16 system and the Dell NetPlex 486DX2/50 systems you see here (I didn't pick up the machine on top of them). Let's have a VERY QUICK look at them in a 🧵 here!
So, first, the 386SX/16. It powers right up, and has a VERY OLD Award BIOS. This BIOS version doesn't even support custom HDD params. It appears that the Western Digital drive inside is dead. But hey, it powers up, so that is good, right? RIGHT! Image
Image
Image
And next we have the Dell Netflex 4/50p. It's a little rough.. and very dirty. Its power supply is dead, but with some creativity, we got it to power up and boot! Image
Image
Image
Image
Read 4 tweets
Apr 27
I decided to build a retr0brite tub and try out a "test" project. It seemingly went pretty well. Let's talk about it in a 🧵 here! Image
Image
Image
Assembling the tub wasn't too hard. I used aluminum foil and spray adhesive to adhere it to the tub, or to adhere it to other pieces of aluminum foil. Shiny side out! After that, running the UV lights was easy since they had a sticky backing to them. Just plan ahead a bit 😂 Image
Image
Image
Now, word of caution with the spray adhesive: this stuff is really bad for your health. So, if you are doing this indoors, open a window or two. I also monitored air quality during the retr0brite process, and I feel like C02 levels went up in the house. As always, be careful. Image
Image
Read 8 tweets

Did Thread Reader help you today?

Support us! We are indie developers!


This site is made by just two indie developers on a laptop doing marketing, support and development! Read more about the story.

Become a Premium Member ($3/month or $30/year) and get exclusive features!

Become Premium

Don't want to be a Premium member but still want to support us?

Make a small donation by buying us coffee ($5) or help with server cost ($10)

Donate via Paypal

Or Donate anonymously using crypto!

Ethereum

0xfe58350B80634f60Fa6Dc149a72b4DFbc17D341E copy

Bitcoin

3ATGMxNzCUFzxpMCHL5sWSt4DVtS8UqXpi copy

Thank you for your support!

Follow Us!

:(