Okay, it's finally time to talk about the latest chapter of my Bernoulli 20MB adventures. Fortunately, we have some good news! I'll be building a 🧵 here as we go, so let's get to it! 

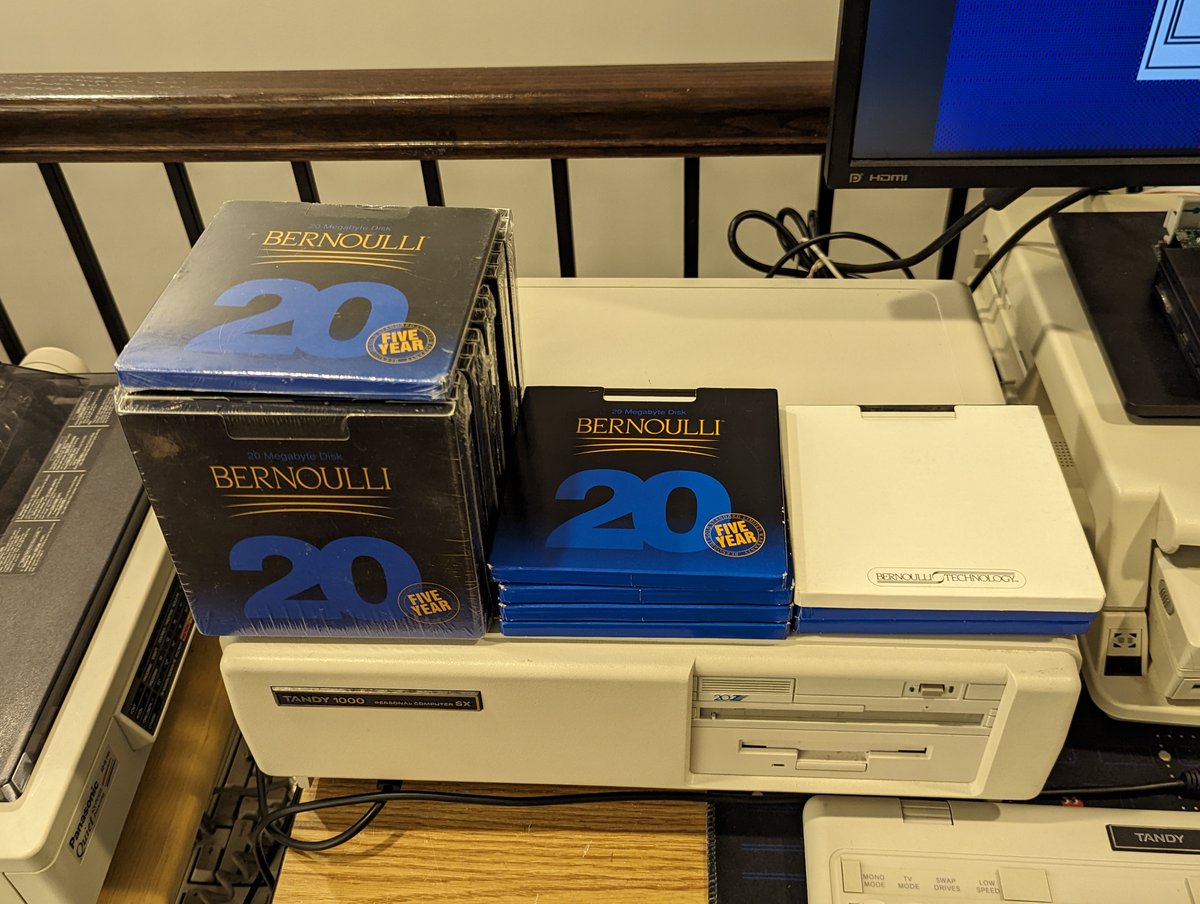
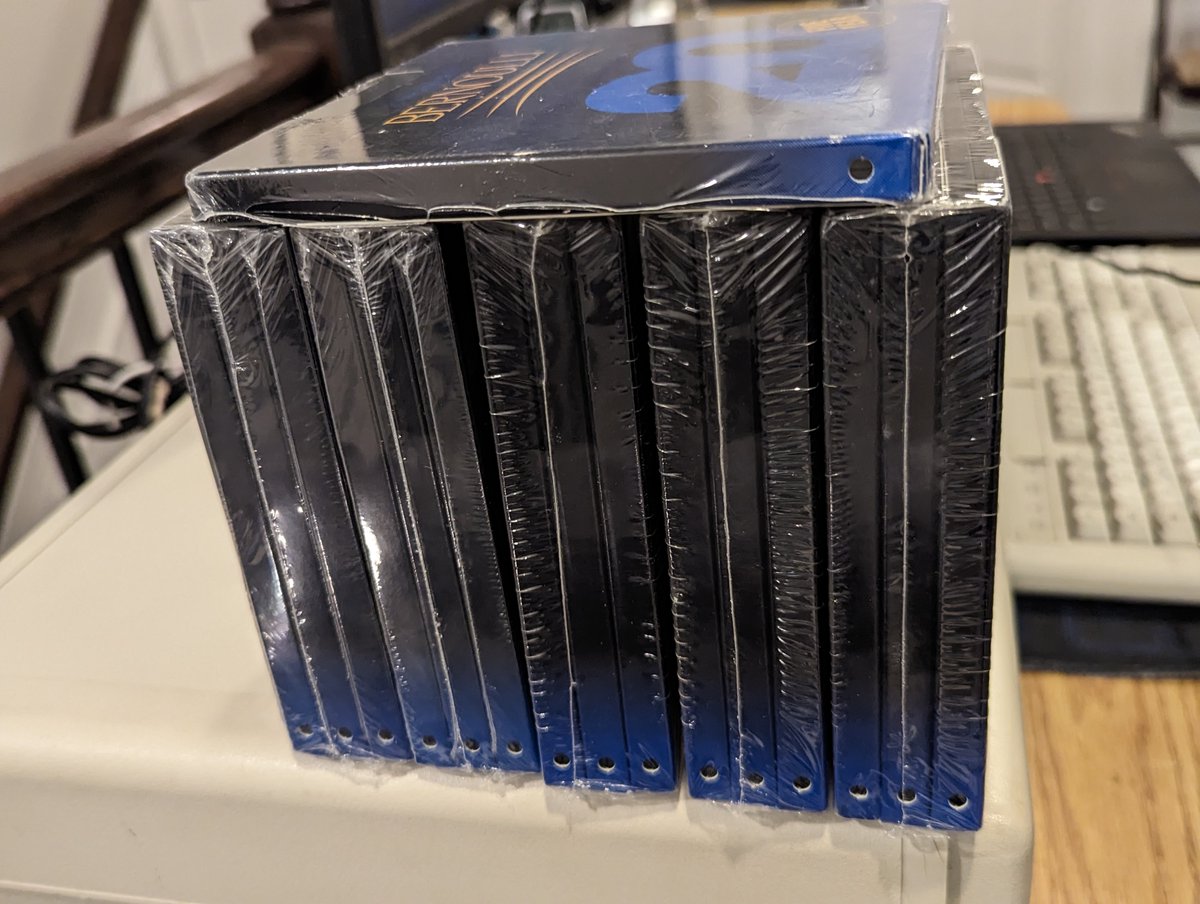
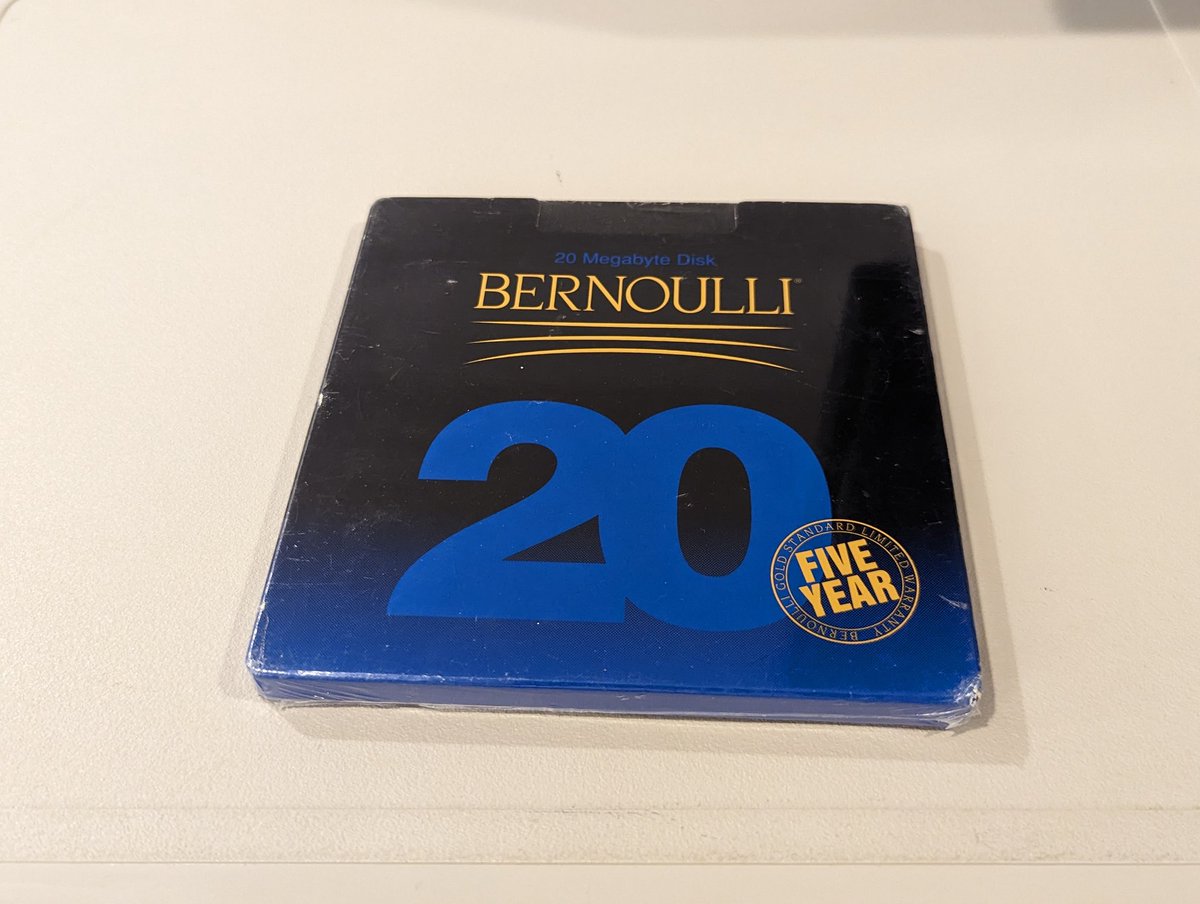
Before we get into it, in case you haven't seen what a Bernoulli disk looks like, here we have one! We have the "sleeve" for storage, and then we have the front & back of a disk! And, as you see, we have a few disks.. I went form not being able to find them, to having a bunch!


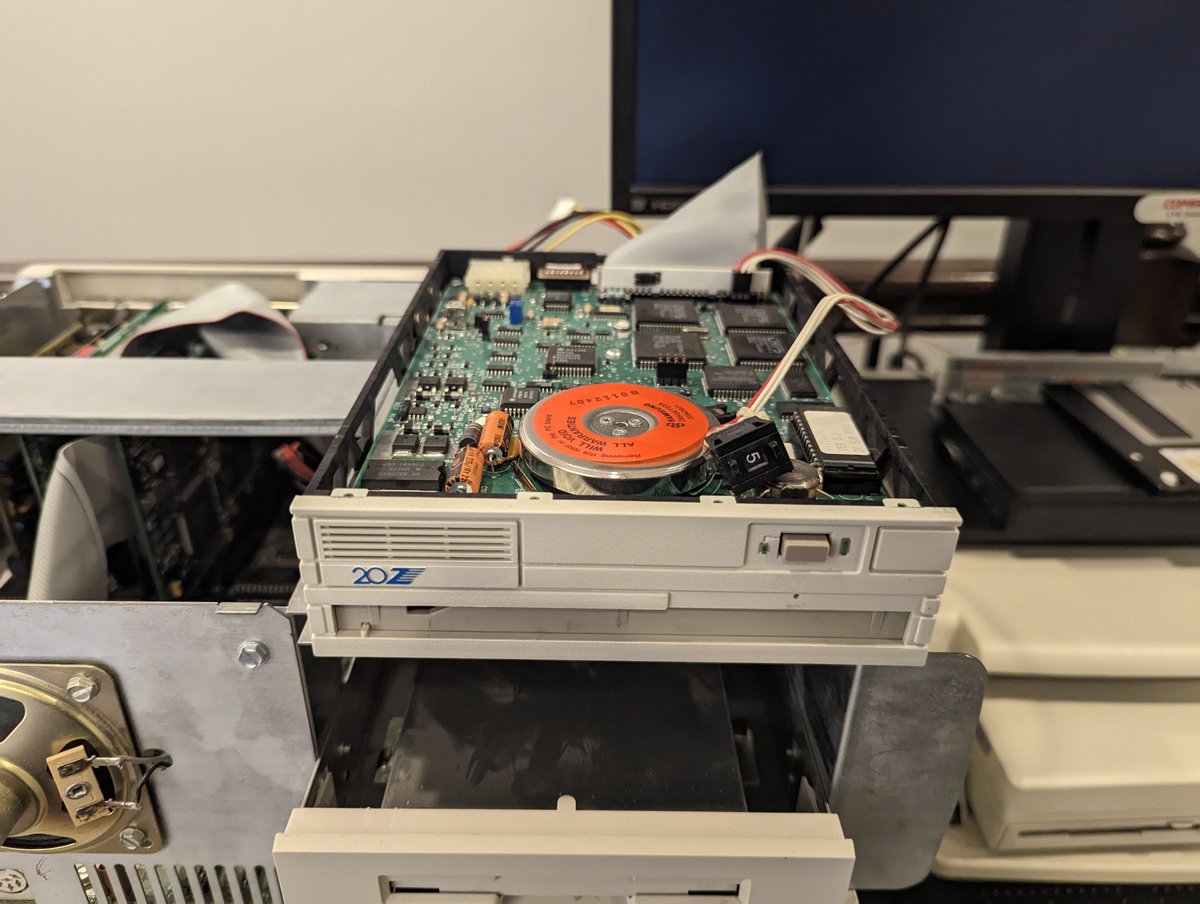
So, first of all, I suspected that I MIGHT have a bad drive. As such, I found this Bernoulli Beta 20Z drive for sale on eBay, and I picked it up! It got here on Tuesday. I actually asked the seller to lower the base price, and the seller did!

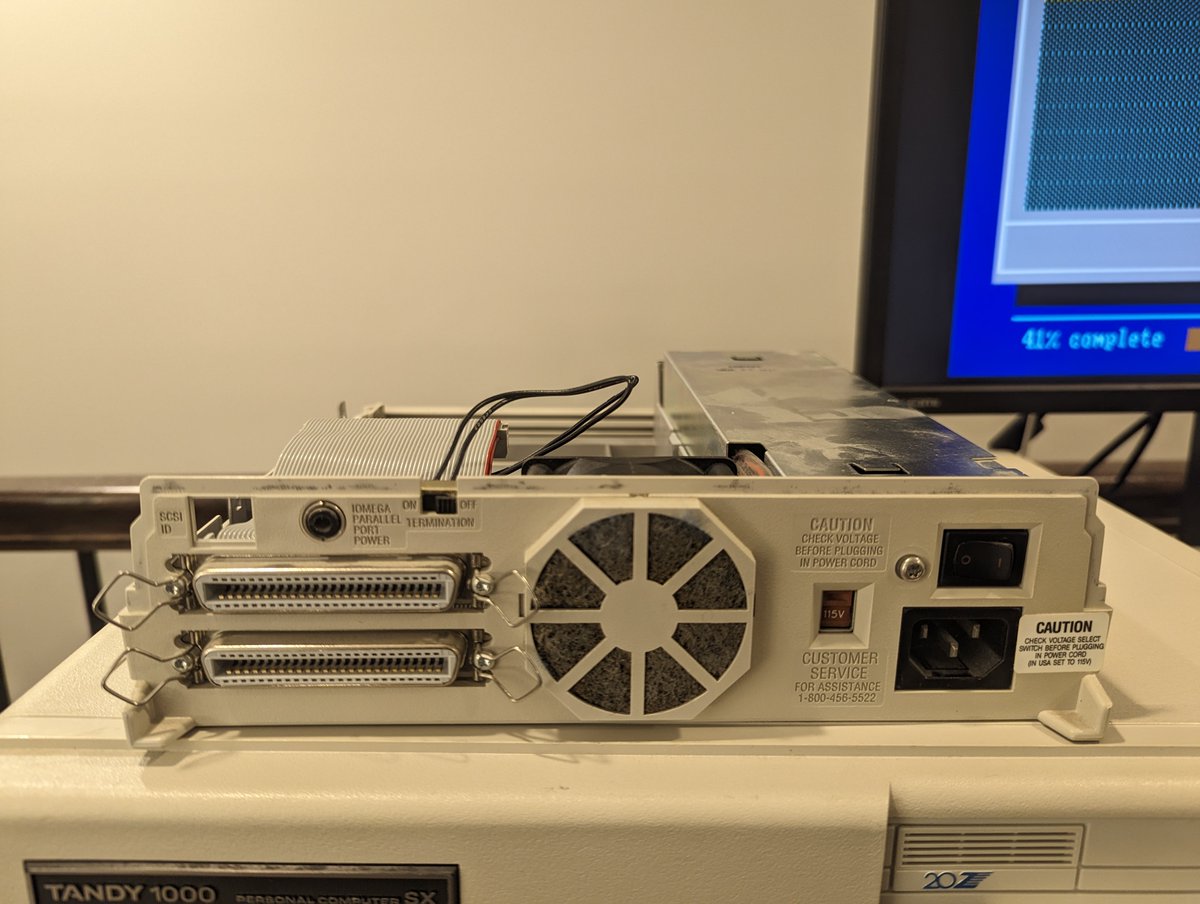
When the drive got here, I realized that I didn't have any SCSI cables that would work. As such, I took the enclosure apart and removed the drive so that I could install it in the Tandy 1000 SX!


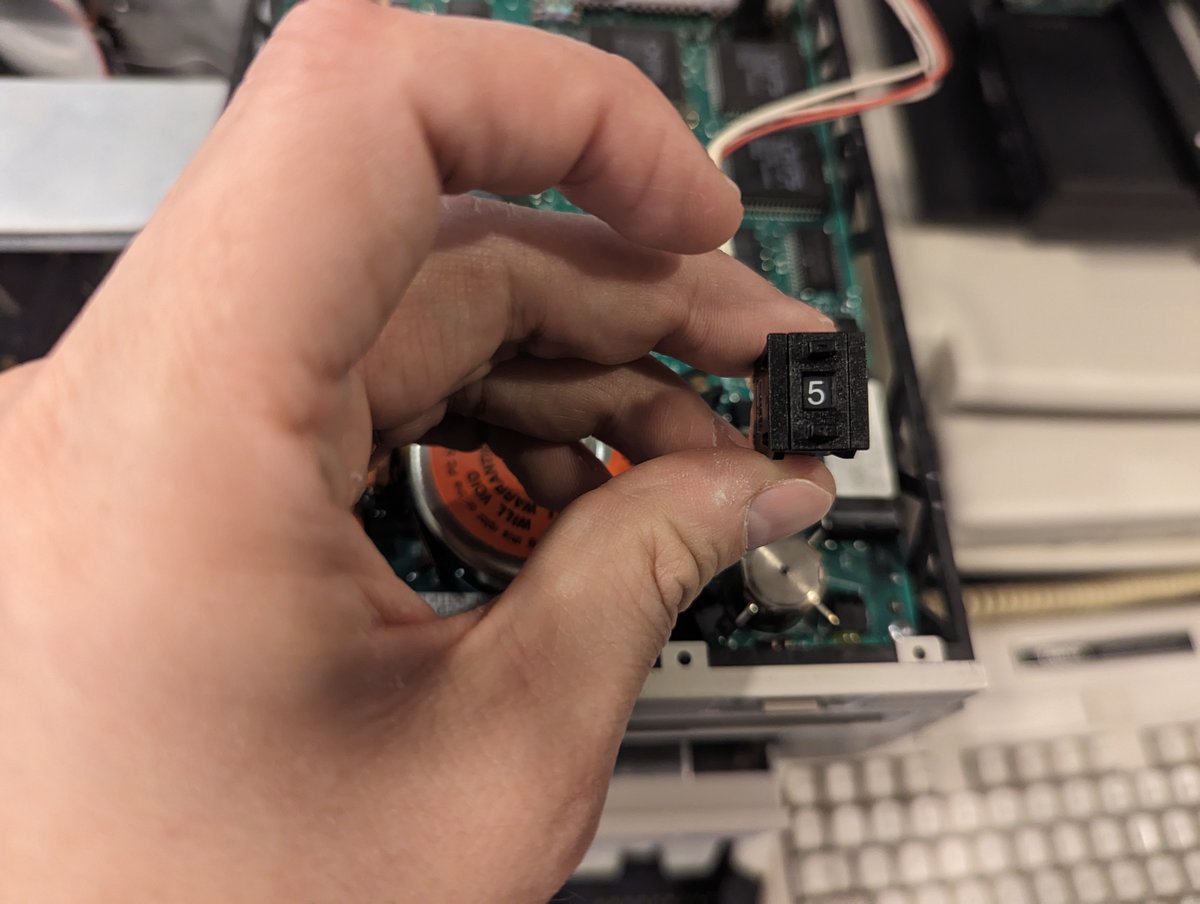
Being an external drive, there is actually a SCSI selector that connects to a "jumper" block. It does count up in binary (001, 010, 011, etc.). Basically the top 3 pins are the binary value of the ID (in reverse), and the bottom center pin always has continuity!

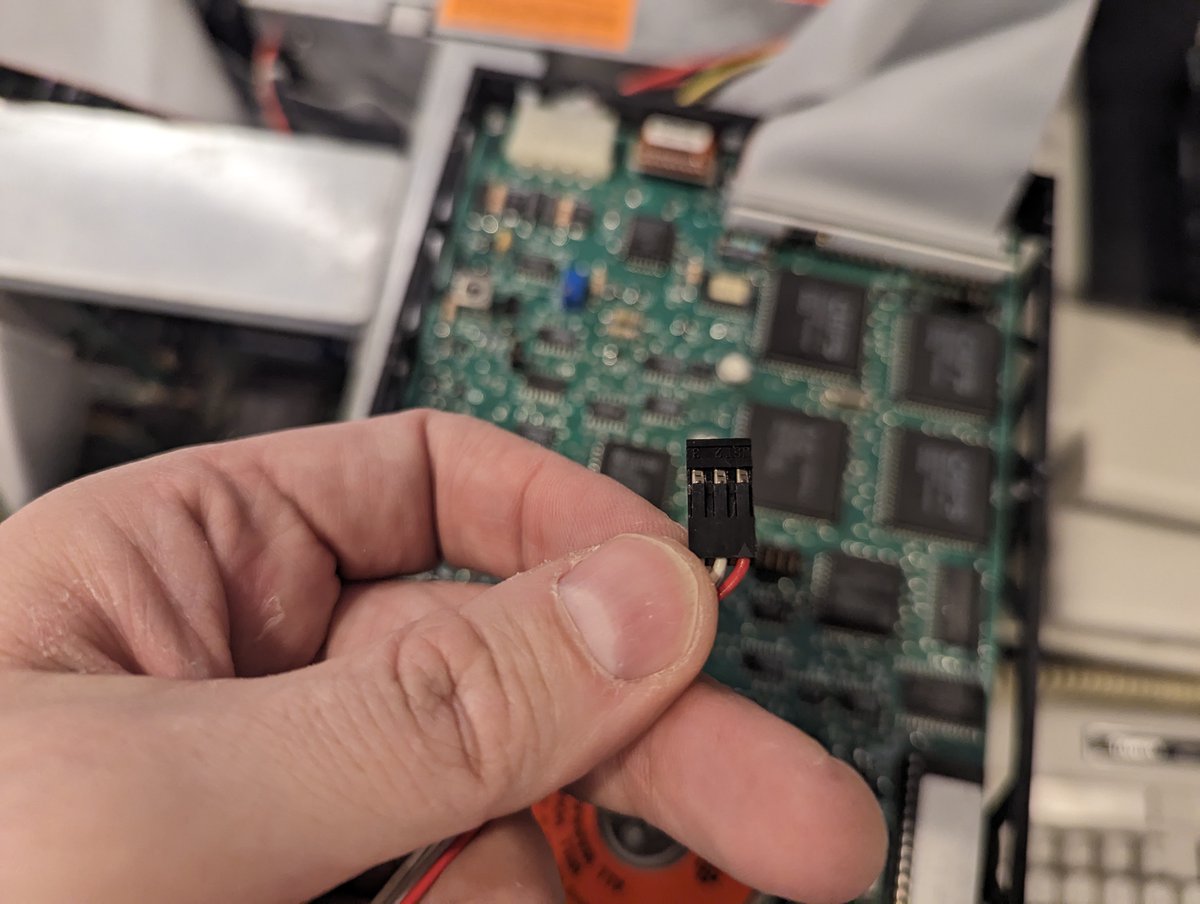

I did some testing on the drive, of course taking a picture of the connectors before removing it from the enclosure (yea, we are a little out of chronological order on the thread 😂). And it WORKED! More on that in a minute.

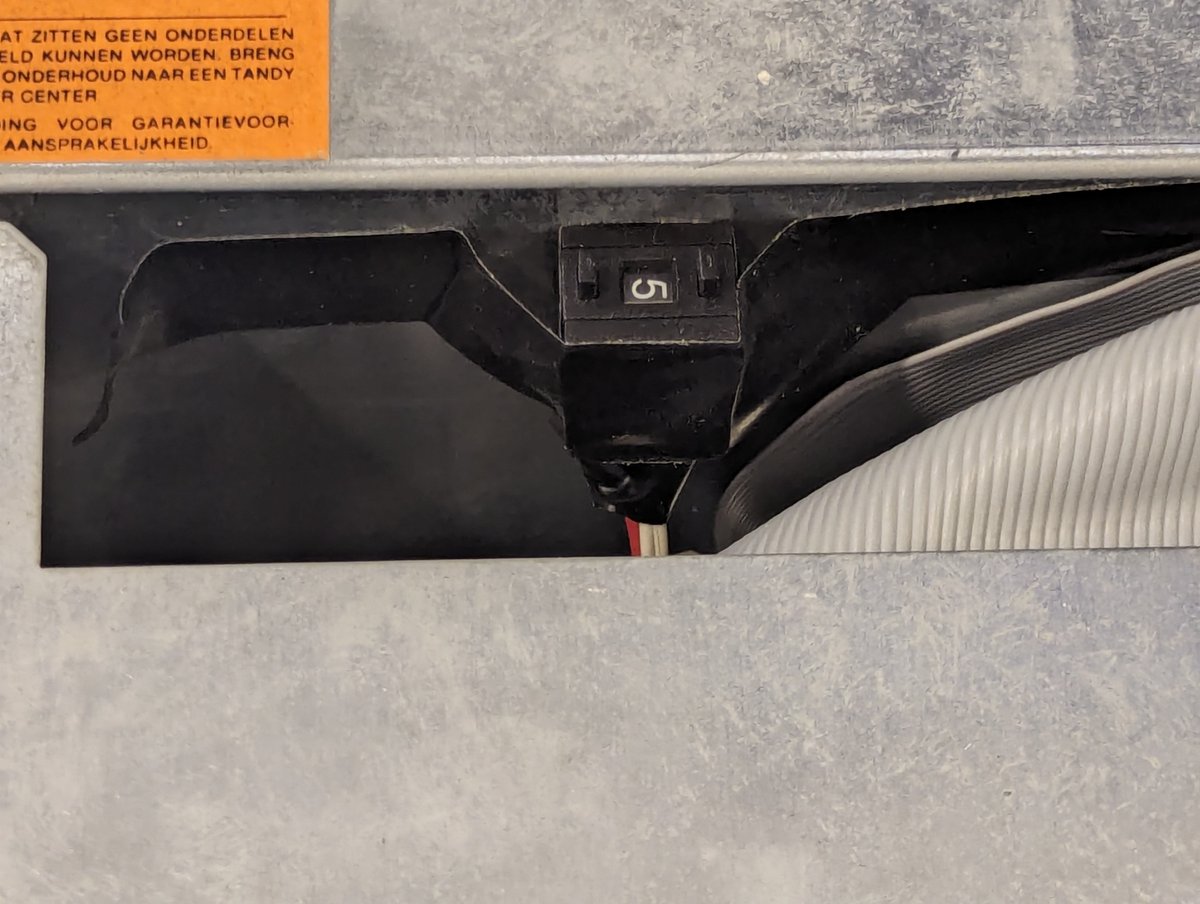
Since the drive worked, I went ahead and put it in the Tandy, and put the "old" Beta20I drive into the enclosure for safe keeping. Since the jumper block has that "binary" configuration, I went ahead and just taped the SCSI ID selector inside the Tandy 😂

On boot, we can see the Beta20Z drive is detected! What's the difference between this Beta20Z & the Beta20I drive? Maybe one was intended to be internal and the other external? No idea, documentation is really SCARCE! But it is nice to see the drivers detect it properly!

So, now, I started to REALLY explore a bit. I took an existing disk that I had run Scandisk on, and decided to take my chances using the Iomega SCSIUTIL and format it. And it worked!!


So, then I decided to run Scandisk again. And the bad blocks disappeared. Wait... what?? Okay, time to REALLY dig in and learn about this.

Some of you might have speculated what happened here: the Bernoulli disks have reserved tracks. And when we do a long format and verify, if there are enough spare blocks to take place of the bad blocks, they get replaced!


By the way, those screenshots about the bad block replacement process were taken from this manual about a 10MB 8 inch (Alpha) drive. Documentation is super scarce, I never found a similar manual for my 20MB 5 inch (Beta) drive. bitsavers.org/pdf/iomega/007…
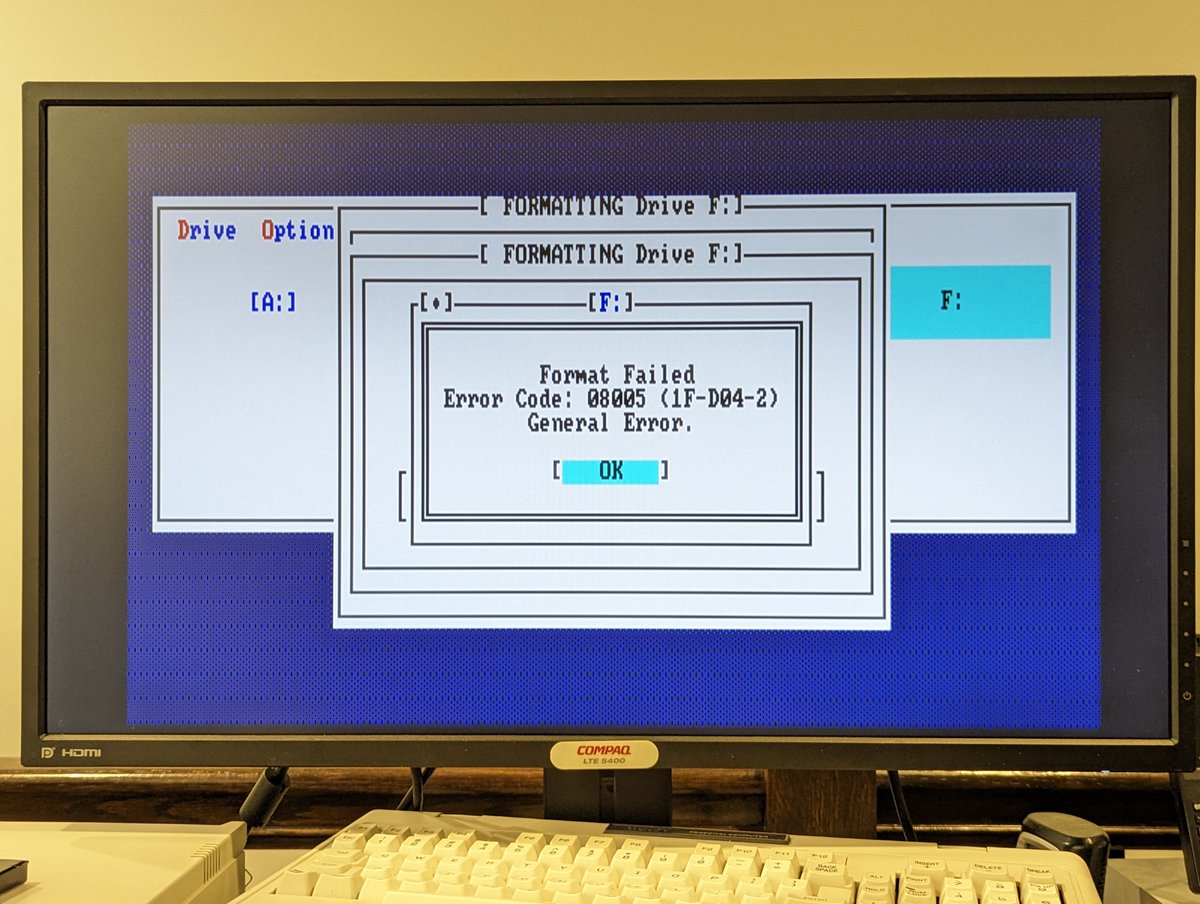
So taking this into account, I have a few disks that are giving format "failures." Per what we learned above from the technical guide, these disks must have too many bad blocks sadly.
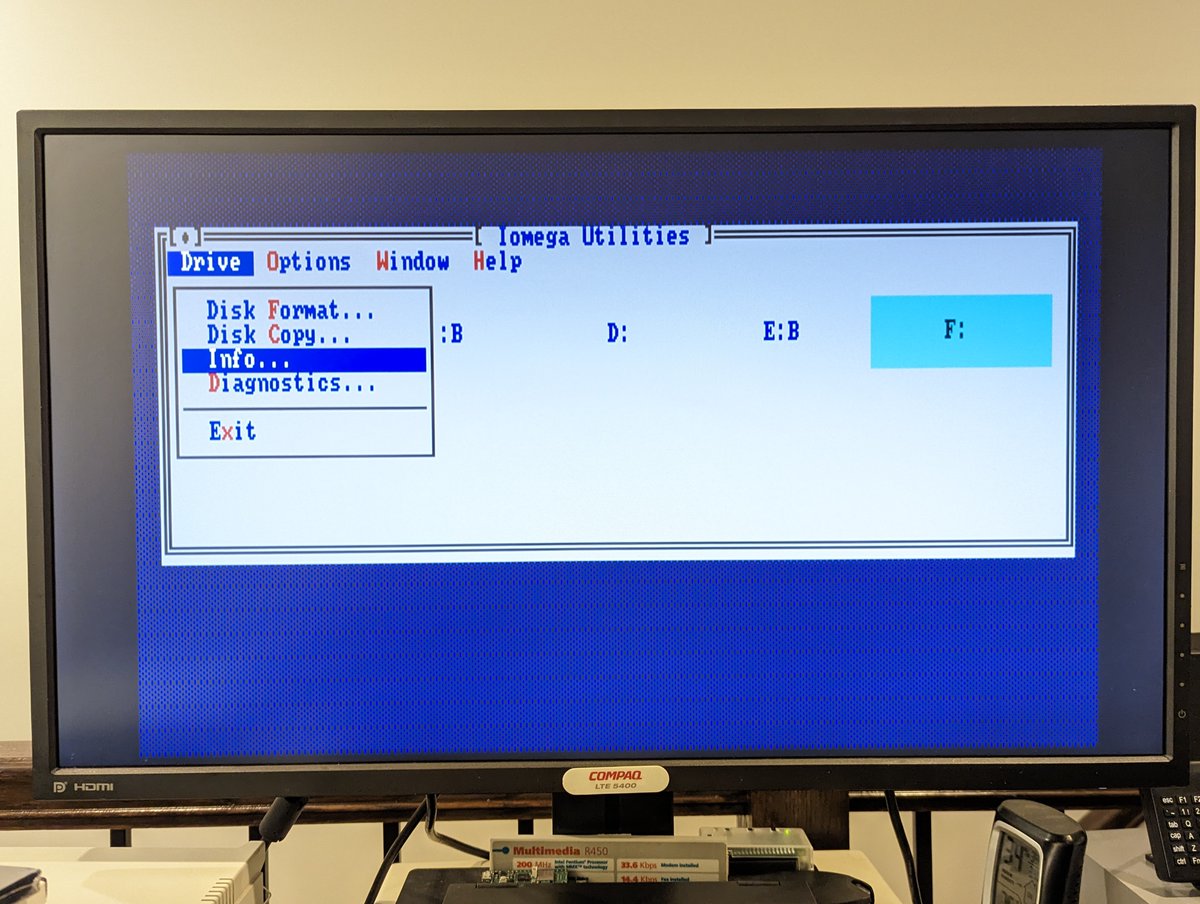
Something cool that you can do in the Iomega SCSIUTIL is see details about the disk, including disk life, Julian date of disk, etc. And.. .oh man, the first one I chose has a REALLY poor disk life. I chose another disk and it is much better!


So, the next question is: how many good and bad disks do we have? Of the ones I have tested, I have three bad disks (far right). Four disks are good (center), and the rest are untested (left, and second picture).
And since we are here, let's unwrap another disk and test it together. I'll run Scandisk, then we will format it, and we will go from there! See you in a few minutes 😅
Actually, I had a thought: let's get the disk info first. So, here it is! Looks like this disk was made in 1993, that's a newer disk! Disk life is 100%. Let's see if that changes in a bit.


Scandisk is running, and we have made it to the surface scan. Could this end up being my first error-free Bernoulli disk? Somehow I doubt it! 😂

Hahaha, no freaking way!! This is the first disk that has had zero bad blocks. Wow! It makes me want to try another, but I think I have unsealed enough disks already

Well, folks, with that, I am going to quit while I am ahead 😂. Thanks as always for following along, I am very glad that this story has a happy ending! And maybe for a future task, we will try to see if we can fix the bad disks, if it is even possible.
@threadreaderapp unroll
@threadreaderapp unroll

• • •
Missing some Tweet in this thread? You can try to
force a refresh