RetroTech Chris Profile picture
Jun 4, 2024 19 tweets 11 min read Read on X
Another successful operating system install on the IBM PS/2 Model 70 386 (with 486 upgrade and 16MB RAM). This time, it's Slackware 4.0. It's installed, networked, and we even have the graphical X server running! Let's talk about what it took in a 🧵 here.
Image
Image
So, basically what I decided to do is to use ZipSlack, which is a version of Slackware that you can just unzip to a system with a FAT16 or FAT32 partition! It's available as a folder on the Slackware 4.0 ISO, available here: slackware.cs.utah.edu/pub/slackware/…

Image
Image
Now, as people may recall, this PS/2 is a microchannel system. Fortunately, there is a microchannel kernel called ibmmca.s. I dragged the bzImage file over top of the vmlinuz file in the zipslack\linux folder to get this going! No, it didn't work 100%, more on that in a minute! Image
I then modified linux.bat to boot up our hard drive, which is located at /dev/hdd1. On boot, we basically will change into the C:\linux directory and run linux.bat to launch Slackware! Image
At this point, I got a little lazy 😂. I didn't want to do all of the install and configuration directly on the PS/2, so I fired up a VM and copied the linux directory into it. It sure boots up nice and fast!
Image
Image
The ZipSlack install doesn't include Samba or an X server, and I wanted both. So I copied files from the Slackware ISO to the directory as well. The README told me just what I needed to do for the X server setup!

Image
Image
Image
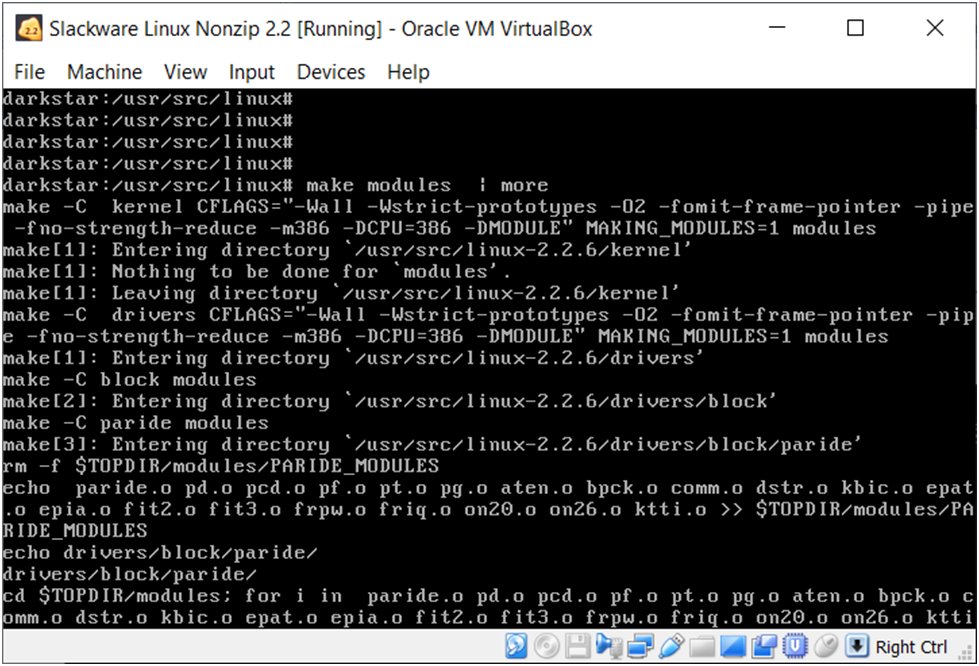
So, next up, I actually created another VM and did a full Slackware install. Why? Well, I wanted to build drivers for my IBM LAN Adapter/A and also needed to build a new kernel. The Ardent Tool page had a link to some source that I was able to easily adopt to the 2.2.6 kernel
Image
Image
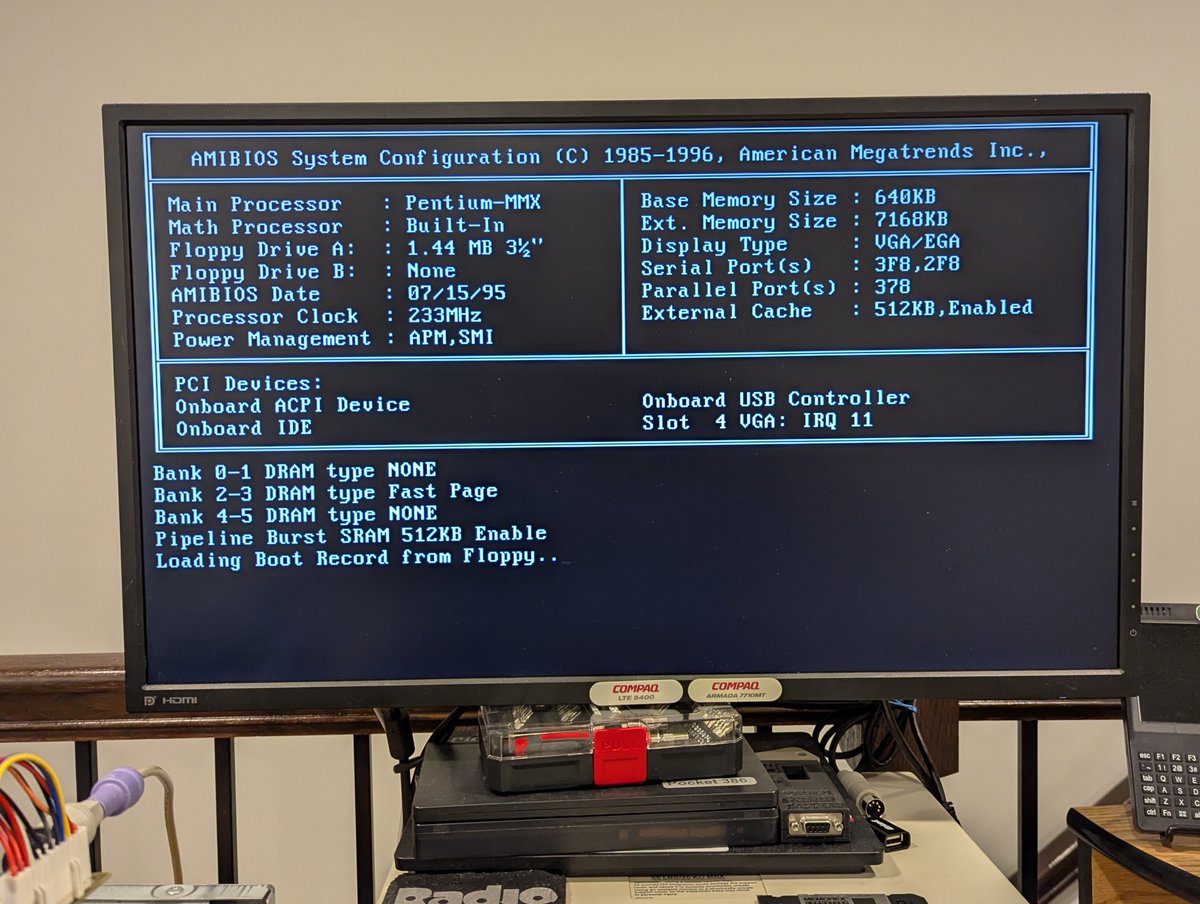
Before building the kernel, I ran "make menuconfig" and disabled SCSI support. I learned that booting up the stock MCA kernel on the PS/2 would result in a lockup, and since I am using IDE, I just decided to remove it altogether (lockup shown on the right)
Image
Image
I copied the ibmlana.c and ibmlana.h files to /usr/src/linux/drivers/net, applied the patch file and kicked a build. I had to purge some old .depend files, I'll show the syntax I used below!

cd /usr/src/linux
find . -type f -name .depend | xargs rm
make bzImage modules

Image
Image
Image
Some of the modules didn't build, but we got enough of what we needed! I copied ibmlana.o to the /lib/modules directory. At this point, it was time to copy everything to a CF card and prepare to boot the machine!
Image
Image
And here we are, all booted up! We can see in the output that an MCA kernel was detected (I copied the bzImage file we built above over top of the existing vmlinuz file), and we are ready to login!
Image
Image
One of the first things I wanted to do is configure the network. The ZipSlack README.1st gives some good details on what to do. Image
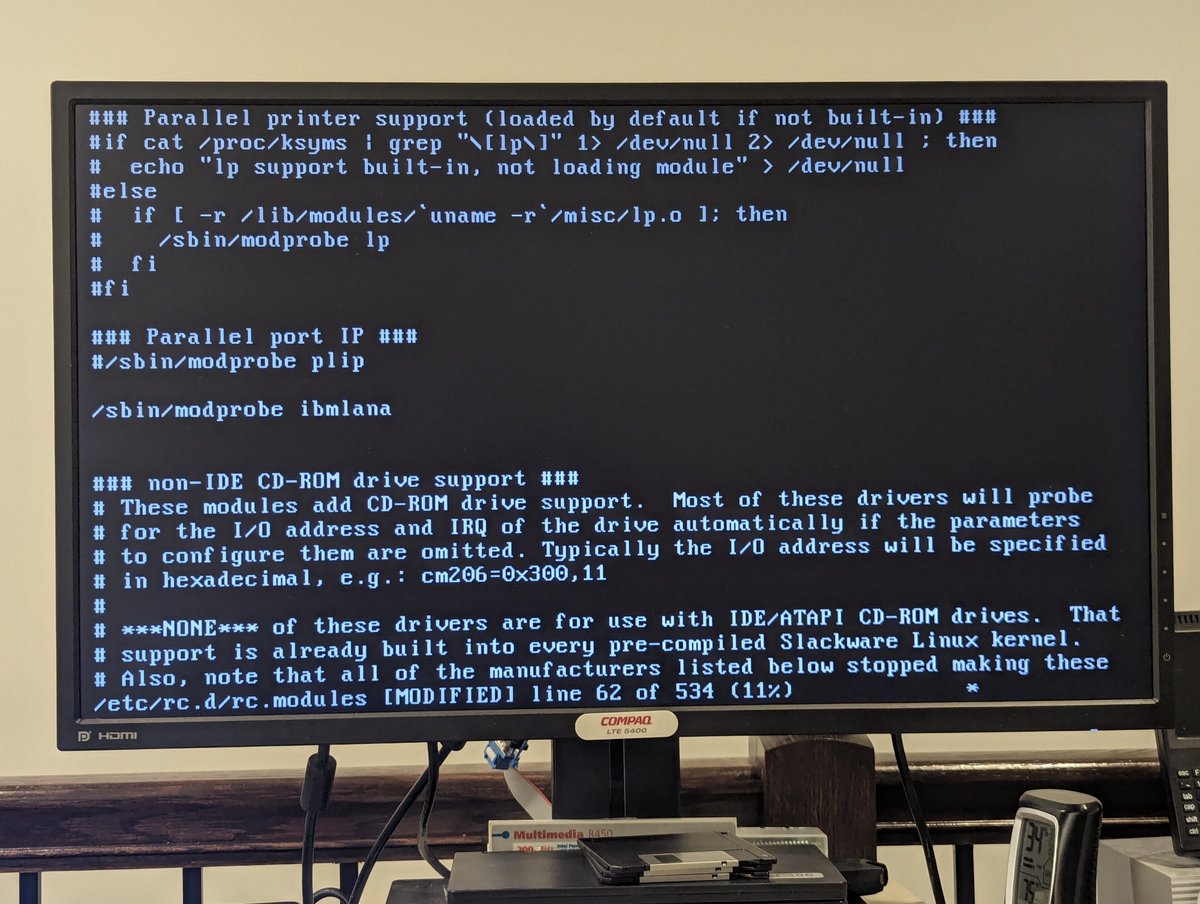
However, before we run it, I did want to get that IBM LAN Adapter/A driver in place. To do that, I modified /etc/rc.d/rc.modules and added a modprobe line. From there I just ran "modprobe ibmlana" manually, but I could have rebooted to have it load on system boot too! Image
From there, I ran through the netconfig wizard. Here are some screenshots from it, well, part of it! I think it presented like 7 or 8 screens, but you get the idea.


Image
Image
Image
Image
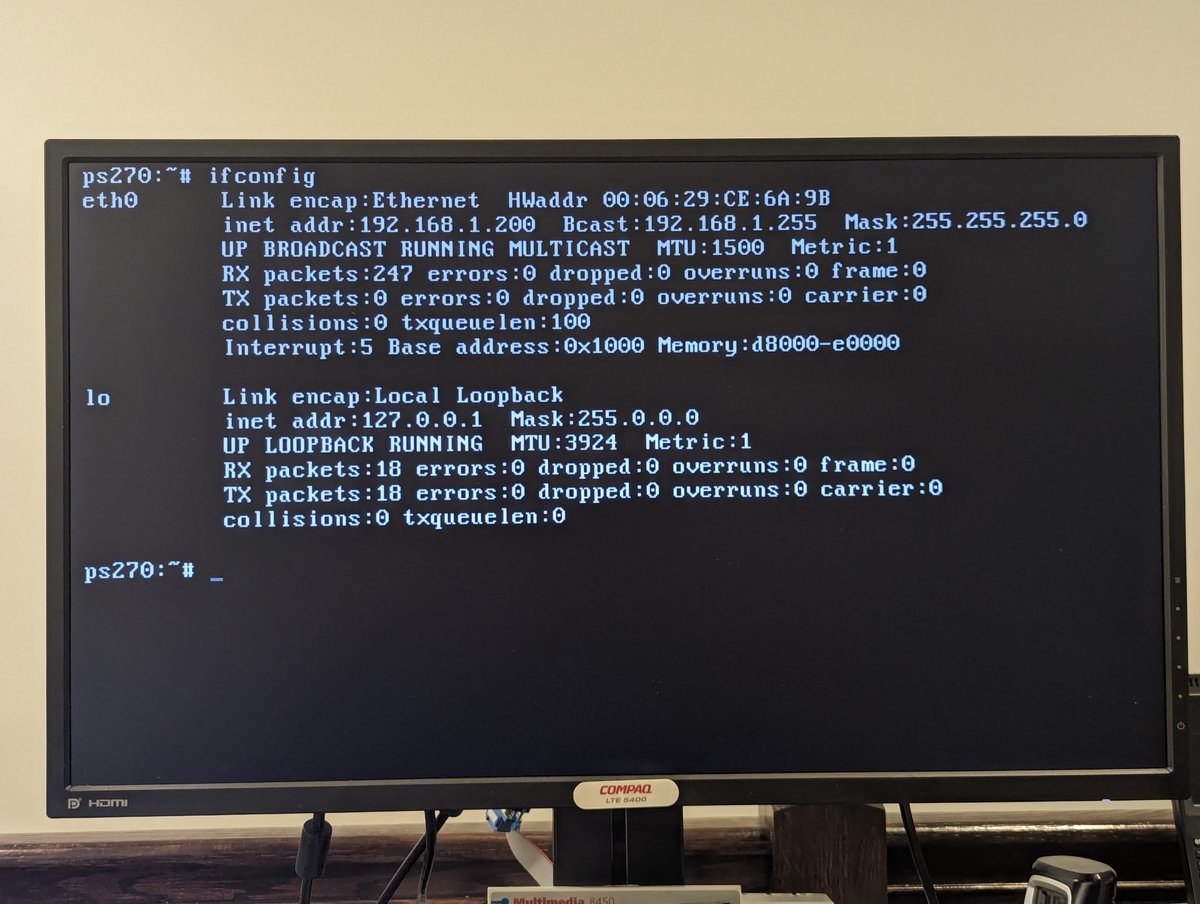
The config utility got MOST things right. I had to go back and manually add a gateway and fix the network address in /etc/rc.d/rc.inet1, but before long, we were all set up and could ping the outside world!

Image
Image
Image
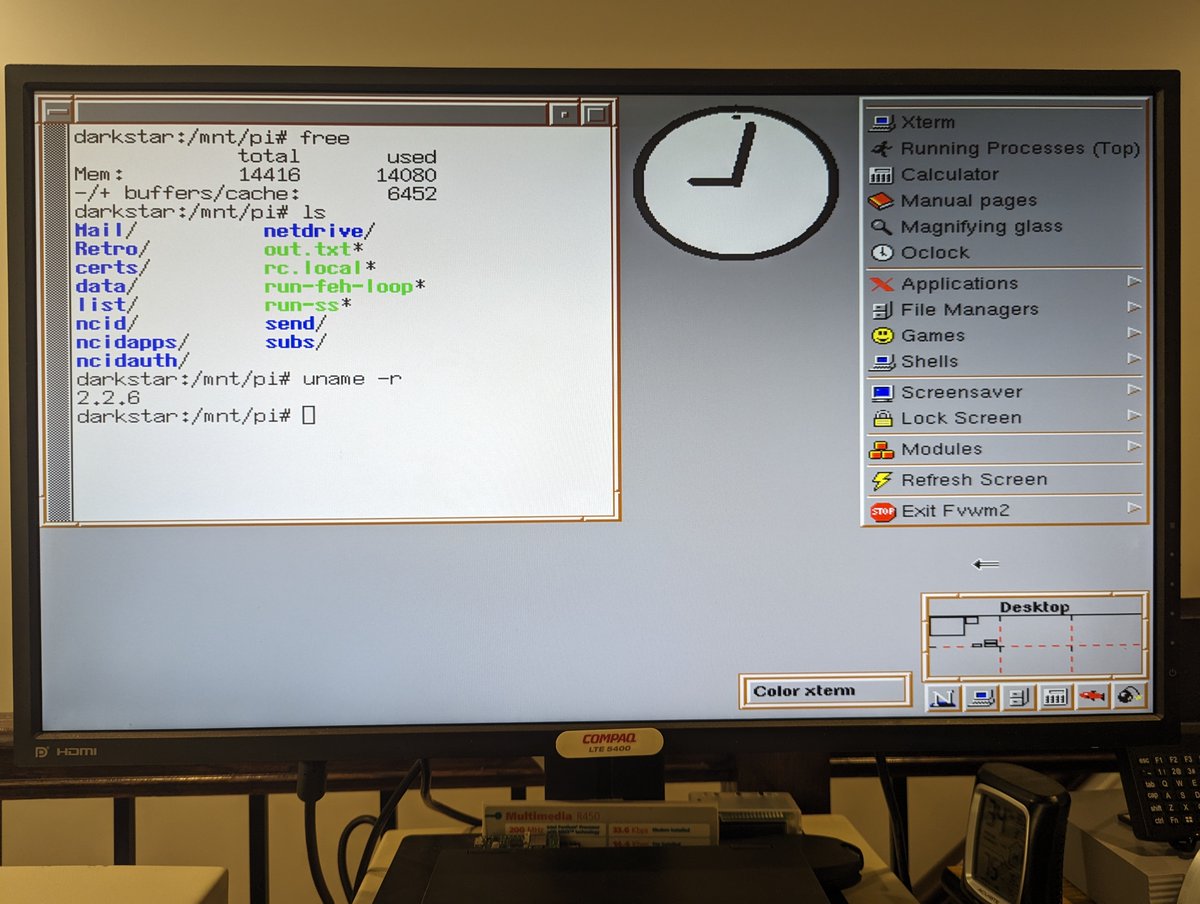
Next up, I configured a connection to my Raspberry Pi file share using Samba. This worked great! I actually had installed Slackware 7.1 previously and was getting failures with Samba, prompting me to try Slackware 4.0. But, yes, we can mount a share using smbmount!
Image
Image
Next up, I configured the X server. As we saw earlier in the readme, this means running "xf86config". Setting up old X servers is always a pain, but once I mucked around with HorizSync, VertRefresh, and configured my Screen for the 16 color VGA server, I was set!
Image
Image
You're still here??? Good! Sorry this is so long. Anyway, I decided to play around a bit with some other things, including running "top" and inspecting the MCA configurations. Great fun! My machine only has 4 slots (one is the ESDI drive), so the rest are all "ff's"
Image
Image
So, yeah, another operating system installed! As noted, I did try Slackware 7.1. I also tried other newer versions, but 4.0 seems to suit this machine well. Thanks for following along, and let me know if any questions!!

@threadreaderapp unroll
Image
Image

• • •

Missing some Tweet in this thread? You can try to force a refresh
 

Keep Current with RetroTech Chris

RetroTech Chris Profile picture

Stay in touch and get notified when new unrolls are available from this author!

Read all threads

This Thread may be Removed Anytime!

PDF

Twitter may remove this content at anytime! Save it as PDF for later use!

Try unrolling a thread yourself!

how to unroll video
  1. Follow @ThreadReaderApp to mention us!

  2. From a Twitter thread mention us with a keyword "unroll"
@threadreaderapp unroll

Practice here first or read more on our help page!

More from @RetroTechChris

Jun 15
Okay, just wrapped another case swap, this time for my 486DX4/100 system. Naturally, I had a few problems to sort out as I went through this. Let's talk about it in a 🧵 here. Image
I ended once swapping from a "new" Macase that I bought recently that was in better shape. Despite being the same model, they are slightly different! One is a little taller and has some other differences. Funny how things that look so similar can be different 😂 Image
Image
Image
Image
Here you can see the inside of the DX4/100. I took a picture of the front panel connections and the order of the cards per usual. This will help with placement in the new case, perhaps 😂 Image
Image
Image
Read 16 tweets
Jun 15
Time to do a case swap for my Pentium 233 MMX. We're going from one Enlight case to another! Here's the end result. I thought this was going to be easier than it was, let's talk about it in, you guessed it, a 🧵 here! Image
Image
Image
So, you might ask: why do a swap? Well, the current case for my Pentium 233 MMX is nice, but it is a little bit beat up. I found this poor computer in 2019 at Computer Reset being used as a "stepping stool" to get to higher shelves. And I rescued it! Image
Image
I thought to myself "okay, this is only going to take a few minutes, I'll just swap the cover." Well, despite looking the same, these two Enlight AT cases are actually different! So that plan didn't work out 😂. The cover doesn't fit!! Image
Image
Image
Image
Read 11 tweets
Jun 15
Okay, the first PC project is complete in support of my "slight collection slimdown." I've set up my Compaq Presario 2200 to "match" how the Presario 2100 was configured. Let's talk about it in a 🧵 here. Image
So, the first question people may ask is "why the trade up?" Well, the Presario 2200 is slightly faster, and is cosmetically in better shape. The 2100 is missing a FDD button and a volume button. Probably could be 3D printed, but that's ok.. a future project for someone else😂 Image
Image
The 2100 does have a slightly better condition top cover. I was going to swap it for the 2200... but... they are actually a little different, one is taller than the other! That's fine, no biggie. Image
Image
Image
Read 13 tweets
Jun 14
I picked up this Parallel to USB adapter on eBay for $1 plus shipping. Let's check it out with my Panasonic KX-P2123 24-pin dot matrix printer! Time for a 🧵 Image
Image
So, the first thing I did was "unbox" it and throw that grody packing material away. Inside we have a cable, a floppy disk with drivers, and a manual. Nice! Image
I went into the "Add Printer" section on Windows 11 and chose Windows Update to populate the list of printers. And... look!! There's a driver for it. Perfect! Image
Read 10 tweets
Jun 3
Recently, I announced that I was working on a packet driver for the DaynaPORT SCSI/Link, which will bring wireless support to DOS for select SCSI emulators. But did you know there are other wireless solutions available as well? Let's talk other methods I have used in a 🧵 here! Image
Image
Image
Image
First, and this one is tried and true, and I have used it the longest: the Cisco Aironet 350 PCMCIA cards. I presume you could also use the PCI desktop cards, but haven't tried it. You're limited to 802.11b and 128-bit WEP, but these cards work GREAT!
Next up is another personal favorite: PicoMEM. These cards emulate the ubiquitous NE2000 standard and bridge it to wireless! Amazing little cards that do a lot more than wireless networking too: HDD/FDD emulation, EMS memory, and USB mouse to name a few:
Read 9 tweets
Jun 2
I'm behind on my testing... let's check out these new XTIDE Deluxe cards that I picked up from Monotech PCs that arrived this week and answer a few curiosity questions. Time for a quick 🧵 Image
Image
I installed a CF card into the first XTIDE Deluxe card, and installed it into an ISA slot in the Rustbucket PC. I also have a SCSI drive in this system. And.. as we can see here in my boot manager, BootIt Bare Metal, both drives are present! Perfect! Image
Image
Image
So, the question that I got asked about this card is: can you plug something into the CF card slot AND into the IDE connector? YES, yes you can. I proved it out with this Western Digital Caviar 22500 drive. We have a CF card, IDE HDD, and SCSI HDD now, and all are detected! Image
Image
Image
Image
Read 5 tweets

Did Thread Reader help you today?

Support us! We are indie developers!


This site is made by just two indie developers on a laptop doing marketing, support and development! Read more about the story.

Become a Premium Member ($3/month or $30/year) and get exclusive features!

Become Premium

Don't want to be a Premium member but still want to support us?

Make a small donation by buying us coffee ($5) or help with server cost ($10)

Donate via Paypal

Or Donate anonymously using crypto!

Ethereum

0xfe58350B80634f60Fa6Dc149a72b4DFbc17D341E copy

Bitcoin

3ATGMxNzCUFzxpMCHL5sWSt4DVtS8UqXpi copy

Thank you for your support!

Follow Us!

:(