One of the more popular videos on my YouTube channel is a tutorial on how to prepare a bootable CF card for a retro install (DOS/Win95, etc.). My video procedure uses VirtualBox 5.2.44, but I know a lot of people use VirtualBox 7.x. Let's make a 🧵on how to use that instead!


First, if you'd rather watch a video on how to do this, see here! Even though I use VirtualBox 5.2.44, all of the commands are essentially the same. You might reference this thread if you want to use the more "modern" commands or for subtle differences:
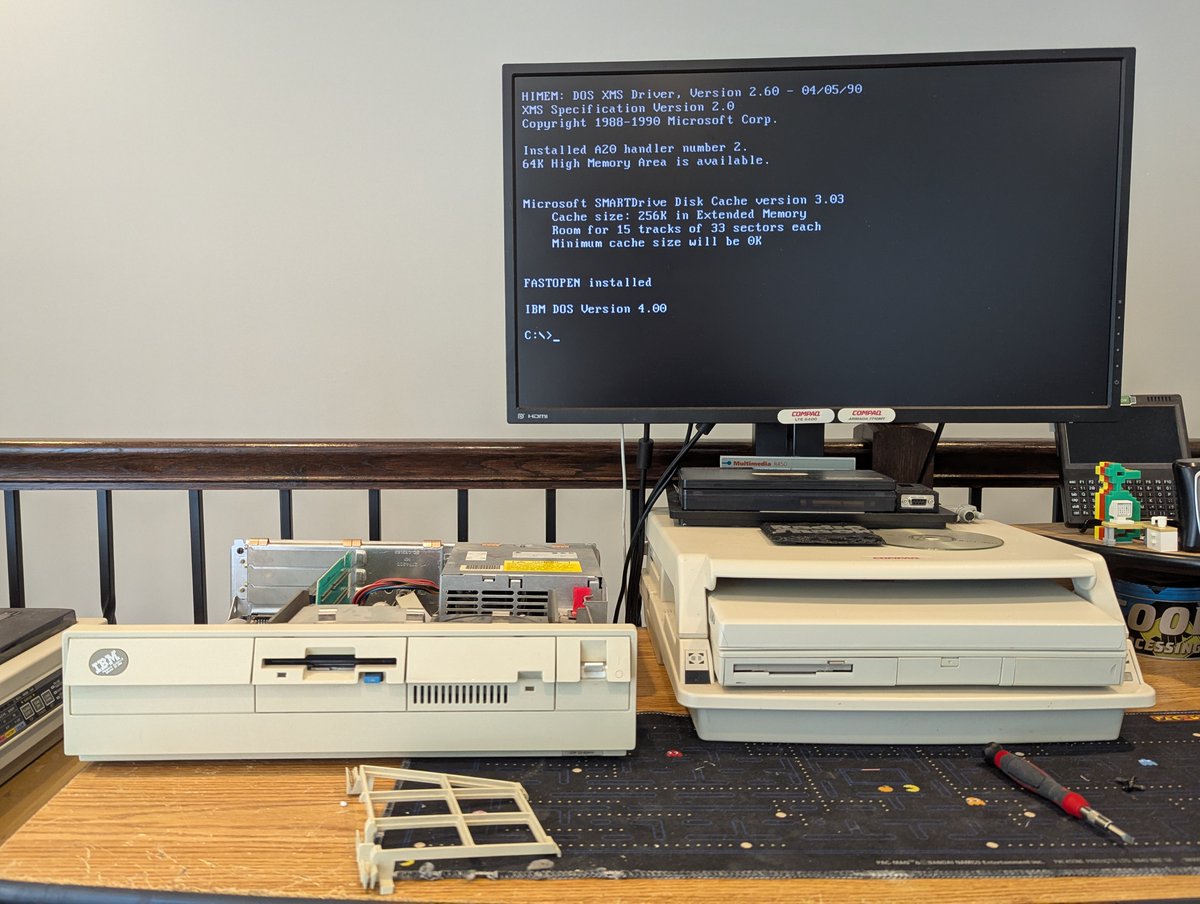
As for a CF card reader/writer, I'll be using this cheapo $3 one I found on eBay a while back. It's worse for the wear, but it works. And for a host operating system, I'll be using Windows 10. Hopefully Windows 11 is similar.

To get started, if you don't already have VirtualBox 7 installed, go ahead and download and install it. The website where you can find it is virtualbox.org/wiki/Downloads

Once installed, you are going to want to launch a command prompt in administrator mode (yes, this will be different in Windows 11, sorry!). To do that on Windows 10, launch the start menu, type "cmd", then right click on "Command Prompt" and click "Run as administrator"

Now, plug in the CF card and reader/writer to your computer. After doing that, run the following command: wmic diskdrive list brief
You should see your CF card in the list. BE CAREFUL, you will want to get this right. I know my CF card is 4GB and is PHYSICALDRIVE1. Good.
You should see your CF card in the list. BE CAREFUL, you will want to get this right. I know my CF card is 4GB and is PHYSICALDRIVE1. Good.

Next up, change to the Oracle VM VirtualBox directory: cd "\Program Files\Oracle\Virtualbox"
Then we can create a VMDK file that we can use to mount the CF card in VirtualBox! You'll use the PHYSICALDRIVE from the previous command, and choose a location to put the VMDK file...
Then we can create a VMDK file that we can use to mount the CF card in VirtualBox! You'll use the PHYSICALDRIVE from the previous command, and choose a location to put the VMDK file...

In my case, we use PHYSICALDRIVE1 and I am just going to create the image as a file called D:\cfcard.vmdk. For you, it may be a different PHYSICALDRIVE and you might want to store the image elsewhere. The image file will be small, it is just a "passthrough" to the real CF card.

Next up, still in the administrator command prompt and still in the VirtualBox directory, launch VirtualBox by typing VirtualBox.exe. We need to run this as an administrator so that the CF card will mount properly.

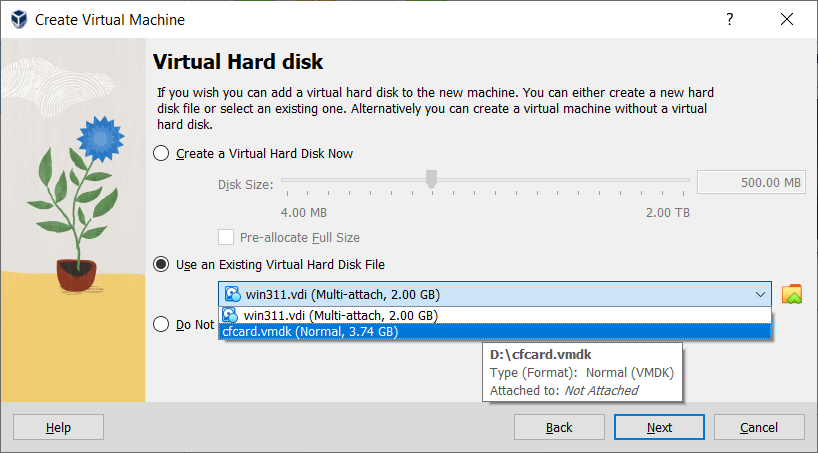
In VirtualBox, click "New" to create a new VM. Name it "DOS". Default hardware settings are fine, just click "Next". For Virtual Hard Disk, choose "Use an Existing Virtual Hard Disk" and select your CF card file that you created above!


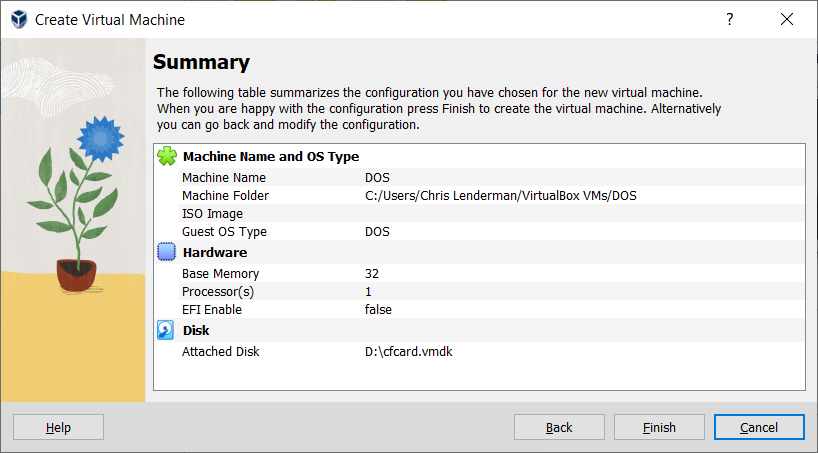
If all done correctly, your summary screen should look like this!
Next, I am going to set up a DOS 6.22 FAT16 partition. If you want to install Windows 95B or later, you can create a FAT32 partition, but the concept will be similar. I went to and downloaded a DOS 6.22 floppy boot image (they also have Win95 boot disks) allbootdisks.com

There are a few ways to set up the boot disk. I am just going to click on Settings, then Storage, then click on the "Empty" floppy, then Attributes to choose a disk file, and the choose my downloaded DOS 6.22 image. Piece of cake, right?


Okay, now it's time for the moment we have all been waiting for: let's fire up the virtual machine by clicking Start.

One started up, launch the "fdisk" program. Select "1" to create a DOS partition or Logical DOS drive. Then "1" for Primary DOS partition. And then "Y" to make the partition active.


But...wait, Chris! My CF card already has a partition on it, and I can't create a partition, what do I do? Go ahead and close VirtualBox, go back to the start menu, and type "create and format hard disk partitions." Proceed to find all partitions on the CF card and delete them!


So, back on track, once you create a partition, the VM will prompt for restart. Go ahead and do that.
Once restarted, run a "fdisk /mbr" for good measure to rewrite your master boot record.
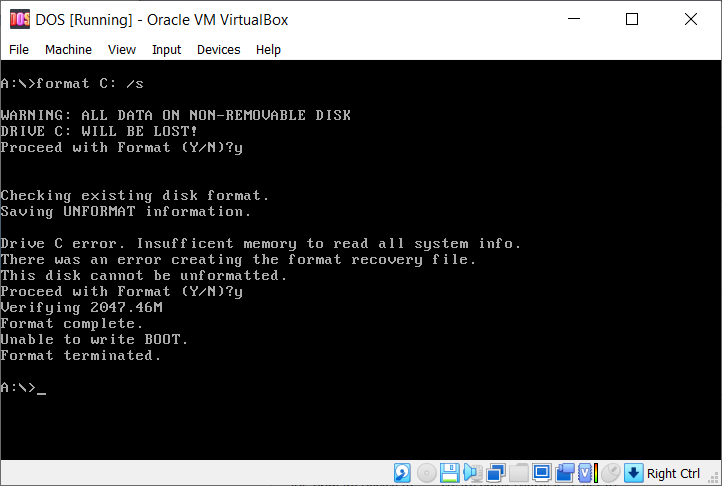
Then let's format the disk with a "format C: /s" to make the CF card bootable!
Once restarted, run a "fdisk /mbr" for good measure to rewrite your master boot record.
Then let's format the disk with a "format C: /s" to make the CF card bootable!


At this point, let's boot from the card. But first, we need to remove that bootable floppy disk image from the disk drive. Go to "Devices", then "Floppy Drives" then "Remove disk from virtual drive."
After doing that, go to "Machine" and then "Reset" to restart the VM.
After doing that, go to "Machine" and then "Reset" to restart the VM.


With a little luck, you should be greeted with a DOS startup! If not, oh well, at least we tried! Reach out to me and I will try to help as time permits.

At this point, perhaps you want to copy over some programs or installers, etc. Doing this is really a cinch. Go ahead and close VirtualBox (shut down the VM first), and from there, you can use Windows Explorer to copy files to the CF card!

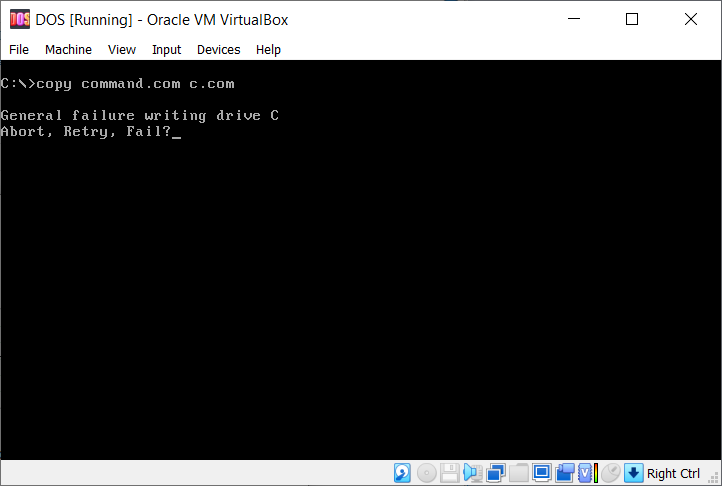
Okay, great! So with this, we are all set. But I do want to share one caveat: what if you want to start up VirtualBox again and do something with the CF card you have created? Well, unfortunately, Windows will lock the volume, and you won't be able to write to the CF card...
Can we fix this? Absolutely. There is a great utility called xclusive that will do just that for you. Navigate to . Download dskacl-1_0_0-i386.cab. Open it up, and pull out the xclusive COM file that you see. Put it somewhere where you can run it. kaufmann.no/roland/dskacl/


In my case, I put the xclusive COM file on drive D:
So, once again, we are going to run VirtualBox in an administrator command prompt window, but w/ xclusive. You will need to know the drive letter that Windows assigned to the CF card, for me, drive H:
Sample command below.
So, once again, we are going to run VirtualBox in an administrator command prompt window, but w/ xclusive. You will need to know the drive letter that Windows assigned to the CF card, for me, drive H:
Sample command below.

Okay, and with that, we can now make changes to the CF card once again. I hope that SOMEONE finds this tutorial useful, if not, well, at least I tried 😂. Thanks for following along!!
@threadreaderapp unroll
@threadreaderapp unroll

• • •
Missing some Tweet in this thread? You can try to
force a refresh