RetroTech Chris Profile picture
Aug 24 15 tweets 8 min read Read on X
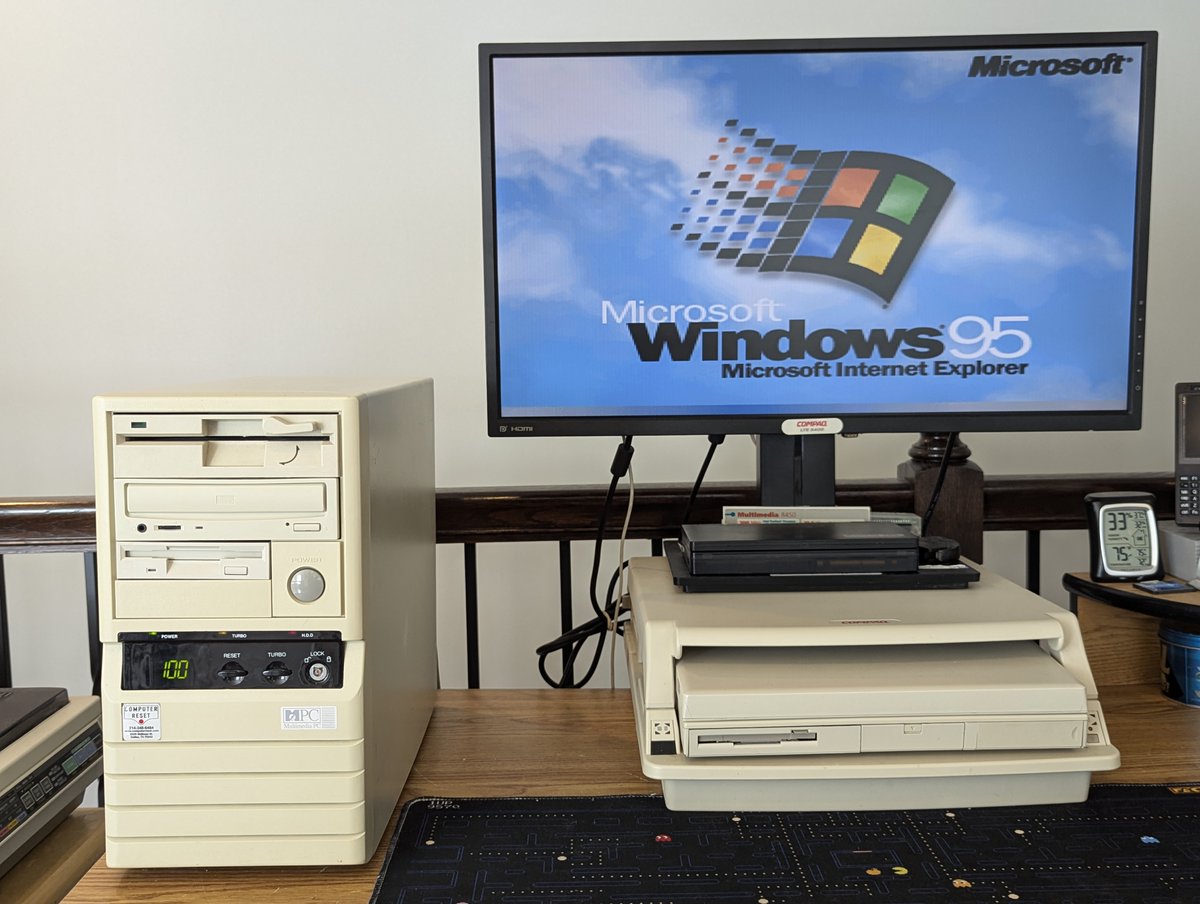
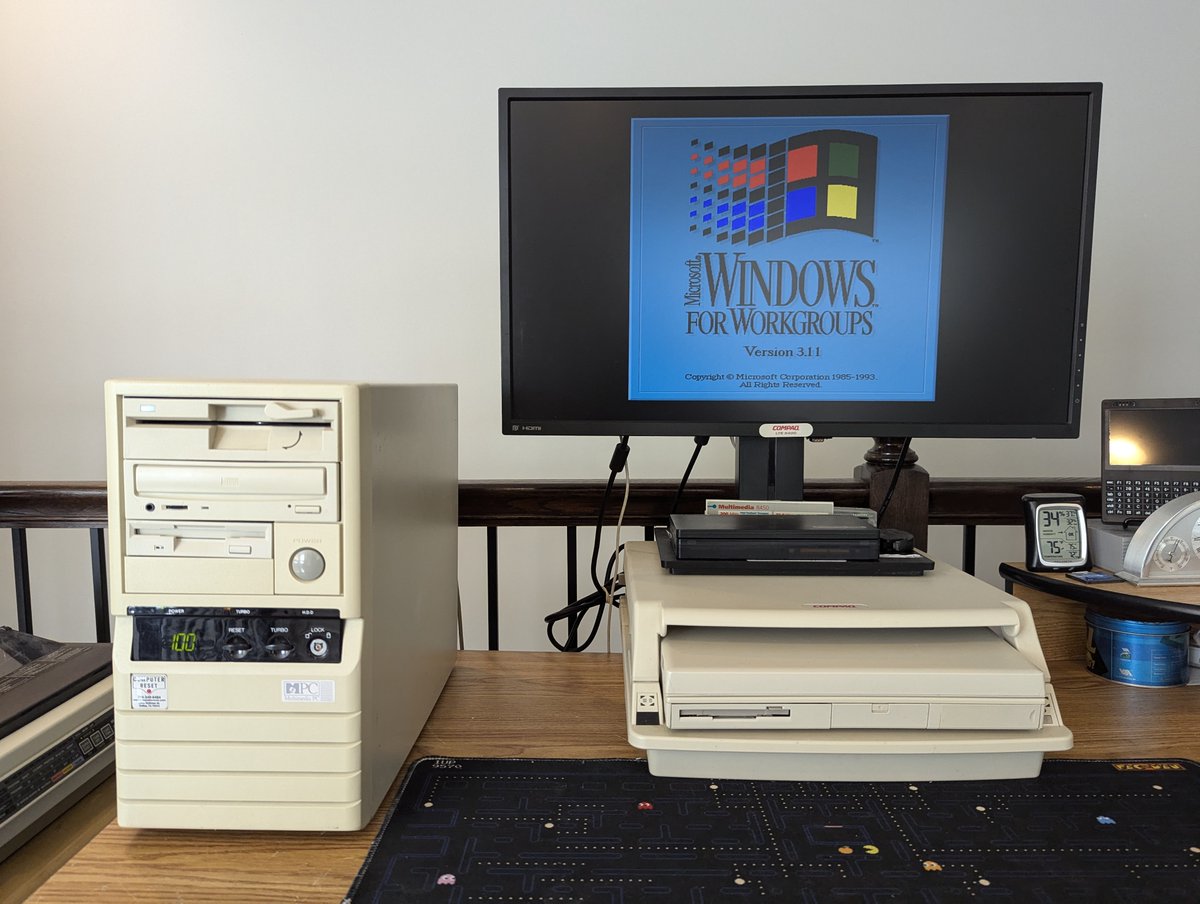
It's been a little while since I've had this 486 DX4/100 system on the desk. I wanted to open it up and explore a bit to answer a question I had. Let's explore this system together in a 🧵 here! Image
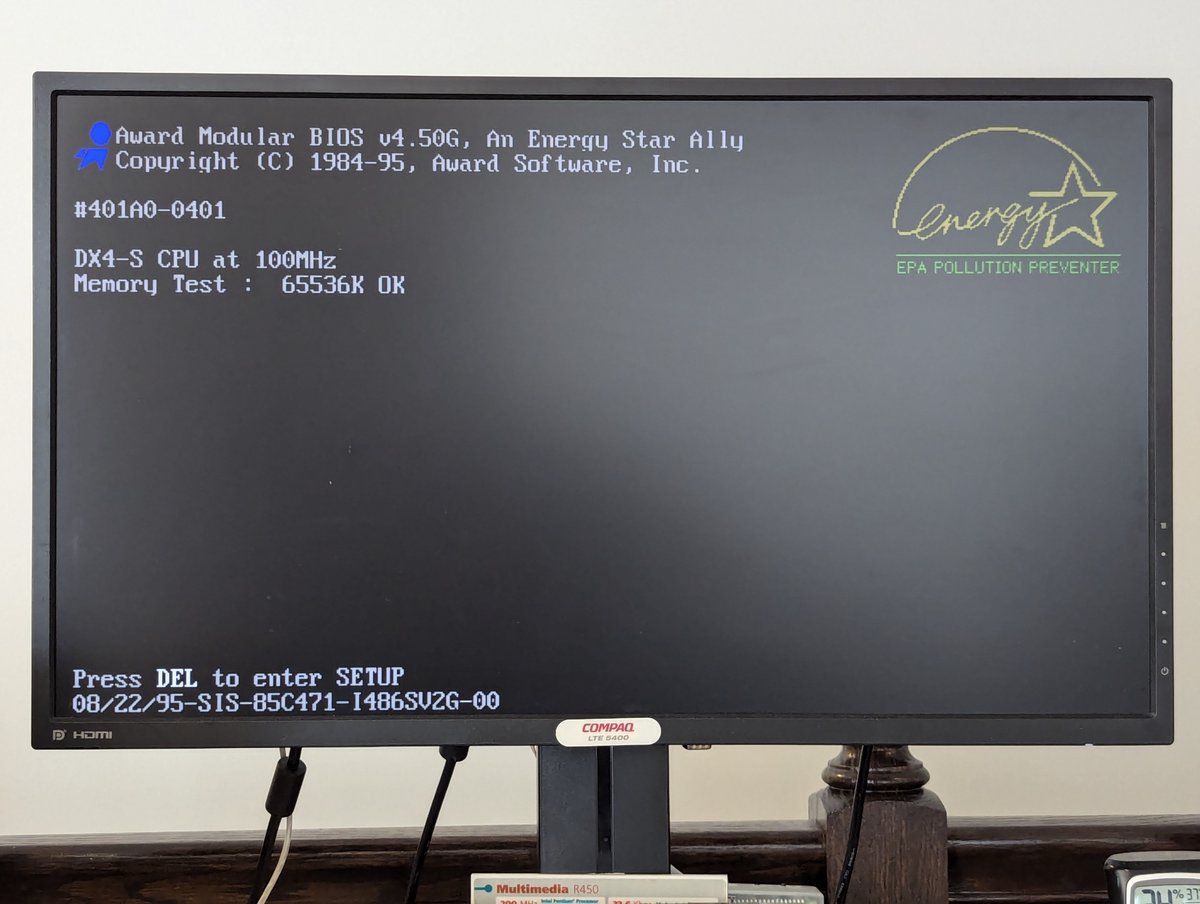
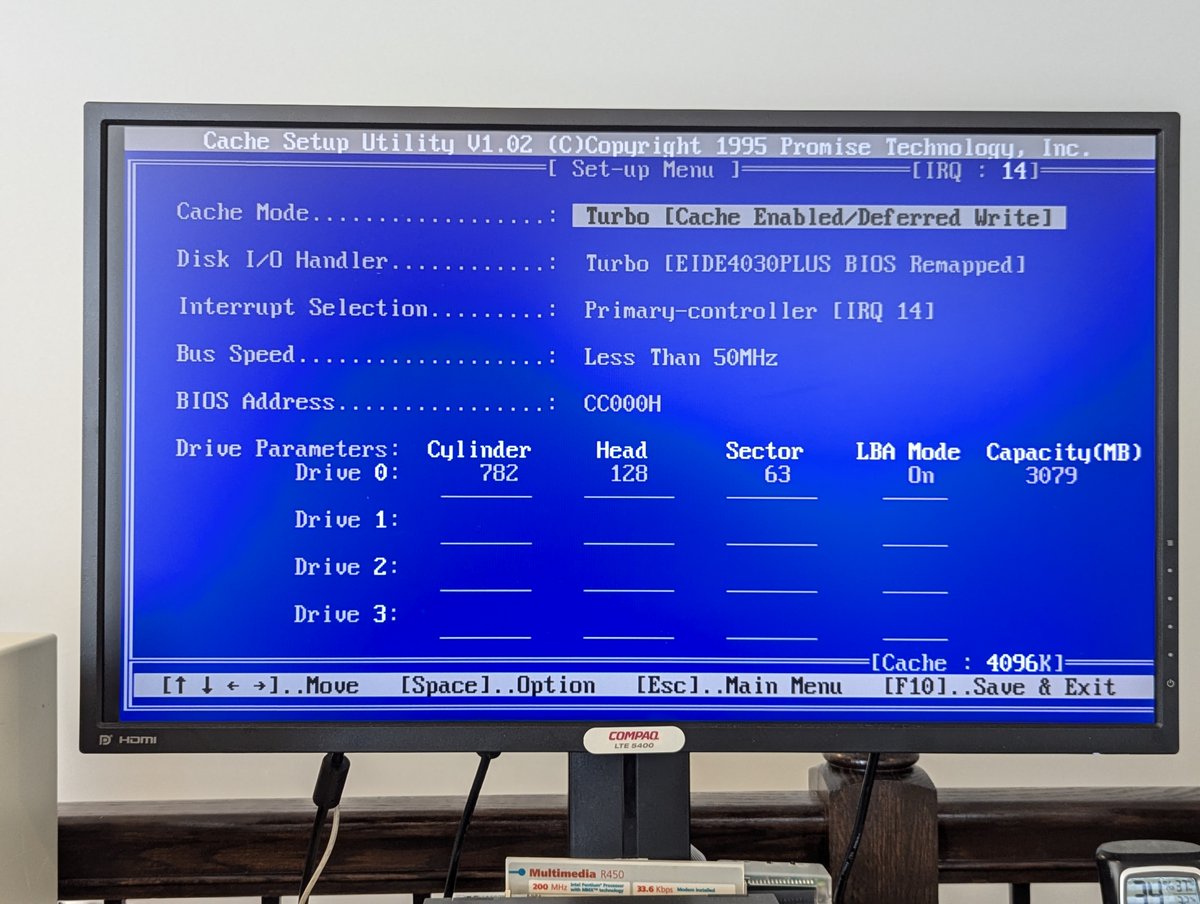
On bootup, we see that we have 64MB of memory, which would have been a pretty beefy amount for the time period. I also have a Promise EIDE 4030 Plus VLB caching controller in this system with 4MB of cache! I entered its setup program just for fun!
Image
Image
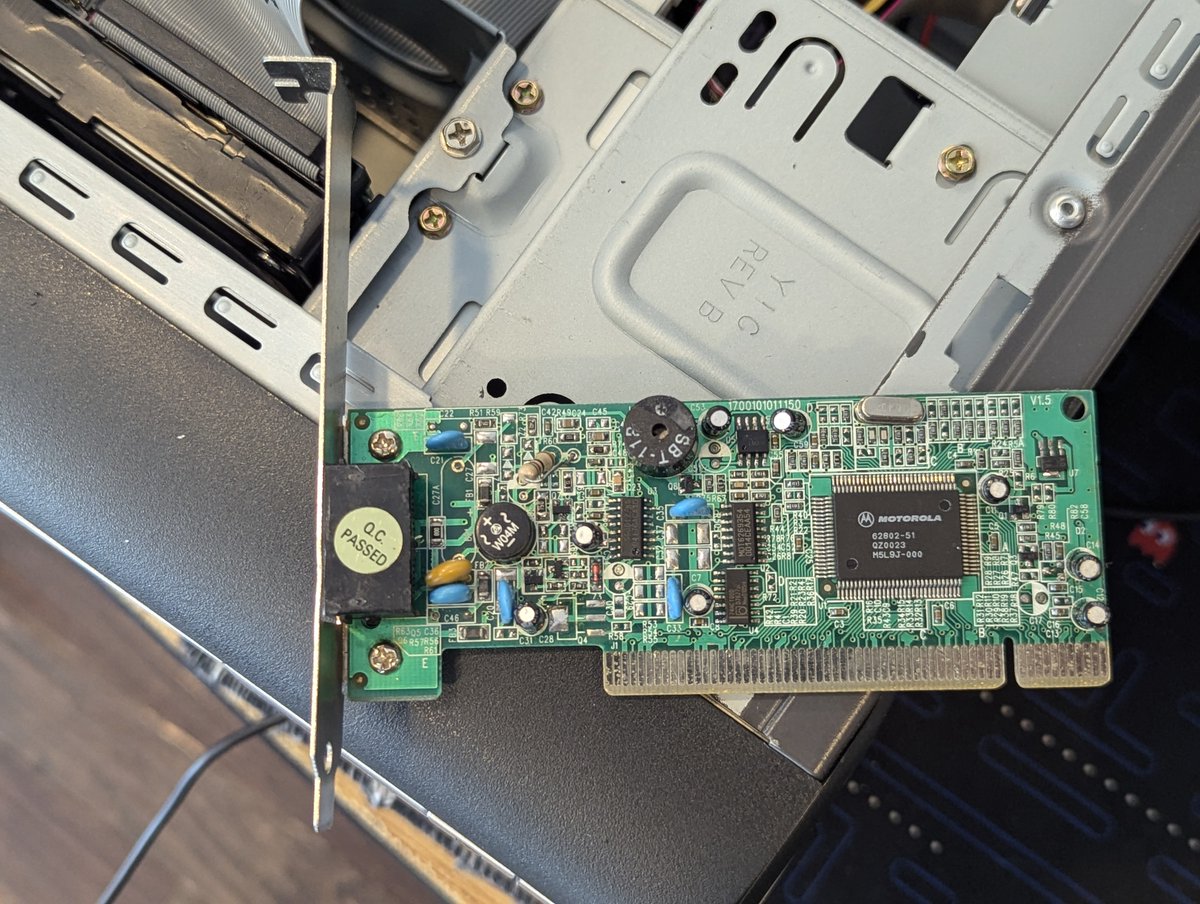
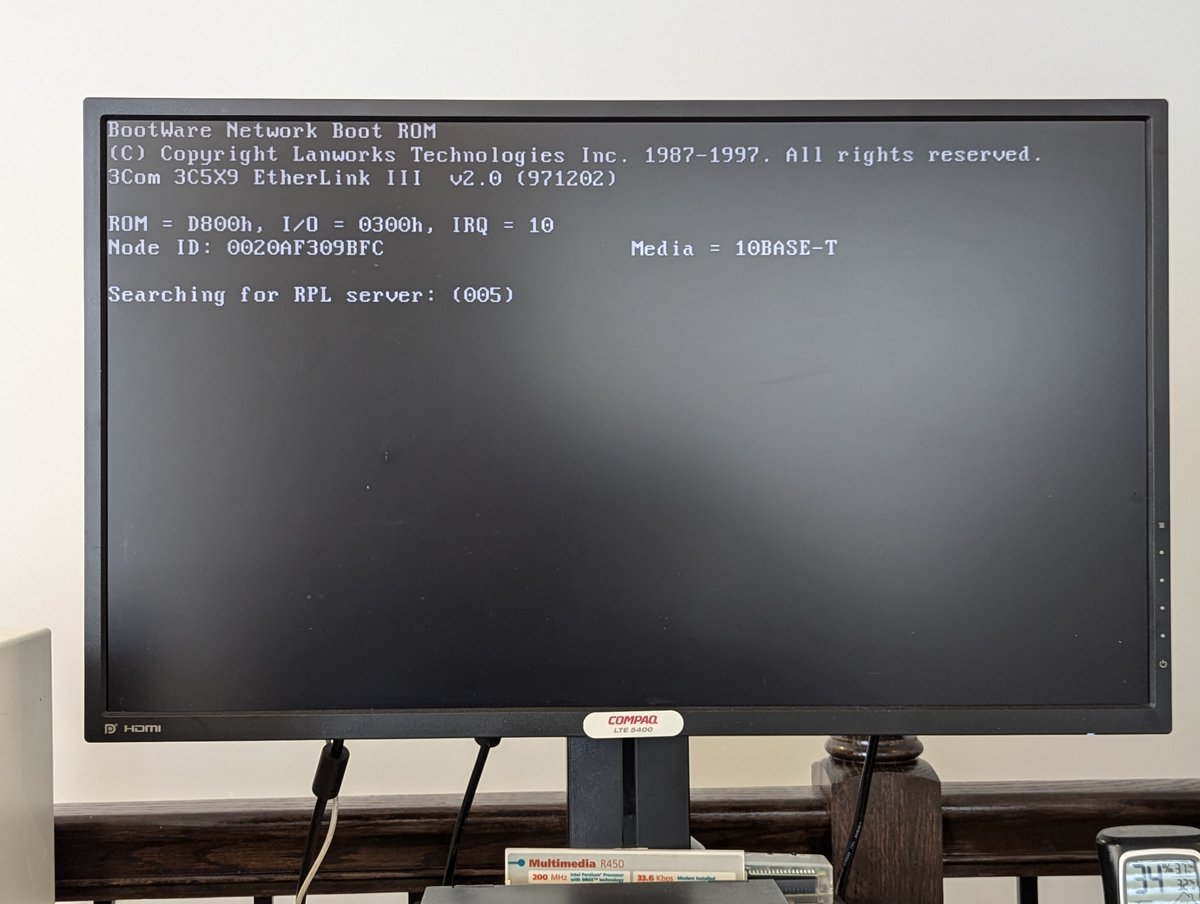
I also have a 3COM Etherlink III in the system, with a boot ROM. We won't be booting off the network today, but if we were, we'd see a screen similar to this. Image
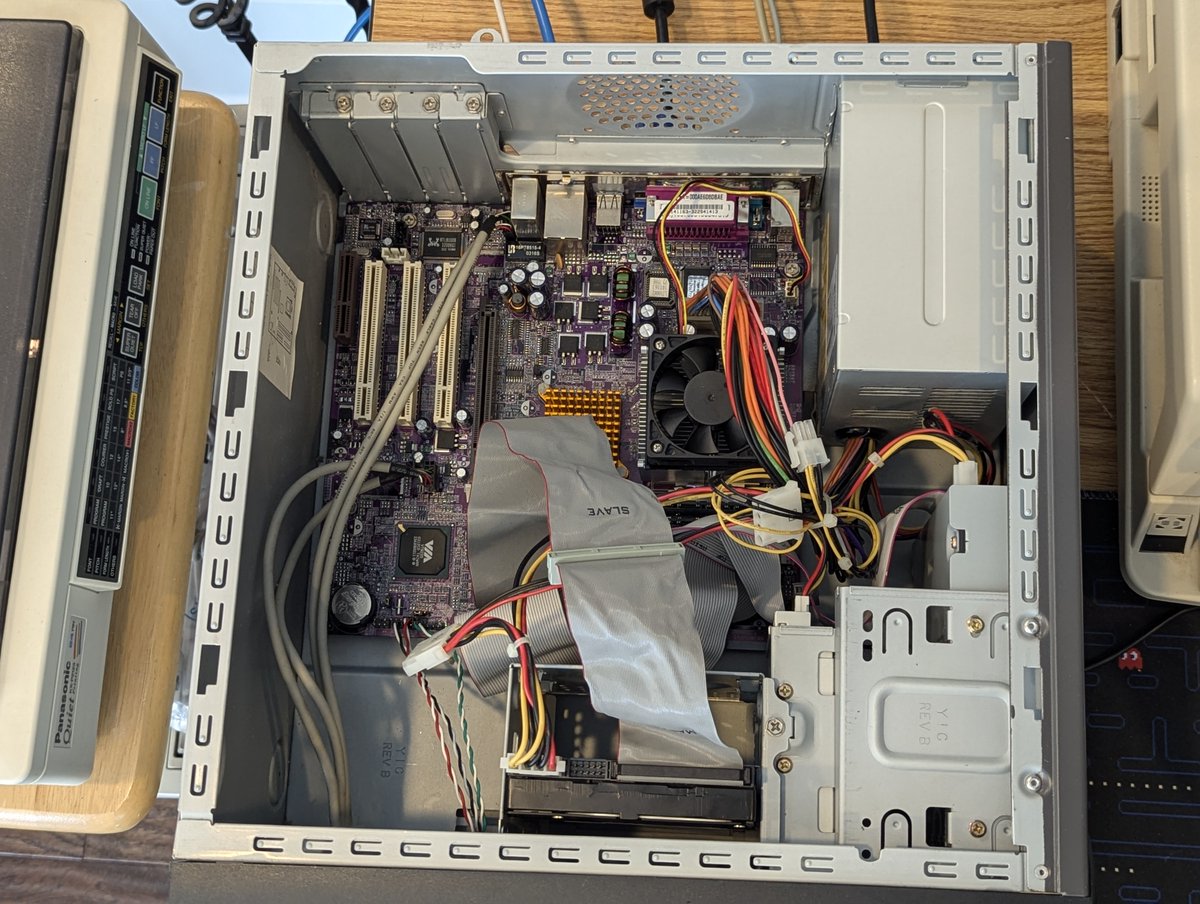
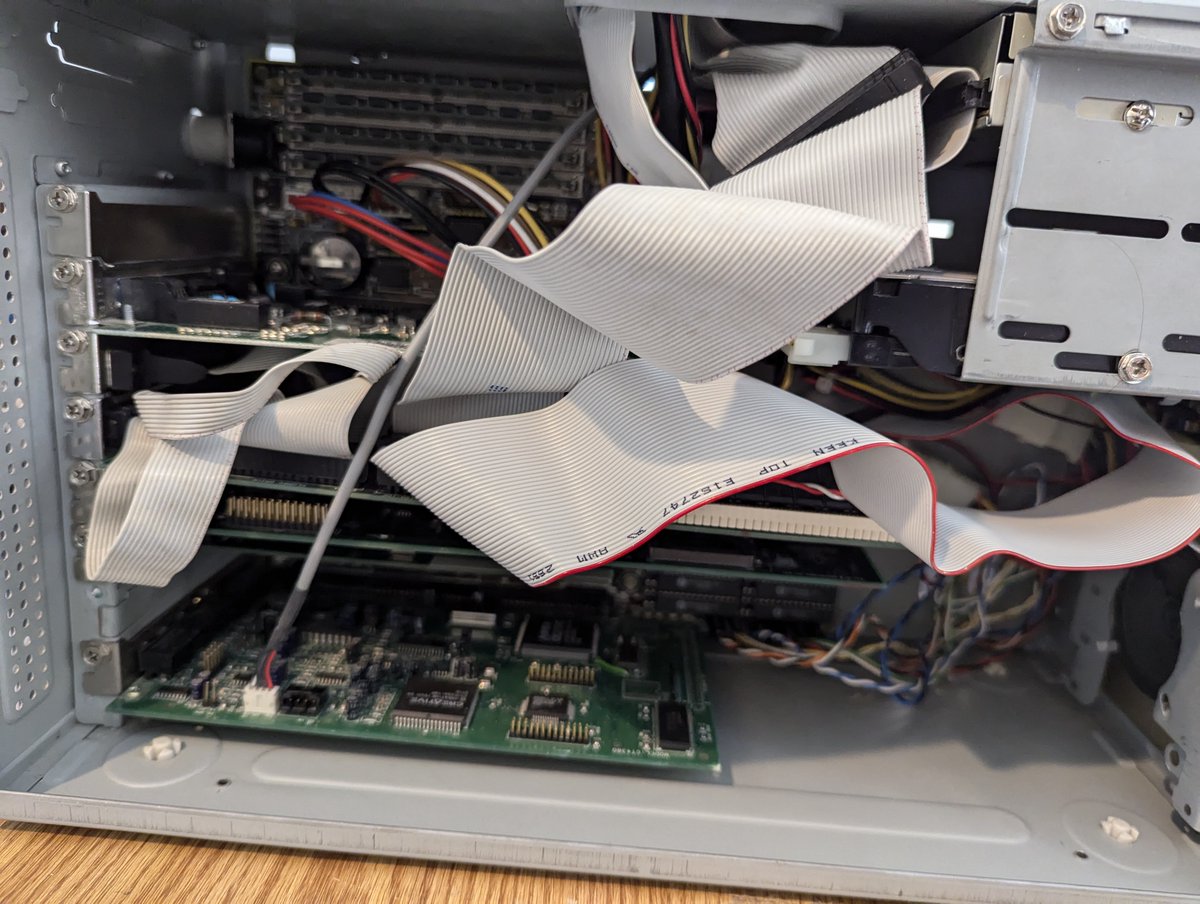
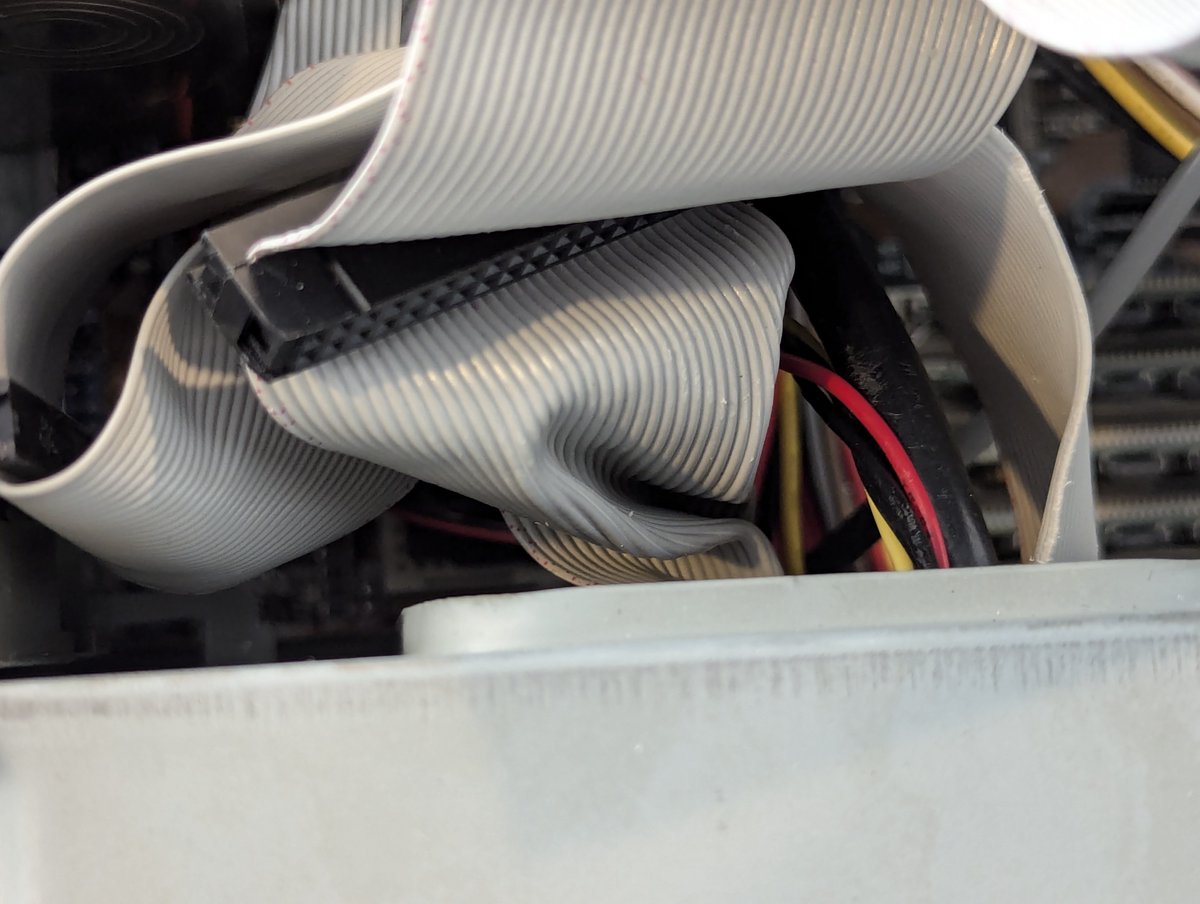
Let's open up the case. Yea, my cable management could use some work 😅
Image
Image
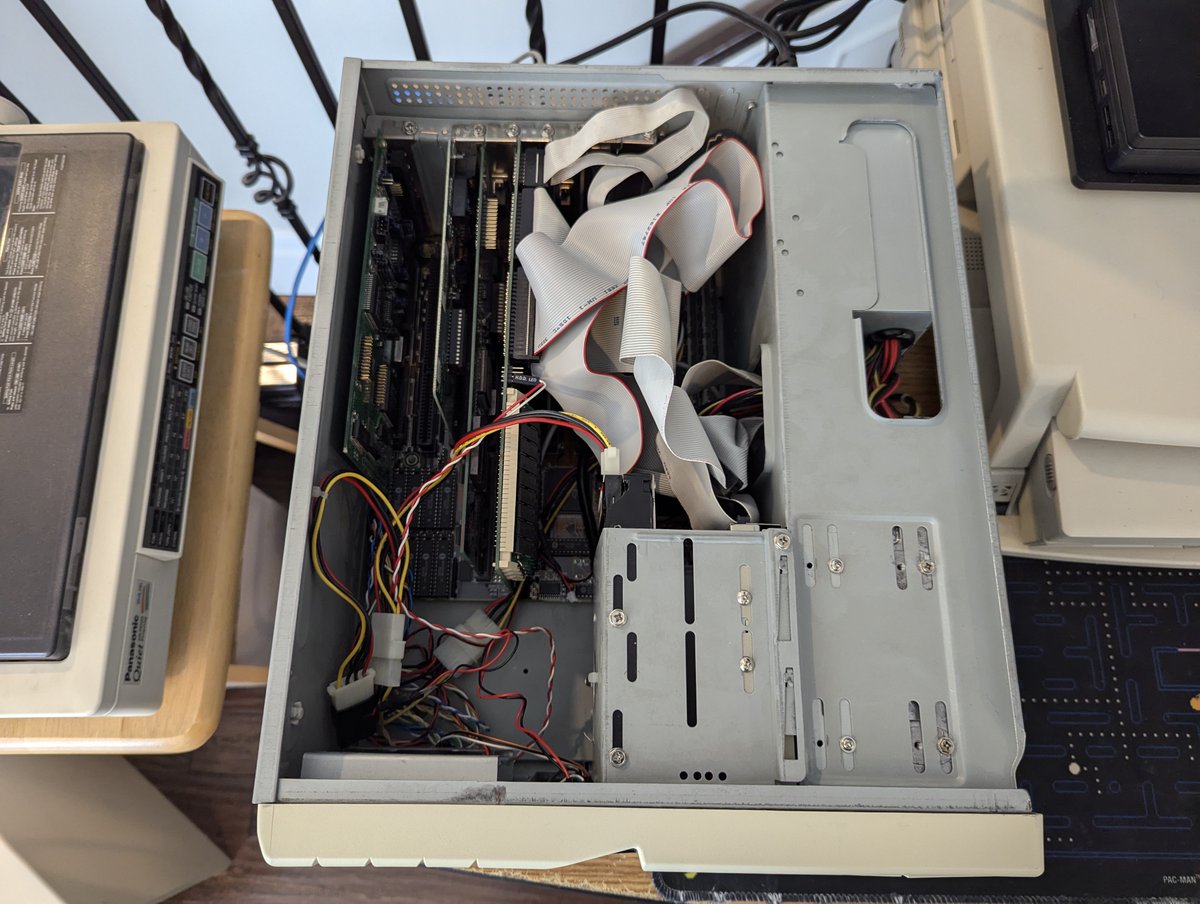
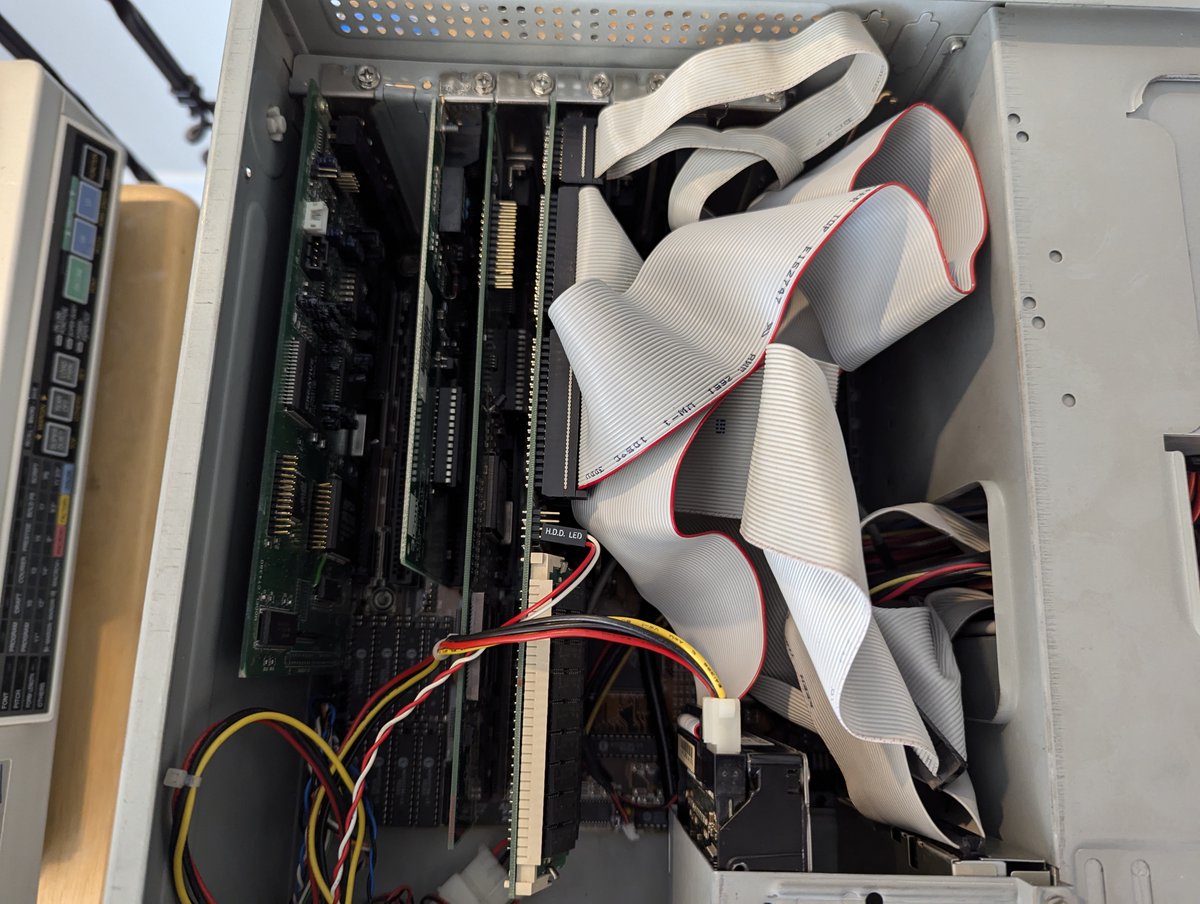
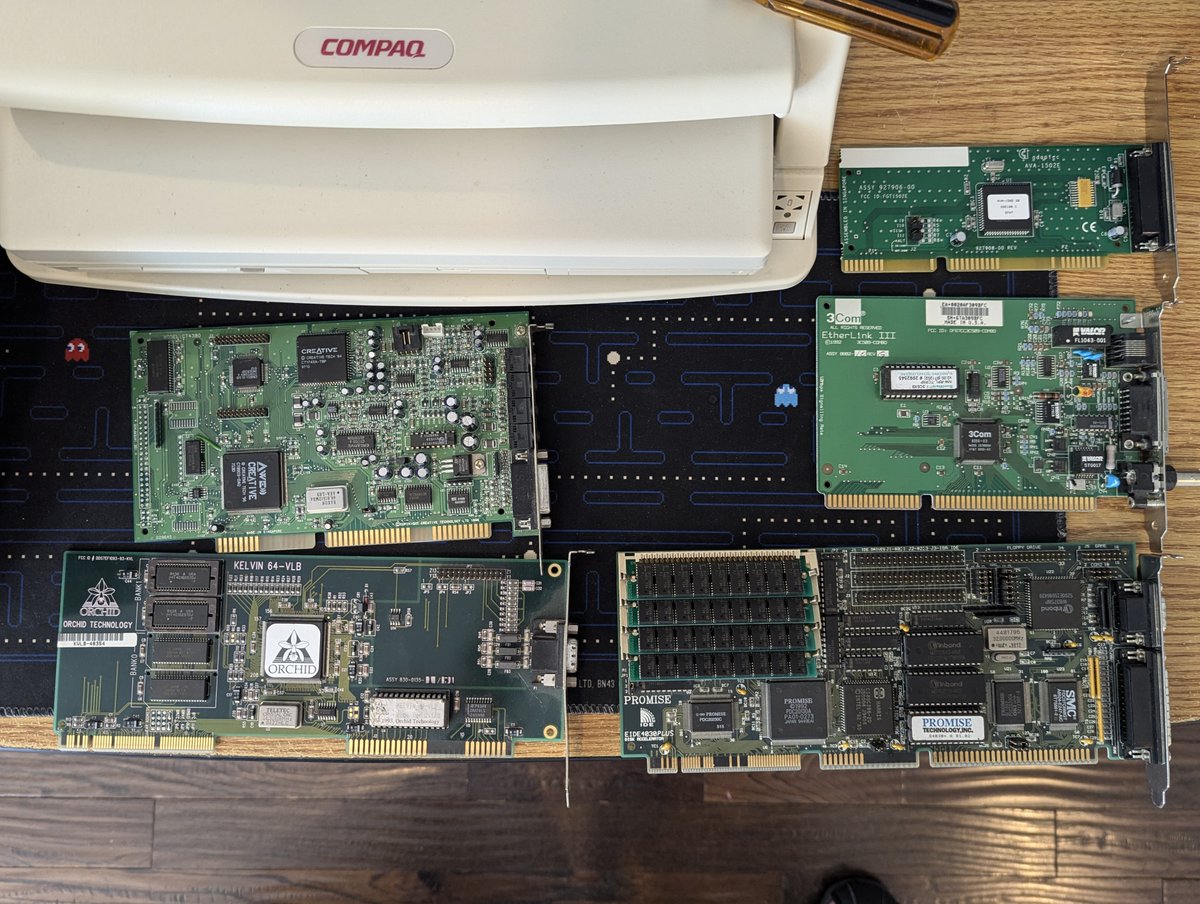
Here's all of our cards! A poor man's Creative AWE64, Orchid Kelvin 64-VLB, Adaptec AVA-1502E (for a SCSI Zip drive), 3Com Etherlink III, and the Promise EIDE 4030 Plus VLB. Image
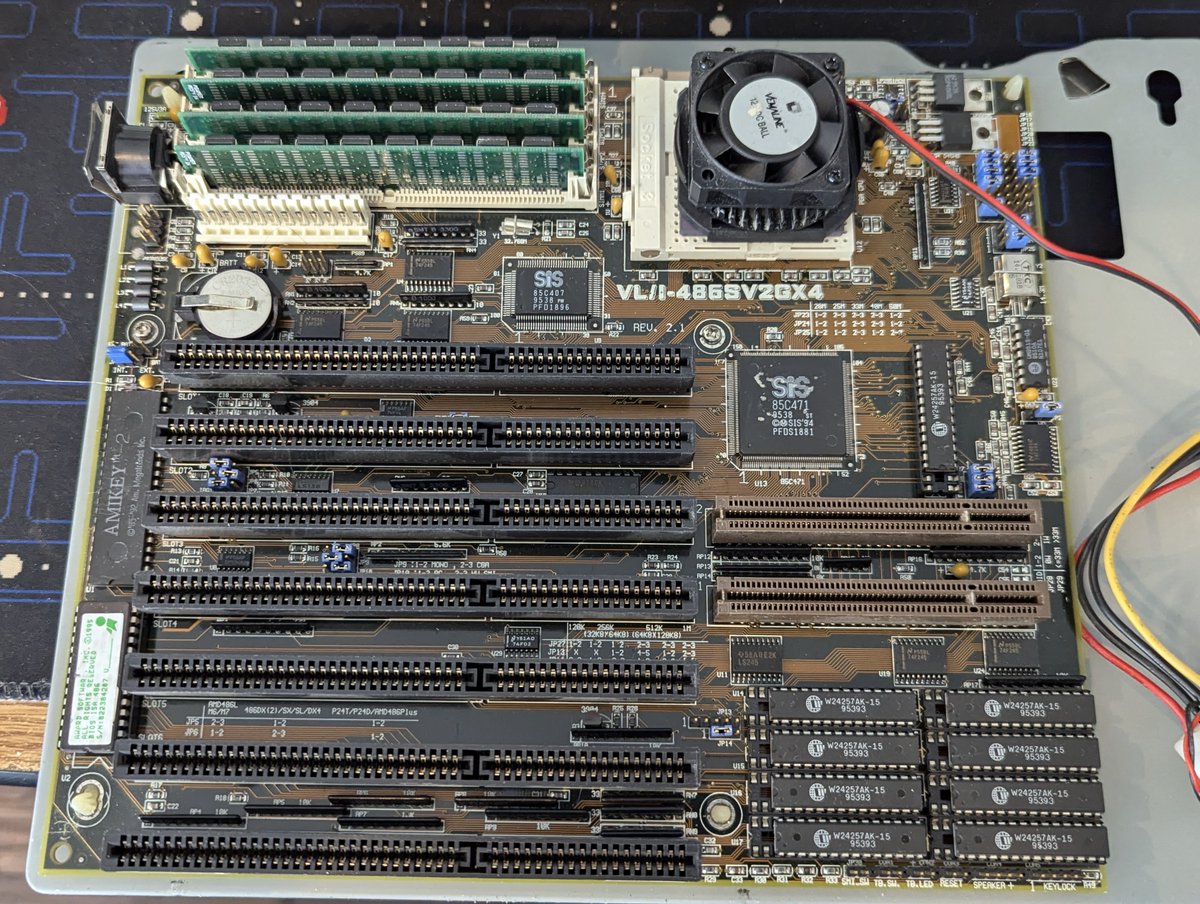
Here's the motherboard! It's an Asus VL/I-486SV2G (GX4). Great board! I've 16MB 72MB SIMMS installed and 256KB Cache. Image
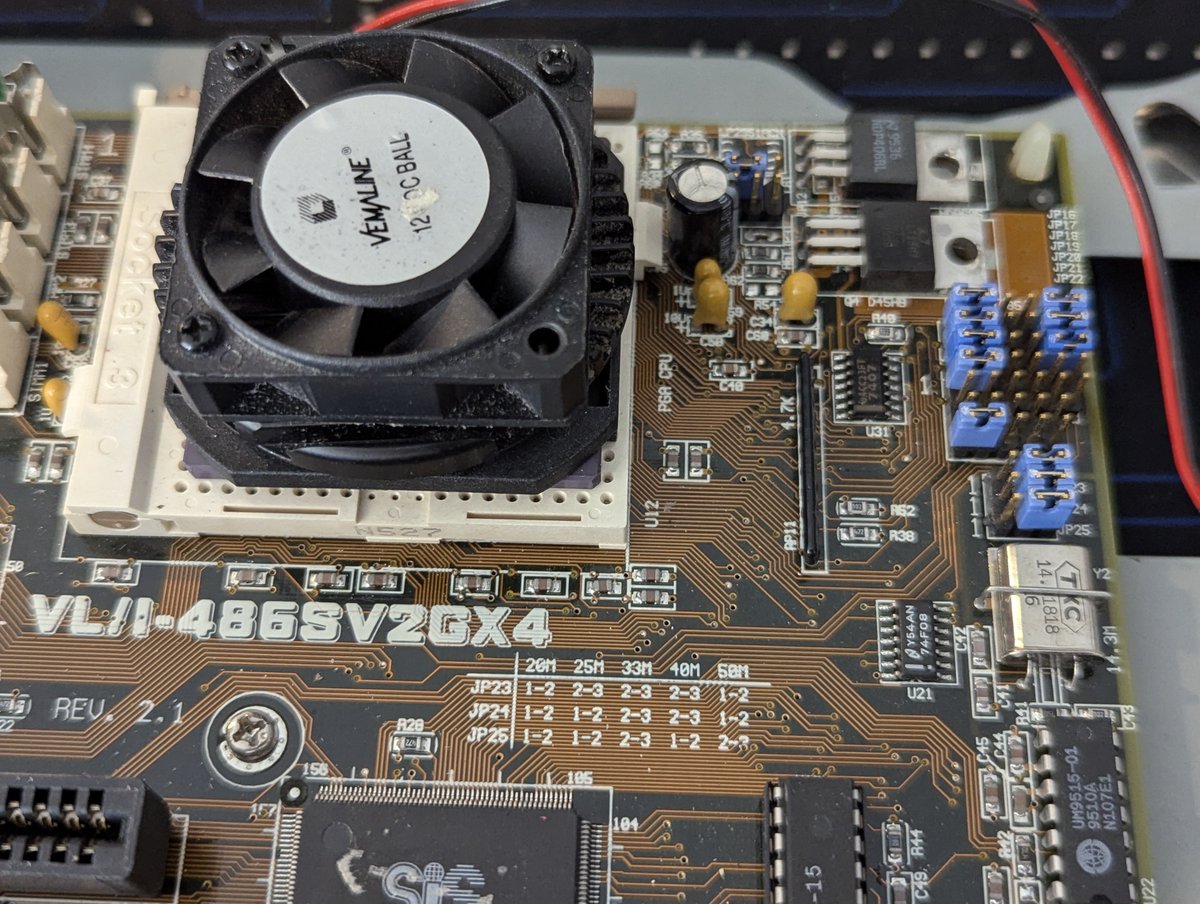
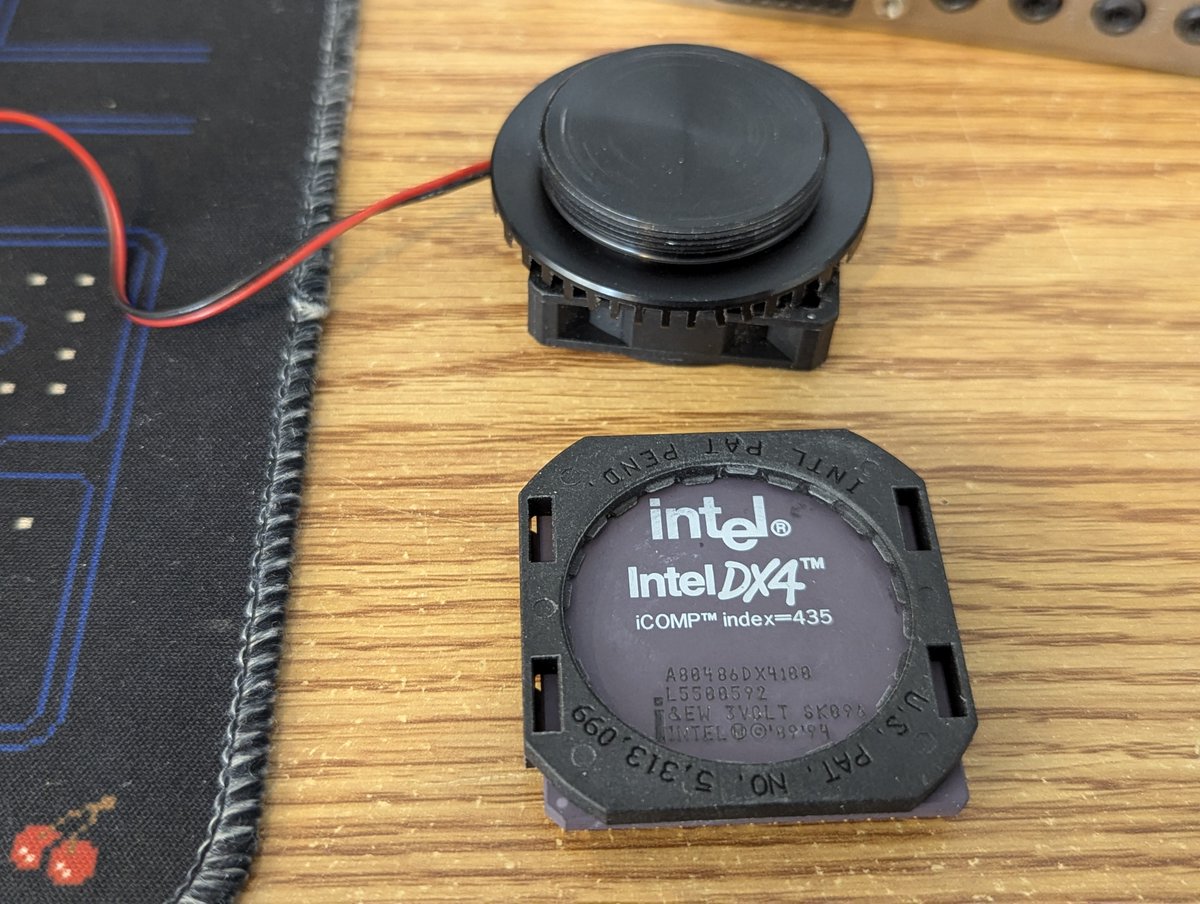
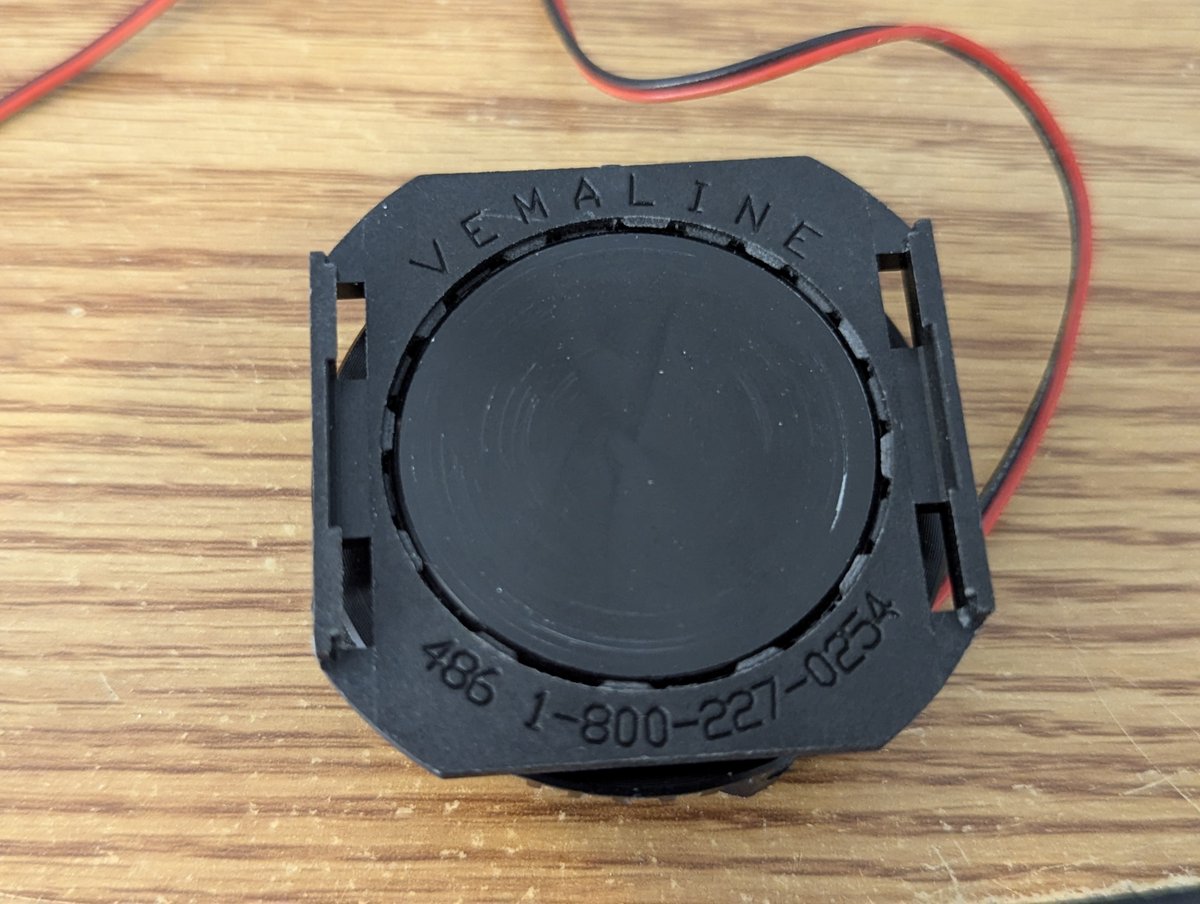
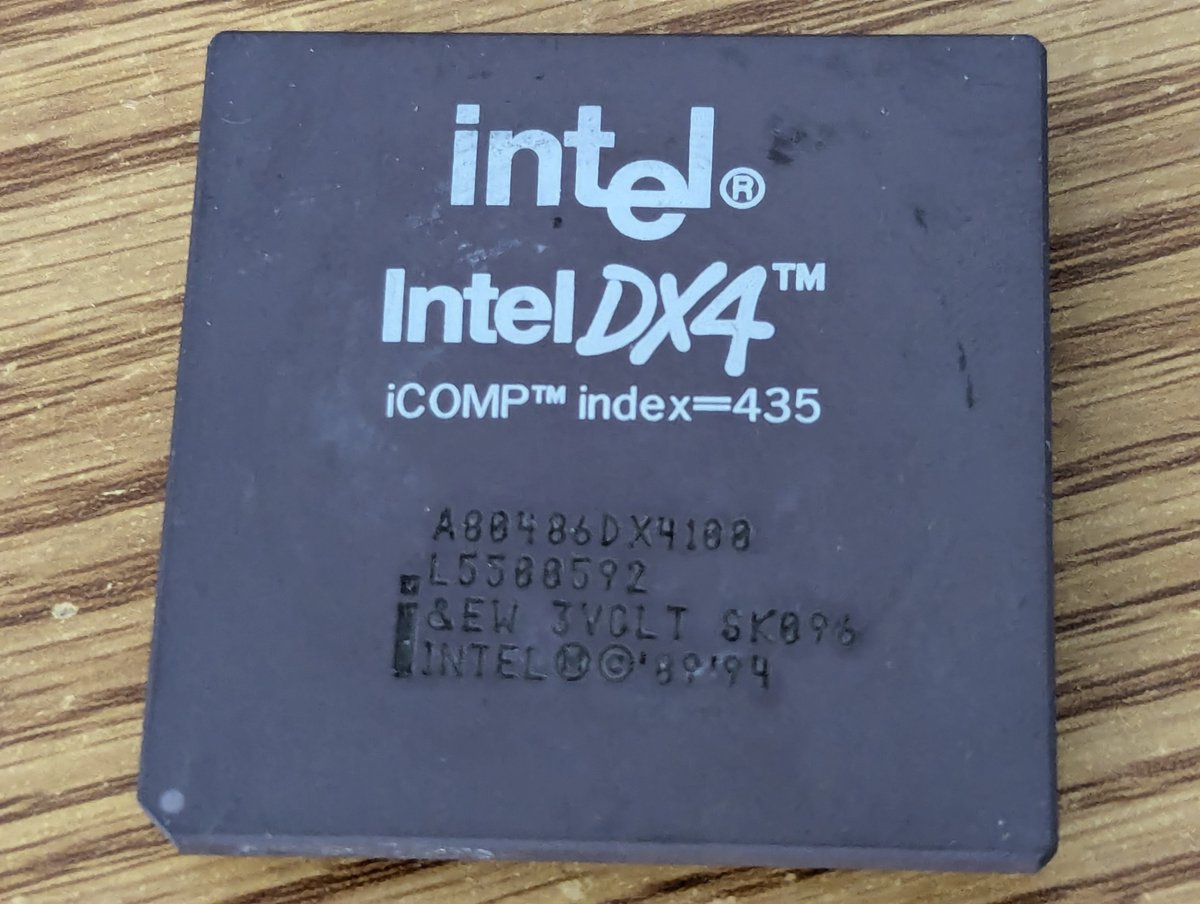
And the processor? An Intel 486DX4/100. The CPU cooler/fan is super cool: it twists on! I love it!


Image
Image
Image
Image
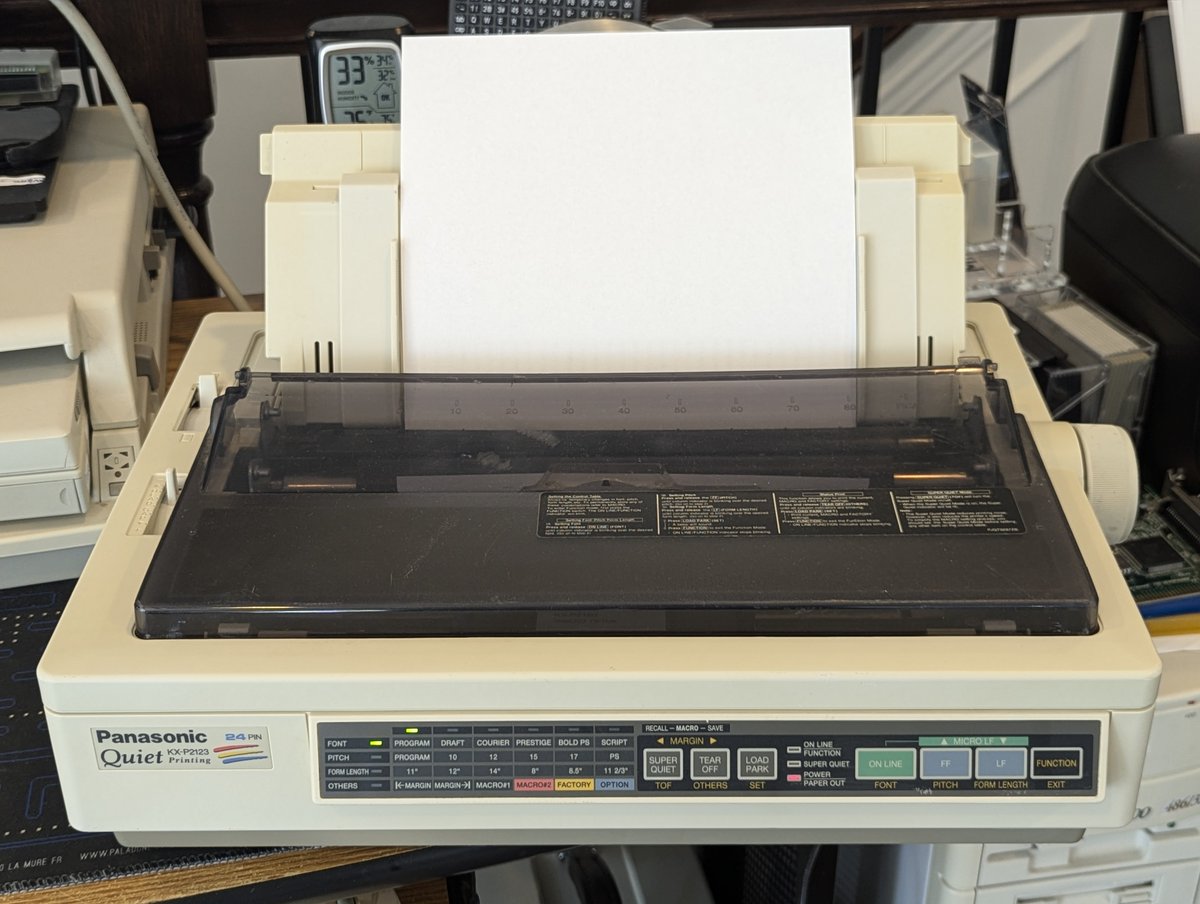
Here are the external drives! A Teac 1.2MB FDD, a Sony CDU311 8X CD-ROM, and some sort of 1.44MB FDD. As for internal, we have a Quantum Fireball 3GB drive (not pictured) Image
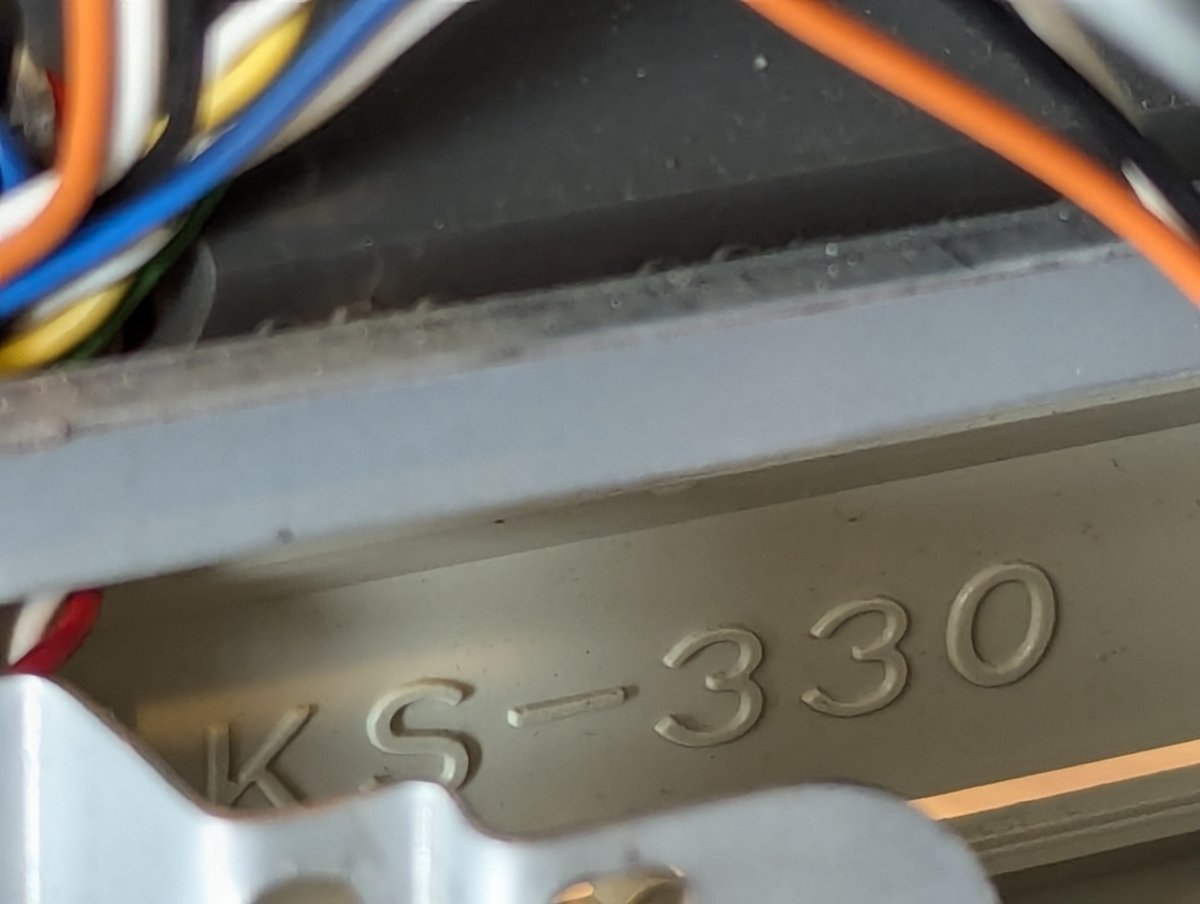
As for the case itself, it's a Macase KS-330. These cases were pretty loved back in the day. Someone even made a 3D printable mini version in modern times for your Raspberry Pi or other device:

Image
Image
So, that's the nickel tour! When I put things back together, I did put the cards in a slightly different order. You do have to juggle a bit given how small this case is: no big ISA cards in the first couple of slots, and putting the NIC in the bottom slot makes the clip tight. Image
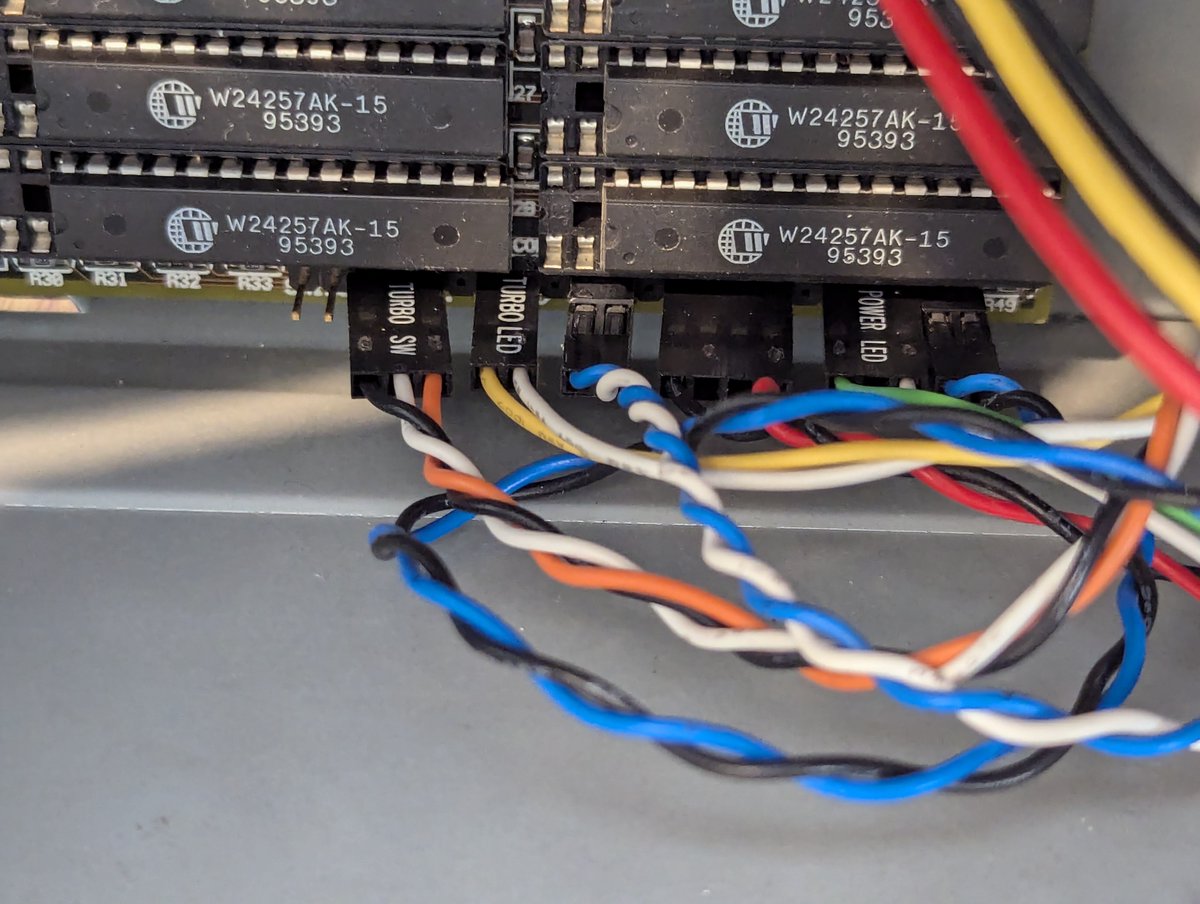
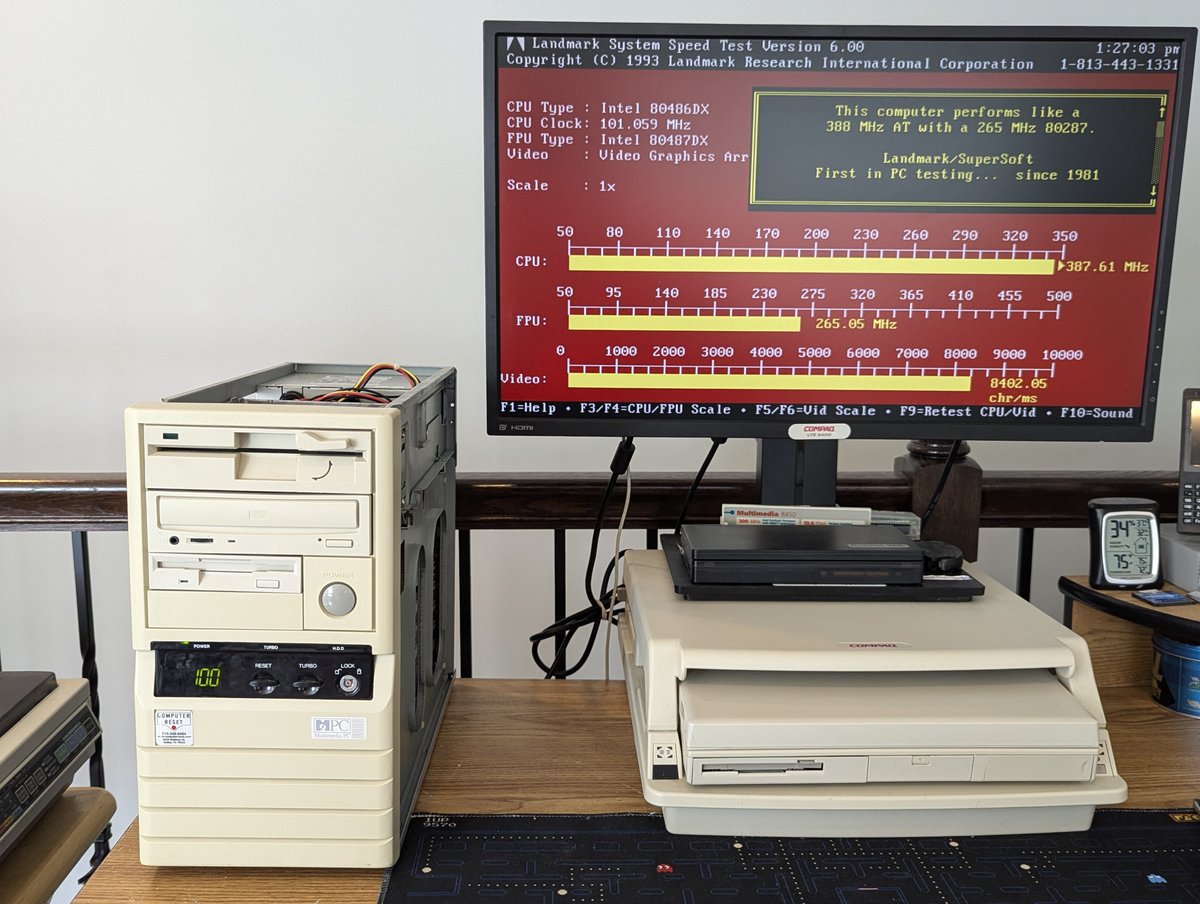
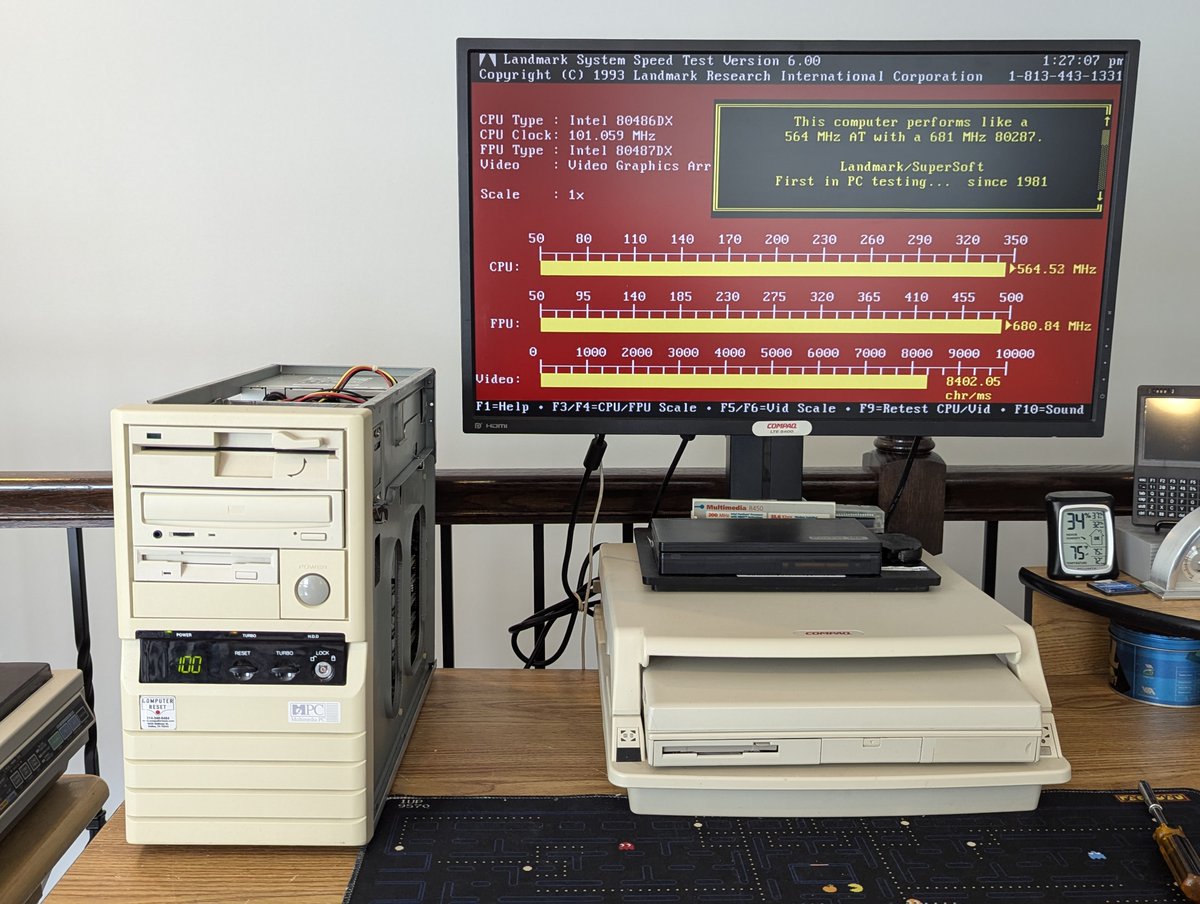
I did take a picture of cable configurations, but wanted to make sure I got the turbo button right, so we ran a quick speed test!

Image
Image
Image
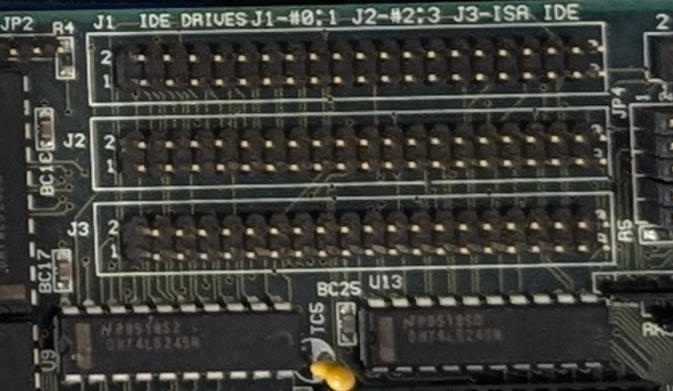
On reassembly, I fought the CD-ROM a bit. At first, I thought it might have been a cable issue since that cable is pretty pinched! I did forget that the CD-ROM needs to be plugged into the "ISA IDE" connector on the Promise card which is the bottom connector here.


Image
Image
Image
Image
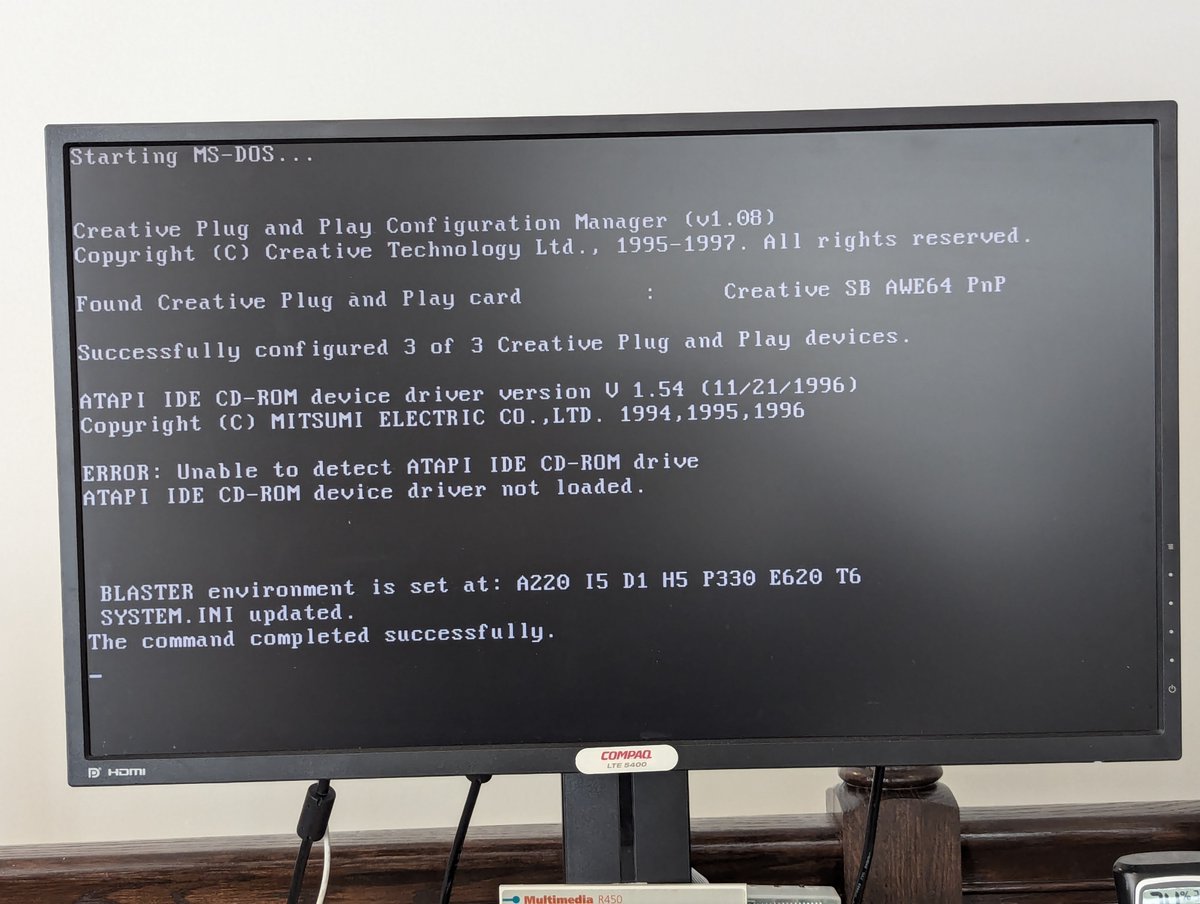
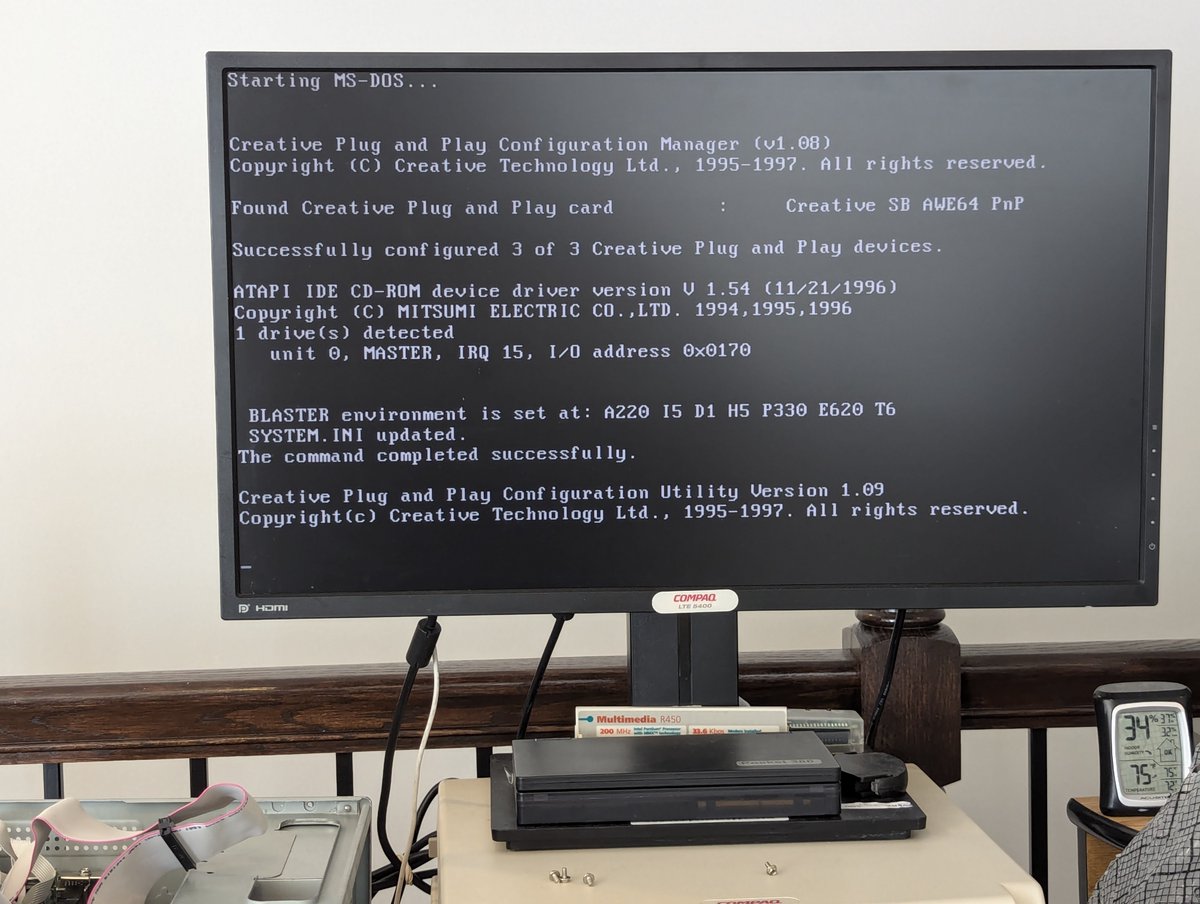
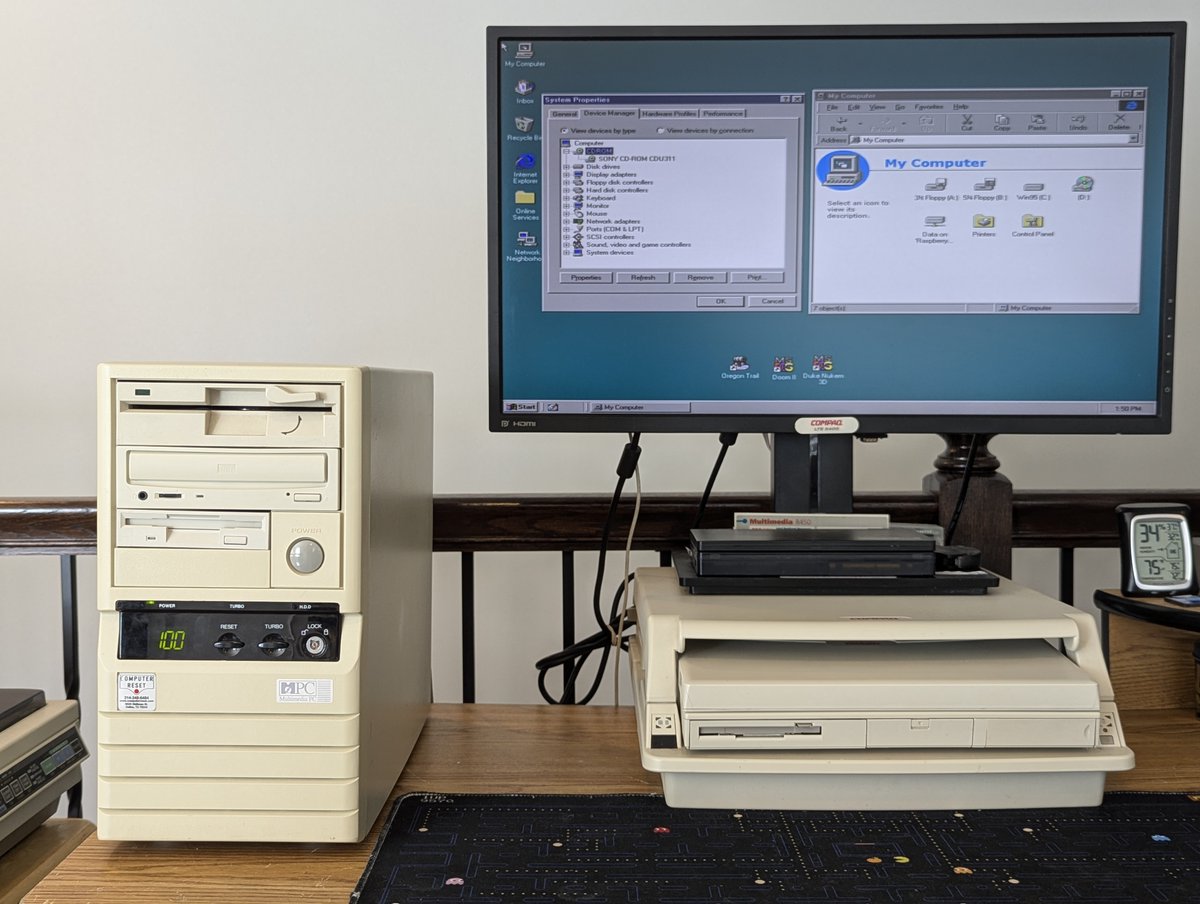
Anyway, the system is now all back together and everything is detected and working great! Image
So, the questions I wanted to answered were: what is the voltage on the processor, and what is the type of case (since I had forgotten both, ha!) I believe all 486 DX4/100 CPUs are 3.3V, I could have just looked that up! But this way was more fun 😂
Image
Image
Anyway, that's all for now. Thanks as always for following along!

@threadreaderapp unroll Image

• • •

Missing some Tweet in this thread? You can try to force a refresh
 

Keep Current with RetroTech Chris

RetroTech Chris Profile picture

Stay in touch and get notified when new unrolls are available from this author!

Read all threads

This Thread may be Removed Anytime!

PDF

Twitter may remove this content at anytime! Save it as PDF for later use!

Try unrolling a thread yourself!

how to unroll video
  1. Follow @ThreadReaderApp to mention us!

  2. From a Twitter thread mention us with a keyword "unroll"
@threadreaderapp unroll

Practice here first or read more on our help page!

More from @RetroTechChris

Aug 26
Oh my, what have we here? An eMachines?!? Yep! It's a T2341 Athlon XP 2400+ system, and I just loaded three operating systems on it (well, kindof... at least 2 of the 3 are fully functional). Let's talk about it in a 🧵 here!


Image
Image
Image
Image
So, first of all: my favorite part are the stickers on the front. I love that "Now with AMD Athlon XP 2400+" sticker, slapped on there the same way you'd find a "now with 10% more" bag of chips at the grocery store! Memory has been upgraded to 1GB, and we will change out the HDD Image
Here's a look inside. And, yea, I did pull the modem, we probably won't be using it all that much TBH.
Image
Image
Read 16 tweets
Aug 23
It's time to finally give my new Panasonic KX-P2123 a true test. I bought it about a week ago, and just finished retrobrighting a few parts and got it reassembled. Let's take a look (and a listen!) in a 🧵 here! Image
So, first of all, when I got it, there were some REALLY dark cheddar cheese color pieces. I had to take care of those. Started out with some sunbrighting but probably didn't give that nearly enough time. As they say, it's not easy being cheesy.

Image
Image
Image
I took out the switches and the paper guides, and put them on the back deck in a hydrogen peroxide bath. I left them out for SEVERAL days. While the end result is not "perfect", it's noticeably better, and it now "matches" the rest of the printer more or less. I'll take it!

Image
Image
Image
Read 7 tweets
Aug 21
The hard drive in my "new" LTE 5000 has been a little flaky and has needed some percussive maintenance a couple of times thus far. Let's swap it out for another "drive" and set this machine up in a 🧵 here!
Image
Image
First, removing the hard drives from these machines is a snap! The drives do live in these proprietary caddies (this is Compaq, after all!). This one happens to be an aftermarket "Atom drive"
Image
Image
Here's the caddy opened up. And now we see the real source of failure: the drive is a Toshiba, and these often tend to fail in these retro times. I am sure they were fine back in the day.

Image
Image
Image
Read 15 tweets
Aug 21
Let's test some more opticals, shall we? Here we go, time for a 🧵 Image
First up, we have this Sony CDU55E, which is a 2X. It kindof works, well about as well as any Sony 2X optical I have ever used 😂. I did clean the laser, no improvement. If you press "enter" to continue, the drive does continue to copy.


Image
Image
Image
Image
Next we have this Toshiba XM-5702B. Oh, I already know how this is going to go. About a 99.5% chance of a broken eject mechanism... Image
Read 10 tweets
Aug 19
My latest acquisition is here! It's a Compaq LTE 5000... with the coveted 640x480 display! It's a little wonky on boot, and had a bad DC to DC inverter, broken battery clip, and a dead HDD, but the most important part is the GOOD SCREEN! I'm excited!


Image
Image
Image
Image
It's booting now. I think the mobo is stuck in dock mode. But I swapped out for a good board. This system had a 64MB upgrade in it too! Image
Woohoo! I sprayed the other board with a half gallon of contact cleaner and now it is booting!! 🎉🎉 Image
Read 12 tweets
Aug 18
I'm going to test some more opticals... but going to do it live on a livestream with @dave_vintage for the next 20 mins or so! Come stop by if you are around and would like to see it!
First up, going to test this 8X Samsung!
Image
Image
Oh dear!
Read 8 tweets

Did Thread Reader help you today?

Support us! We are indie developers!


This site is made by just two indie developers on a laptop doing marketing, support and development! Read more about the story.

Become a Premium Member ($3/month or $30/year) and get exclusive features!

Become Premium

Don't want to be a Premium member but still want to support us?

Make a small donation by buying us coffee ($5) or help with server cost ($10)

Donate via Paypal

Or Donate anonymously using crypto!

Ethereum

0xfe58350B80634f60Fa6Dc149a72b4DFbc17D341E copy

Bitcoin

3ATGMxNzCUFzxpMCHL5sWSt4DVtS8UqXpi copy

Thank you for your support!

Follow Us!

:(