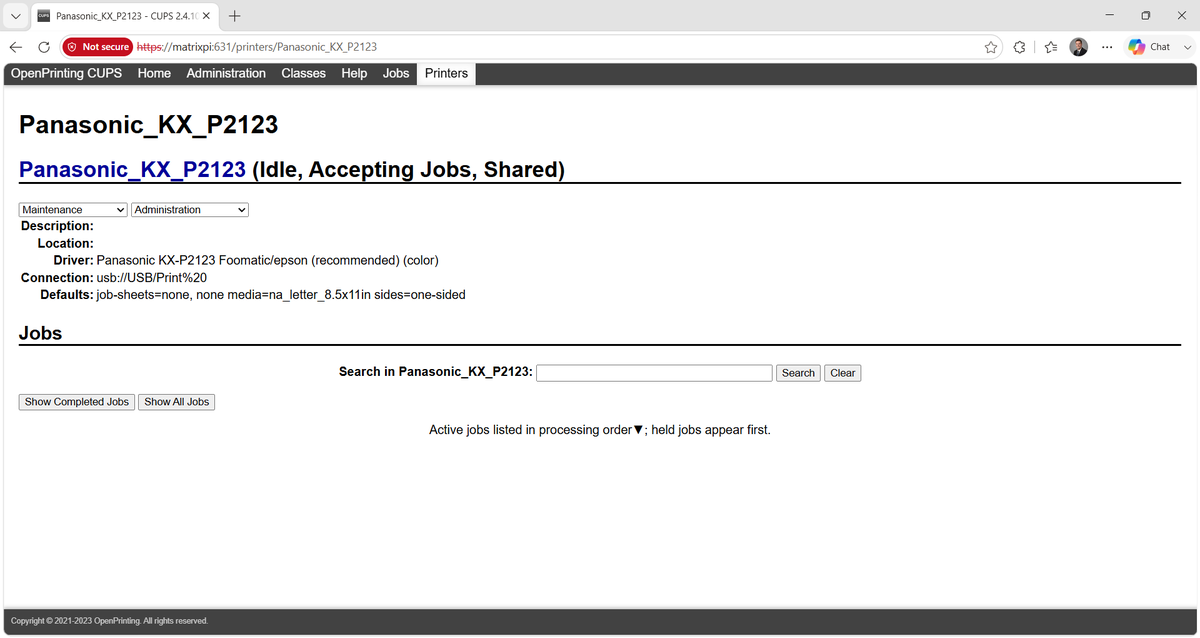
Yesterday I shared that I had put my Panasonic dot matrix printer on the network. Some people asked "how did you do that"? Well, I put together a tutorial for the interested! Time for a 🧵
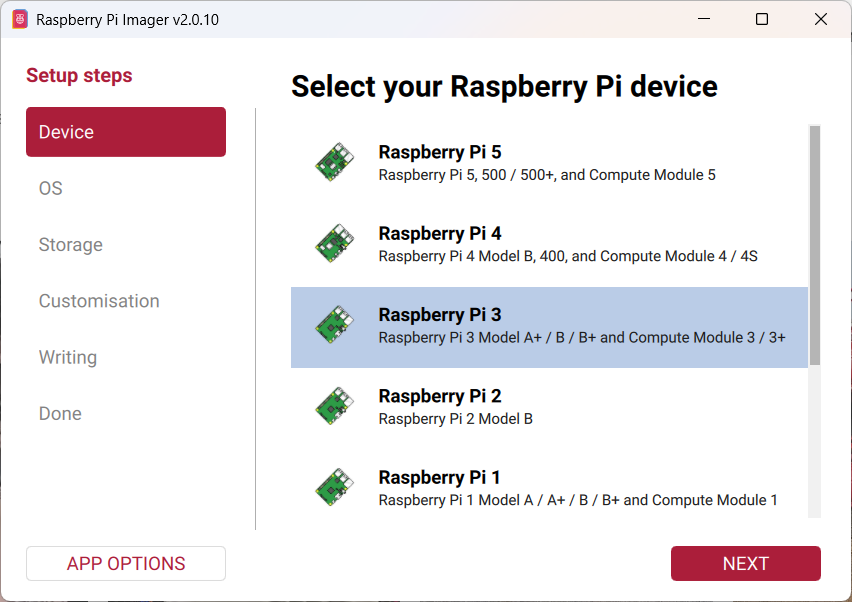
First and foremost, let's talk about the hardware. I chose to use a Raspberry Pi 3 that I had sitting in a drawer. I also have this Sabrent USB to Parallel cable as well, which you can find for pretty cheap if needed! I'll used a 32GB MicroSD card for the Pi
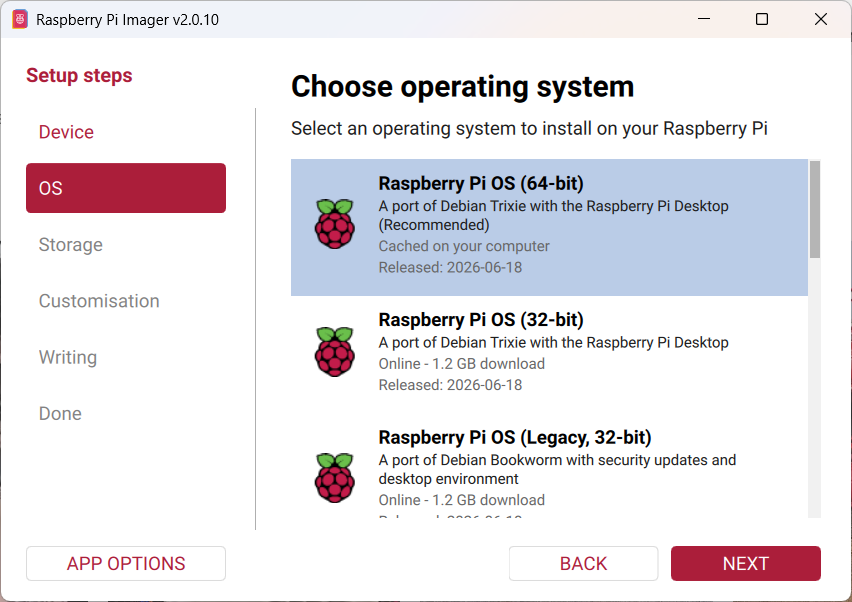
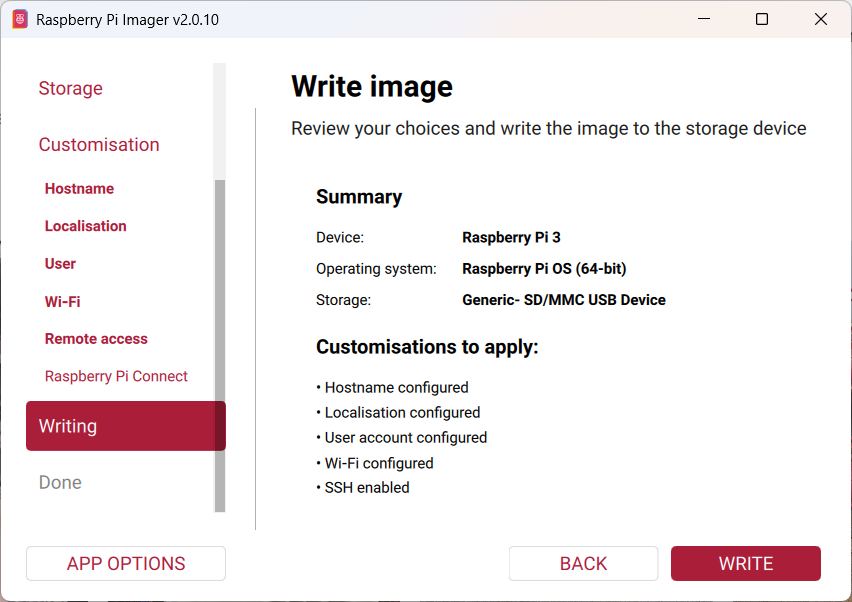
So, the first thing I did was to load the 64-bit version of Raspbian on the pi using the Raspberry Pi Imager. I gave the pi a hostname of "matrixpi", configured the WiFi, enabled SSH, and set a default login of "pi" with a password.
I'm continuing my Micro SD Card "swapout" to reclaim some of my bigger cards with these smaller 32GB cards that I bought. Today's victims are my ITX Llama and the Raspberry Pi 4 Model B that puts my HP LaserJet 5L on the network. Let's talk about how it's going, time for a 🧵
First, we'll start with the ITX Llama. I took out the SD card from the motherboard and brought it to my modern system. Only one partition was showing though! So I booted the ITX Llama back up and adjusted what is currently visible from the boot manager. Okay, that's better!
Oh, here is what FDISK shows after making that change! The "non DOS" partition is Windows 98, FAT32, which DOS 6.22 can't see
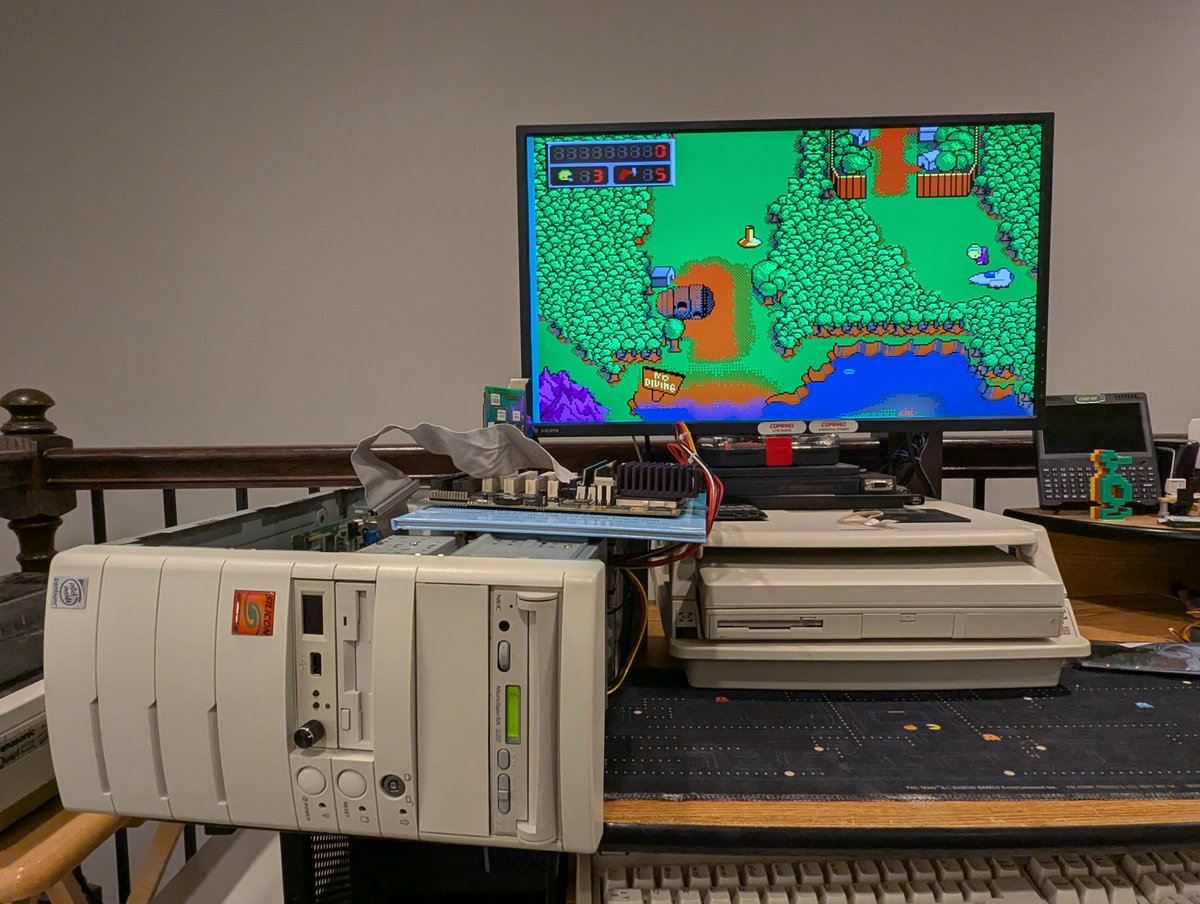
I decided to round out the day with one final test... the Socket 7 motherboard that I got from the Retro Bits and Bytes Swap Meet. And I have good news to share. Time for a quick 🧵
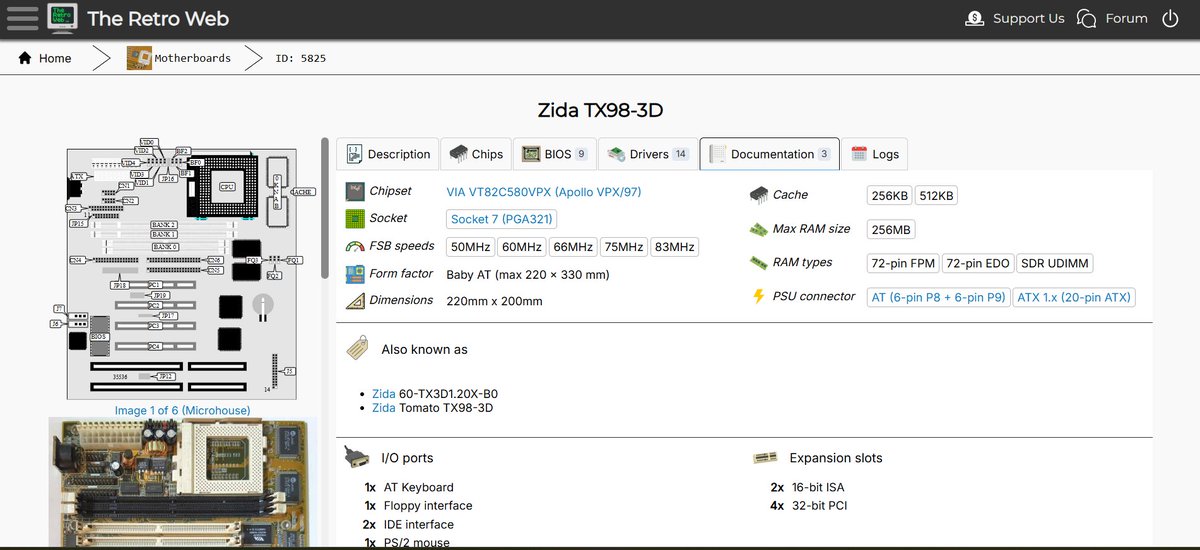
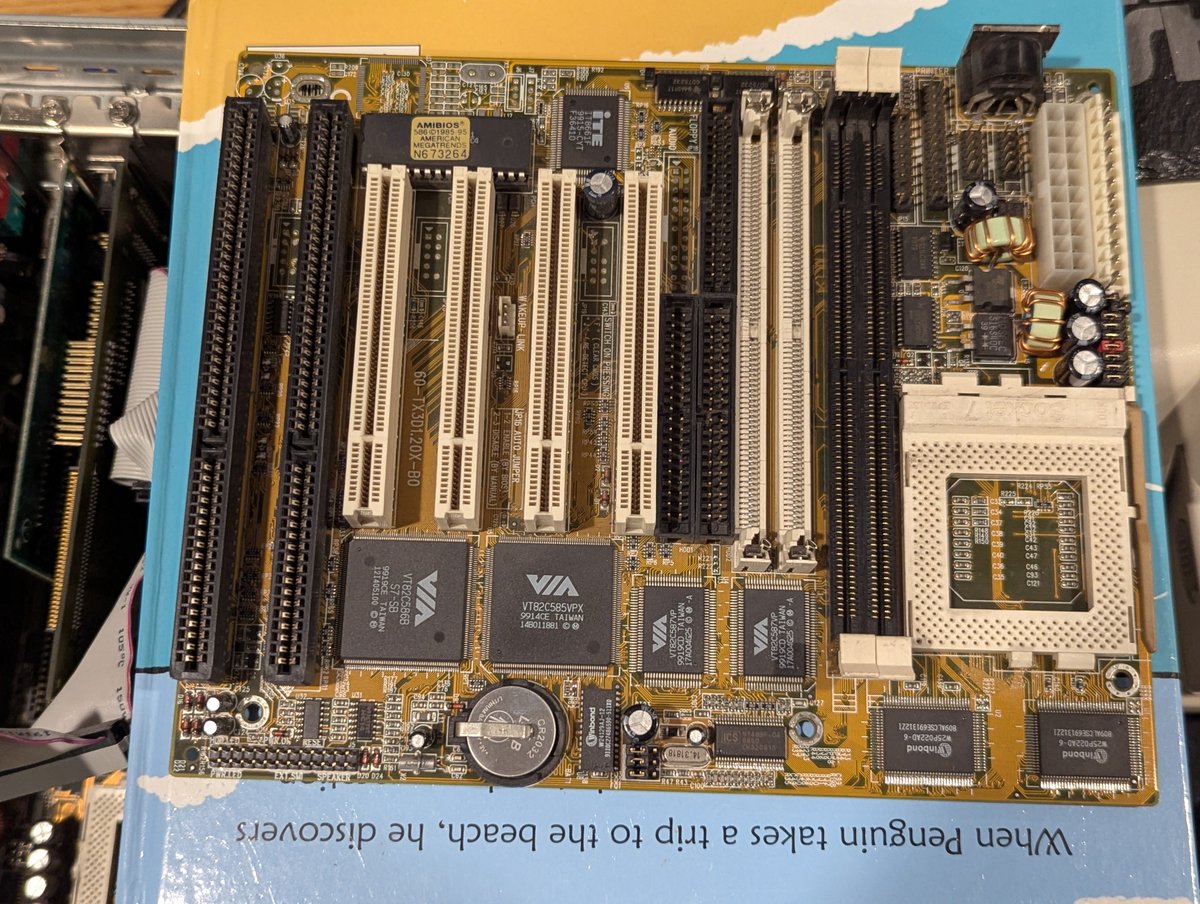
This particular board is a Tomato TX98-3D. Did the fact that this board was labelled a "Tomato Board" encourage me to purchase it, even though I didn't really need it? Perhaps 😂
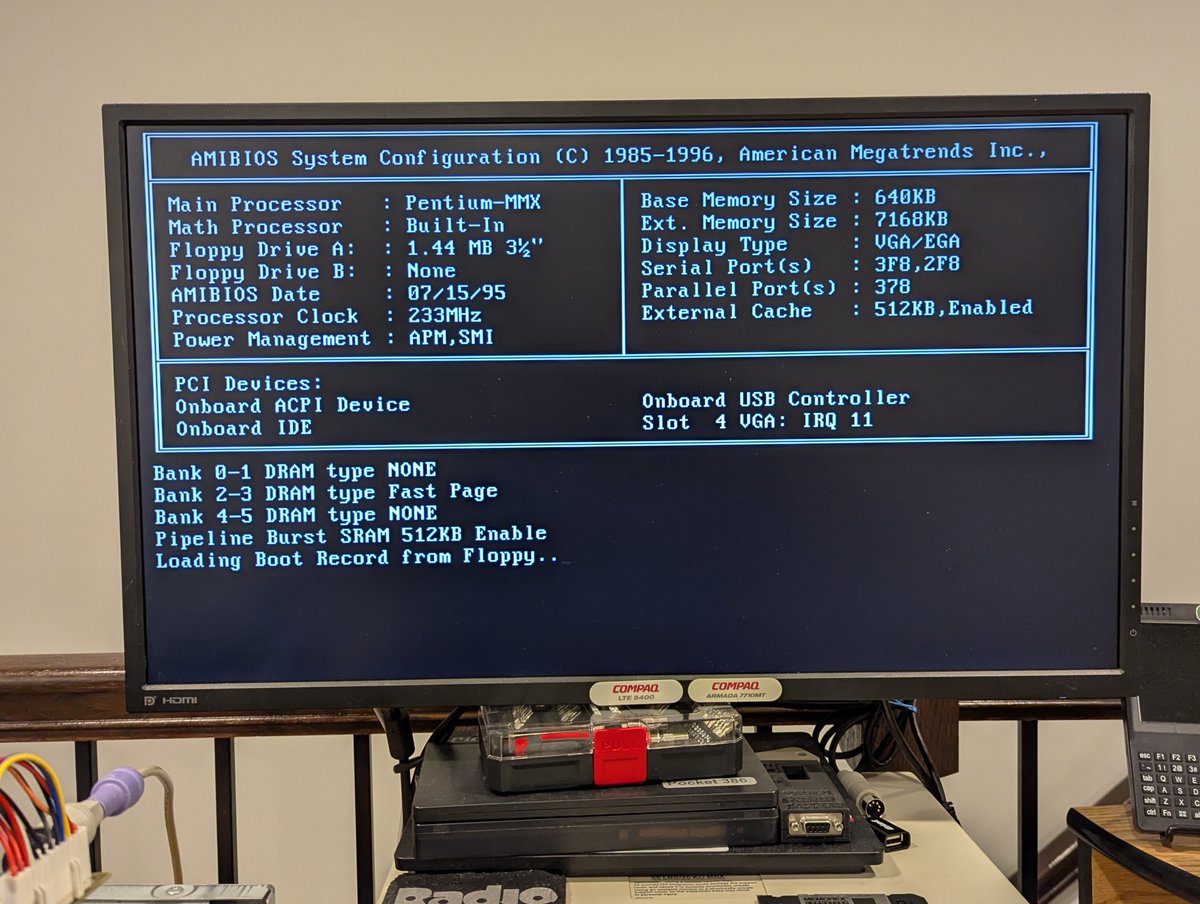
So, here we go, first power on! My POST card reader is looking good! I did have to choose the right speed in the BIOS, which is fine. And we can see that everything got detected nicely!
I picked up juuust a few items at last week's Retro Bits and Bytes Swap Meet here in Northern Virginia USA. Perhaps we can test a few of them, let's see how it goes! Are these new old stock floppy drives going to work? Let's find out! Time for a 🧵
So, first of all, we are need to need a test victim... erm... I mean a test harness... or a test machine. I think the Kehtron 486 DX/50 is the perfect candidate. It's been a little flaky recently though. I had to reseat the HDD/FDD controller to get it to boot!
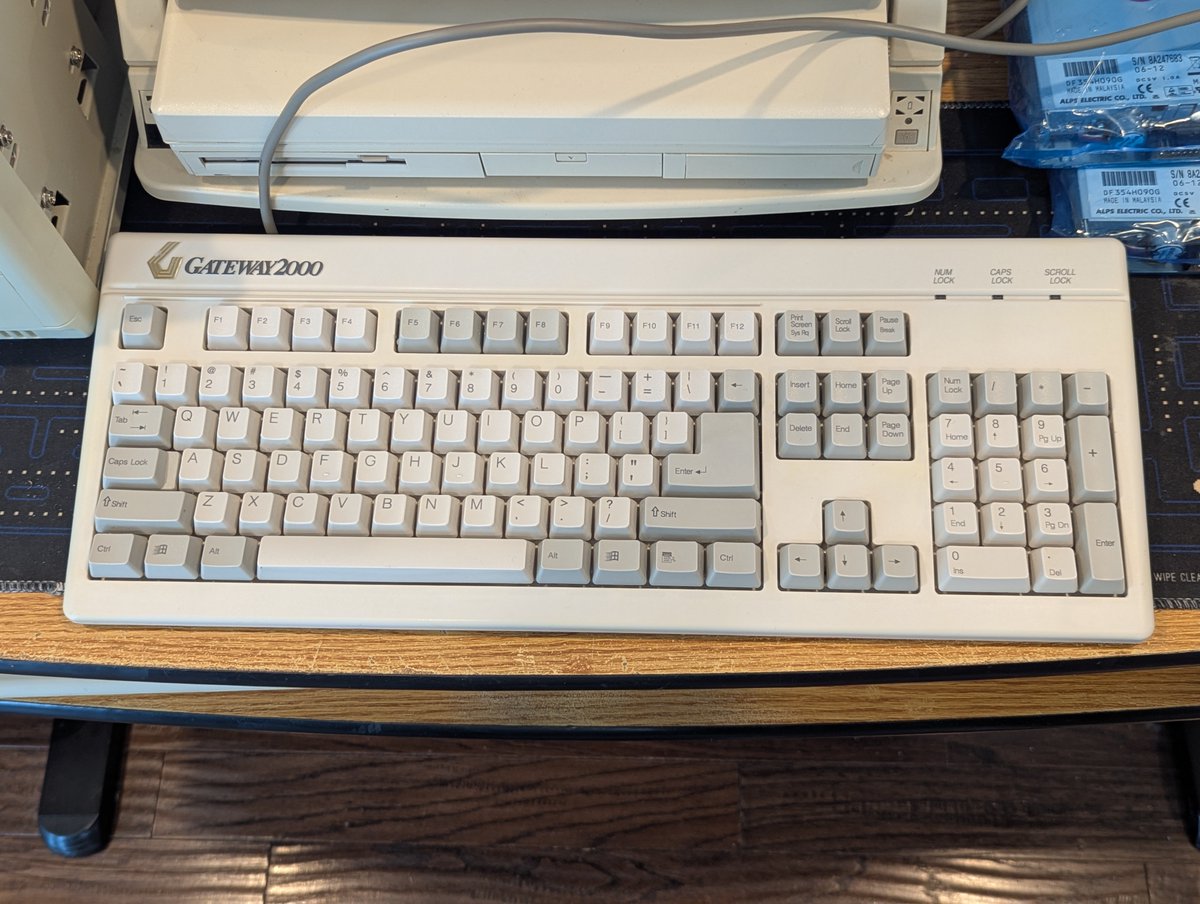
Let's begin our testing session with this beeeautiful Gateway 2000 keyboard. It works great! I took it downstairs and cleaned it up, and now not only does it work great, it also looks great!
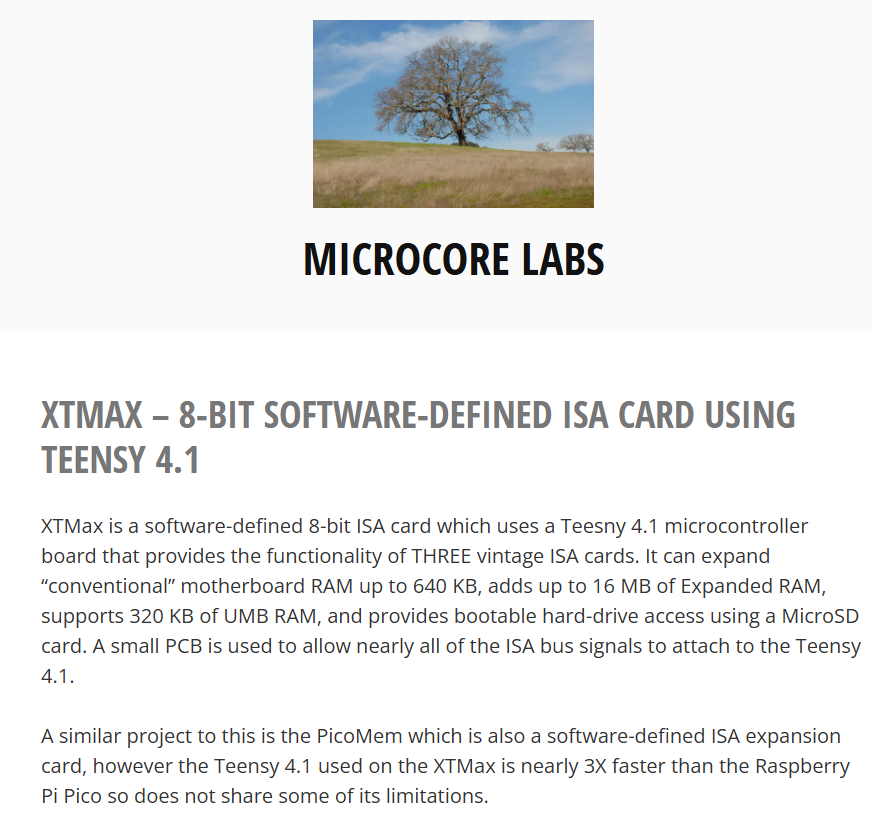
Most people in the retro PC world have heard of XTIDE, and many are now aware of PicoMEM, but have you heard of the XTMax? I recently learned about it, and decided to pick one up. Let's talk about it in a 🧵 here!
The XTMax was designed by Ted Fried (MicroCore Labs) and is an 8-bit software defined ISA card that expands RAM up to 640KB, adds 16MB of expanded memory, and provides bootable HDD-like access. It uses a Teensy 4.1. And yes, there is PicoMEM rivalry, more on that in a minute.
Here's the back of the card. And here it is installed.. it's rather "wide." I also noticed that it isn't particularly "stable" in the slot, which did cause me some boot errors.
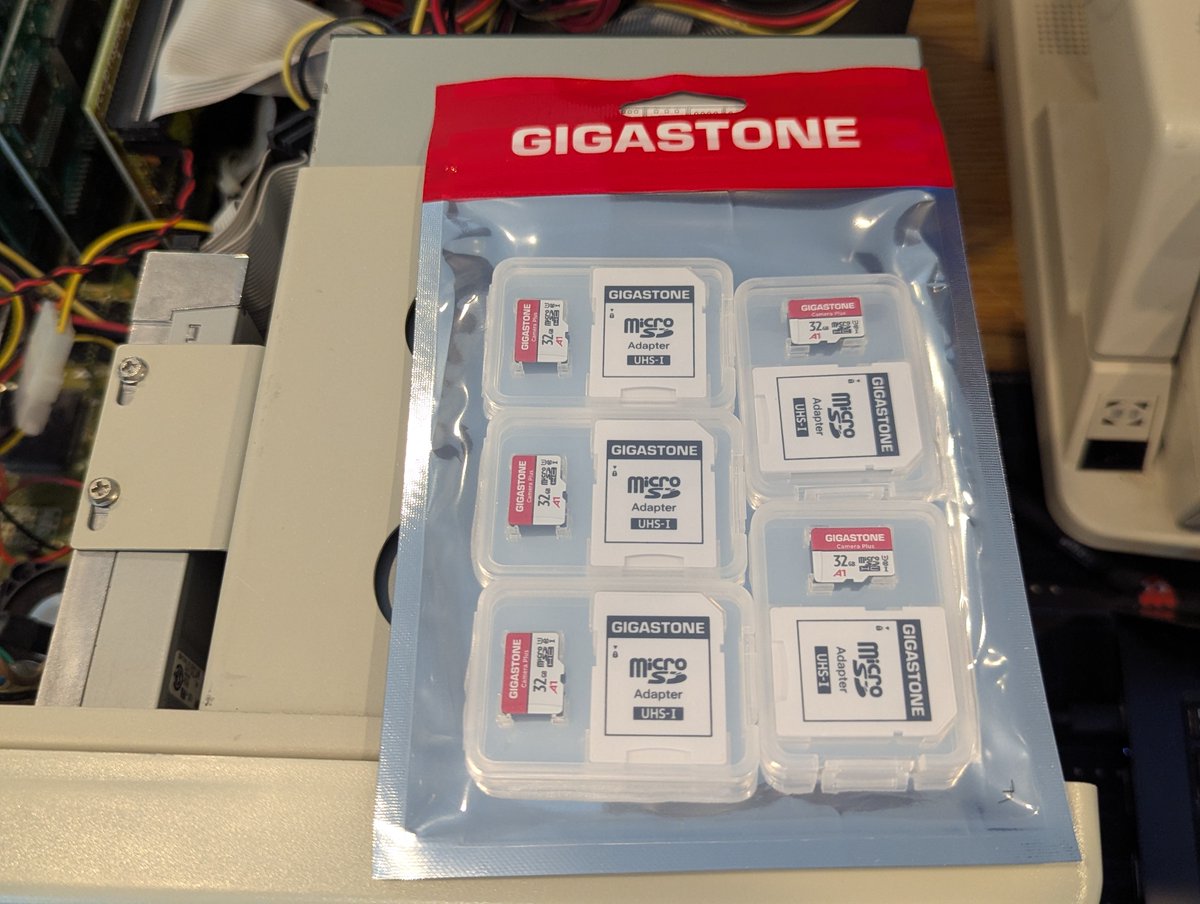
Recently I noticed my spare Micro SD cards stash was getting low. I got to thinking: I have a lot of devices that have much bigger cards than they need, so I bought a bunch of "cheaper" 32GB cards and looked at my retro devices to "reclaim" the bigger cards. Time for a 🧵
First, I looked at my SCSI emulators... both my BlueSCSI and ZuluSCSI Blaster, but quickly realized they don't take Micro SD cards. Next 😂
I pulled out my WirSA modem, and SD2LPT (or whatever it is called) and downgraded both to 32GB cards! Same with my RGBtoHDMI