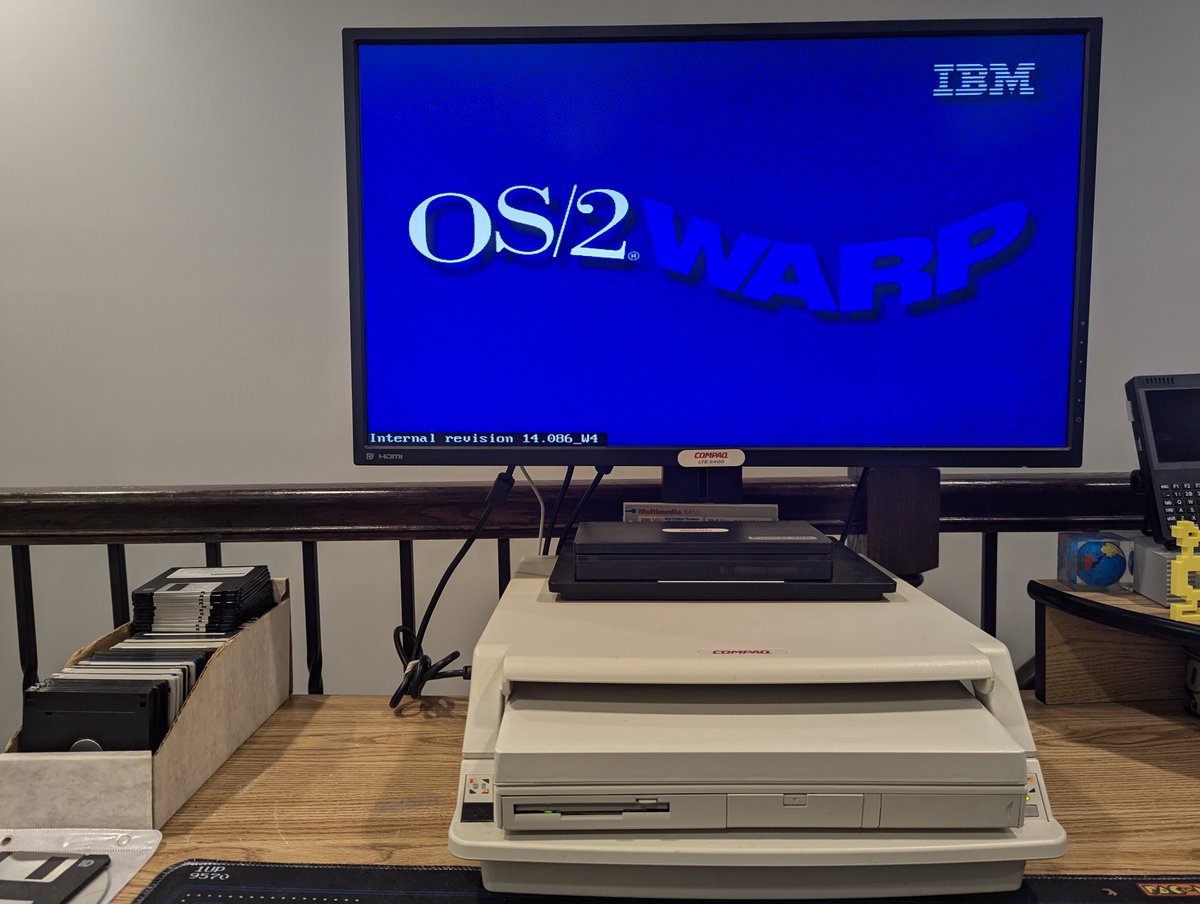
OS/2 Warp 4.52: Successfully installed on my Compaq LTE 5400. Let's cover the process and talk about the "fun" I had doing this in a 🧵 here! 

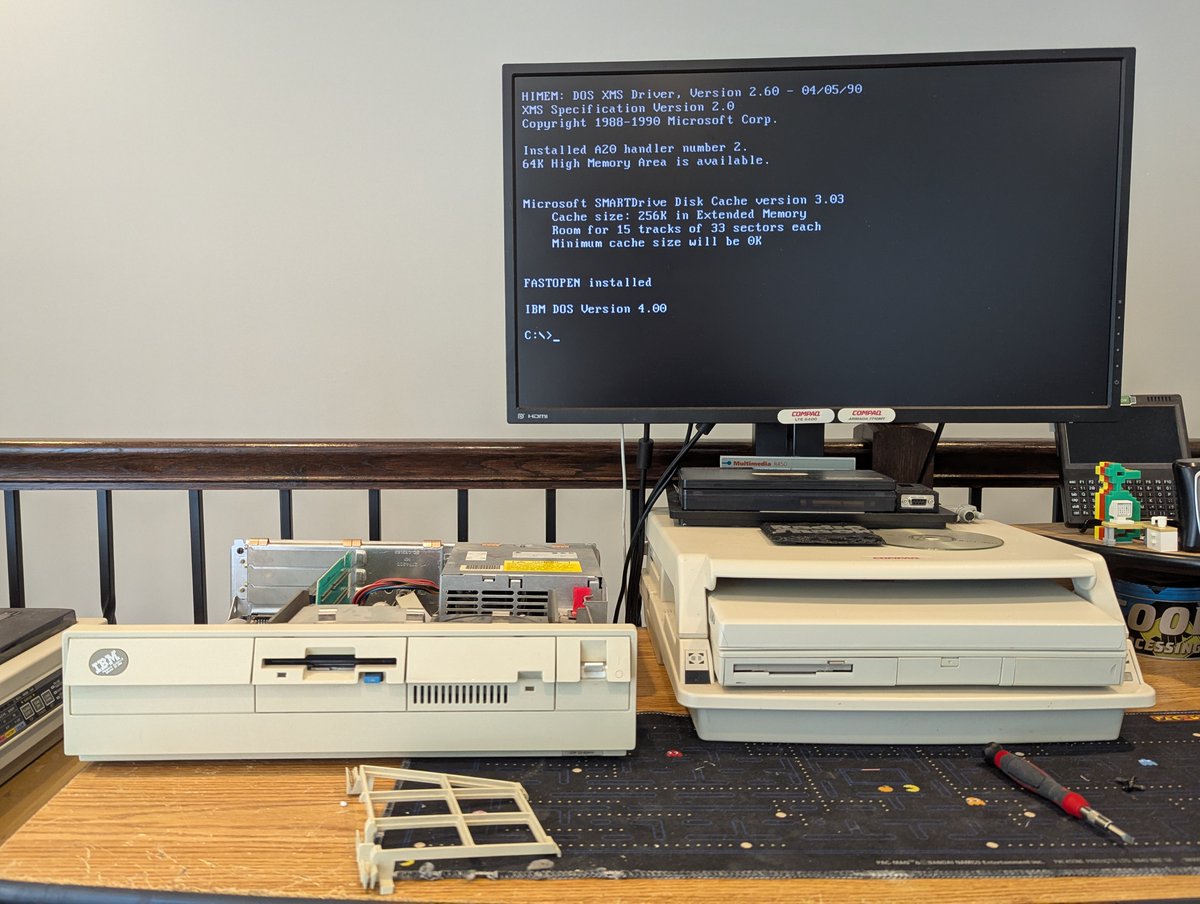
So, the first thing I did was prep a CF card. We're going to go with a 4GB CF card, but only going to use 2GB of it so that we can format it as FAT16. But, anyway, we have room for growth later if we need it.


My first installation plan was to use Smart Boot Manager to boot off of CD. My Compaq LTE 5400 doesn't allow booting from CD, but Smart Boot Manager would overcome this limitation! I could have created boot disks, but I wanted to try this out!


On boot, we kept on freezing. So, I started up and pressed ALT+F2 to show me drivers as they loaded. No idea what parallel.snp does, I did disable the parallel port in case it was related. No change. I might have been able to get past this with ALT+F6, but stopped here.


Instead, I decided I would start the install in a Virtual Machine. So I mapped the CF card to a vmdk file, and then launched VirtualBox with the xclusive program. I won't go into more detail as to why, but this guy can tell you they why/how of this:


Here are my other settings for the VM. I'm not sure how critical they are, but I hear that Hardware Virtualization might be required for OS/2. I also wanted to minimize installed hardware. I am running VirtualBox 5.2.44 since I've found it to be more compatible with older OSes.


From there, I booted the OS/2 Warp 4.52 Boot CD. I swapped in the Client CD when asked, and also set up a 2GB installable partition.


I then put the Boot CD back into the "drive", and did a restart. The installer continued on, and I chose FAT file system so that we can add files to the drive later easily. After OS/2 checked workstation configuration, a reboot was initiated, and I powered down the VM.


Why did I power down the VM? I wanted to add driver files to the drive. So, to do that, I shut down VirtualBox (since we were "xclusively" locking the disk). I copied network and video drivers over, and relaunched VirtualBox with xclusive.


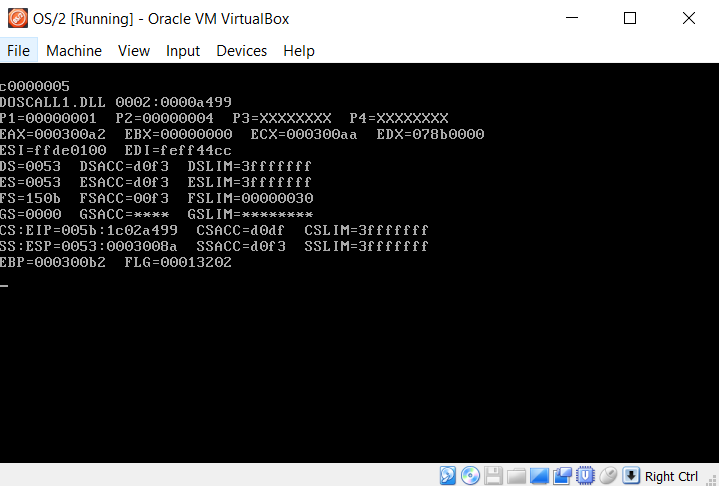
Now, at this point, when the VM starts up (or reboots during install), you might get a "trap" like this. OS/2 is very sensitive to timing. If it happens, I suggest closing the virtual machine and relaunching it. Might take a few tries.
At this point, we will boot into the graphical installer. The Client CD should still be in the drive. I changed the Primary Display and Multimedia Device Support as you see below.

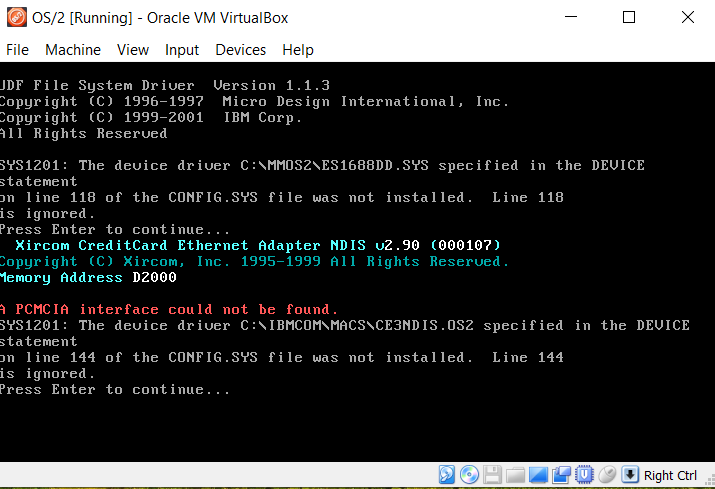
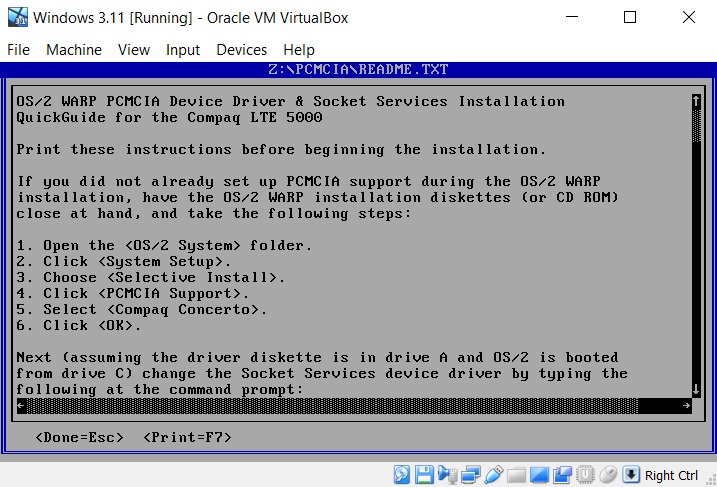
Now, next up, you have the option to choose PCMCIA. As it ends up, my network card conflicts with PCMCIA drivers. But if you are using a PCMCIA modem, or a PCMCIA flash adapter, you might want to install drivers here! You'd want to choose IBM ThinkPad 380/D/E/ED. Why, you ask?

The answer: the Compaq LTE 5400 has a Cirrus PCMCIA chipset, and so does the ThinkPad 380/D/E/ED. Compaq does have a separate drivers disk you can use, but this should work just fine!

However, in my case, I am going to install without PCMCIA Support as to not break my PCMCIA network card later.

On the next screen, we get to choose our networking services. This should do the trick nicely!

Now let's install our network card. It's a Xircom RE-100 (RealPort Ethernet 10/100). I was able to find the drivers online! Also, I uninstalled the NETBIOS protocol and installed NETBIOS OVER TCP/IP to support file sharing with Samba shares!


Here's the rest of my network configs. I set up a user, set my machine name, and enabled DHCP!


From there, the installer continues with a few reboots. Just press "enter" to get through the driver errors on reboots. When you see the screen on the far right, click Exit, the installer is now done. Power down the virtual machine, and let's put the CF card into the laptop!


With the CF card in the laptop, we can boot up and configure video. There are Compaq drivers, but these equivalent Cirrus Logic TravelMate drivers are easier to extract. I extracted them and ran the installer!


We get to do some configuration fun and point the installer to the driver directory. When that finishes, we can launch OS/2 System -> System Setup -> System and configure the video! I chose 800x600x65535


After a reboot, I must say, we are looking sharp!

I thought I would test out the CD-ROM. Putting it into the multibay of the LTE 5400 and powering up, it got detected right away. Win!

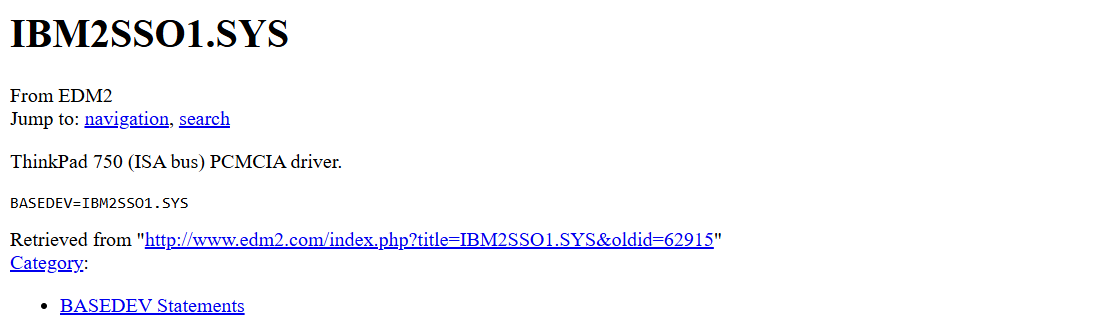
Let's talk about PCMCIA. Once again, the ThinkPad 380/D/E/ED drivers should work, but there are Compaq ones too! To use them, you'd choose the ThinkPad 380/D/E/ED for driver support, then replace IBM2SS01.SYS with SSCLPD.SYS in C:\config.sys (available in Compaq SoftPaq SP1482)


And, worry not, if you decide to do that, there are good instructions in a README file in Compaq SoftPaq 1482. Oh, you also need to copy SSCLPD.SYS to C:\OS2, but it is all covered in the README.
So, yes...as mentioned earlier, the PCMCIA drivers caused me some pain with networking. If you did choose to install the PCMCIA Support, and you want to use a Xircom RealPort 10/100, go to C:\config.sys and comment out the line with IBMSS01.SYS. This took me HOURS to figure out.


And one more comment about PCMCIA (sorry! I hope this all helps someone). If you do use PCMCIA support, you get this snazzy utility to manage PCMCIA cards! I guess I won't be using it for now 😂

Whew! I hope you enjoyed following along with my Compaq LTE 5400 OS/2 adventure. I did pull some of my hair out, but in the end, we got there! I wish there was support for my wireless Cisco AiroNet 350 PCMCIA card, but you can't win them all!
@threadreaderapp unroll
@threadreaderapp unroll


• • •
Missing some Tweet in this thread? You can try to
force a refresh