RetroTech Chris Profile picture
Jan 7 9 tweets 5 min read Read on X
Looks like a new PicoGUS firmware was released last month that has built-in WiFi support! Time for me to update the PicoGUS Femto on my Pocket 386 with the latest and greatest, and we'll do so in a 🧵 here! Image
Image
Image
So, first, I have actually been running a WiFi "developer" firmware build for quite some time, since around April 2024 or so. I put together a procedure on how to build and update the firmware at the time. You actually had to hardcode your SSID and password back then! Image
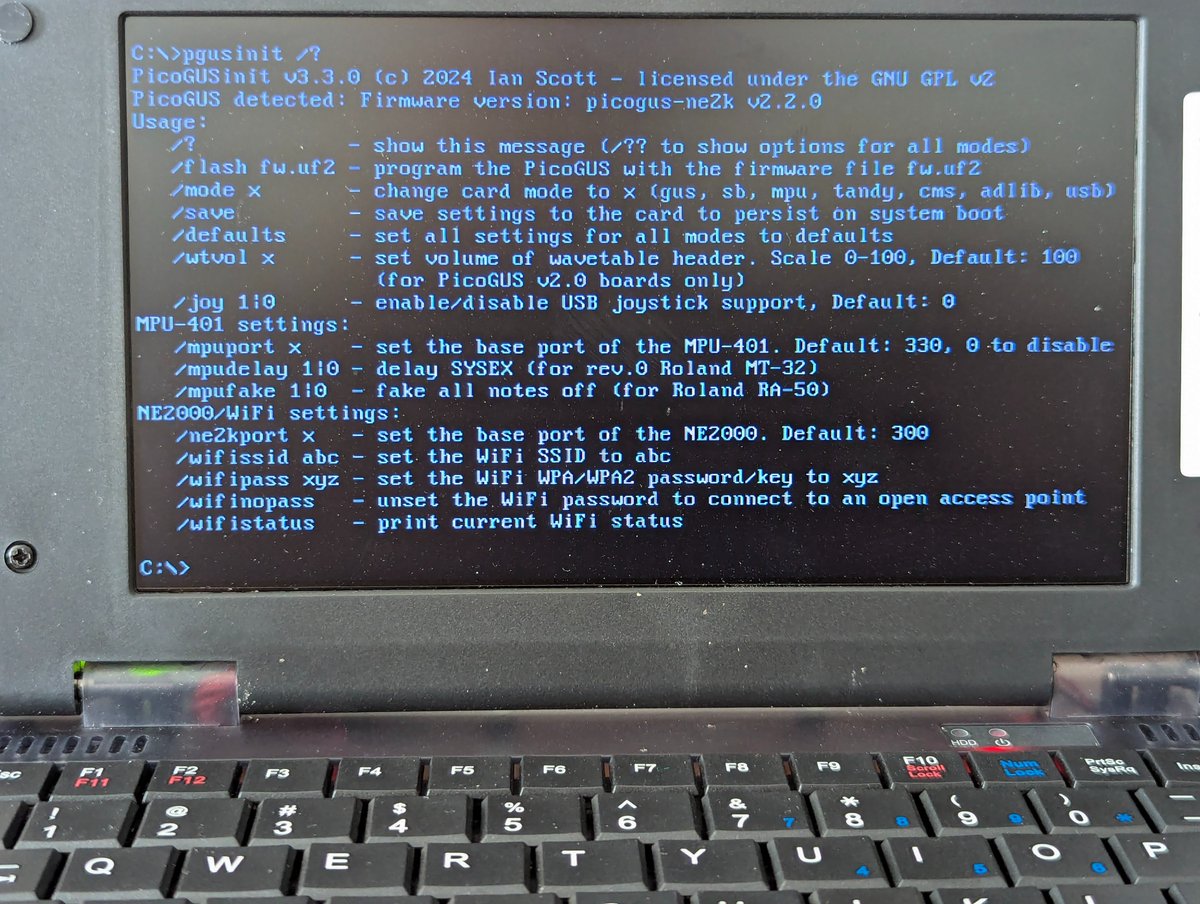
For the curious, the release notes for the firmware we are using can be found here (you'll see which versions of PicoGUS can support this firmware and the caveats. My device supports it and I am most interested in WiFi capability, so this works for me): github.com/polpo/picogus/…Image
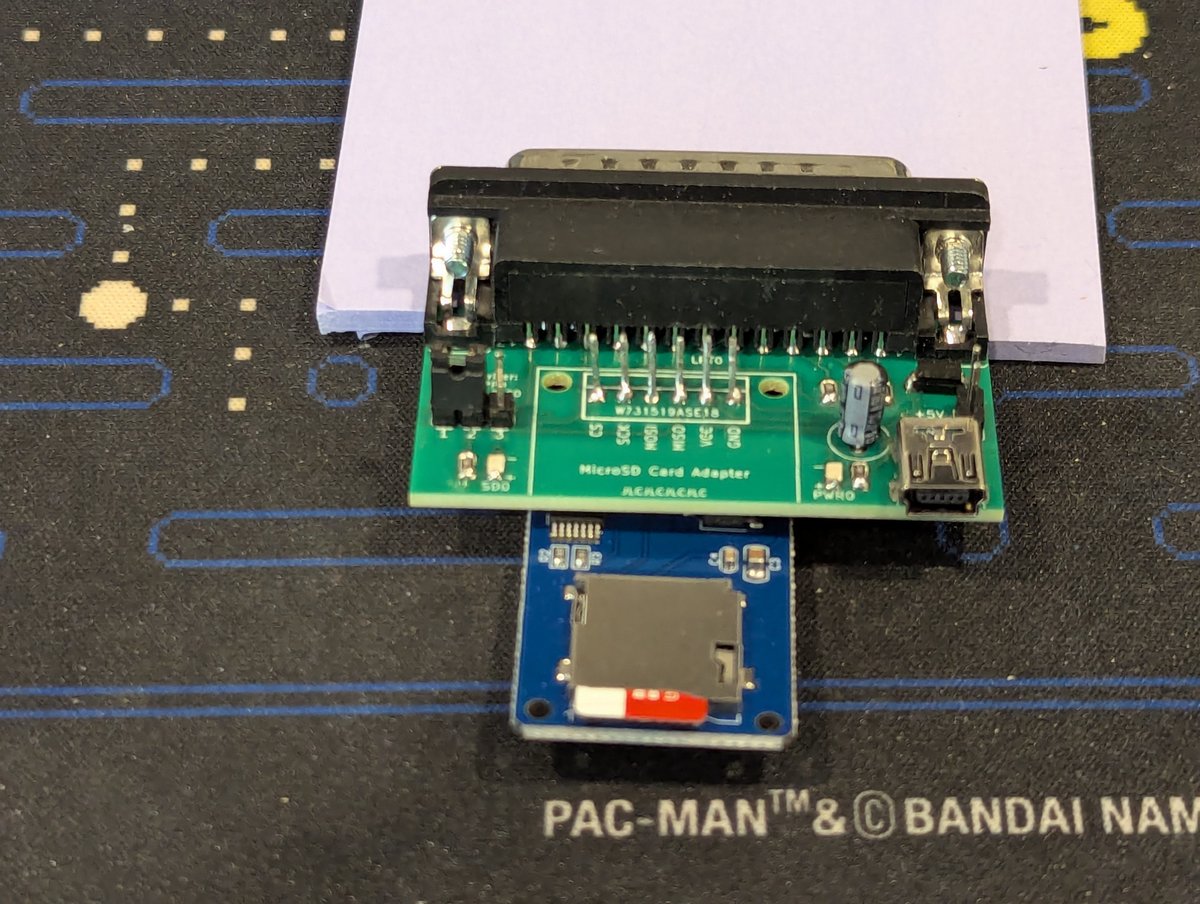
So, to set the SSID and password, we will use PGUSINIT.EXE. Since I'll lose configuration after I update the firmware, I am going to use the network to copy this over to the Pocket 386 first 😂 Image
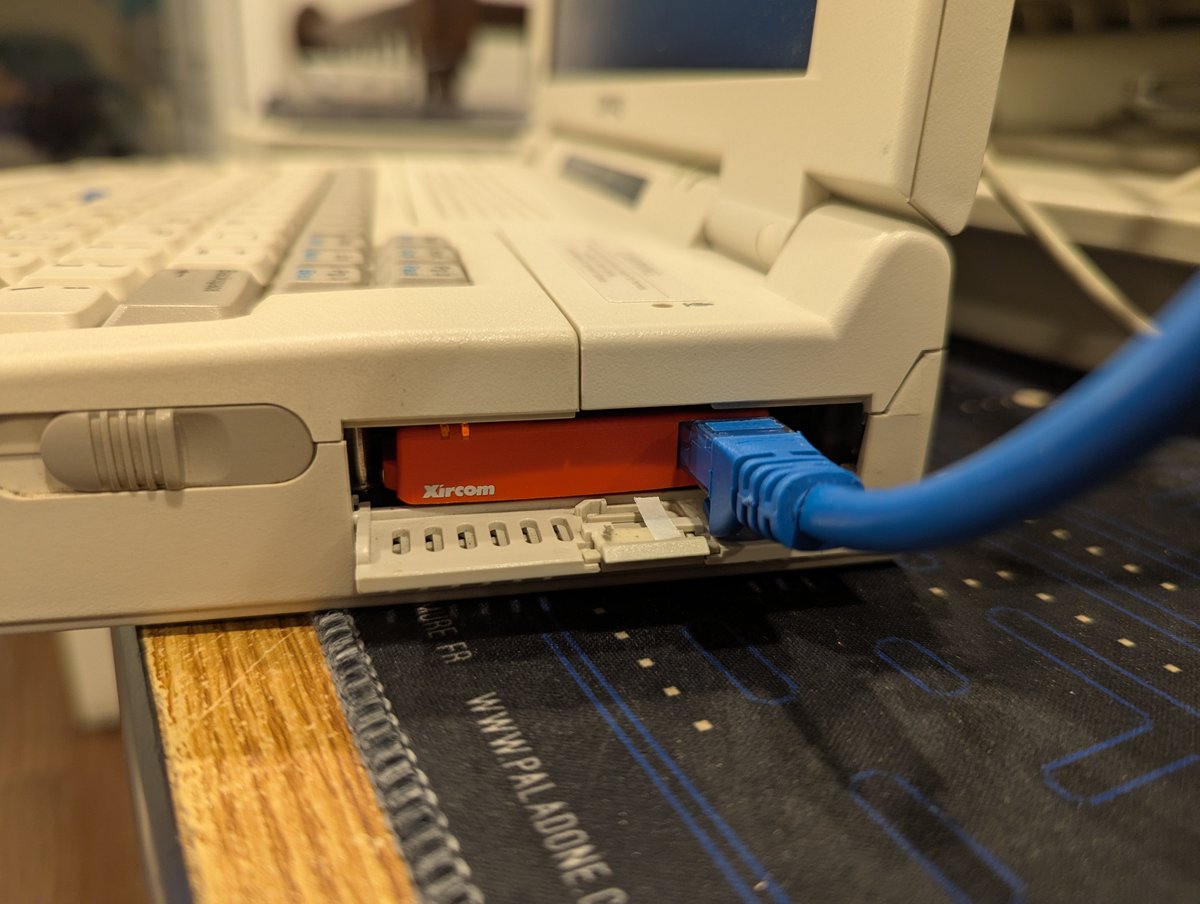
From there, update is a cinch. Hold down the button on the Pi Pico, connect the PicoGUS to your modern computer, and drag the new firmware over to the drive letter that pops up for the Pi Pico. That's it! Image
Image
Next, we'll configure with PGUSINIT.EXE. We can use the appropriate settings to set WiFi SSID and password, and then use the /save option to write the configs to the device! Image
Image
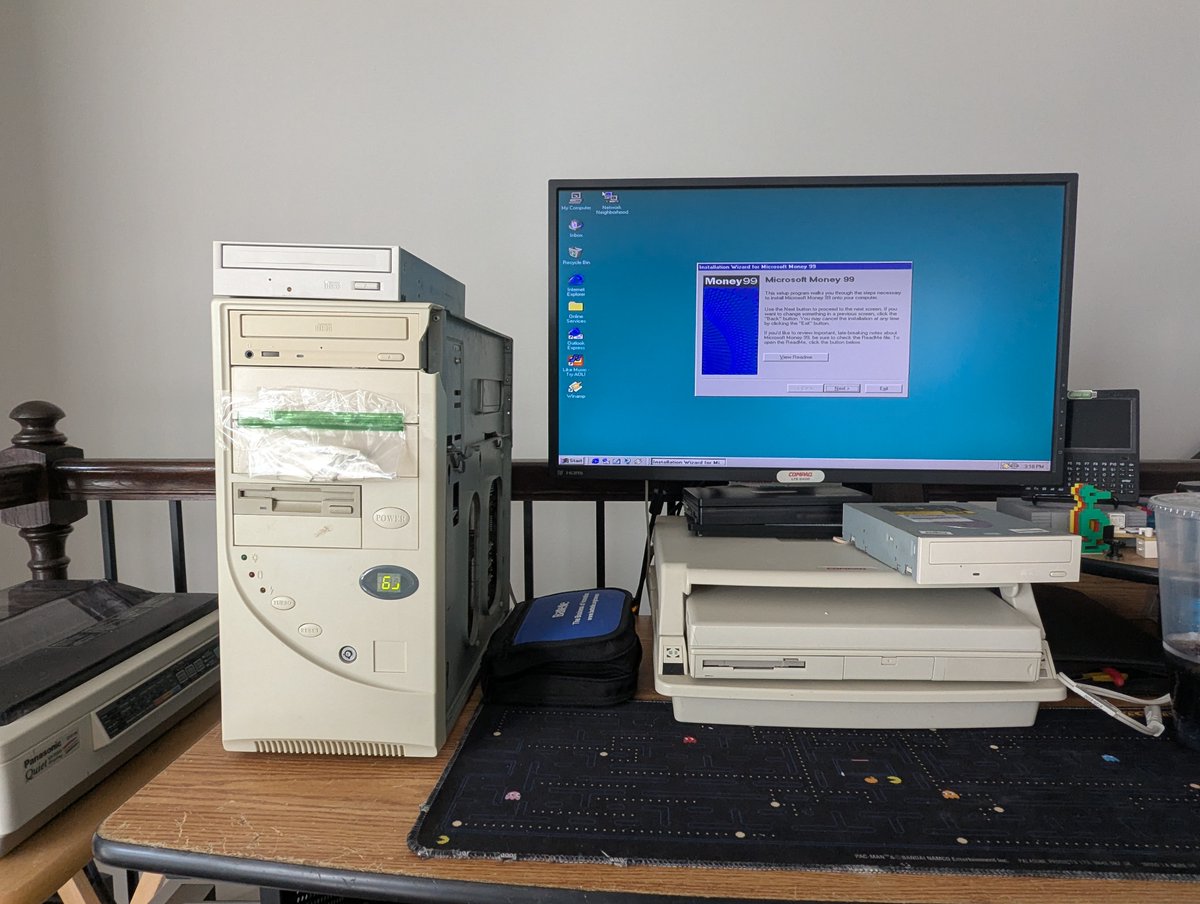
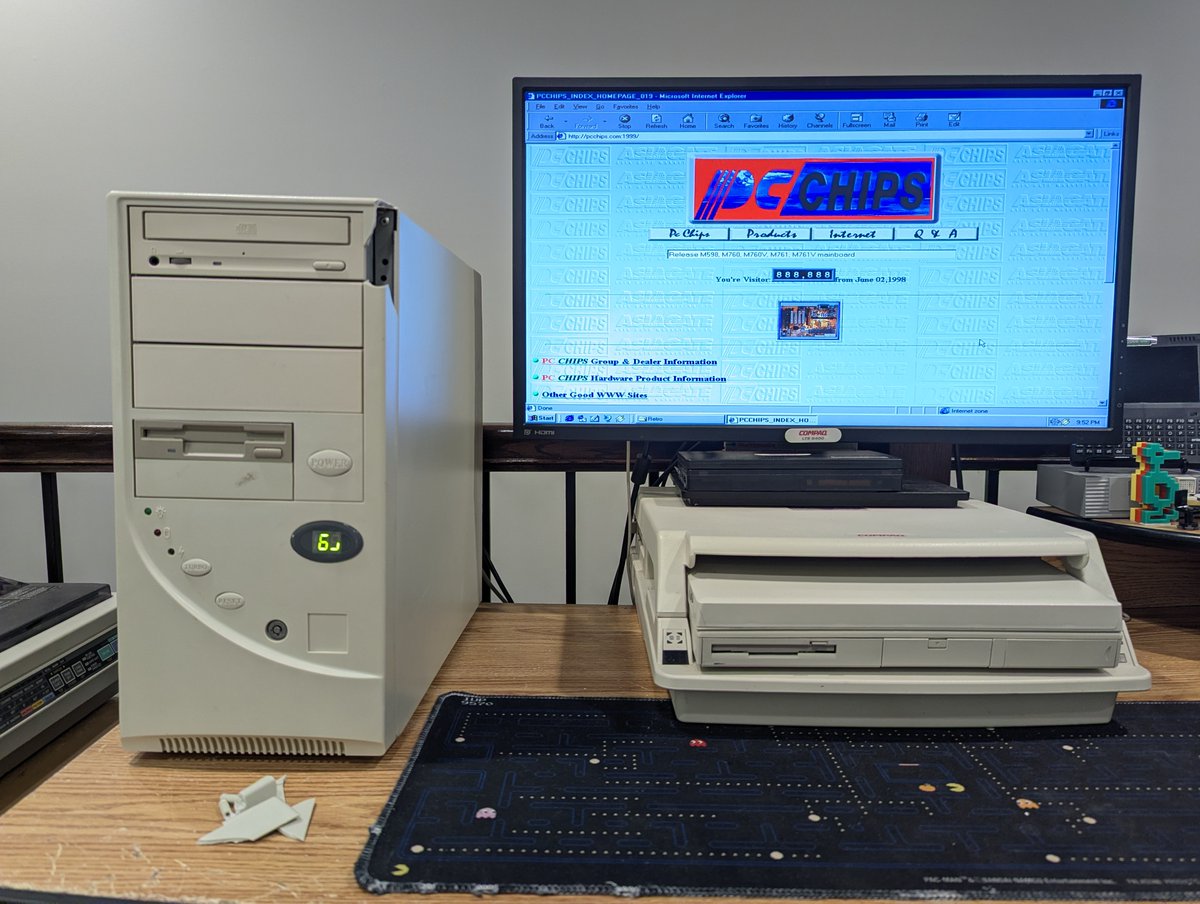
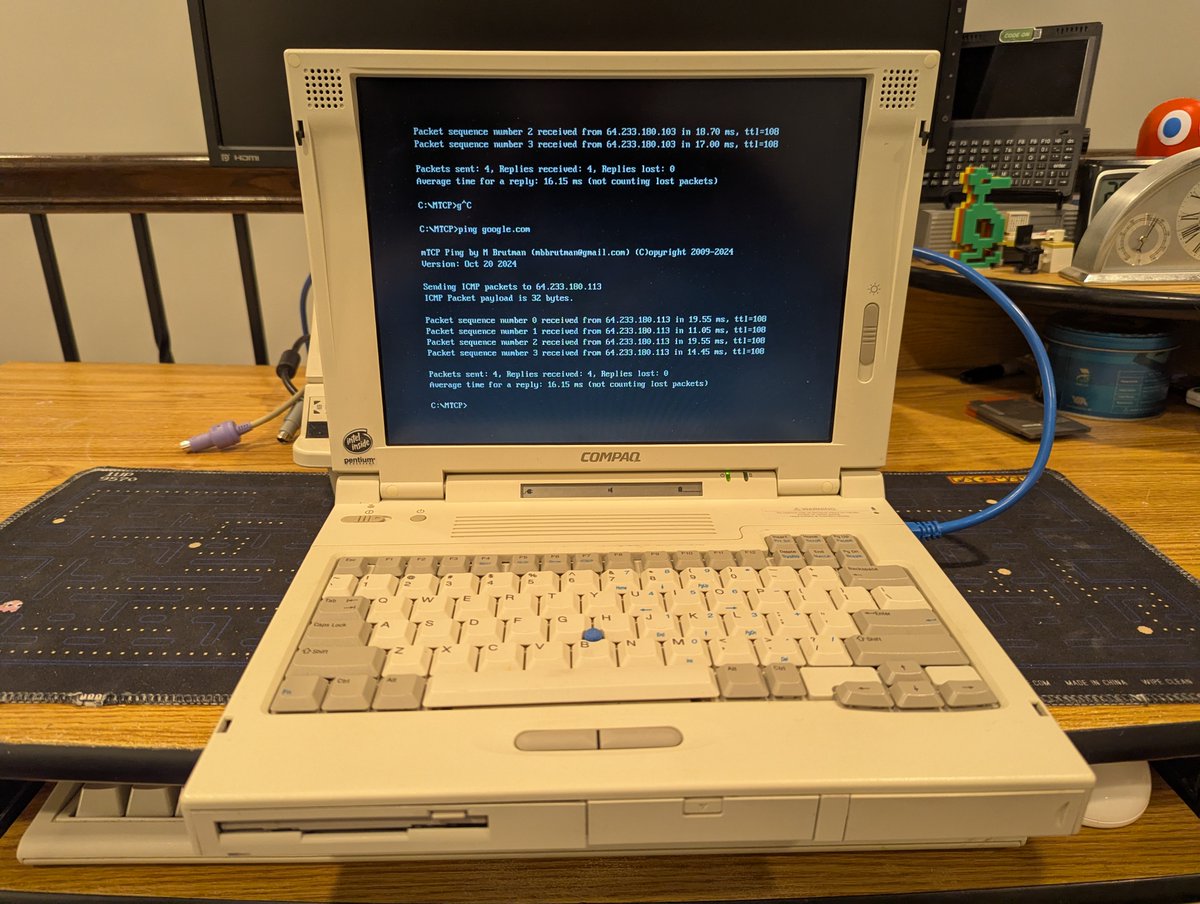
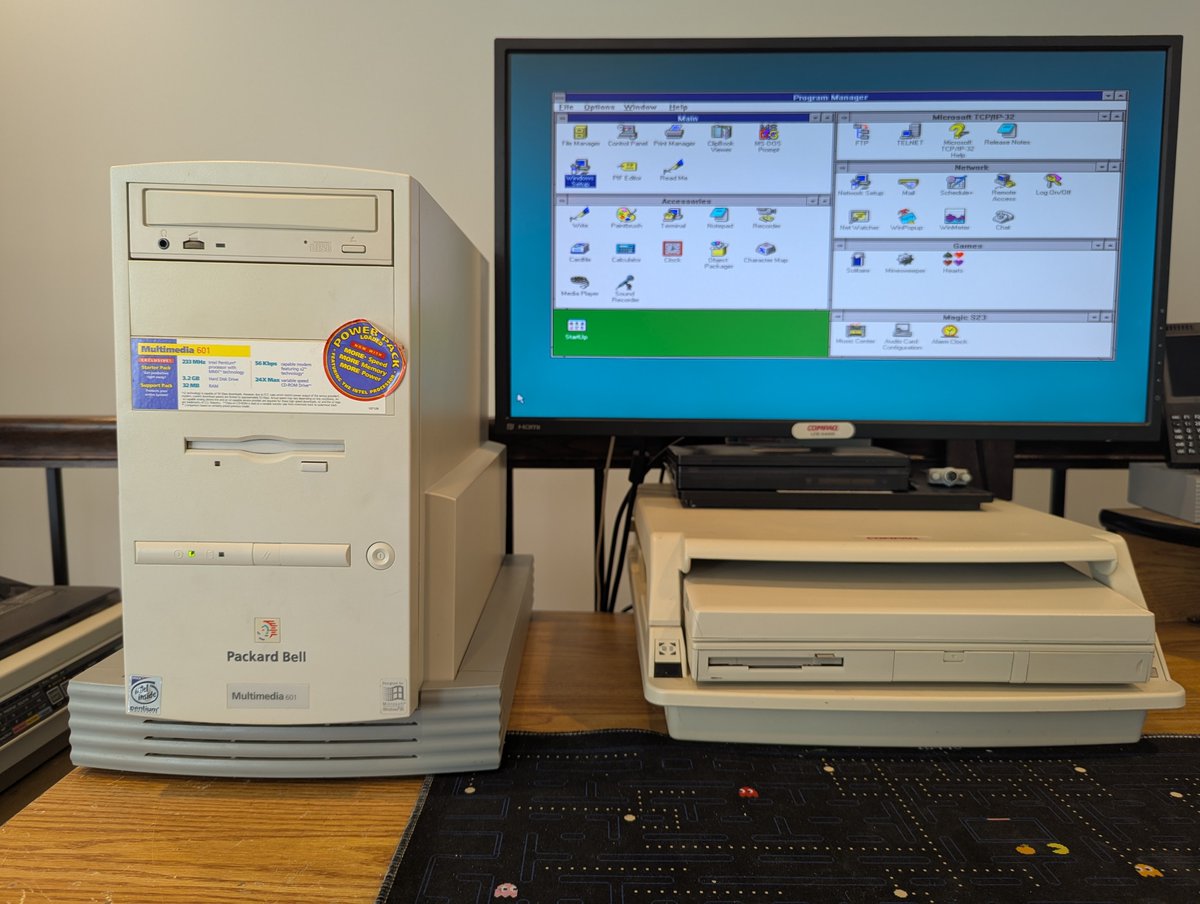
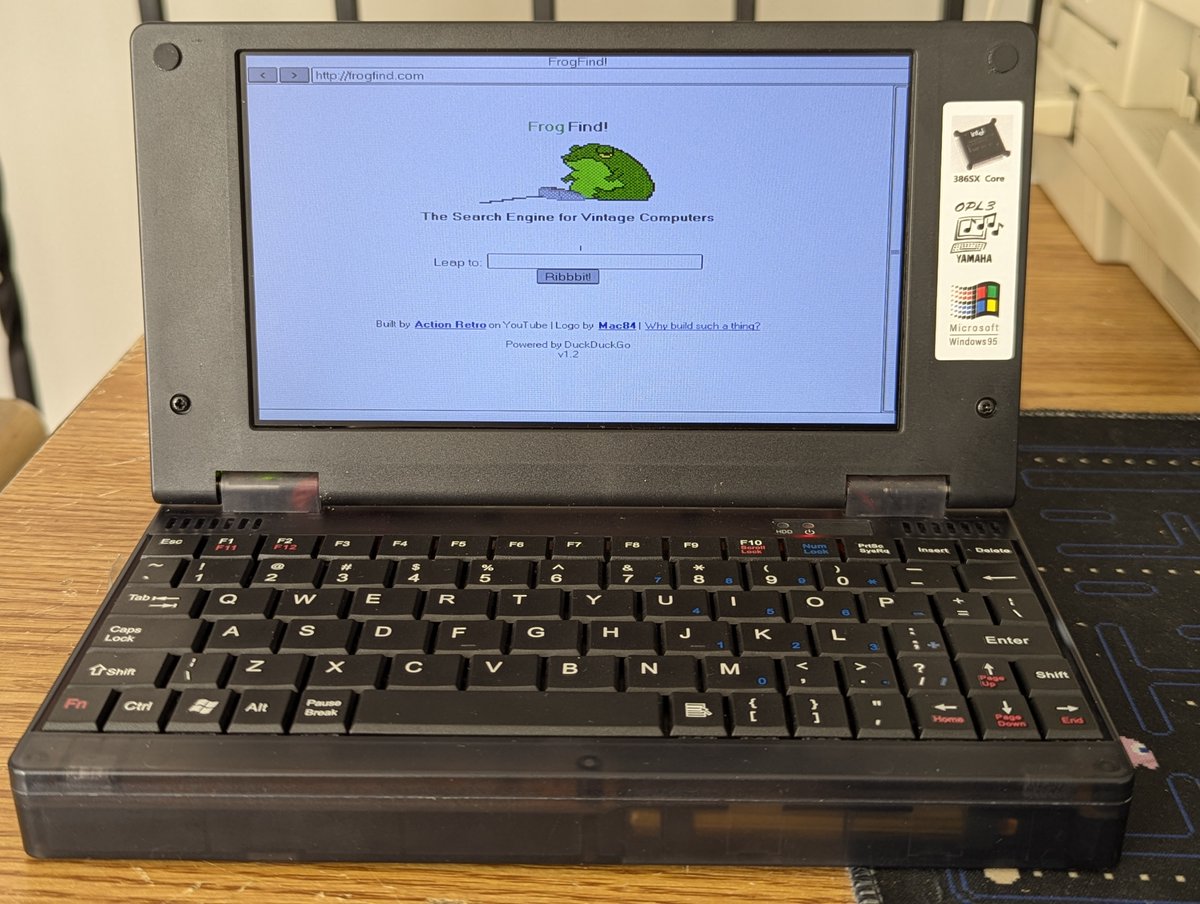
Piece of cake! Once configured, we can now browse the web in both Windows for Workgroups 3.11 (using NDIS drivers) and MS-DOS (using packet drivers and mTCP)! Image
Image
One thing I definitely need to do is 3D print the case for this thing. As such, I've sent the files out to be printed today, I should have the results in a few days! STL files for printing are in this directory if you need them: github.com/polpo/picogus/…Image
Image
Image
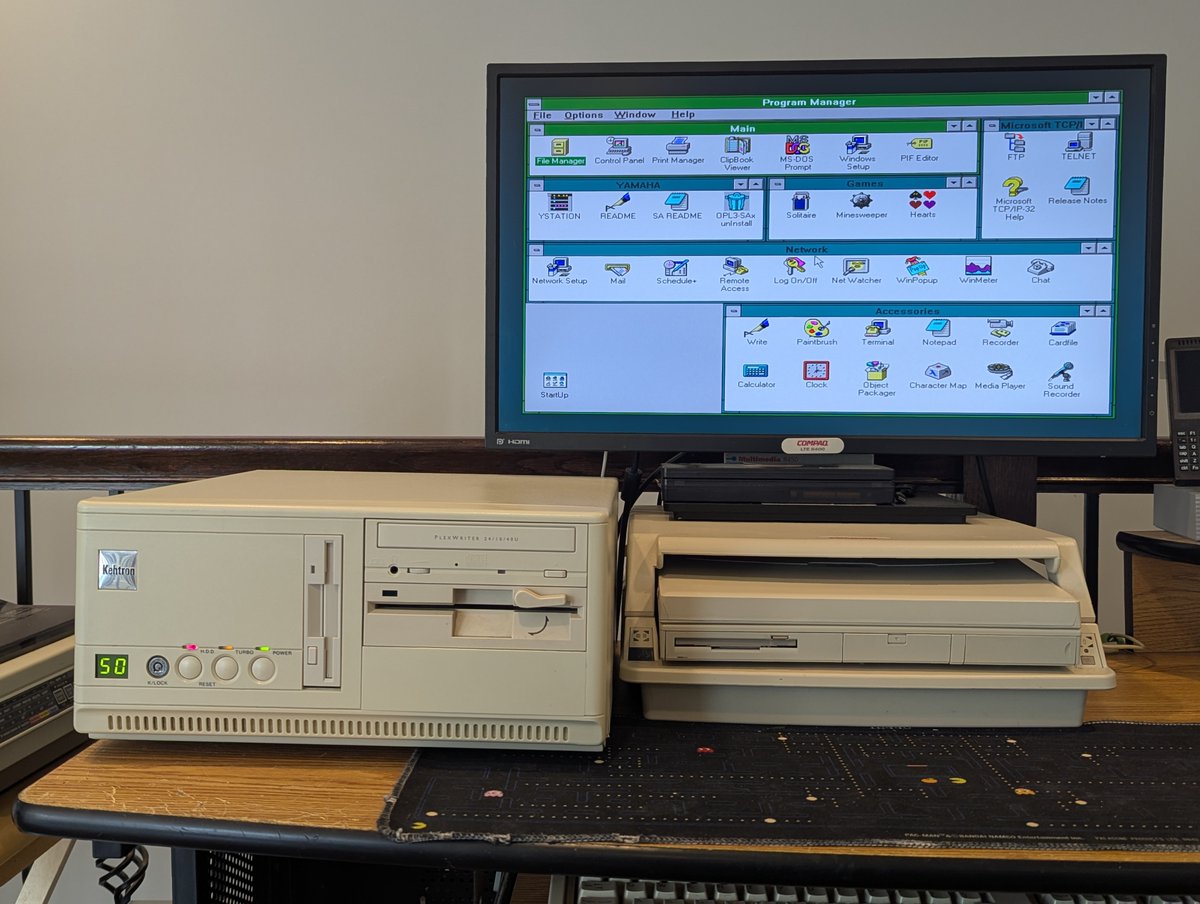
Anyway, that's all for now. The Pocket 386 is a neat little device. I do have "something" on order for it too, which we'll talk about when it arrives in a few weeks. As always, thanks for following along!

@threadreaderapp unroll Image

• • •

Missing some Tweet in this thread? You can try to force a refresh
 

Keep Current with RetroTech Chris

RetroTech Chris Profile picture

Stay in touch and get notified when new unrolls are available from this author!

Read all threads

This Thread may be Removed Anytime!

PDF

Twitter may remove this content at anytime! Save it as PDF for later use!

Try unrolling a thread yourself!

how to unroll video
  1. Follow @ThreadReaderApp to mention us!

  2. From a Twitter thread mention us with a keyword "unroll"
@threadreaderapp unroll

Practice here first or read more on our help page!

More from @RetroTechChris

Dec 16
I just made a 10 cent improvement to this Compaq LTE Elite 4/75 laptop. Anyone want to guess what it is? Let's talk about it in a brief 🧵 here! Image
Did you make your guess? Yep! It was the screen latches! For 10 cents, my local library's makerspace printed these for me today! Image
Image
Image
Here are the prints. Apparently they have a TA26 and a Prusa printer. The lady at the makerspace said "use the Prusa ones!" And so I did! Image
Read 7 tweets
Dec 15
Sometimes curiosity gets the best of us, and that happened when I saw this Xircom Parallel Port Multiplexor III for sale. What does it do? It lets you use a printer and Xircom parallel port Ethernet adapter at the same time. Does it do it "well"? Let's find out! 🧵 time! Image
Image
Image
As you might have seen from the intro pic, I'm going to use my AST Premium Exec 386SX/25 to test this out. This machine doesn't have any PCMCIA slots, so I do use a Xircom Pocket Ethernet III to get it online! Image
Here's a close up of the device itself, as well as some of the items that were inside the box. Very nice! Image
Image
Image
Image
Read 10 tweets
Dec 13
I've got these two cute little Compaq LTE Elite 4/75 systems. I'm just about done setting up one of them.. how about we set up the other one here, in real time! Time for a 🧵 Image
Image
So, first off, we are going to have a minor complication. These laptops have a near 100% failure of their floppy drives, the dreaded Citizen W1D drive. Fortunately, I've installed an OpenFlops W1D to replace it.. basically a Gotek replacement for the Citizen W1D! Image
Image
Image
The very first thing we need install is the diagnostics partition. We will also need other software for Windows for Workgroups 3.11. So I went online and grabbed the needed Compaq SoftPaqs for diagnostic setup, as well as video, PCMCIA drivers, and a few other odds and ends! Image
Image
Image
Image
Read 19 tweets
Nov 27
It's been a little while since we have had the Dell Precision 220 Workstation on the desk. I've had several requests to install Haiku on this Dual Pentium III beast. Let's get it done! Time for a 🧵 Image
So, first, this PC already has a lot of OSes! We'll create a 4GB BeOS partition to install Haiku, and add it to the list of OSes to boot! Image
Image
I downloaded the latest stable version, which appears to be R1/beta5, and burned it to a DVD! Image
Read 13 tweets
Nov 16
Let's test this Microchannel 3Com network card that I picked up for my IBM PS/2 Model 70 386 (with a 486 upgrade). Time for a quick 🧵 Image
Image
So, this card is a 3Com EtherLink/MC TP. As per usual, the Ardent Tool of Capitalism has a nice writeup on the card, as well as drivers! Looking at the drivers disk, it appears we have LAN Manager, NDIS, and Netware drivers. Pretty limited, but this is an older card. Image
Image
Time to get this installed. And of course, this is Microchannel, so, on powerup, the PS/2 is immediately angry. I did copy the "adapter configuration file" to my PS/2 Reference disk. Running auto configure, the card gets detected, and we can see the settings. Nice! Image
Image
Image
Image
Read 7 tweets
Nov 16
Last week, I triaged and repaired around 20 or so LTE 5000 systems that I picked up at the System Source swap meet. Today, I spent some time swapping around parts and "making them better." Let's talk about it briefly in a 🧵 here! Image
By far, the most common repair needed was screen sliders, latches, casings, and bezels. I spent a fair amount of time replacing and "placing" these based on what I had in stock, or based on spare parts machines from the haul. It's the little things that count 😂 Image
Image
Image
Image
Also, I had some very "yellow" keyboards that I went ahead and swapped out with spares. Might as well! Image
Read 7 tweets

Did Thread Reader help you today?

Support us! We are indie developers!


This site is made by just two indie developers on a laptop doing marketing, support and development! Read more about the story.

Become a Premium Member ($3/month or $30/year) and get exclusive features!

Become Premium

Don't want to be a Premium member but still want to support us?

Make a small donation by buying us coffee ($5) or help with server cost ($10)

Donate via Paypal

Or Donate anonymously using crypto!

Ethereum

0xfe58350B80634f60Fa6Dc149a72b4DFbc17D341E copy

Bitcoin

3ATGMxNzCUFzxpMCHL5sWSt4DVtS8UqXpi copy

Thank you for your support!

Follow Us!

:(