Brett Profile picture
Apr 15 10 tweets 4 min read Read on X
Create a frosted glass logo in ChatGPT 4o.

Prompts and reference photos included below.

Let's jump into it (or bookmark this for later):
First step: Create a glass logo in ChatGPT.

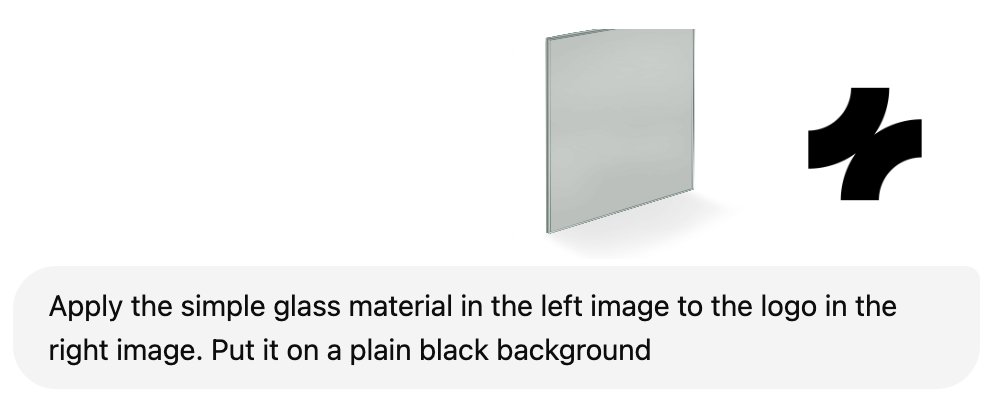
To do this, you'll need a reference material, which I've attached for you below. Image
After uploading the reference material and a simple black & white version of your logo to ChatGPT (in that order), use the following prompt:

"Apply the simple glass material in the left image to the logo in the right image. Put it on a plain black background."

Like this: Image
This yields us the following results: Image
Now, we'll want to remove the black background in order to achieve the frosted effect.

There are a number of ways to do this. I used Photoshop to remove it in a single click.

Just google "free background remover" and you'll find endless options to do this quickly. Image
Now, I've chosen to use Figma for the following step, but Photoshop works too.

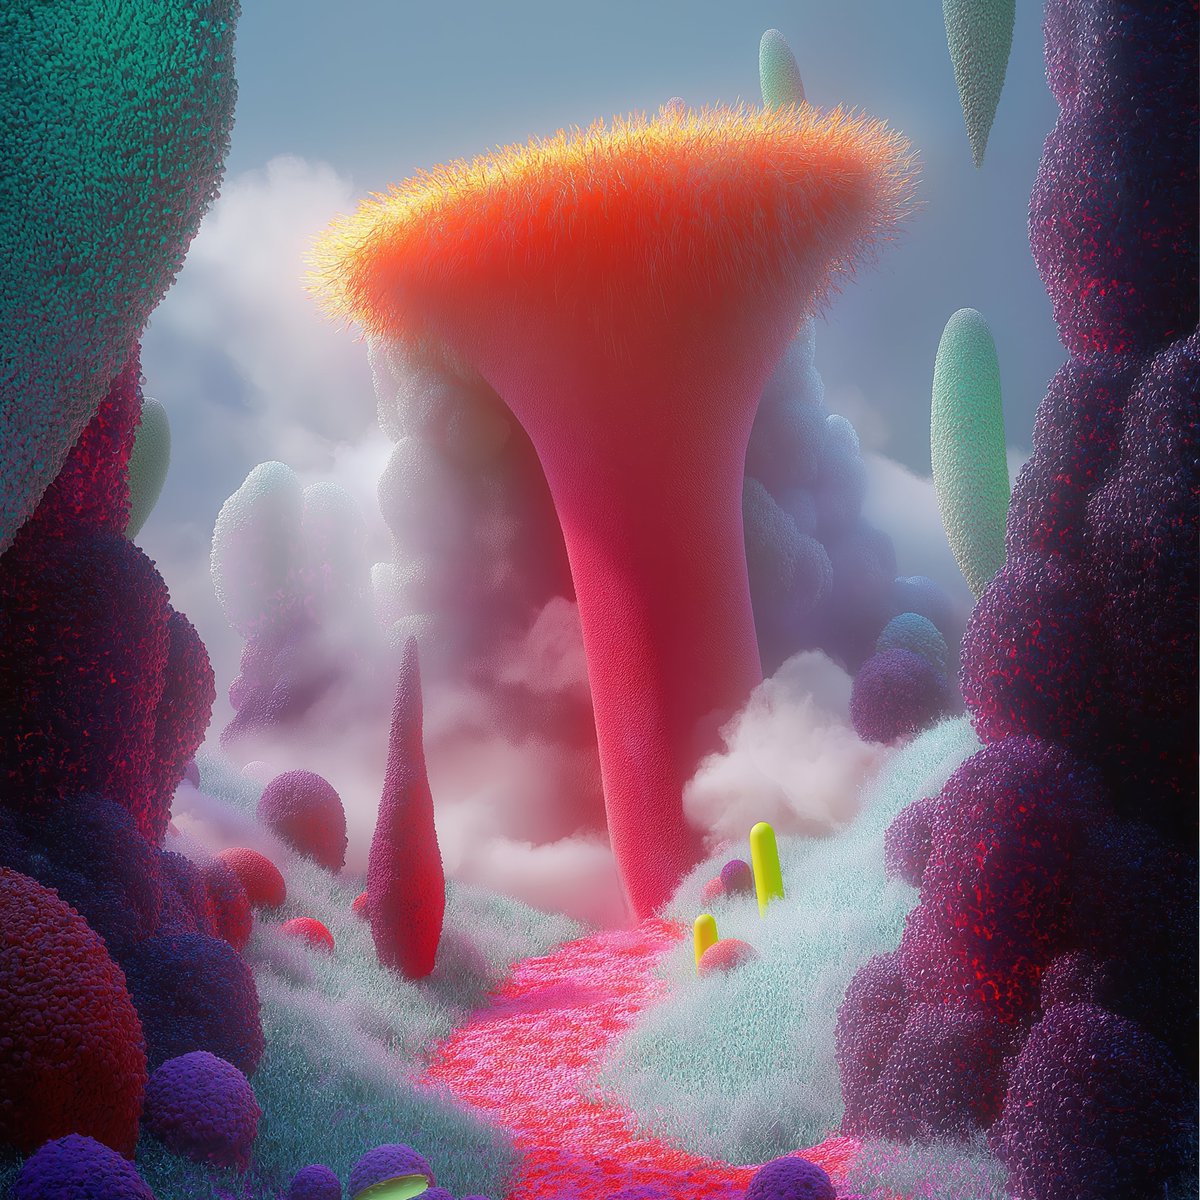
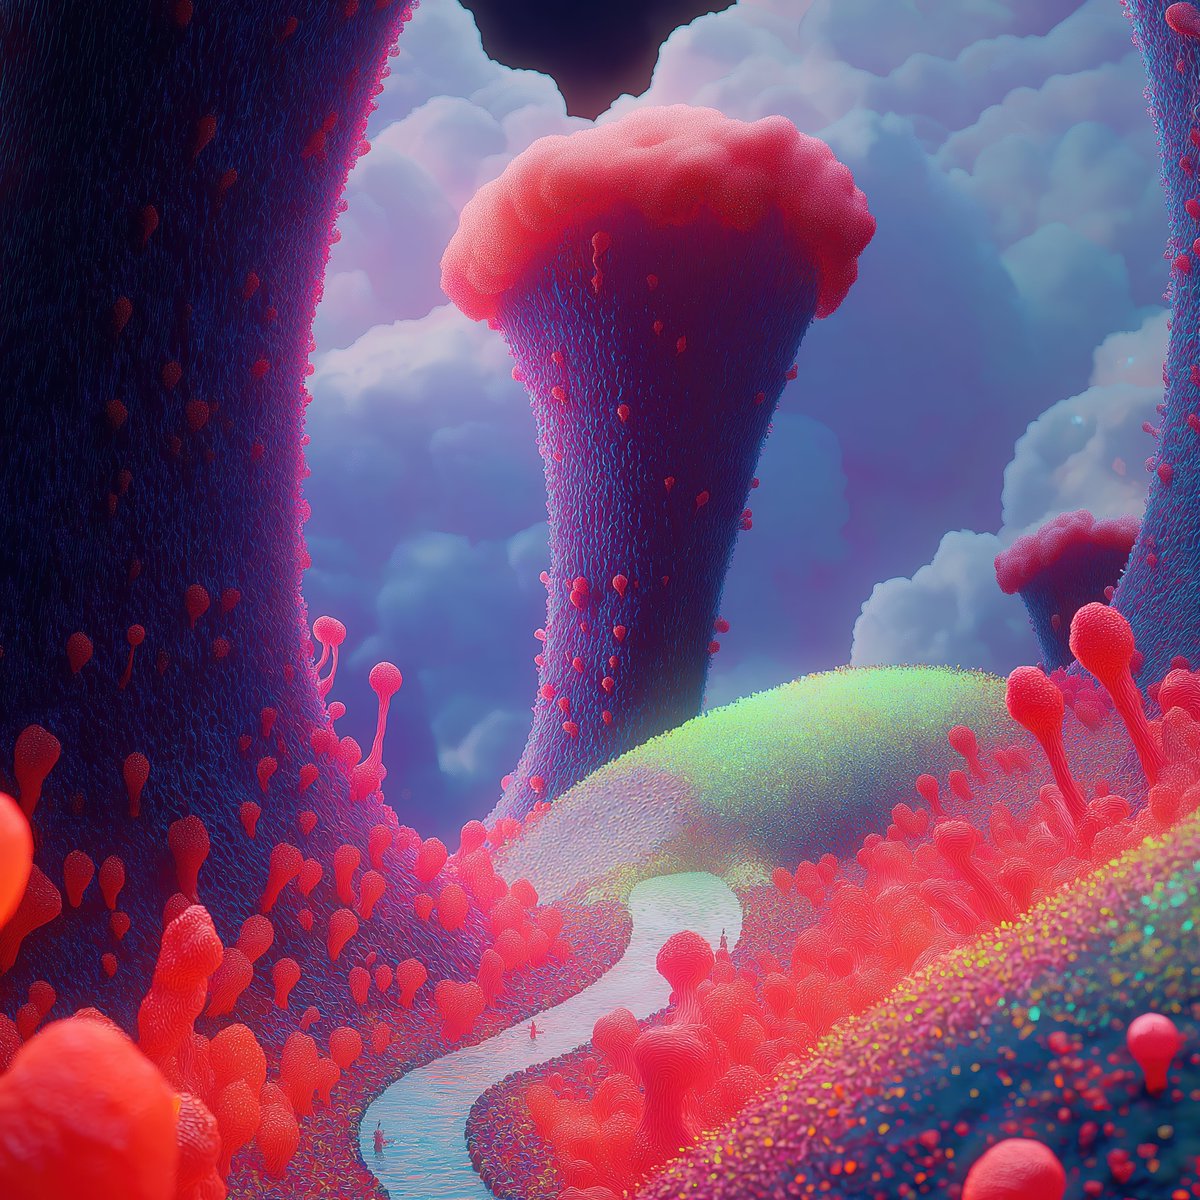
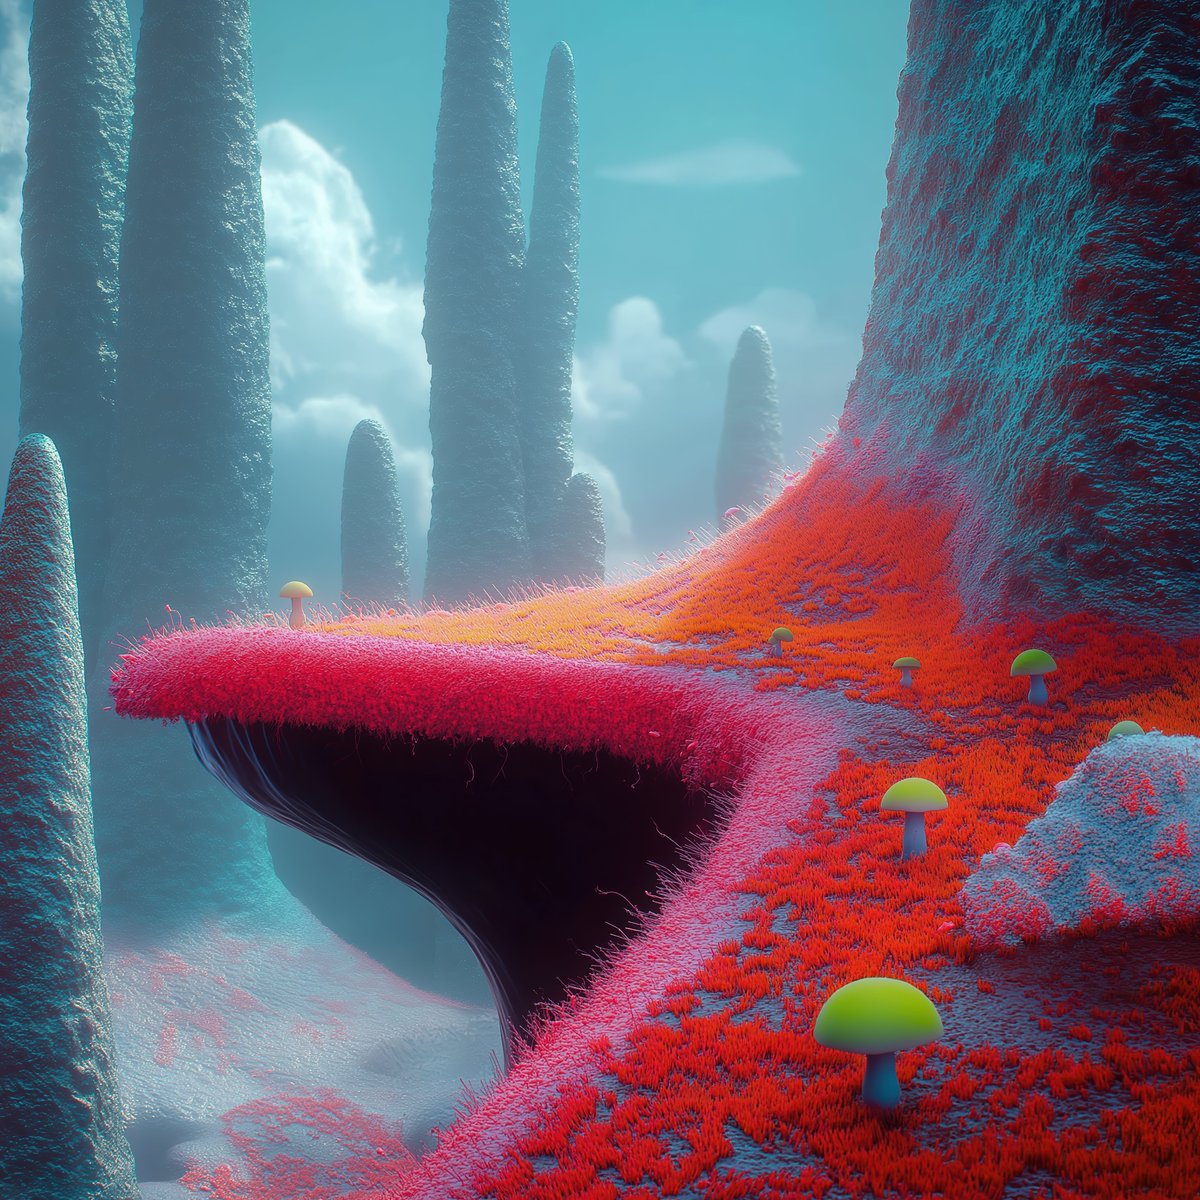
I've generated some backgrounds in Midjourney, which you can grab here for this step.

I'll show you what to do with them in the next step. Image
Image
Image
Image
We're going to drag our logo on top of our background image, and give the logo a blend mode of "Plus Lighter".

I walk you through this step by step below.
Now we need to create frosted glass.

What I'm about to outline may look complicated, but watch the video and you'll see it's simple and takes seconds.

1. Duplicate the logo.
2. Move it below the original logo.
3. Add the duplicated logo to a group.
4. Apply a mask to the duplicated logo.
5. Duplicate the background.
6. Move the duplicated background inside the masked logo.
7. Align the duplicated background vertically and horizontally.
8. Add a layer blur to the duplicate background.
At this point, you can technically be done.

But when it comes to frosted glass, I like to add some noise.

You can technically add the noise to just the logo, but I want it over the whole photo.

Watch how I do it:
And you're done! 🥳

As always, really hope you enjoyed this tutorial!

• • •

Missing some Tweet in this thread? You can try to force a refresh
 

Keep Current with Brett

Brett Profile picture

Stay in touch and get notified when new unrolls are available from this author!

Read all threads

This Thread may be Removed Anytime!

PDF

Twitter may remove this content at anytime! Save it as PDF for later use!

Try unrolling a thread yourself!

how to unroll video
  1. Follow @ThreadReaderApp to mention us!

  2. From a Twitter thread mention us with a keyword "unroll"
@threadreaderapp unroll

Practice here first or read more on our help page!

More from @BrettFromDJ

Apr 13
Here's my process for generating killer AI images.

Prompts and references images included.

You'll wanna bookmark this.
For most of my designs, I use a mixture of Midjourney and ChatGPT.

Midjourney: styling & aesthetics

ChatGPT: precision (inserting elements, etc.).

For this tutorial, we'll create some dope unmanned aircraft images flying in a beautiful landscape.
You could one-shot this entire thing in Midjourney or ChatGPT, but what if it nails the aircraft design, but doesn't nail the environment?

Or vice versa.

It's best to use AI to generate individual parts versus doing it all at once.

This way we get precisely what we want.
Read 11 tweets
Apr 12
Give your logo a "neuroglass" look with this short ChatGPT tutorial. 👀

Reference photos & prompt included below.
This will require two prompts to execute perfectly.

First, we'll simply focus on giving our logo a glass look.

Once we nail that, we'll quickly create the elements you see inside the glass material.
Below is the reference material you'll need for the glass look.

Head to ChatGPT and upload the reference material and your logo (in that order), and then using the following prompt:

"Apply the texture in the left image to the logo on the right image and make it look 3d. Rendered in cinema 4d, 8k. Pure black background behind the logo."

Bare in mind, your logo file should be black/white for the best results.Image
Read 9 tweets
Apr 6
Level up your Twitter avatar with a studio-style shot.

Takes just 60 seconds in ChatGPT 4o.

Here's everything you'll need (including the prompt):
Let's start with a reference photo to go along with the prompt I'll share in my next tweet.

Prompts are great, but nothing beats a reference photo to go along side it to ensure we match the results we want.

Download the following photo. Image
Now, we're going to upload our reference photo and our own photo (in that order) to ChatGPT 4o and use the following prompt:

Take the person on the right and style it like the left image. Subject should be slightly turned away from the camera like the person in the left photo. Wearing a black shirt. Illuminated by soft studio lighting against a dark background, creating depth of field that highlights details like facial texture or fine lines on their face. Their gaze reflects calmness as they gazes into space. Portrait photography. Shot with a Sony Alpha A7 III and an f/2 lens. Photorealistic, 8k. Square aspect ratio (1:1).

Make sure "create image" is selected as shown in the video.
Read 5 tweets
Mar 25
Creating a material version of your logo, in 60 seconds.

Follow the step-by-step tutorial below: Image
To start off, you'll need a plain black version of your logo on a solid white background.

Save it as a PNG, and do not remove the background color. Image
Next, we'll use @Adobe Firefly to add the material.

Head on over there and type in a prompt that best describes the material you want to use and hit "generate".

Choose from one of the generated images and download it.
Read 7 tweets
Mar 13
You can add this effect to your site in 5 minutes.

I'm about to show you how, so follow along. 👇
Let's start by starting a new file in Spline.

With the default rectangle selected, add:

1. Corner radius: 14
2. Extrusion: 40
3. Bevel: 10
4. Bevel Sides: 10

This will give our glass panel shape and depth.
Next, we'll use the Cloner tool to duplicate the glass panel and create a grid.

Now any changes we made to the original glass panel will also apply to the entire group of panels. 🙌
Read 7 tweets
Mar 12
Turning your logo into a 3D masterpiece is actually much easier than you think (no experience required).

In fact, I'll teach you right now, step-by-step.

Buckle up.
First, head to Spline 3D.

To start, import an SVG file of your logo.
Next, rotate your camera holding "Option" and dragging with your left mouse button.

Move your shape above the floor of the scene.

With the shape selected, add a extrusion and slight bevel to give a 3D look to your logo.

Delete the directional light from your layer panel.
Read 16 tweets

Did Thread Reader help you today?

Support us! We are indie developers!


This site is made by just two indie developers on a laptop doing marketing, support and development! Read more about the story.

Become a Premium Member ($3/month or $30/year) and get exclusive features!

Become Premium

Don't want to be a Premium member but still want to support us?

Make a small donation by buying us coffee ($5) or help with server cost ($10)

Donate via Paypal

Or Donate anonymously using crypto!

Ethereum

0xfe58350B80634f60Fa6Dc149a72b4DFbc17D341E copy

Bitcoin

3ATGMxNzCUFzxpMCHL5sWSt4DVtS8UqXpi copy

Thank you for your support!

Follow Us!

:(