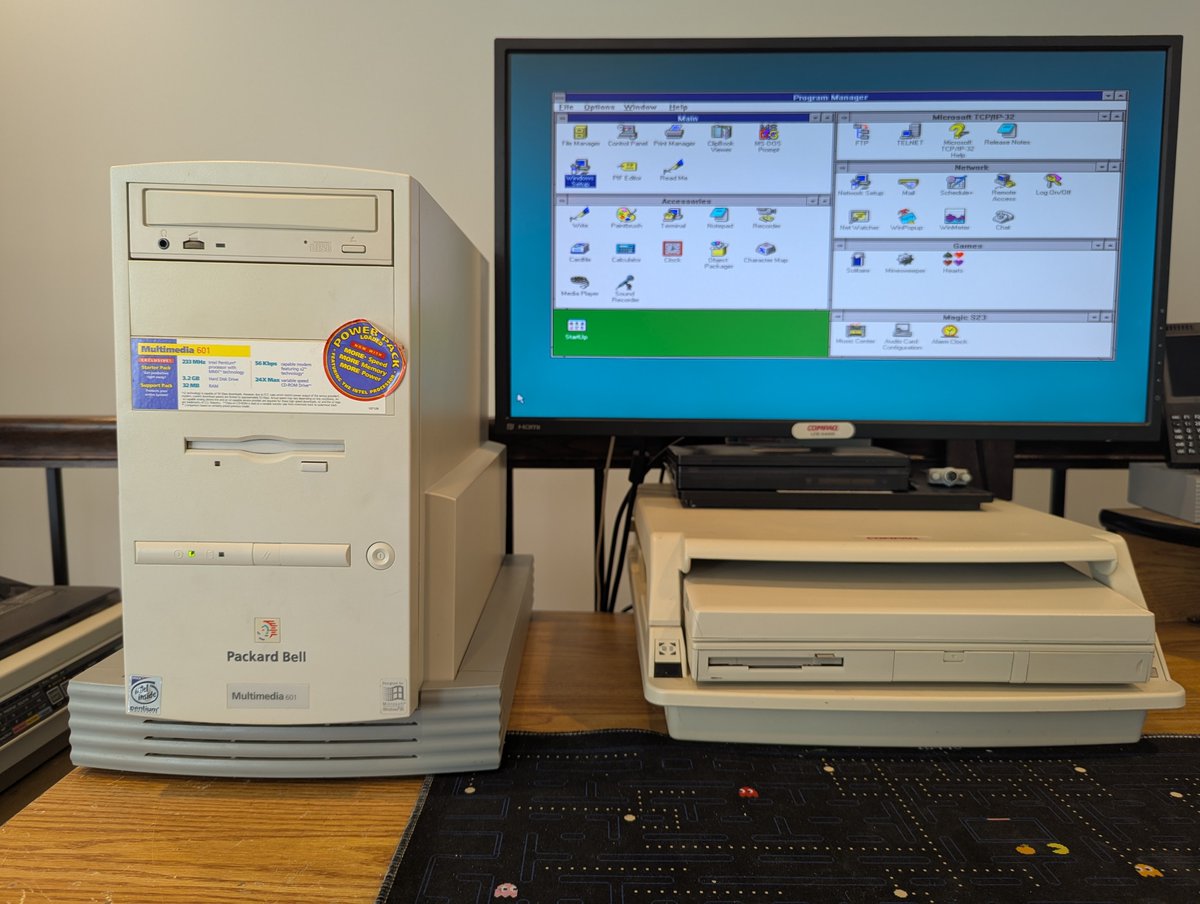
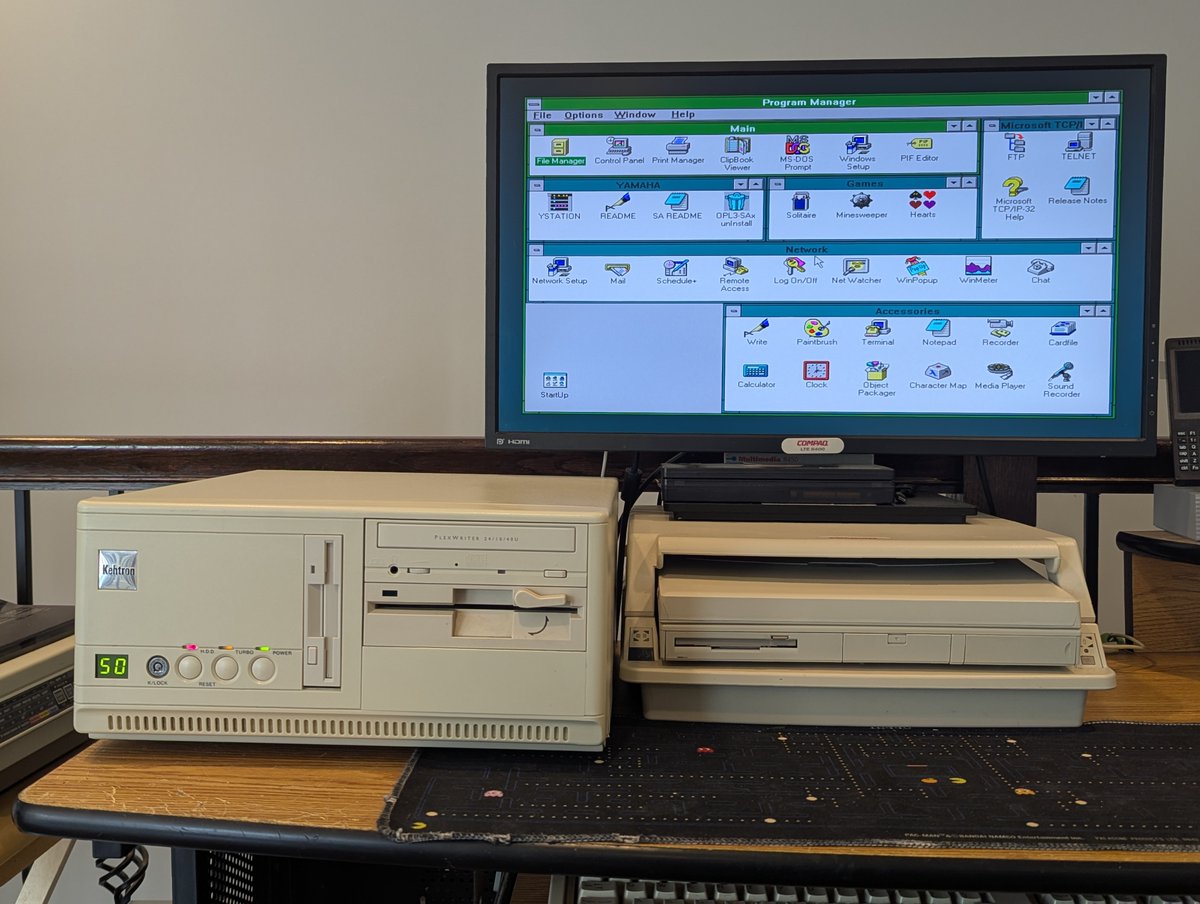
Time to do a case swap for my Pentium 233 MMX. We're going from one Enlight case to another! Here's the end result. I thought this was going to be easier than it was, let's talk about it in, you guessed it, a 🧵 here!
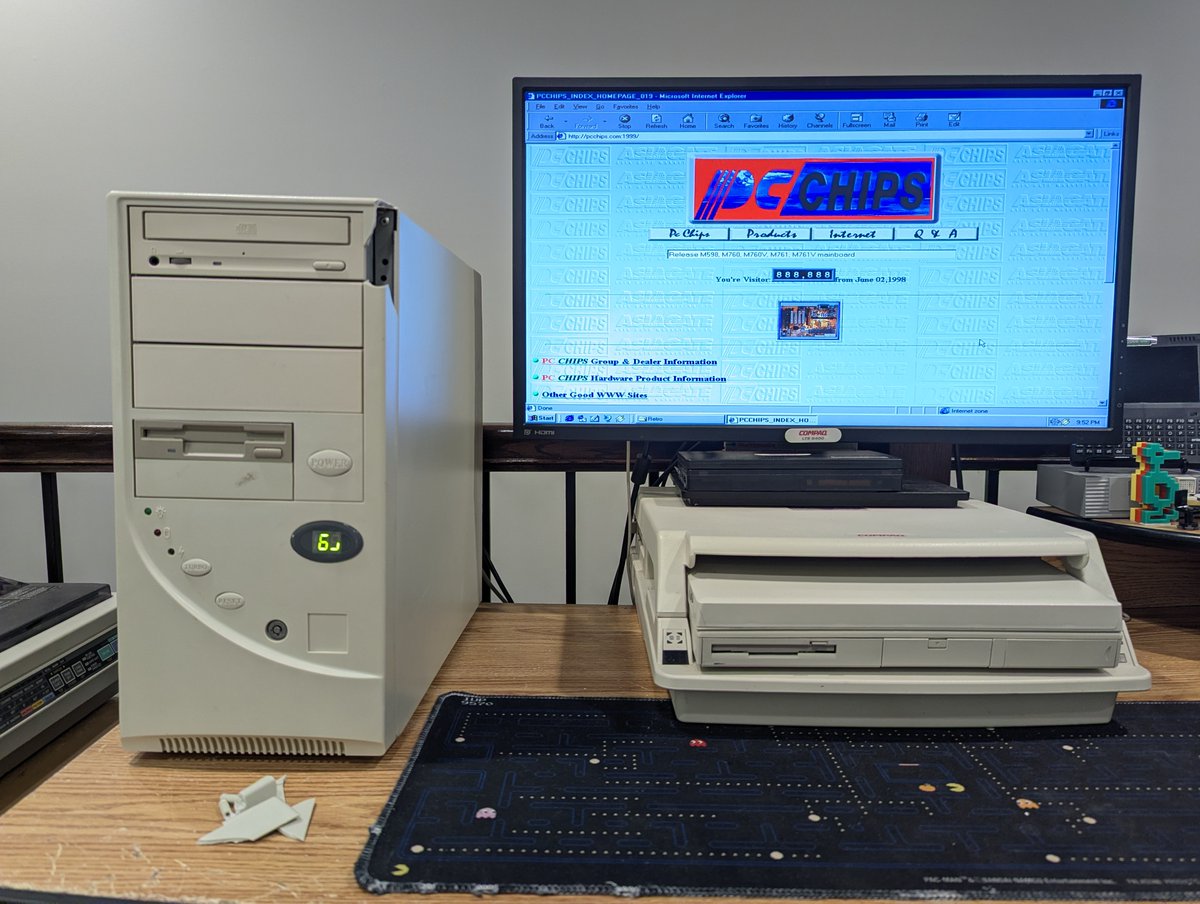
So, you might ask: why do a swap? Well, the current case for my Pentium 233 MMX is nice, but it is a little bit beat up. I found this poor computer in 2019 at Computer Reset being used as a "stepping stool" to get to higher shelves. And I rescued it!
I thought to myself "okay, this is only going to take a few minutes, I'll just swap the cover." Well, despite looking the same, these two Enlight AT cases are actually different! So that plan didn't work out 😂. The cover doesn't fit!!
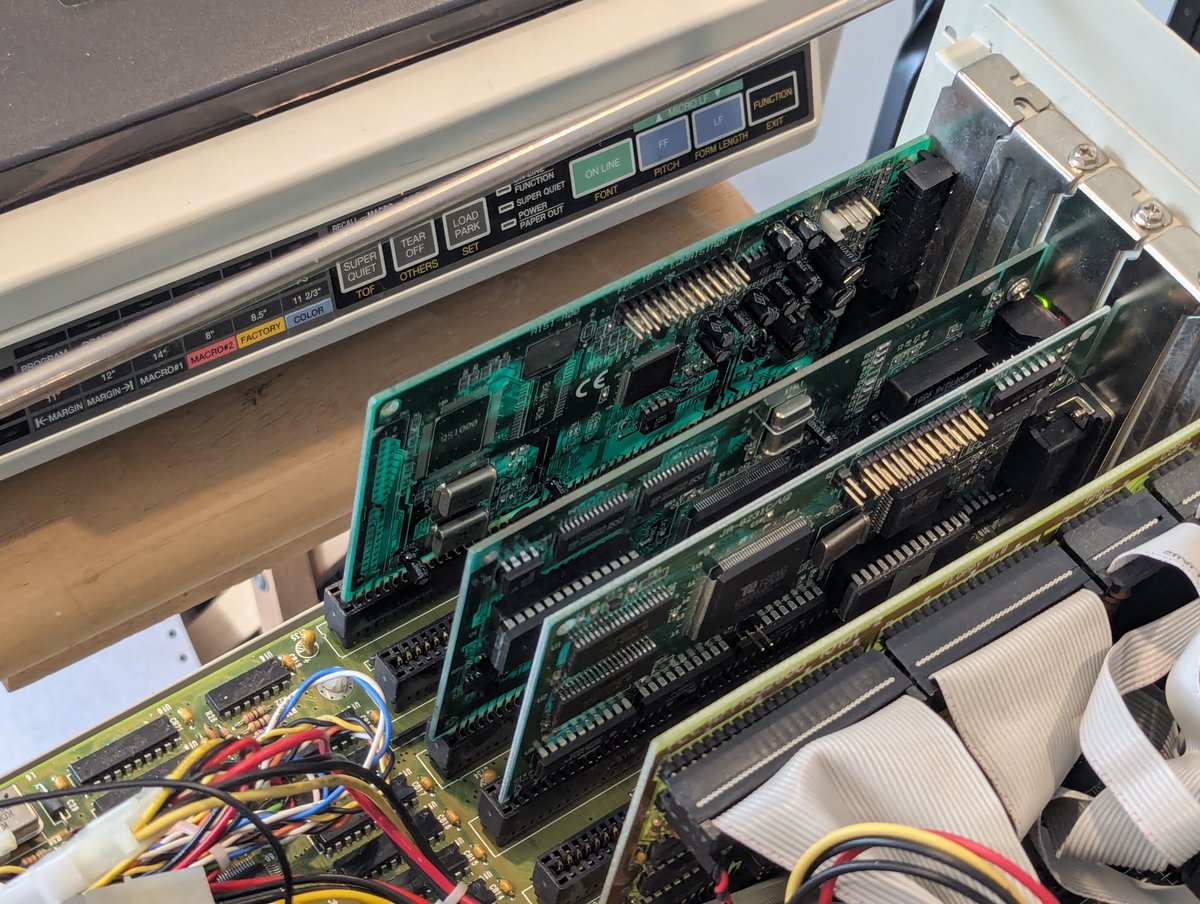
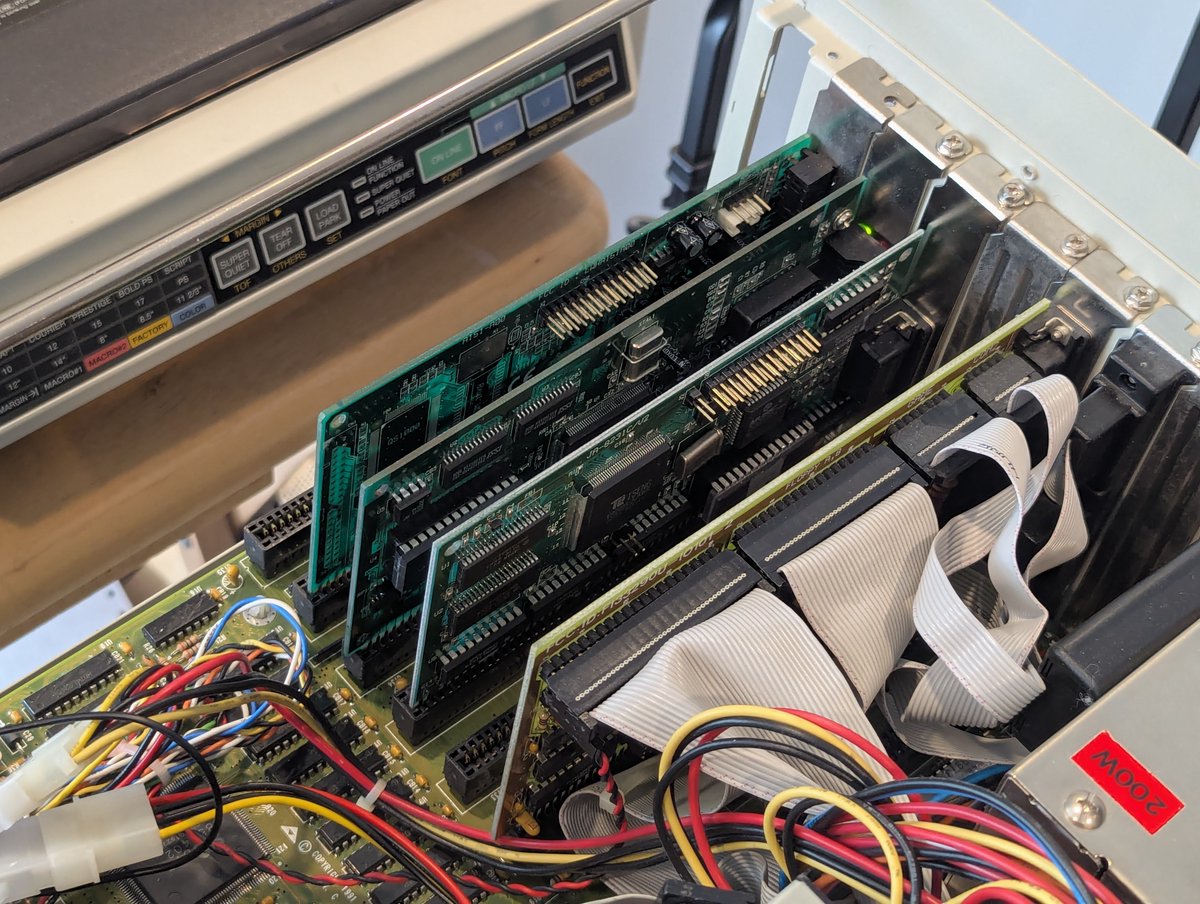
Here's a comparison of the insides of the two computers. And you can see some subtle differences if you look closely for the case.
Before I started taking these apart, I took a picture of the card order and front-panel connectors. Not critical, but it serves as a guide.
Despite being different, many components are swappable, and we will take advantage of that. The front bezel, drive cage, and motherboard tray are all removable and swappable!
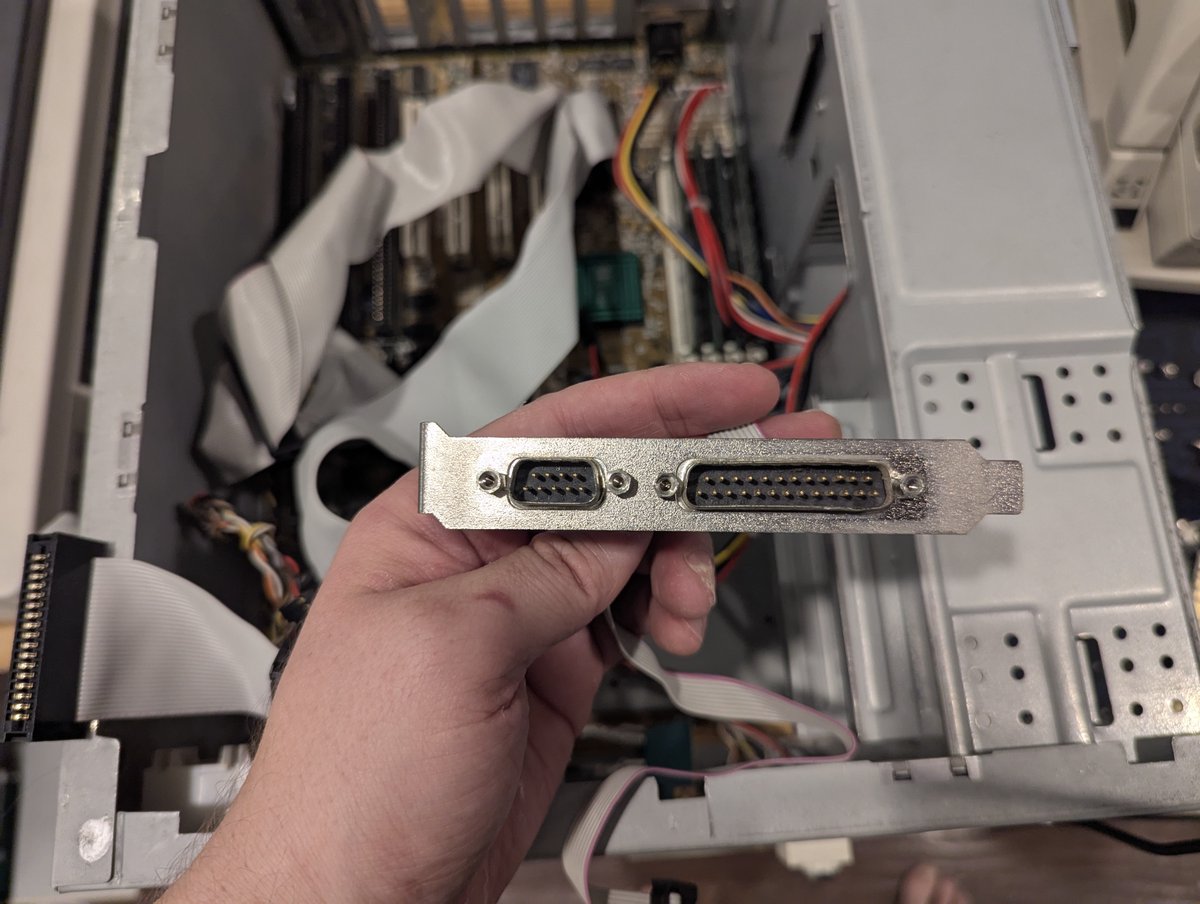
On my current case, the serial ports had been fastened to the case. Rather than remove the "blanks" on the new case, I decided to swap out the connectors and moved the bracket over (wasn't sure if they were the same pinouts). Of course, I got it backwards on the first attempt 😂
I had originally planned to keep the front bezel from the old case. But the newer one was slightly nicer, so I swapped over the badge to it!
I wanted to swap over the Pentium MMX badge too, but it was worse for the wear. I used double-sided tape for now. Maybe I will pick up a replacement reproduction badge from my good friend @geekenspiel!
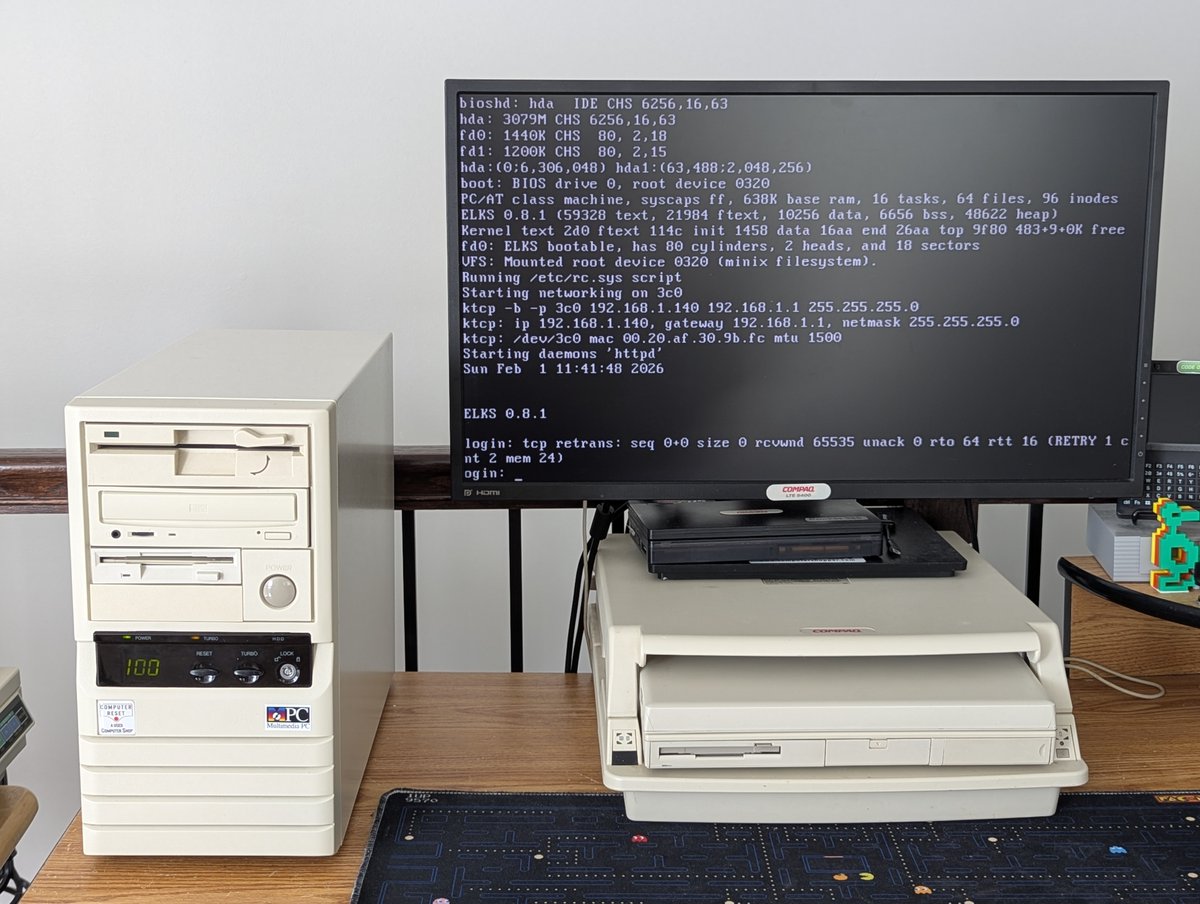
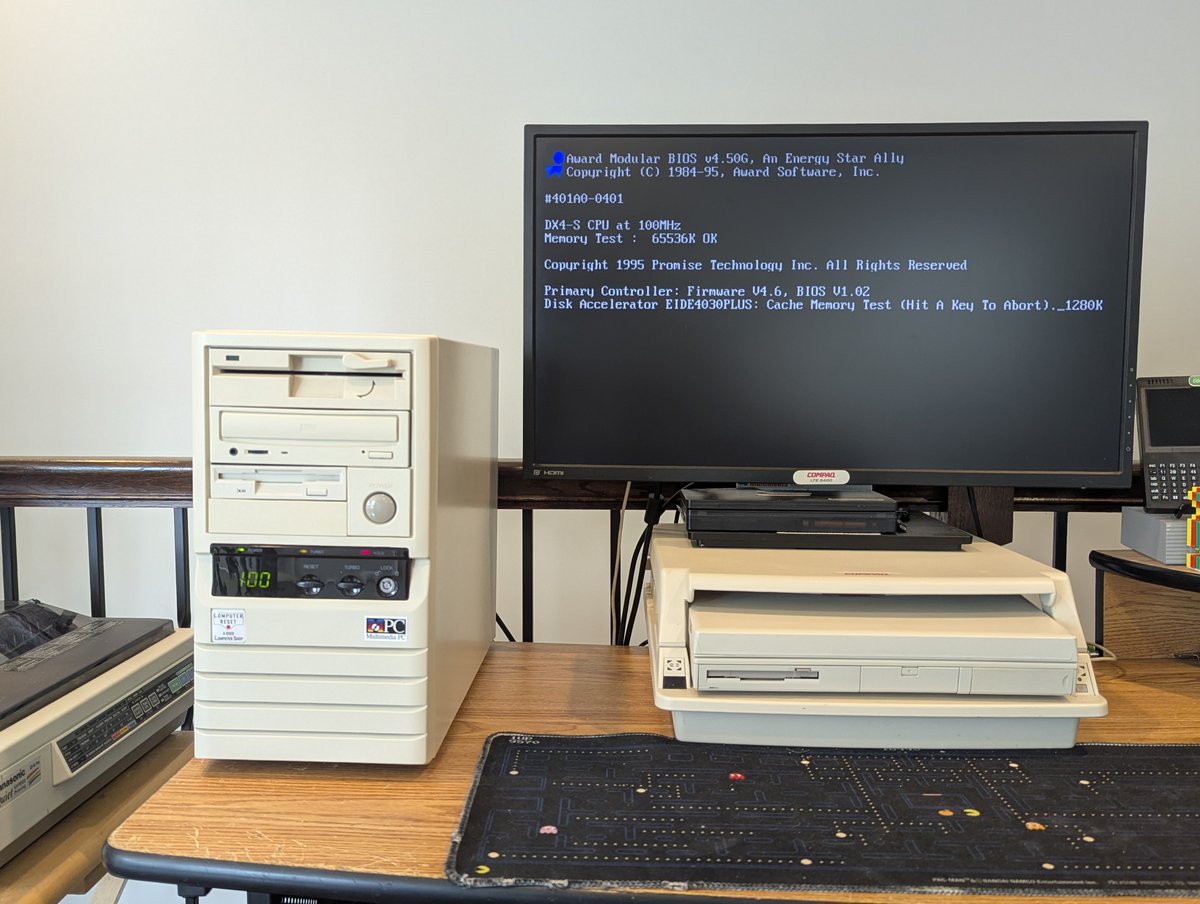
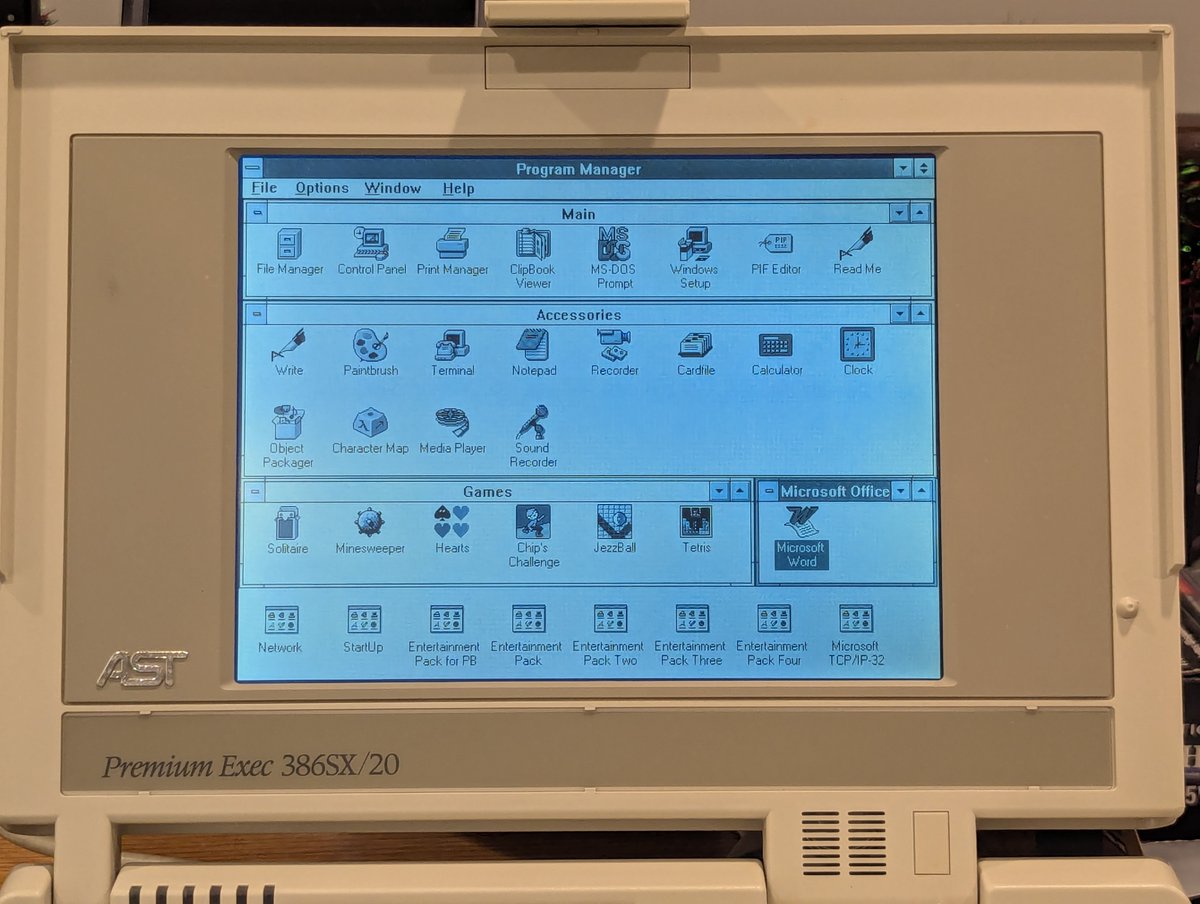
After assembly, it was time to power on the Pentium 233 MMX. Naturally, the CMOS battery was dead, so I swapped in one of these cheap Amazon batteries.
And from there, reassembled, the computer was a total PAIN. Fiddling with the IDE, floppy and SCSI cable, I was FINALLY able to get everything seated and working properly.
Anyway, that will do it for now, thx for following along as always!
@threadreaderapp unroll
• • •
Missing some Tweet in this thread? You can try to
force a refresh
Last week, I took my ISA to USB card out of my Tandy 1000 TX. Today it finds a new home in my 486 DX4/66. Let's get it installed and talk about it briefly in a 🧵 here!
And before I get into that, recall that if you purchase one of these ISA to USB cards, they are pretty much good for mass storage devices only. Also, I did design a bracket for these a few years back if you need one!
When I cracked the case on this system, I realized that pretty much every slot is in use. I am going to remove this second serial port header for now, which freed up the bottom slot. All put back together, and this is what we see now. This is one power-packed 486 PC 😂
A few weeks back, I picked up this X10 home automation system for $5 at a thrift store. Who wants to explore some home automation using Windows '95? Let's have a look in a 🧵 here!
First of all, what is probably most fascinating is that you can still buy this stuff from X10's website... in 2025. Go figure!
Let's explore what is in the box. If we look at the back of the box, we can see the accessories included. When I opened this up, the CD was missing, as was the serial cable. I bought the serial cable from eBay for about $10 and downloaded software from "The x10 Shop" online.
I recently picked up another AST Premium Exec 386 laptop... but not so much for the laptop, but really in search of some spare parts for my other Premium Exec 386 laptop. Let's talk about it and explore it in a 🧵 here!
First of all, unlike my Premium Exec 386SX/25 Color, this Premium Exec 386SX/20 is greyscale. It's still really nice though! I imagine that the color variants of these laptops was pretty rare, given the cost at the time.
One of my motivations for buying it was to get a nice power adapter. My aftermarket Delta Electronics adapter was looking worse for the wear, and none of my AST OEM adapters work. I think they need a recap (anyone want to help?)
I got my $50 HP LaserJet 6L in the mail today, and here it is. Let's have a closer look... oh.. wait a minute... oh no. Yea, not good. Let's talk about it, and some fun I had with it, and my NEW PLAN, in a 🧵 here
So, yes, the plastics on this printer were brittle, and it unfortunately wasn't shipped well. As soon as I saw the box, and the size of the box, I thought we might be in trouble. And, yes, we were. Just look at all of those glorious plastic pieces.
Here's even more breakage. The front "bar" that connects the two sides together. And this internal mechanism too. Yea, this thing is cooked.
I think it's time to consolidate a few more retro PCs 😅. Going to start with my Tandy 1000 TX which already has a new owner! I did a little bit of consolidation into my 1000 SX in preps for sending it packing. Let's talk about it briefly in a 🧵 here!
My 1000 SX had an XTIDE card in it, but the 1000 TX had a Silicon Valley ADP50 "hard card" with a 540 MB HDD. I decided to move that over to the 1000 SX. It takes up a fair amount of space, fortunately my 8 bit ISA network card is tiny 😂
This leaves us with a multi I/O card (the 1000 SX doesn't have an onboard serial port), 286xpress processor upgrade, ADP50 "hard card", 8 bit Ethernet card, and 8 bit SCSI card for the Bernoulli box. Sadly, no space for the ISA2USB adapter, so it comes out.
I got some 20MB Bernoulli disks in the mail today. Some of them are Tandy branded! Let's check them out and see how many will actually work... time for a 🧵
For the first disk, I decided to try one of the "older logo" Iomega disks. And... well... good old General Error decided to visit. This means that the disk has too many bad sectors to recover... and, yes, each disk does have reserved sectors, I covered that in a past post!
Which past post was that, RetroTechChris? I thought you'd never ask. If you are curious about how reserved tracks work on a Bernoulli disk, here you go!