
~ Readimask Application Practice and Tips: Normal Wear and Nose Hack ~
Need to practice Readimask application for dental, haircuts, or MRI, but don’t want to waste expensive masks? Make a mockup! 🧵
See alt text for disclaimers.
Need to practice Readimask application for dental, haircuts, or MRI, but don’t want to waste expensive masks? Make a mockup! 🧵
See alt text for disclaimers.

You will need: paper towels, scissors, a pen, a roll of double-sided Scotch tape (yellow pkg), and Readimasks.
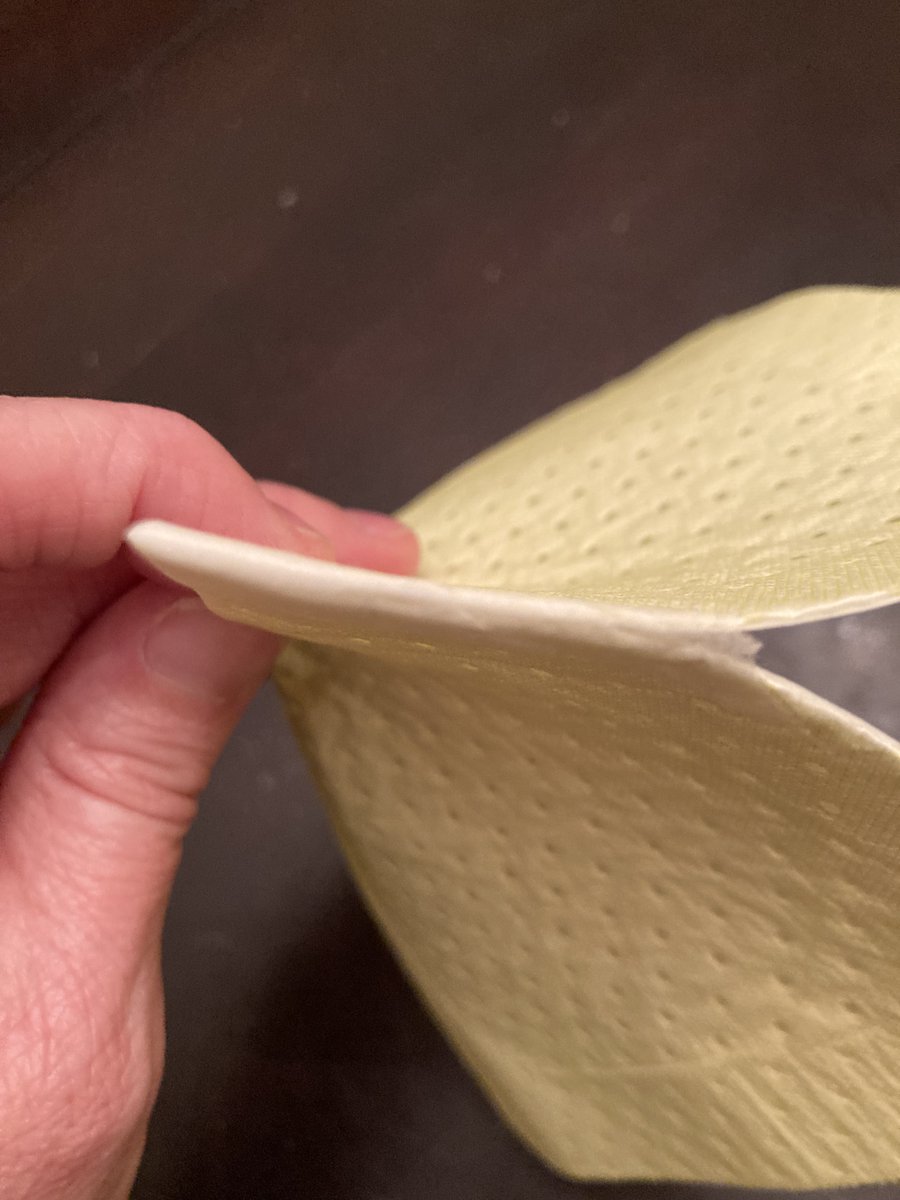
Take a few paper towels and cut them to Readimask size and shape, using the Readimask as a template. The Bounty select-a-size half piece paper towels are the exact width of the large size masks, so they're perfect for large-size mockups.
Here are the mask measurements. If you don't have Readimasks on hand but want to practice, no worries-- just cut rectangles to size, then cut to round off the corners.
Size small: 7 in x 5 3/8 in
Size large: 8 in x 5 7/8 in
Size small: 7 in x 5 3/8 in
Size large: 8 in x 5 7/8 in
Use strips of double-sided Scotch tape to line the entire perimeter of each cut-to-size paper towel piece. Now you have some mockups to practice with; their texture and flexibility is similar to the actual mask.
Scotch tape isn’t super-sticky, though, so be sure to wash face well to help w adhesion.
If not familiar w how to apply the mask, watch a how-to video, then practice with paper towel mockups until you get the hang of it.
NB: Readimask donning looks deceptively easy, but any openings such as wrinkles or rounded folds in the adhesive edges can allow unfiltered air to enter.
This video shows donning steps and mask position, but I don't recommend the quick and casual application technique.
Important steps to minimize risk of leaks-- practice these on the mockups too:
-Ensure that each fold is sharply creased and closed, and that the mask is adhered smoothly to the skin
-Ensure that each fold is sharply creased and closed, and that the mask is adhered smoothly to the skin
Examples--


-Add strips of paper tape (3M Nexcare Micropore is available at the pharmacy or online) in an "X" pattern to reinforce junctions
H/t @ParentMishmash for pic
H/t @ParentMishmash for pic

-Also add lengthwise strips of paper tape to seal edges and tips of folds

Now some tips for the Readimask nose hack: many ppl start application at the nose, as in this nose hack video. Others find it easier to apply above the lip first, then go over the nose, then fold the sides.
https://x.com/findmeabluebird/status/1517896018188197891
Something I wish I'd included in the hack video: it helps to flip the mask and put the more narrow adhesive side above the lip for a better fit. The wider side can go over the nose.
One thing I wish I'd left out of the video: taping the flap down. If the flap is taped down tightly, the filter material ends up stacked in multiple layers. This increases breathing resistance, which increases risk of seal leaks. Unfortunately, I didn't realize this at the time.
To each their own, but it's safer to embrace the flap! It can be folded gently upward, so that another mask can go over it for walking in/out of the office.
Some ppl have mentioned cutting a smaller piece of the mask to tape over the nose for a less obtrusive appearance. This may look neater, but it decreases surface area, which increases the risk of seal leaks.
Happy mockup-ing! Also, here's a thread w ordering info, more tips, and a 40% off coupon code (I think it still works)--
/end
/end
https://x.com/findmeabluebird/status/1545964454474653696
• • •
Missing some Tweet in this thread? You can try to
force a refresh


