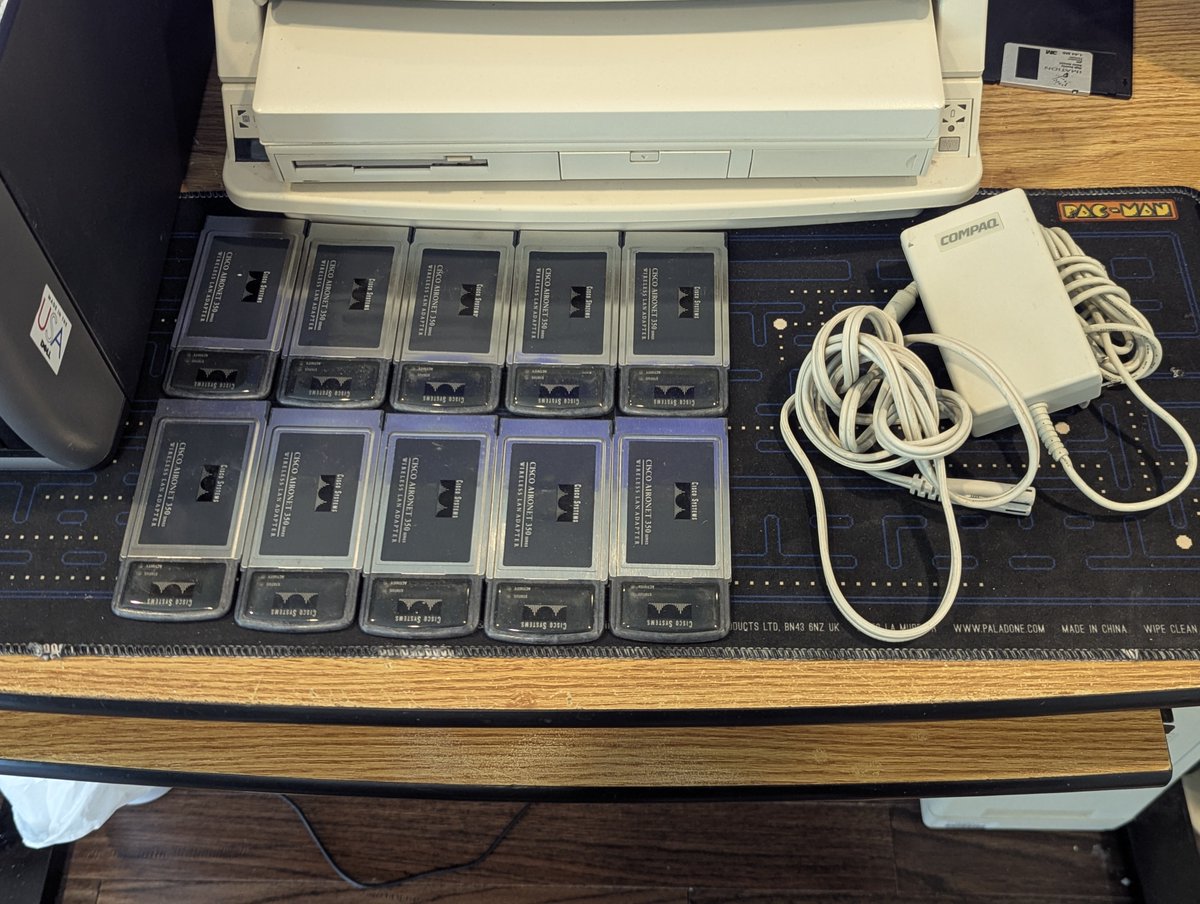
I got a few items in the mail for my Compaq LTE 5000 laptops! A power adapter... and a bunch of Cisco Aironet 350 wireless network cards from a friend who bought like 50+ of them 😂. Let's test out the network cards and go through how to set them up in MS-DOS!! Time for a 🧵 
Before I get into the setup procedure, I wanted to inform that I do have a setup procedure for this on one of my old "crap film quality" videos (not that the newer ones were better 😂). If you want a video walkthrough, hosted by a younger RTC, go here!

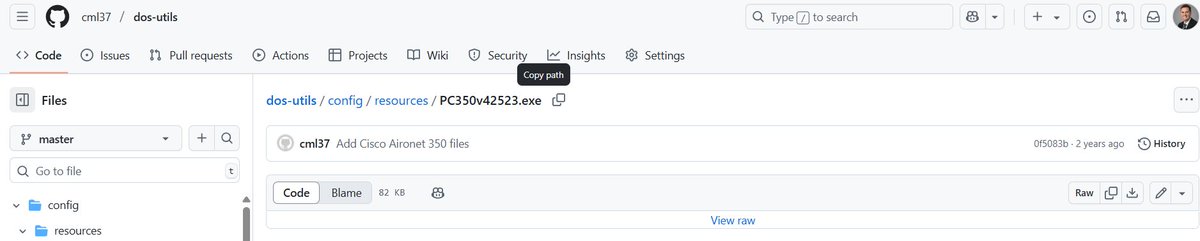
To make these cards work in MS-DOS, we need an older firmware. It has become a bit scarce online, so I put it in my GitHub repo: github.com/cml37/dos-util…
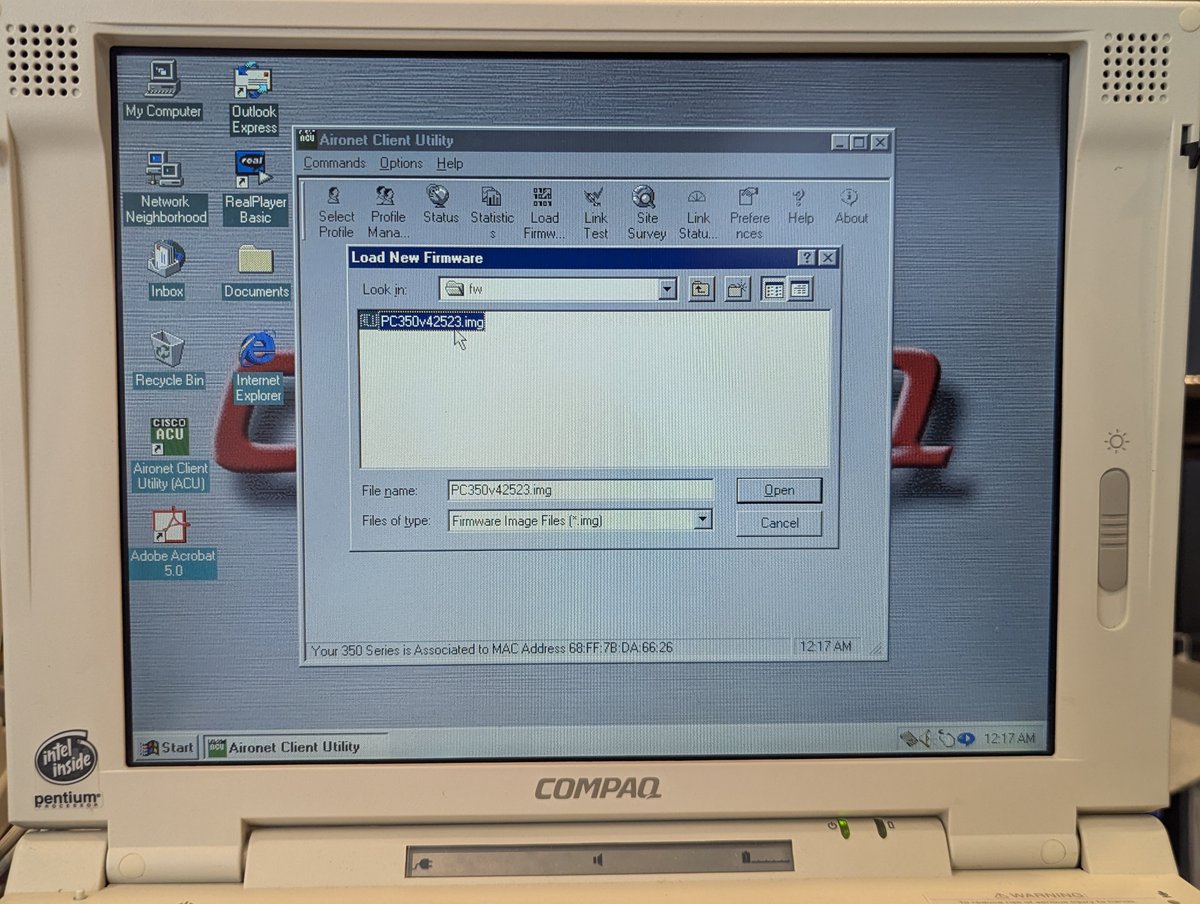
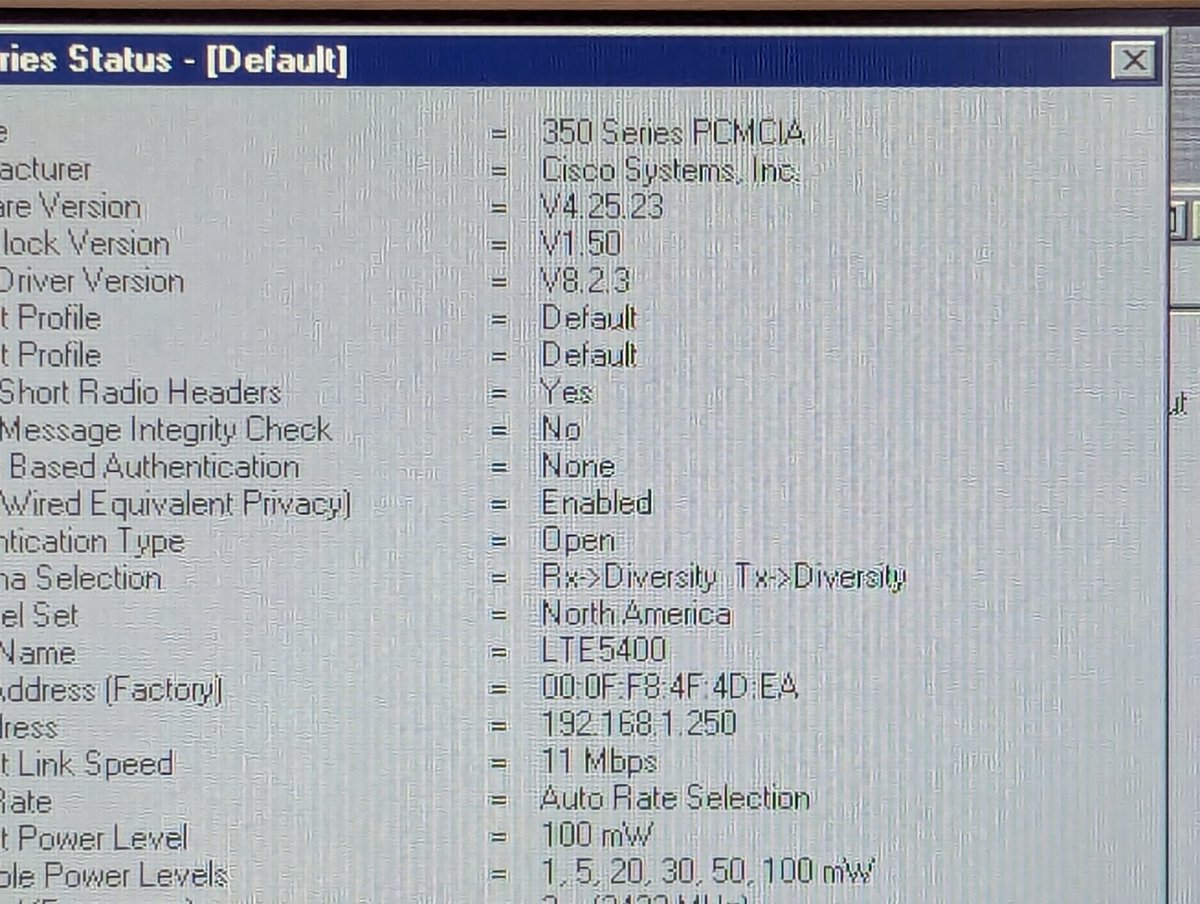
As far as flashing the firmware is concerned, the easy way to do it is to load up Windows 95 with the Cisco Aironet 350 utils installed. That's what I have done here. Flashing is a piece of cake, and we can confirm the version change to V4.25.23. Now we're ready for DOS!
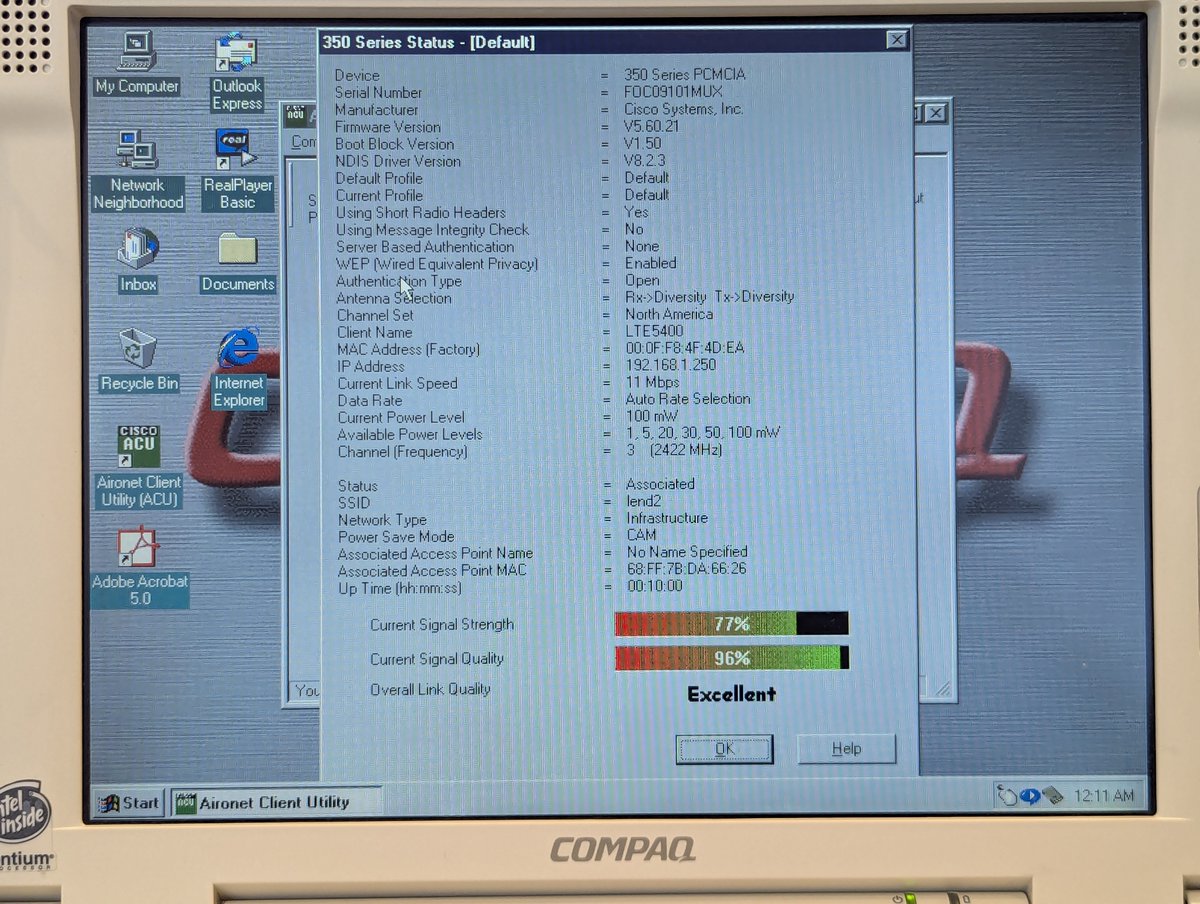
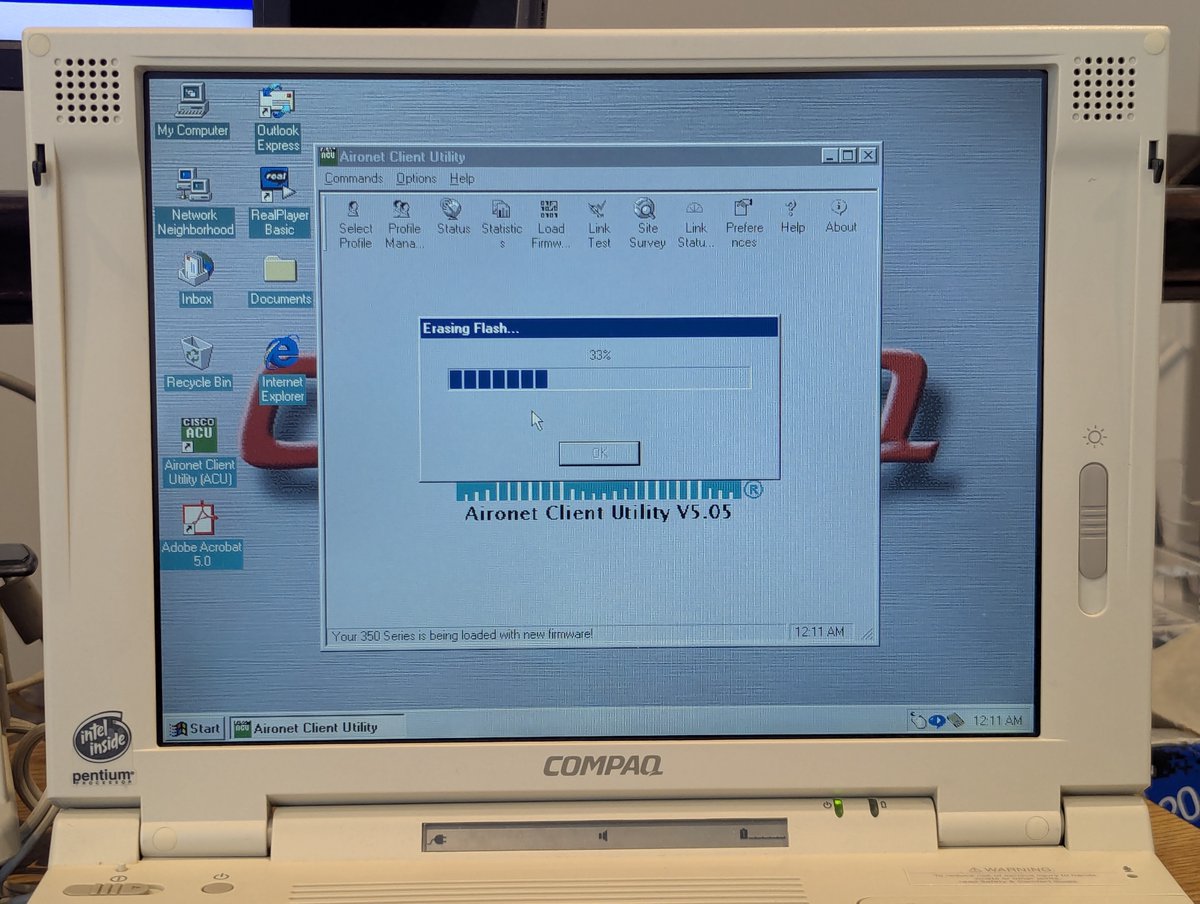
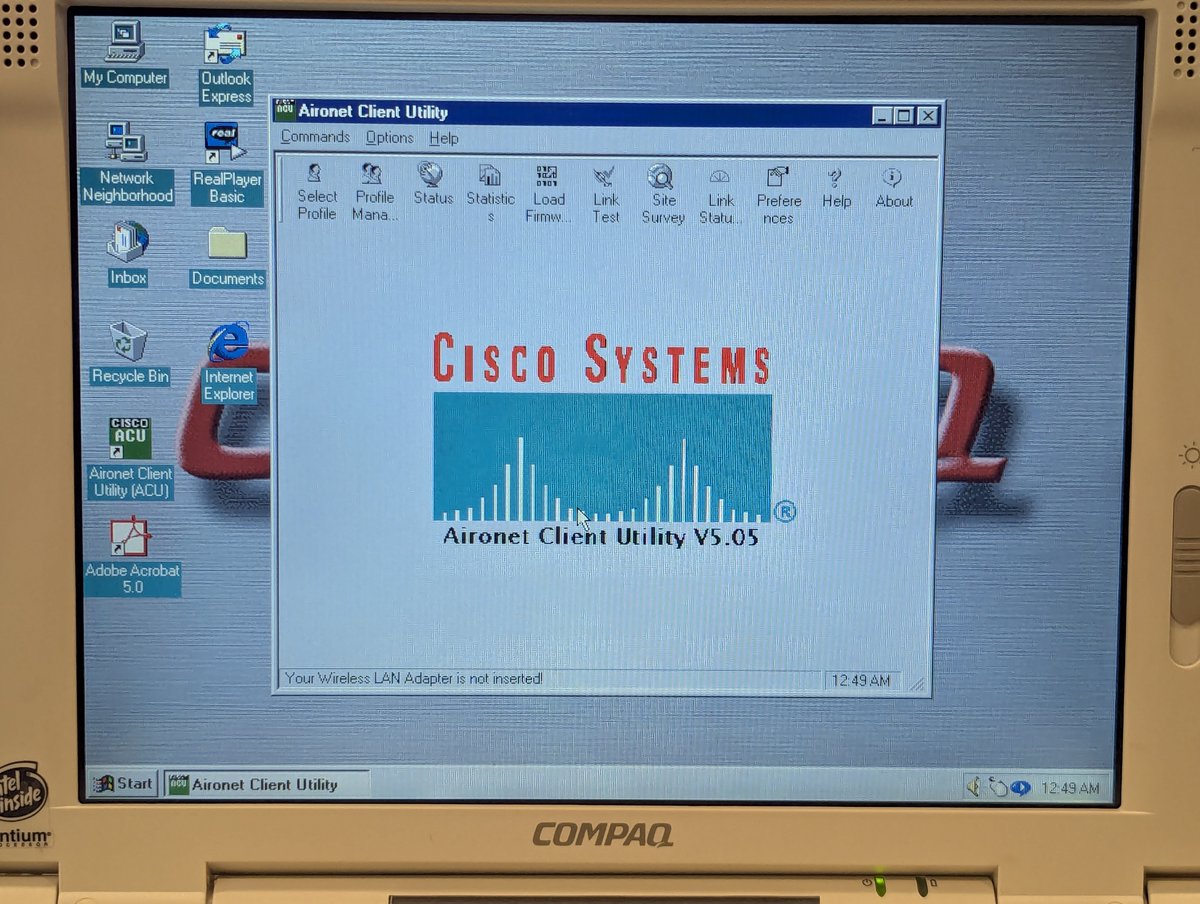
Actually, before we go to DOS, isn't the software for old network cards great 😂? Love the interface for this one. Also, don't remove the card from the machine, you'll make it a bit mad!
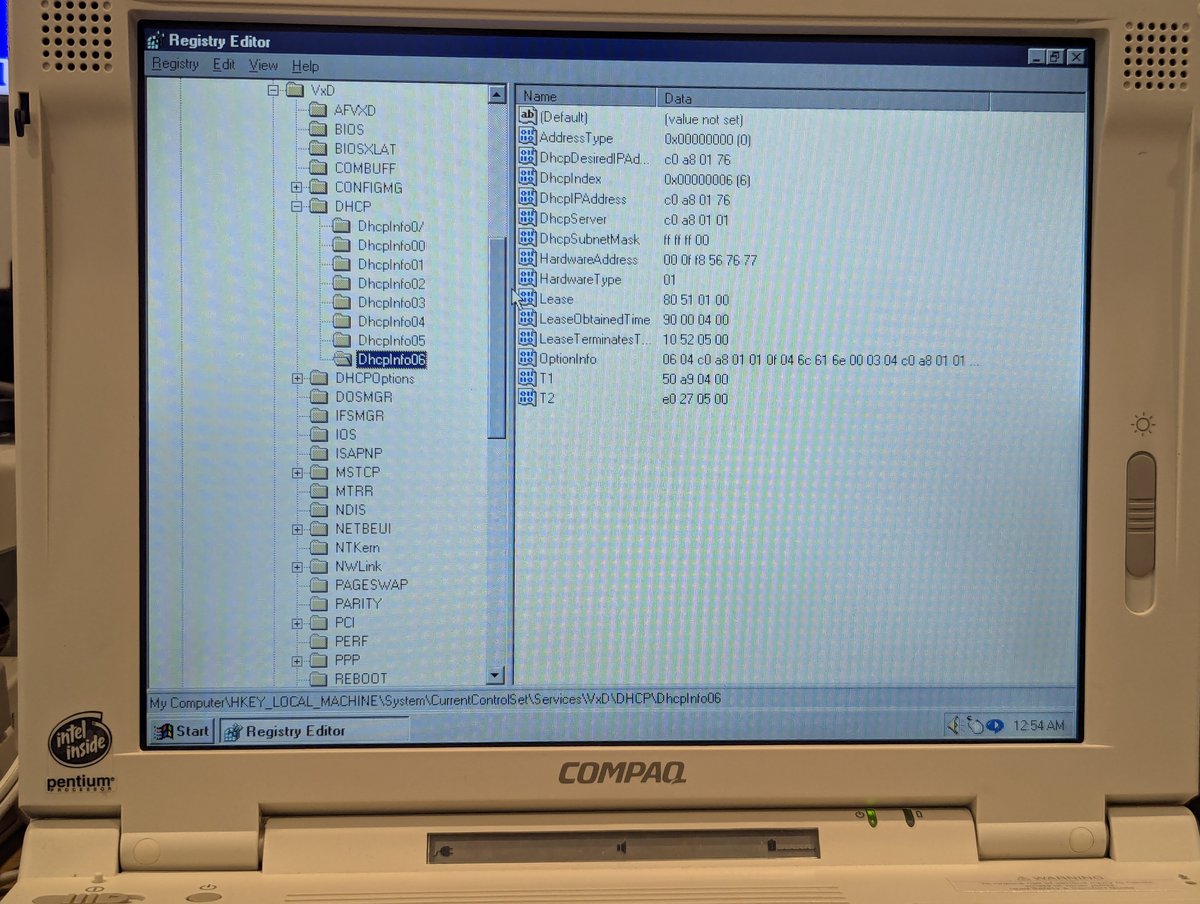
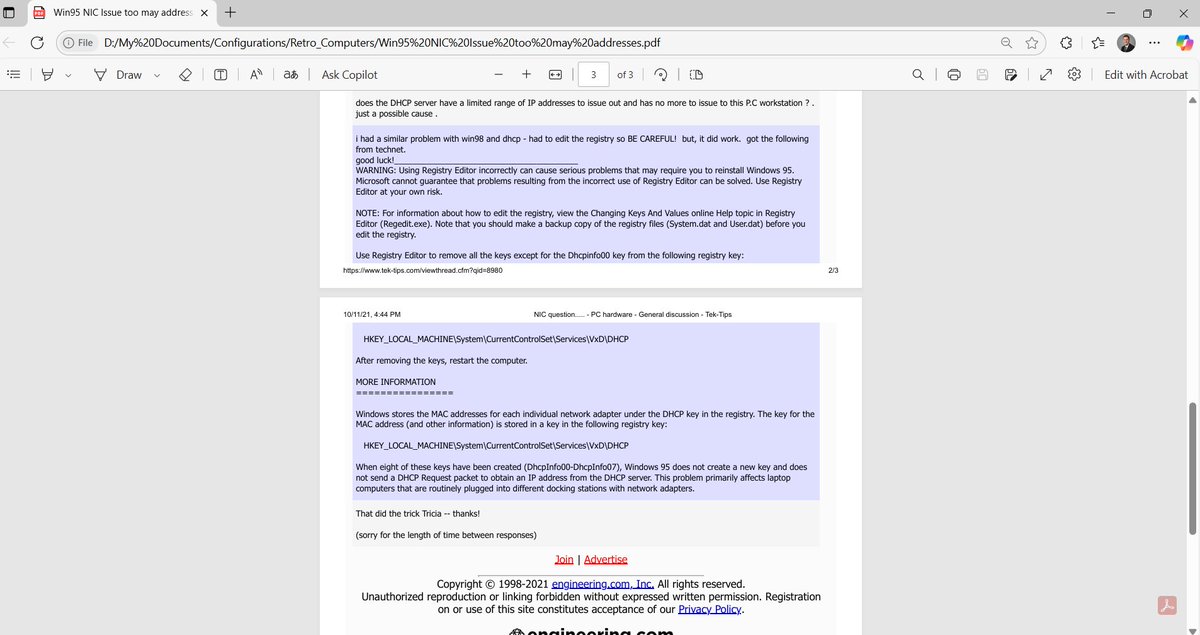
Okay okay, one more Win95 thing first: we're testing a bunch of cards, which means a bunch of DHCP entries will get added. If you go over ten or so, you're going to have a problem. Fortunately, there is a procedure to fix this, it just involves deleting some registry entries.
Jumping into DOS, we're going to set the WEP key. I held down the "shift" key on boot to bypass startup files. Since I have an INTEL 365 PCIC for my PCMCIA controller, I don't even need to load PCMCIA drivers.
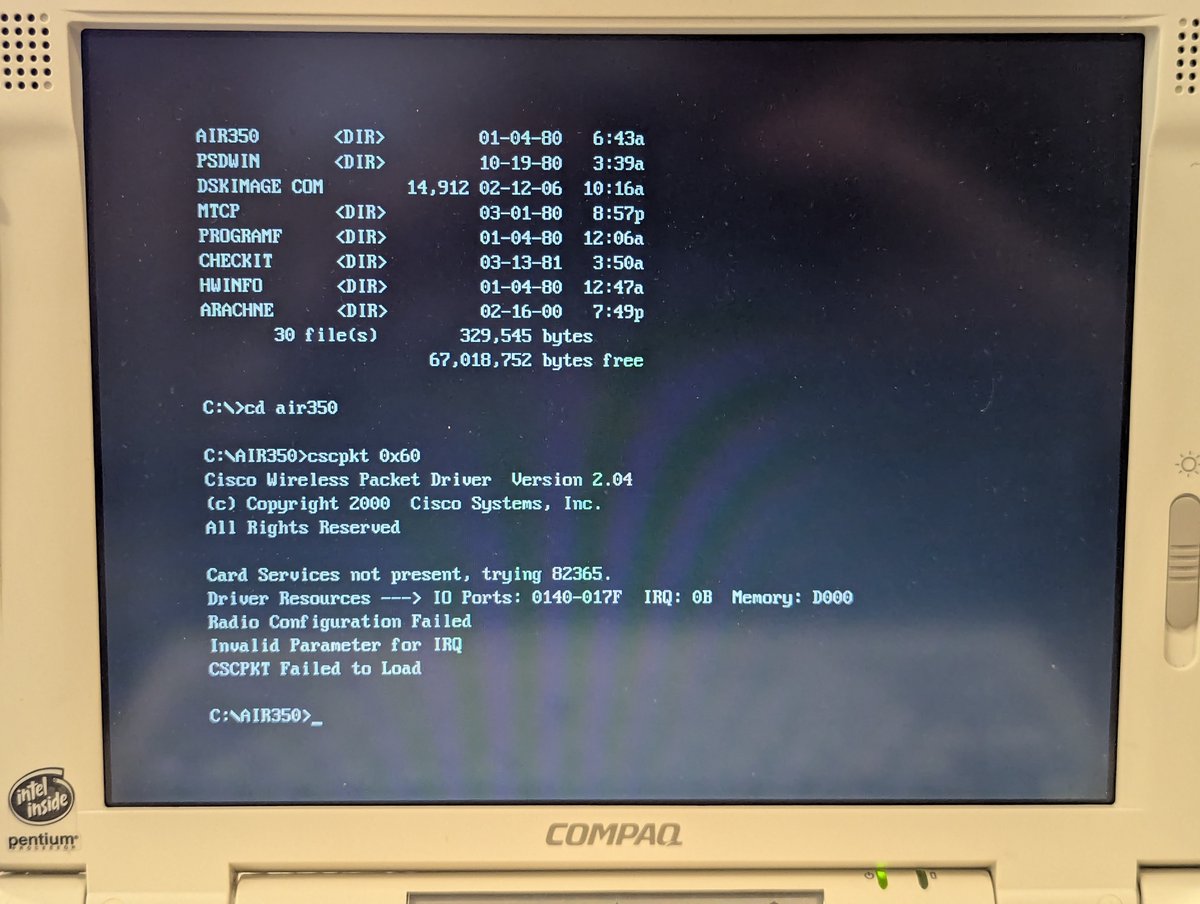
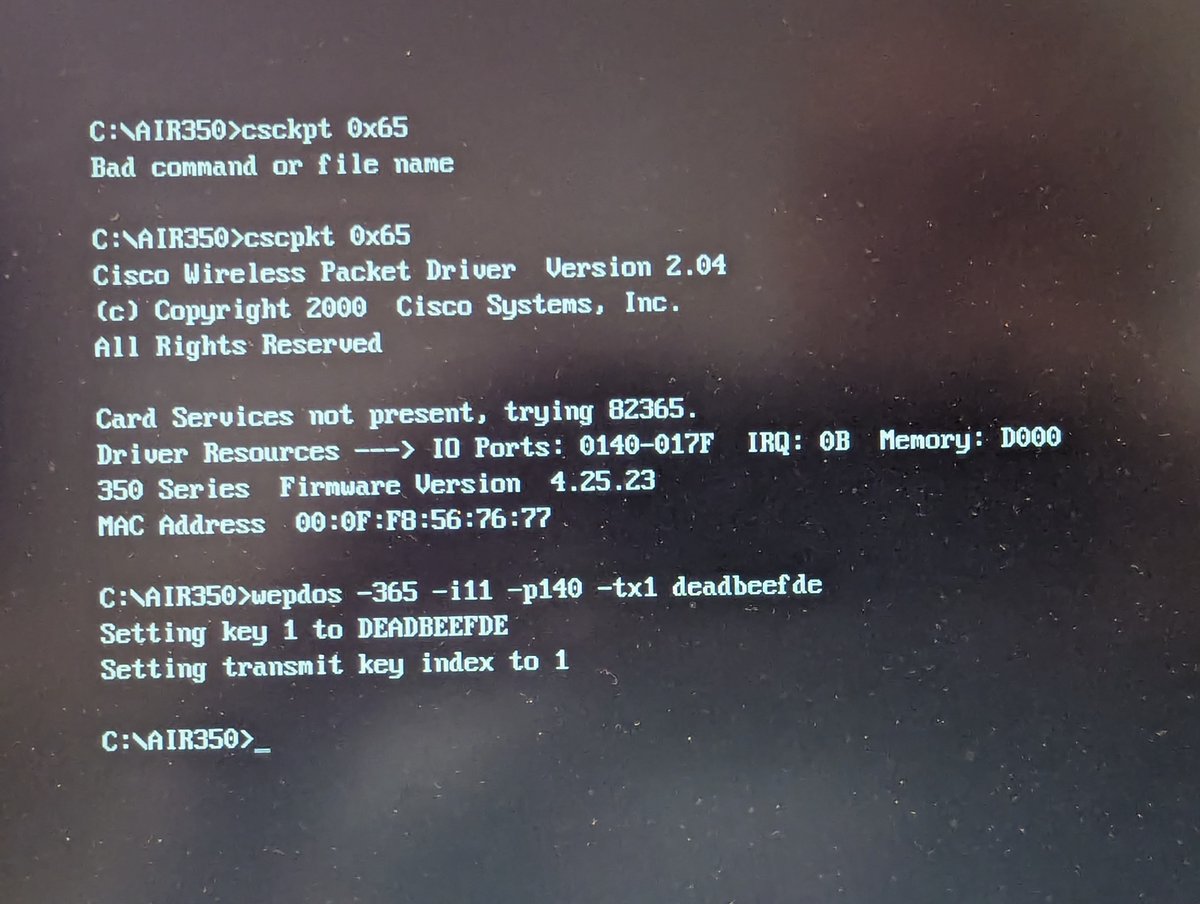
So, first thing we need to do is get the I/O port and IRQ of the network card. We can load the Cisco Aironet 350 packet driver for that! See that IRQ error? IT'S A RED HERRING! The driver is actually upset because the WEP key is mismatched.
This is probably a good time to mention that the Cisco Aironet 350 is an 802.11b card that supports up to 128-bit WEP, which is NOT secure. It's worth segmenting this off on your network for security reasons. Which is good guidance for all retro PCs really.
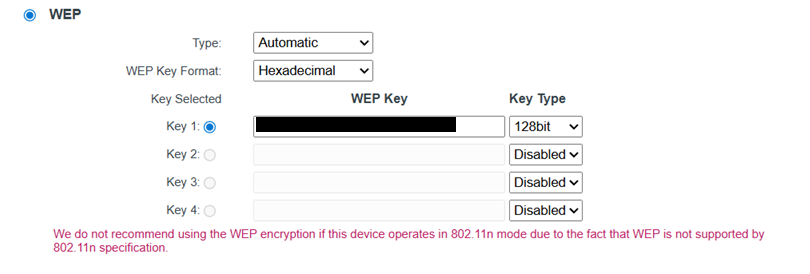
Okay, now that we have loaded the packet driver, we can set the WEP key using the "wepdos" command. No, this is not my actual key, and it is also not a 128 bit key, but you get the idea. Also sorry for the dusty screen 😅
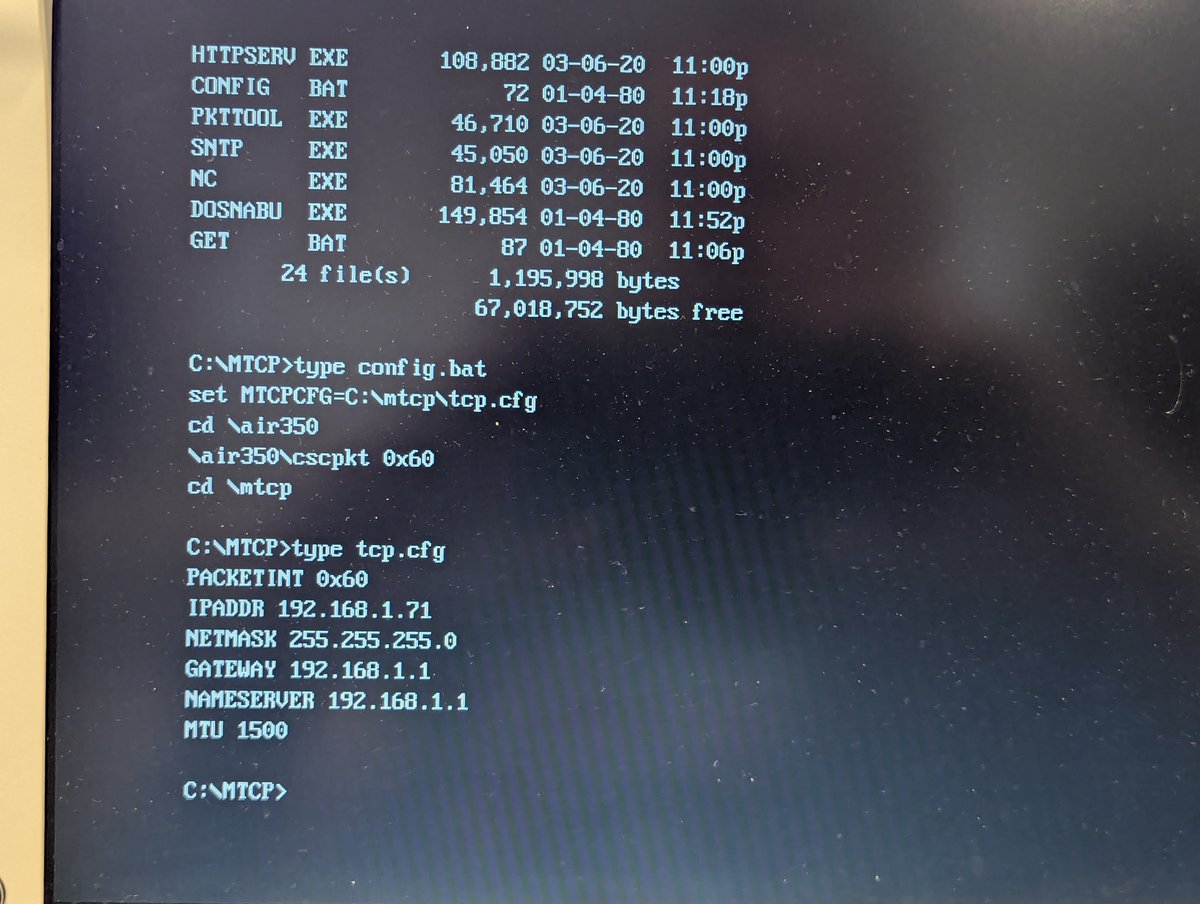
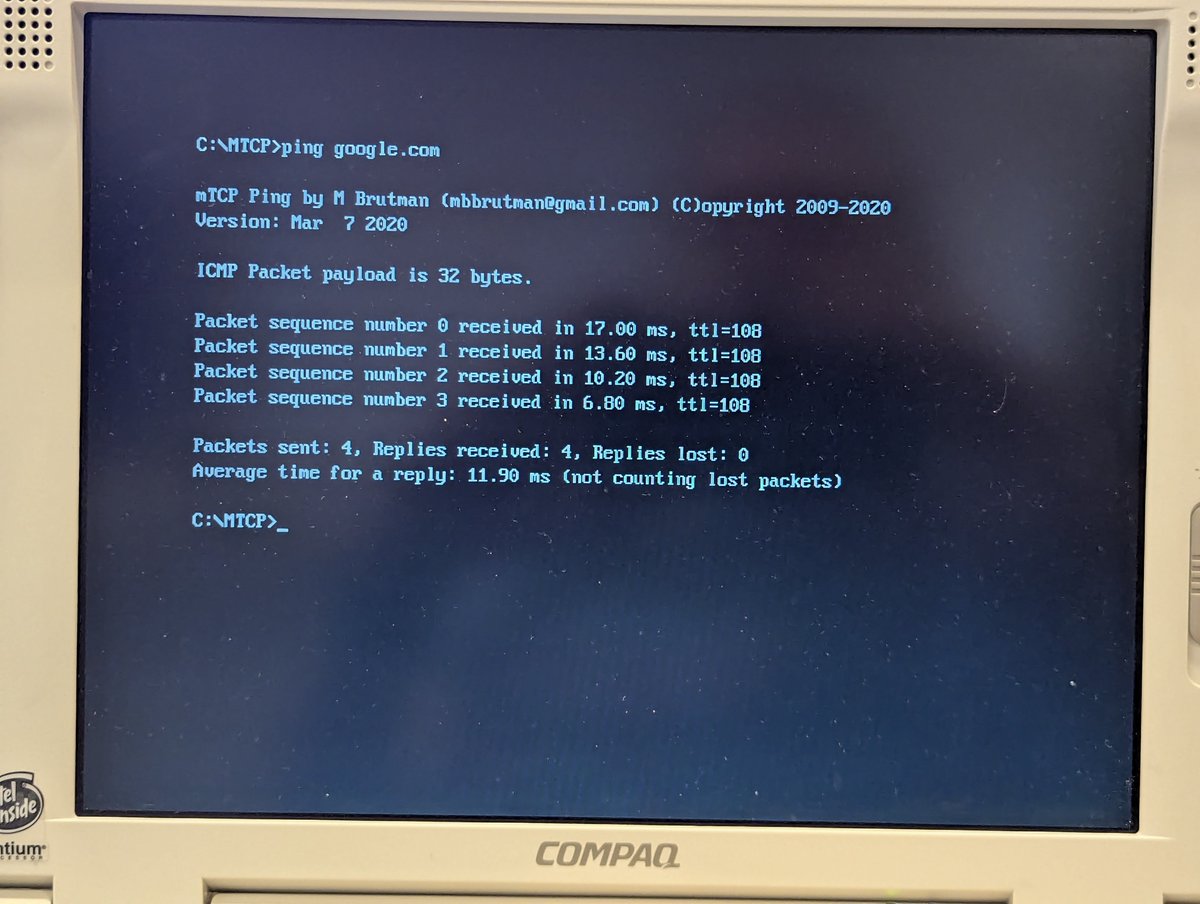
With the card configured, let's try out networking "for real." I will use mTCP here with the packet driver, you can see my configuration. And, lo and behold, ping works! Success.
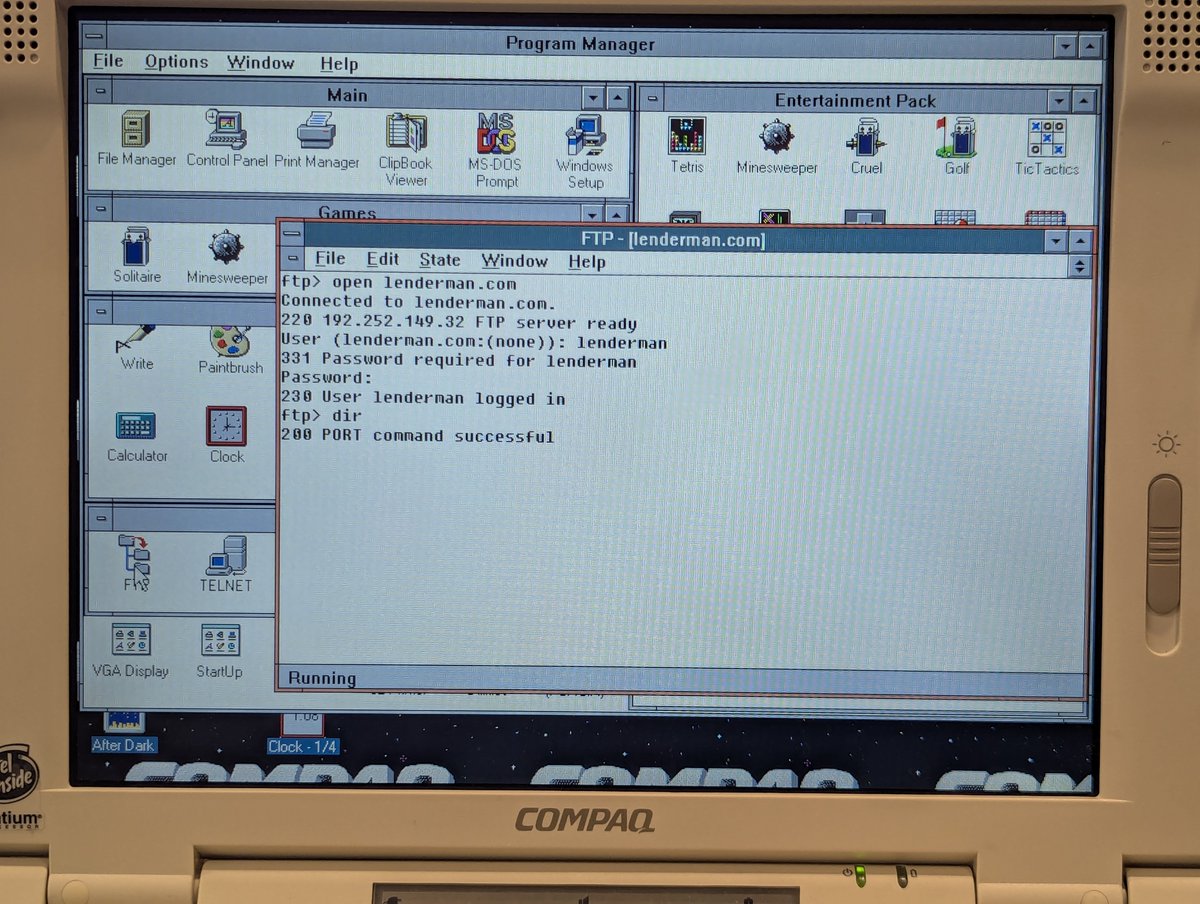
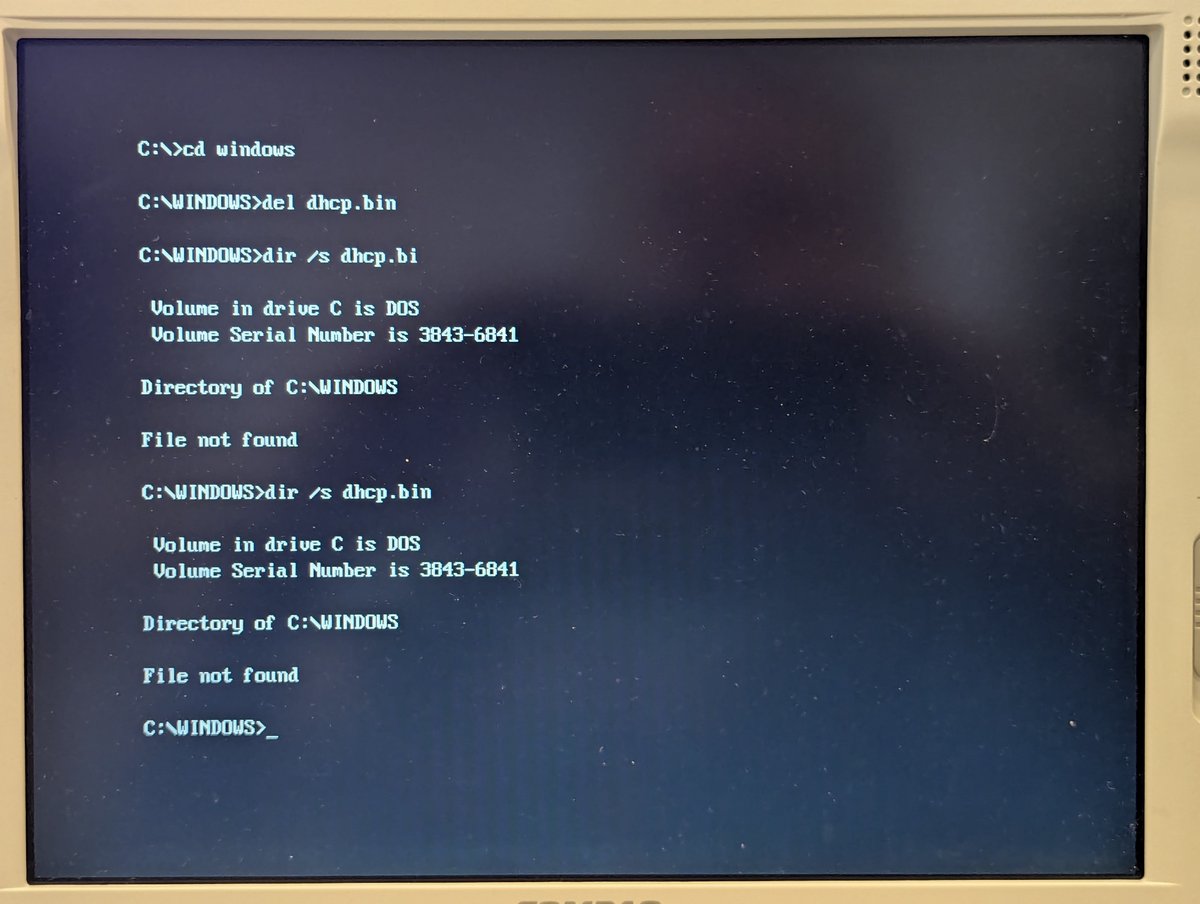
I also loaded up Windows for Workgroups 3.11 (the procedure from my YouTube video talks about how to set that up) and did a quick FTP. Also note, if DHCP ever gives you trouble in this environment, delete the DHCP.BIN file in your Windows directory. Oh the things we learn 😂
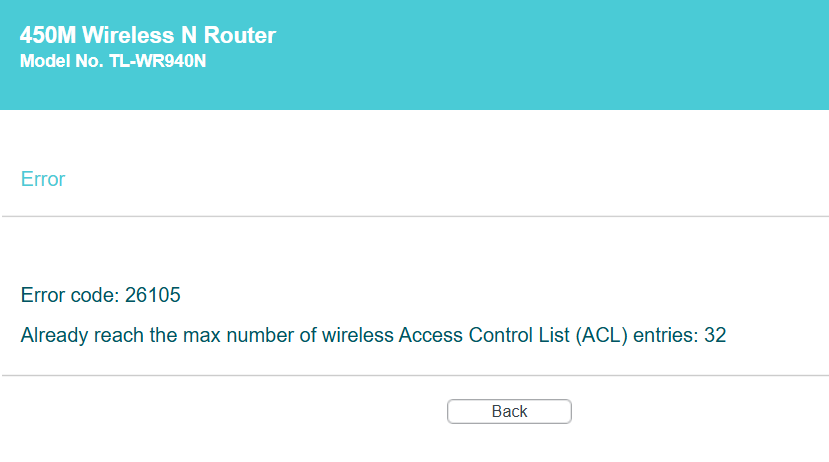
Oh, one fun aside: during testing of the cards, I ran out of entries in my router to whitelist MAC addresses. However, it ends up that one card I received was damaged, so I actually have EXACTLY 32 cards now. Funny how that worked out 😂. Should I play the lottery today? 🤣

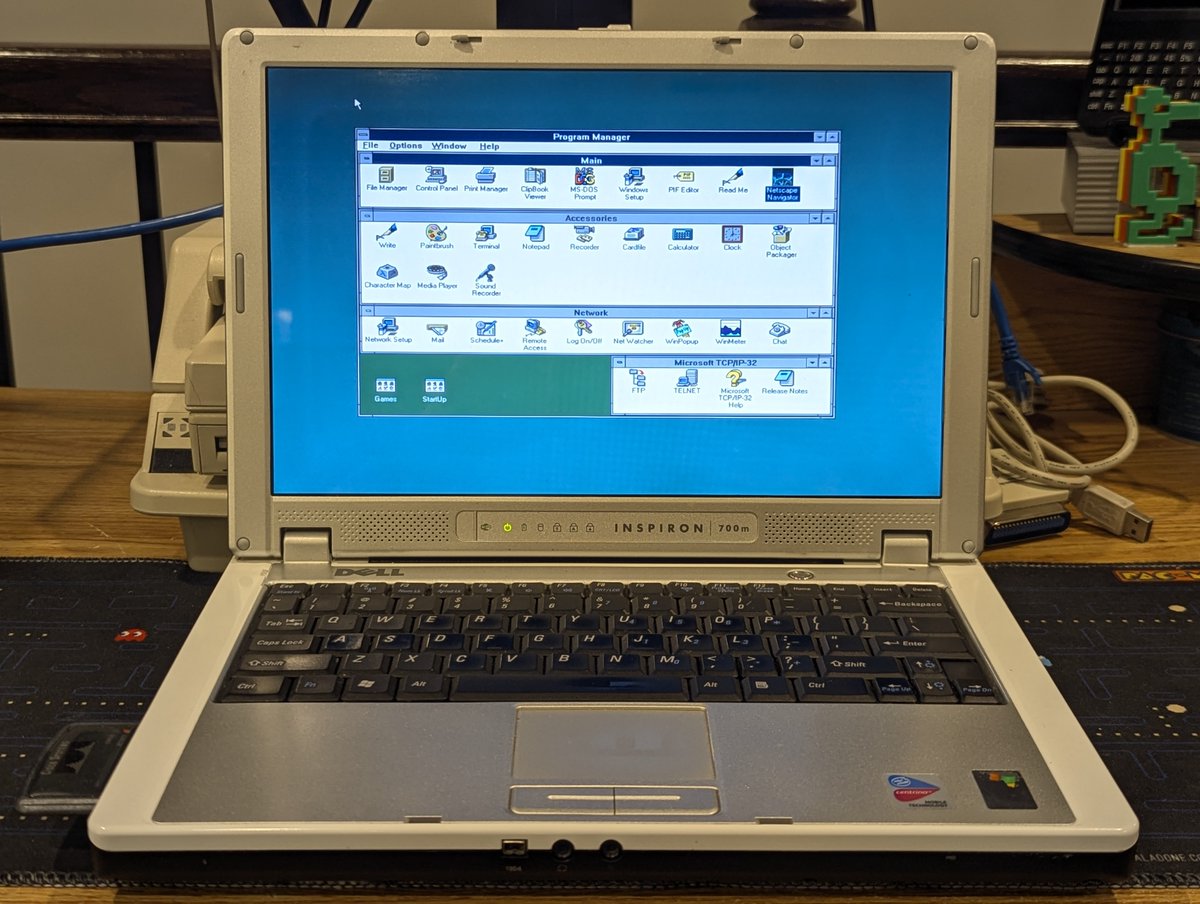
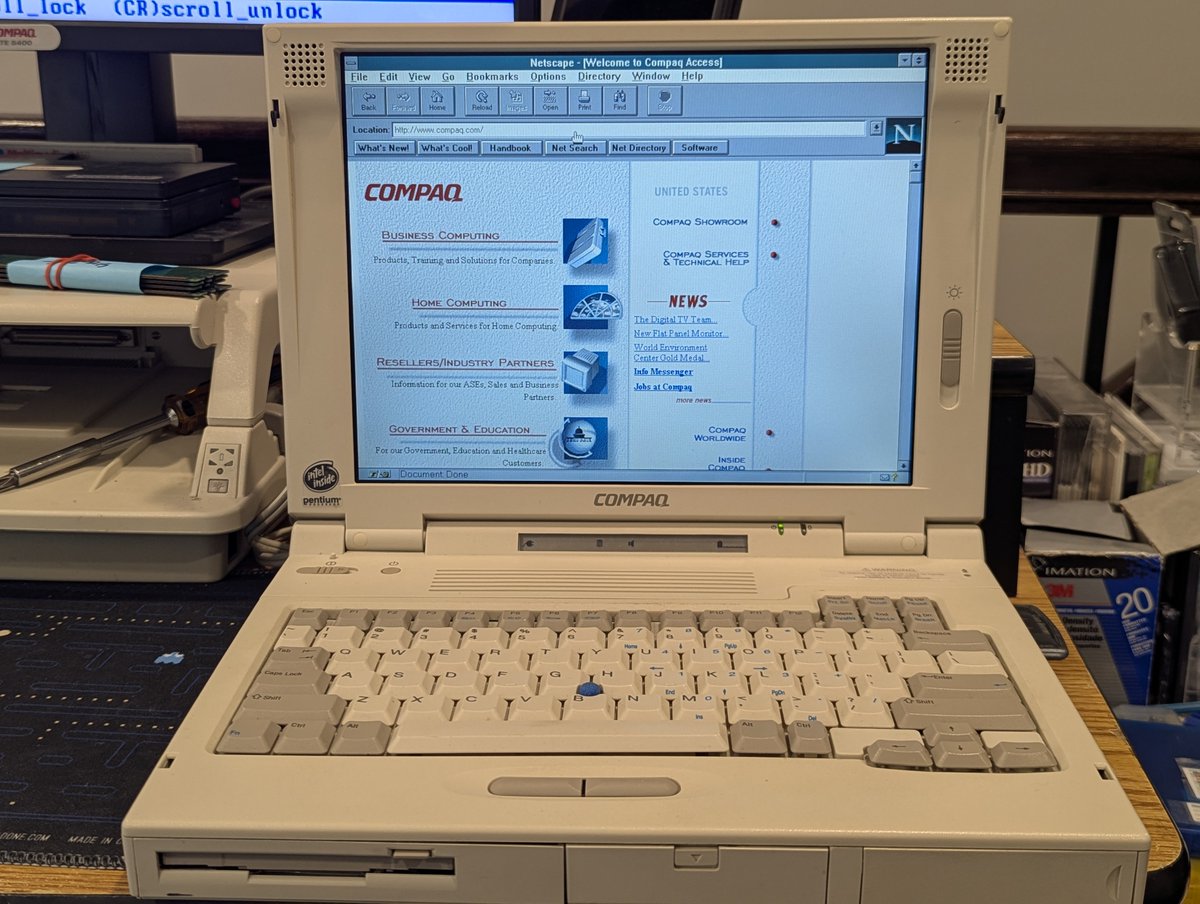
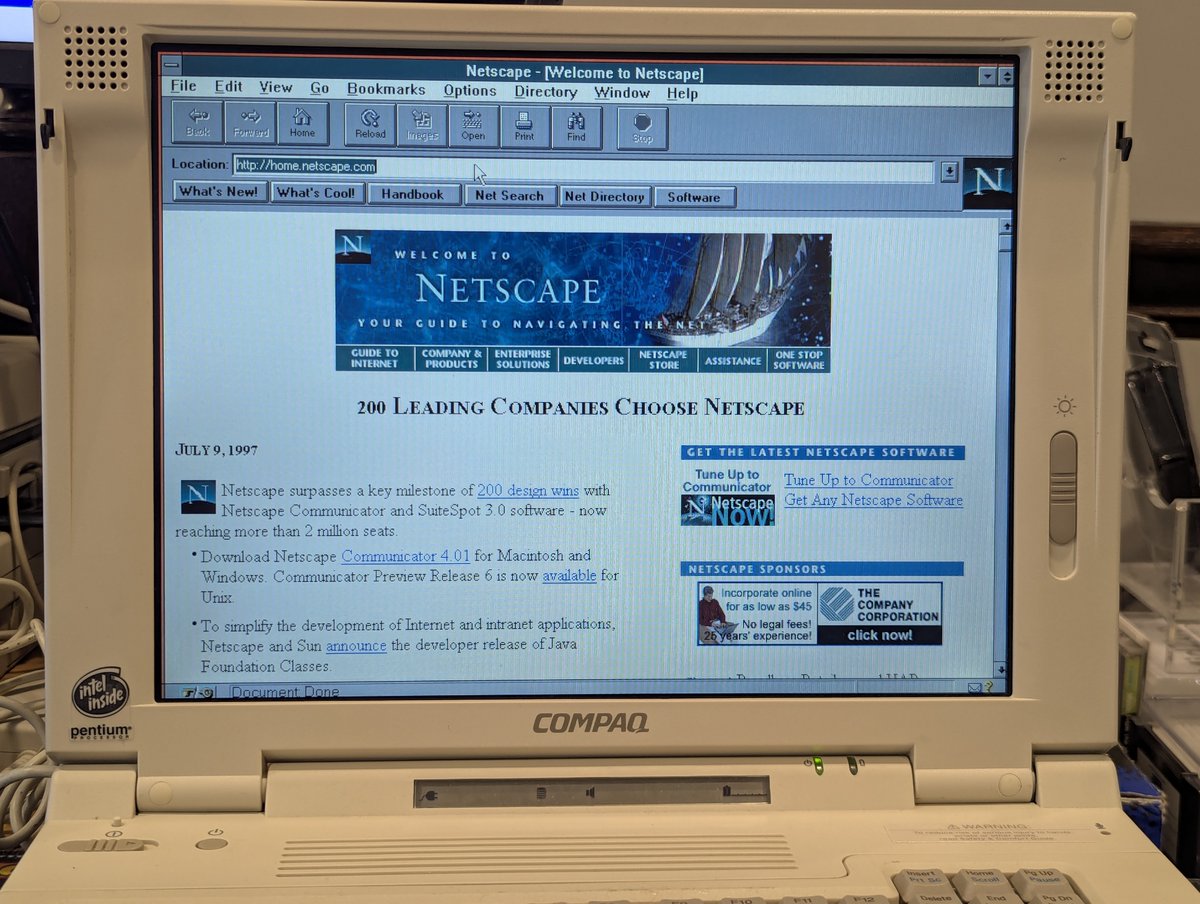
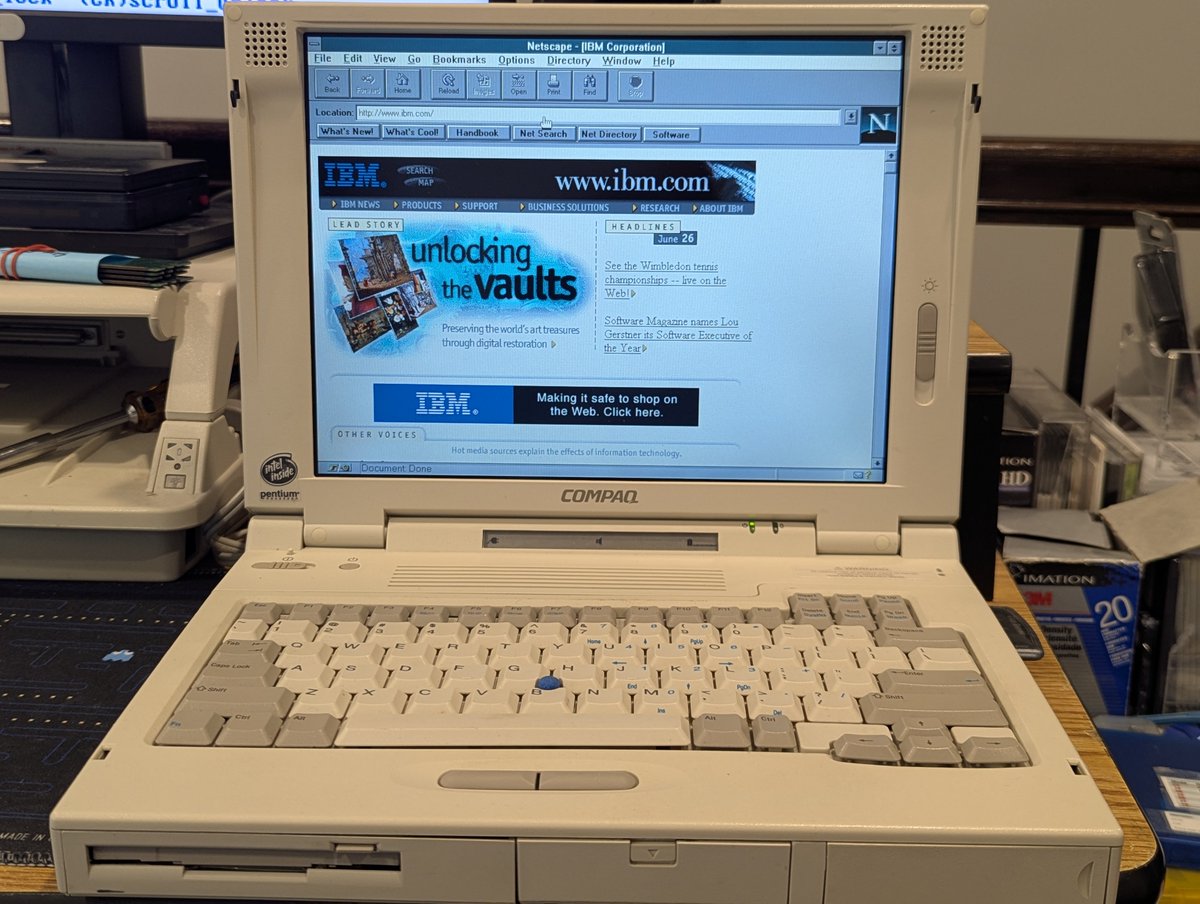
Anyway, that's a wrap. I'll leave you with some nice screenshots from Netscape Navigator 2.0 from Windows 3.11 and a printout of my procedure too. I love this stuff, wireless networking in DOS is cool. Thx for following along!
@threadreaderapp unroll
@threadreaderapp unroll


@threadreaderapp Dog gone it, I posted the wrong picture for my procedure. My old eyes are failing me 😅. Here you go.
@threadreaderapp unroll (again hopefully)
@threadreaderapp unroll (again hopefully)

@MohdJamie Anyway, I did try it out, but unfortunately since it requires https, it won't work. Yea, this era predates https.
• • •
Missing some Tweet in this thread? You can try to
force a refresh