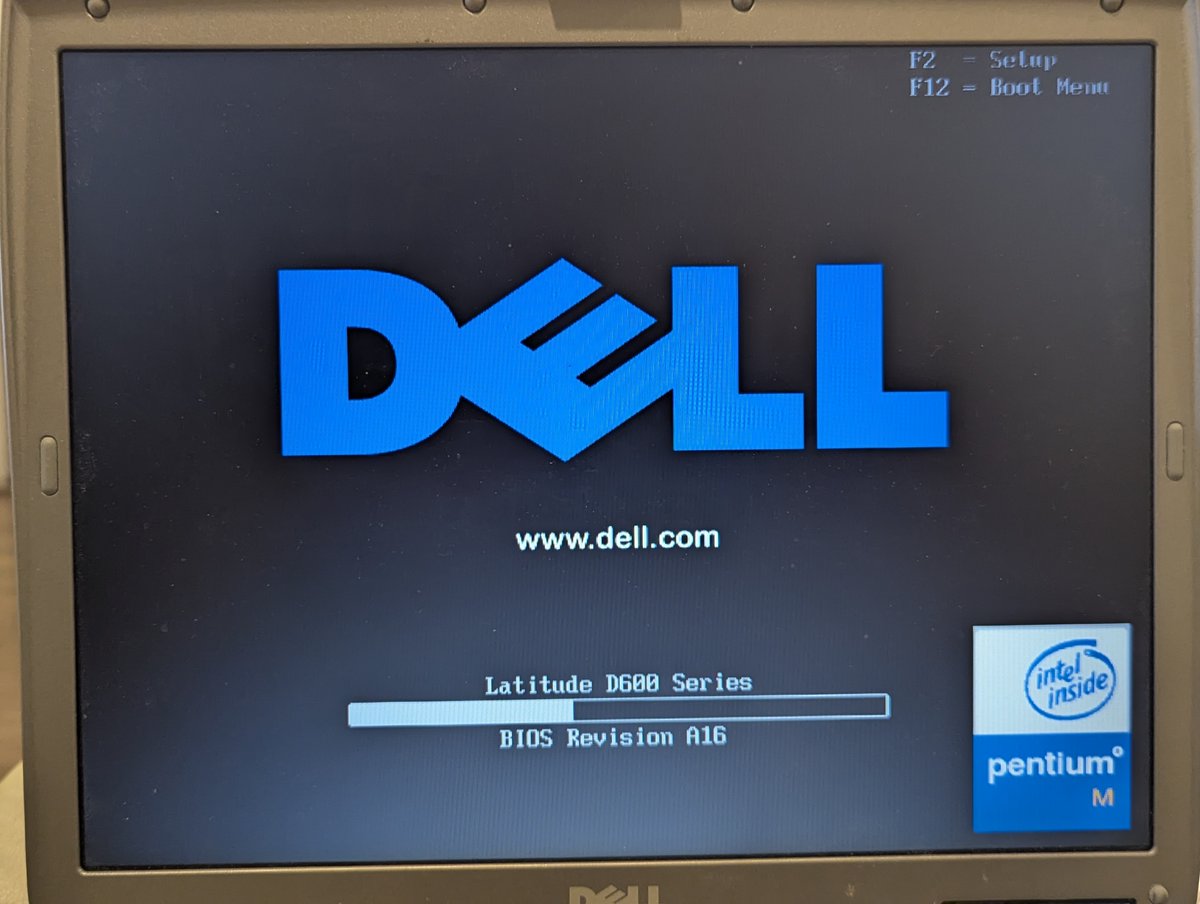
I spent a few minutes today setting up this Dell Latitude D600 laptop. It's a neat and zippy little Windows XP PC. Let's talk about it in a š§µ here!
Here are the specs! Pentium M 1.60 GHz, and 2GB of memory. Pretty nice specs. And the battery is charging up nicely too. Score!
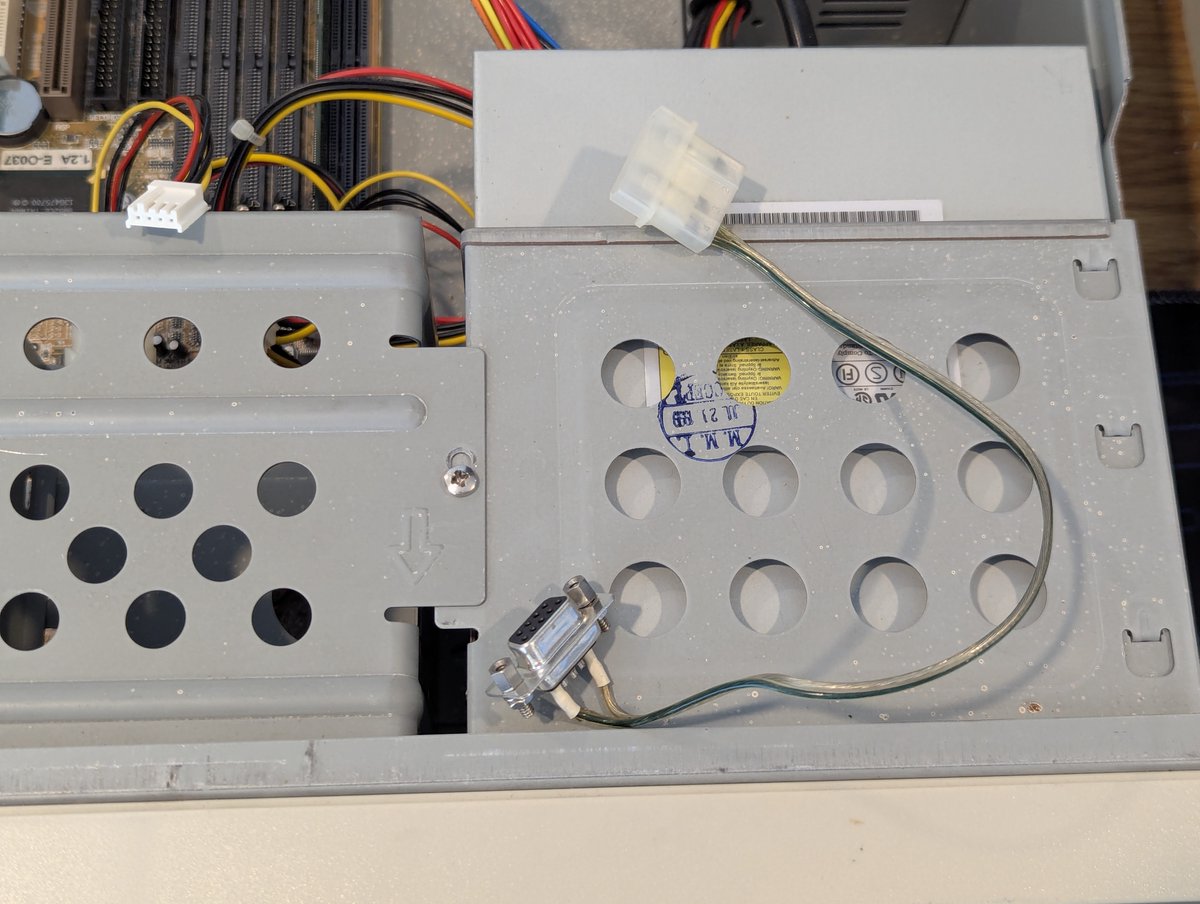
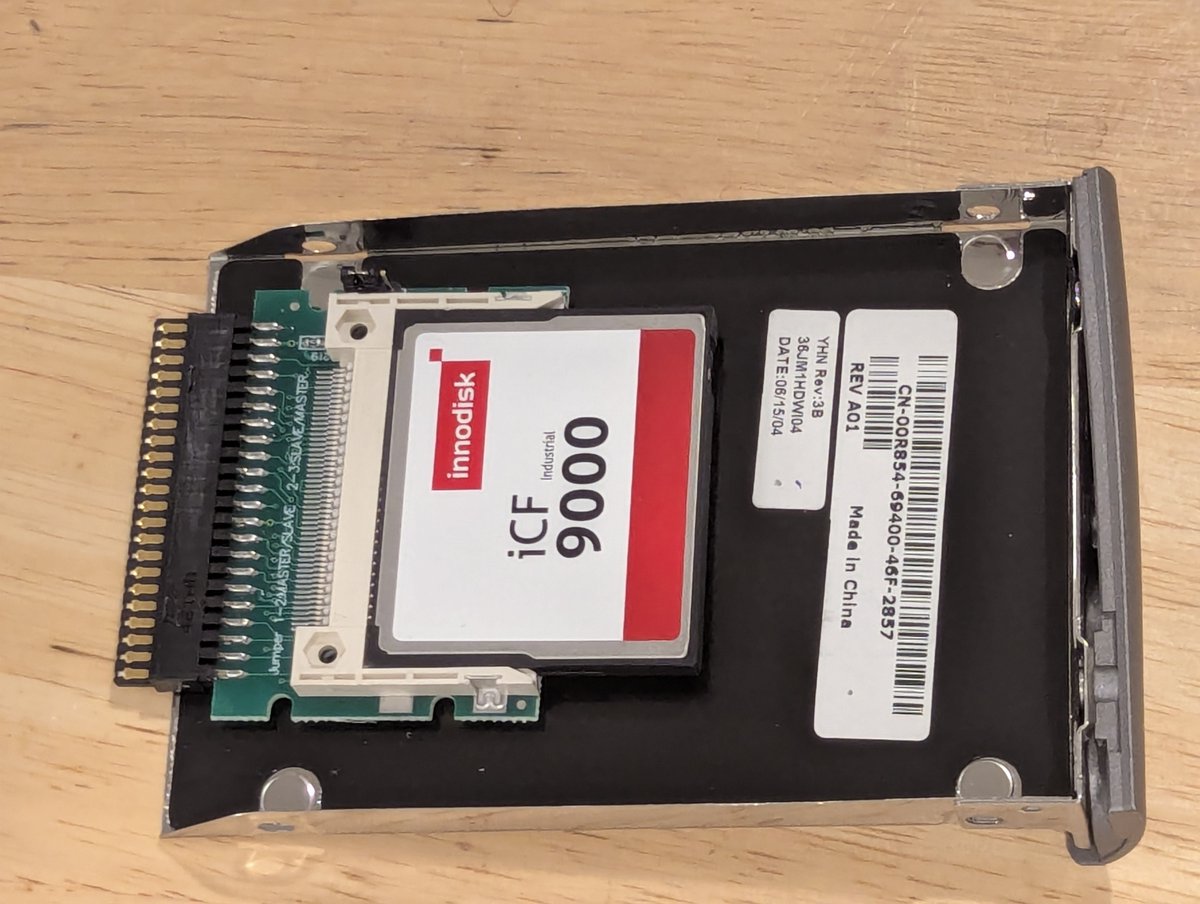
Unfortunately, the HDD is dead on this. So I put in a CF card adapter, using the old HDD to help align its placement. 4GB is going to be anemic for Windows XP, but it will get us by for now.
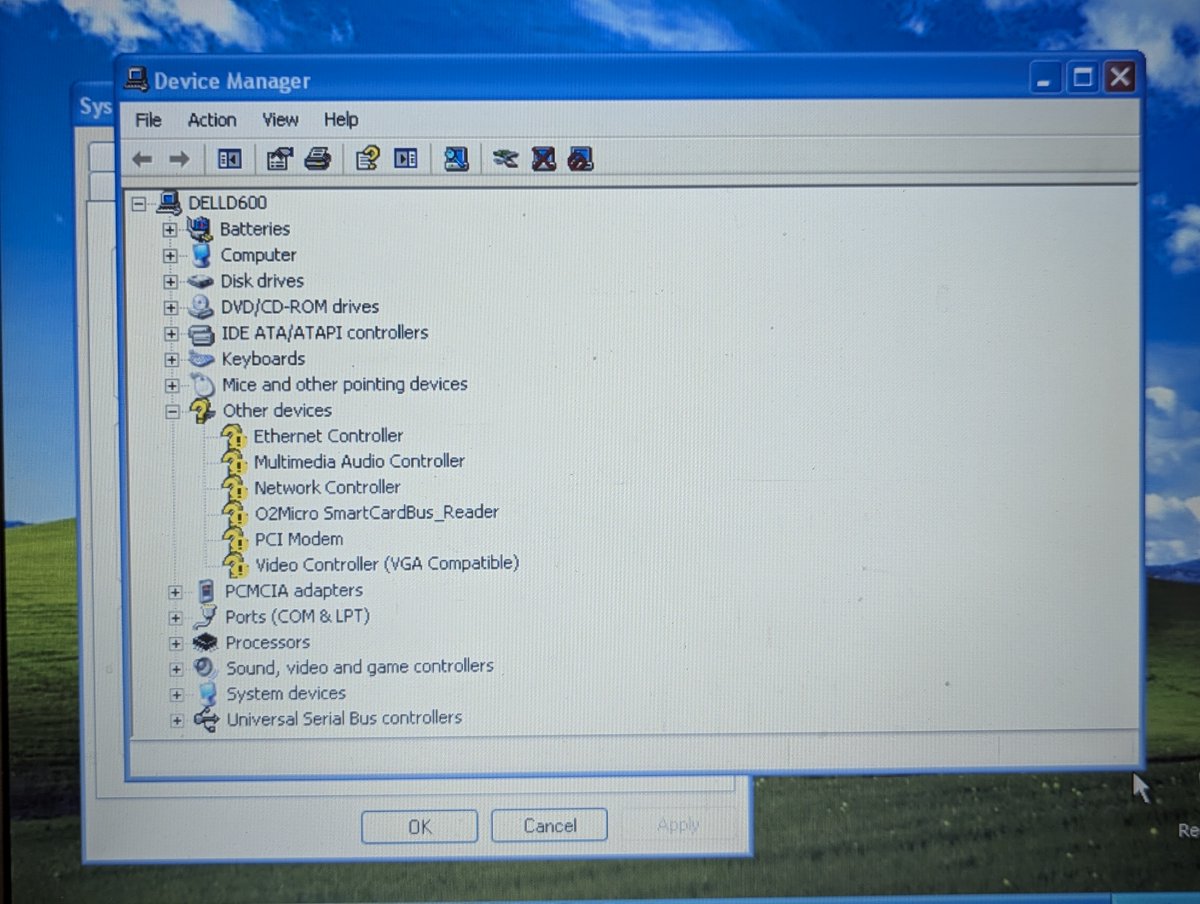
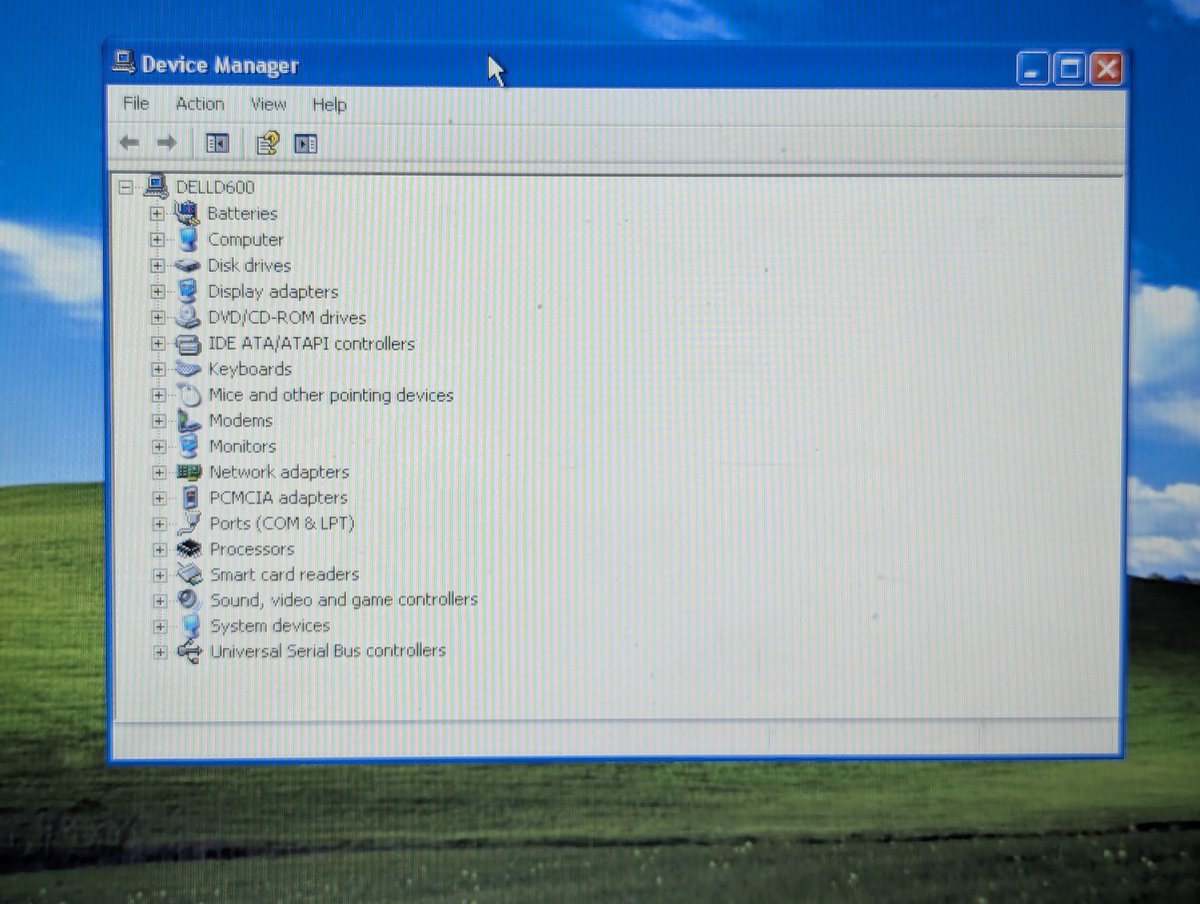
After installing Windows XP Professional, we have a fair number of yellow question marks in Device Manager. Let's get to work!
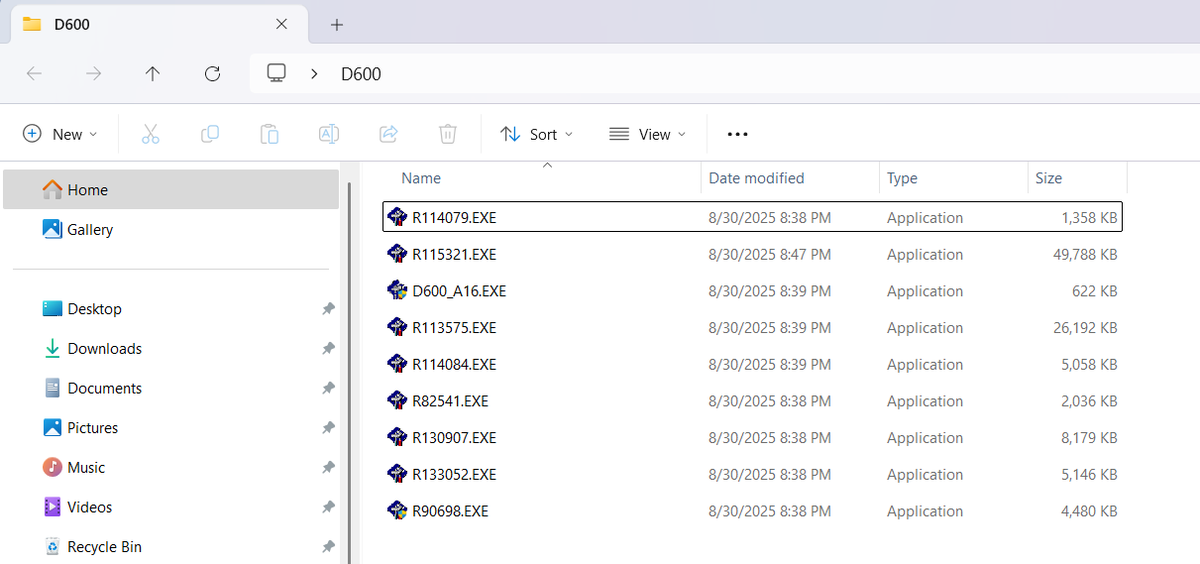
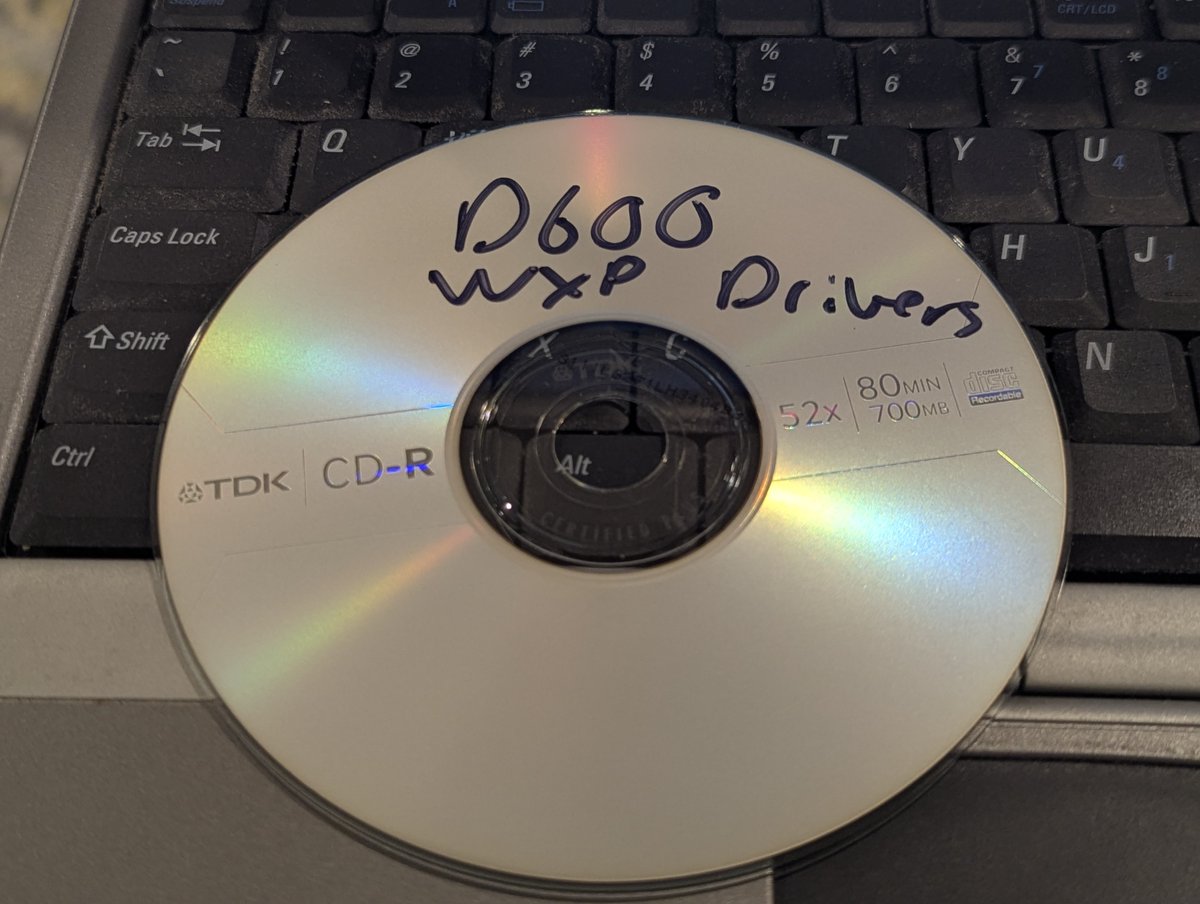
I went to Dell's website to grab some driver install files. It took me a minute to figure out the wireless card, but it is a Dell Wireless 1350 card. I burned the drivers to a CD for ease of installation.
The first thing I did was upgrade the BIOS, and it went off without a hitch!
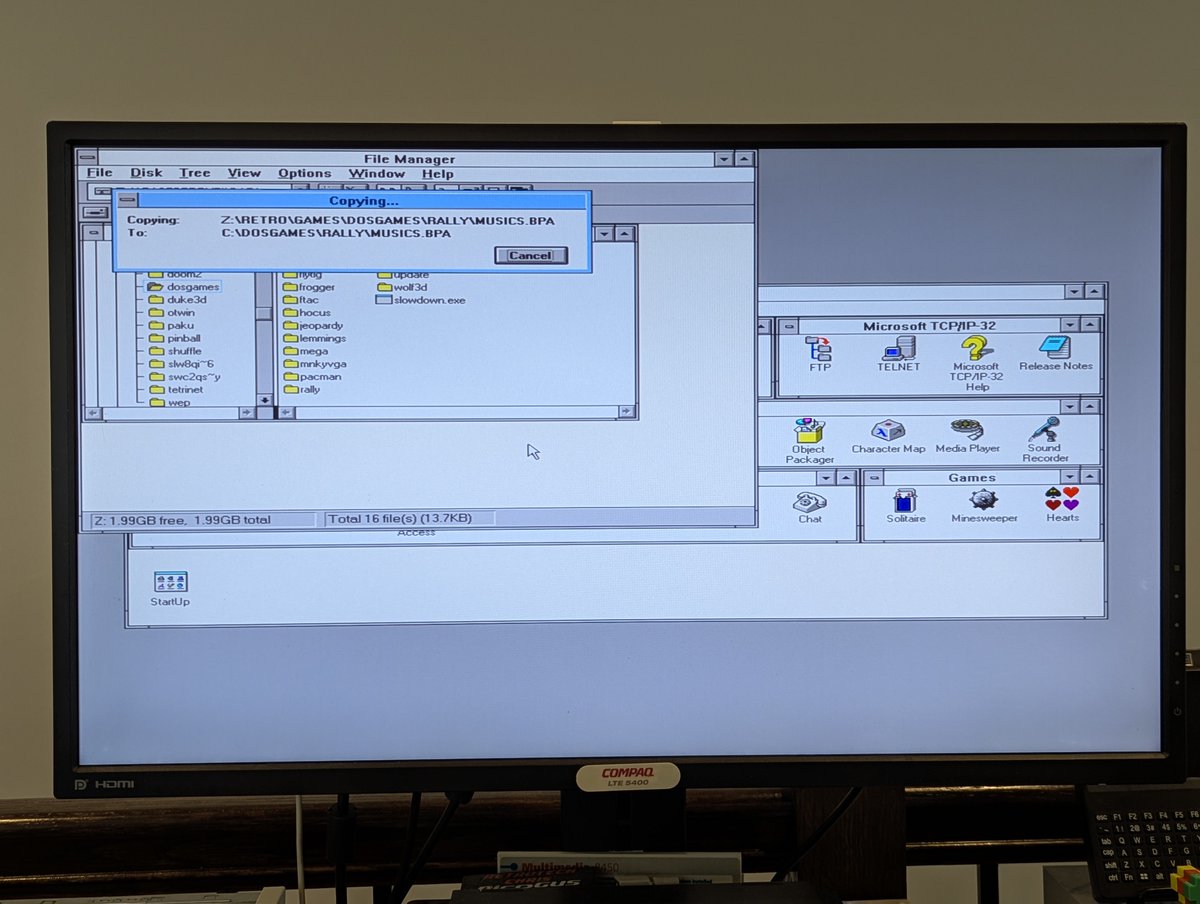
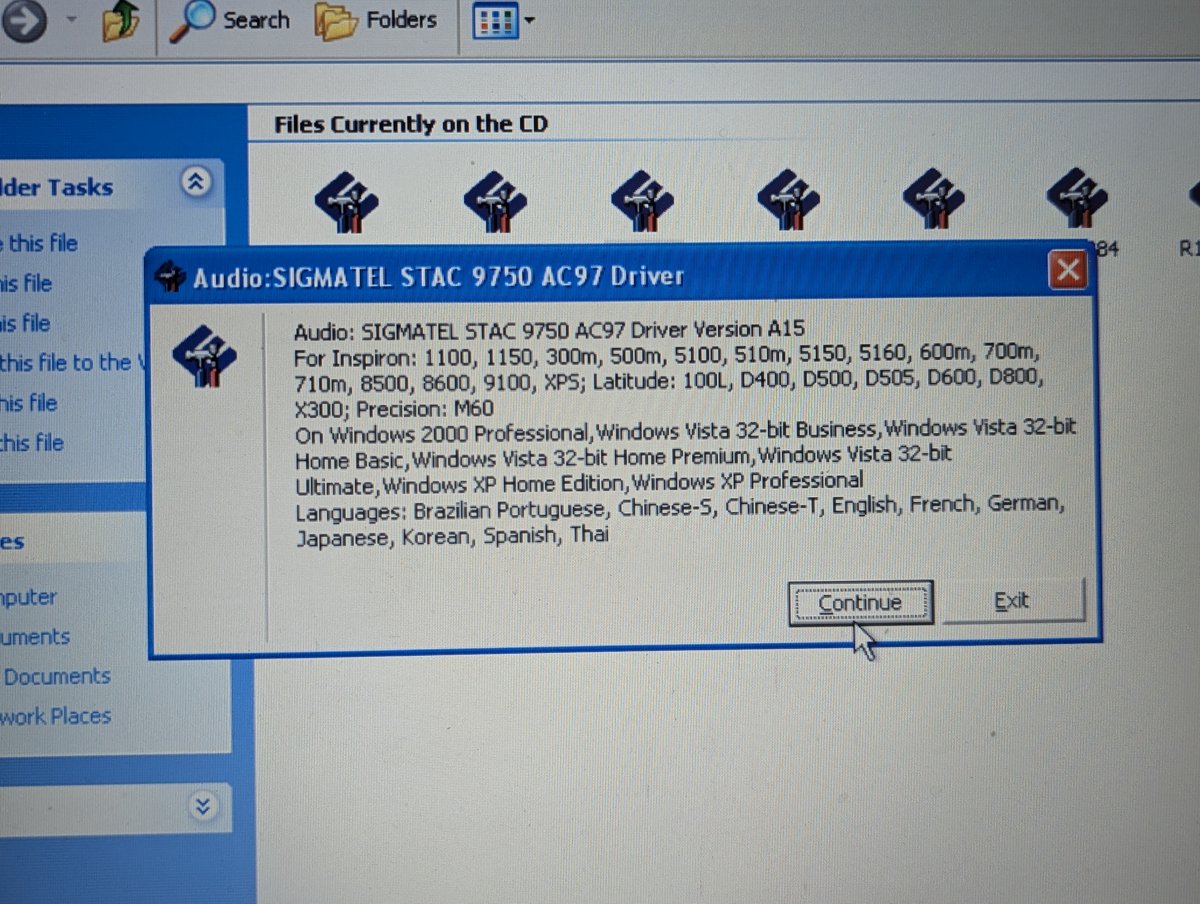
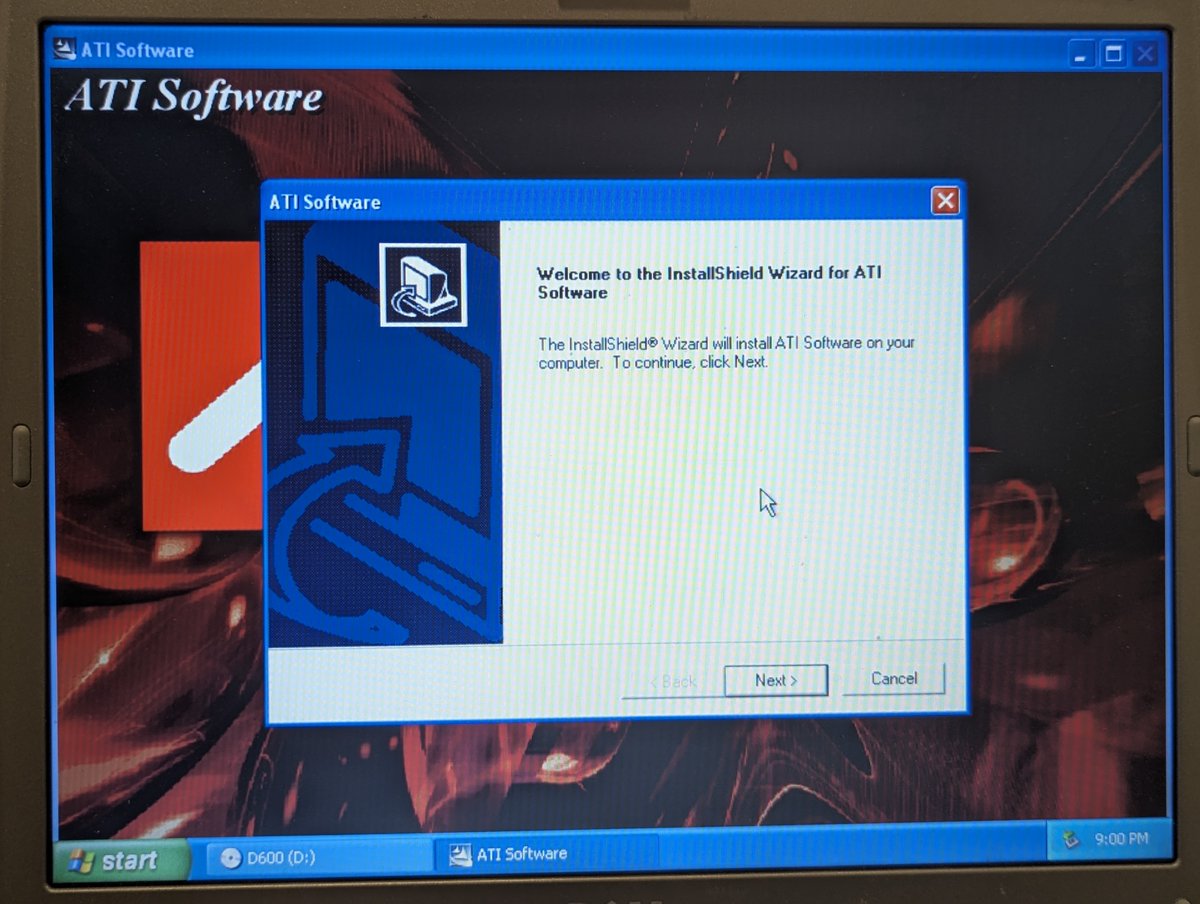
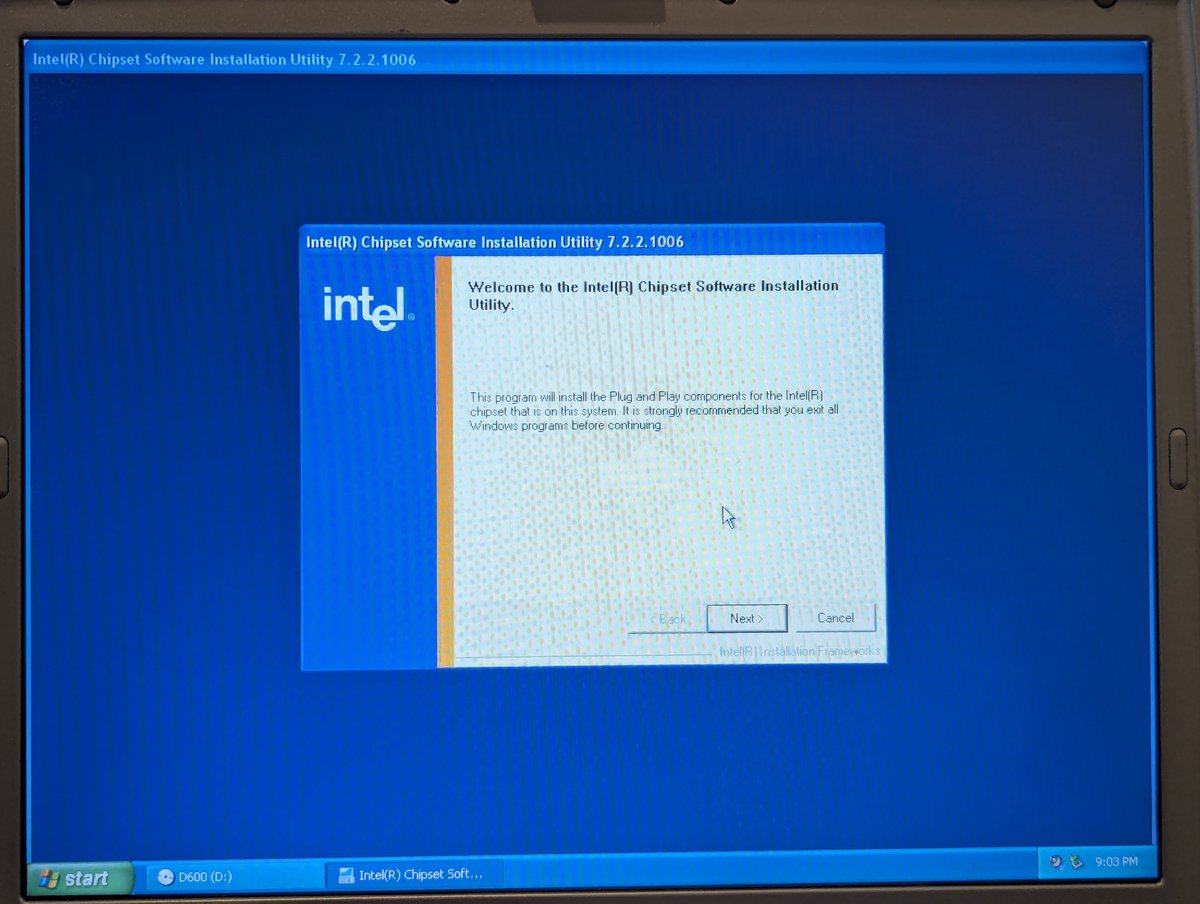
From there, the driverfest install started. It sure is easy to install drivers in "later retro OSes" like Windows XP. Much easier than DOS, Win3.1x, or Win9x for that matter! It just works!! Granted, it also helps that this is a branded system.
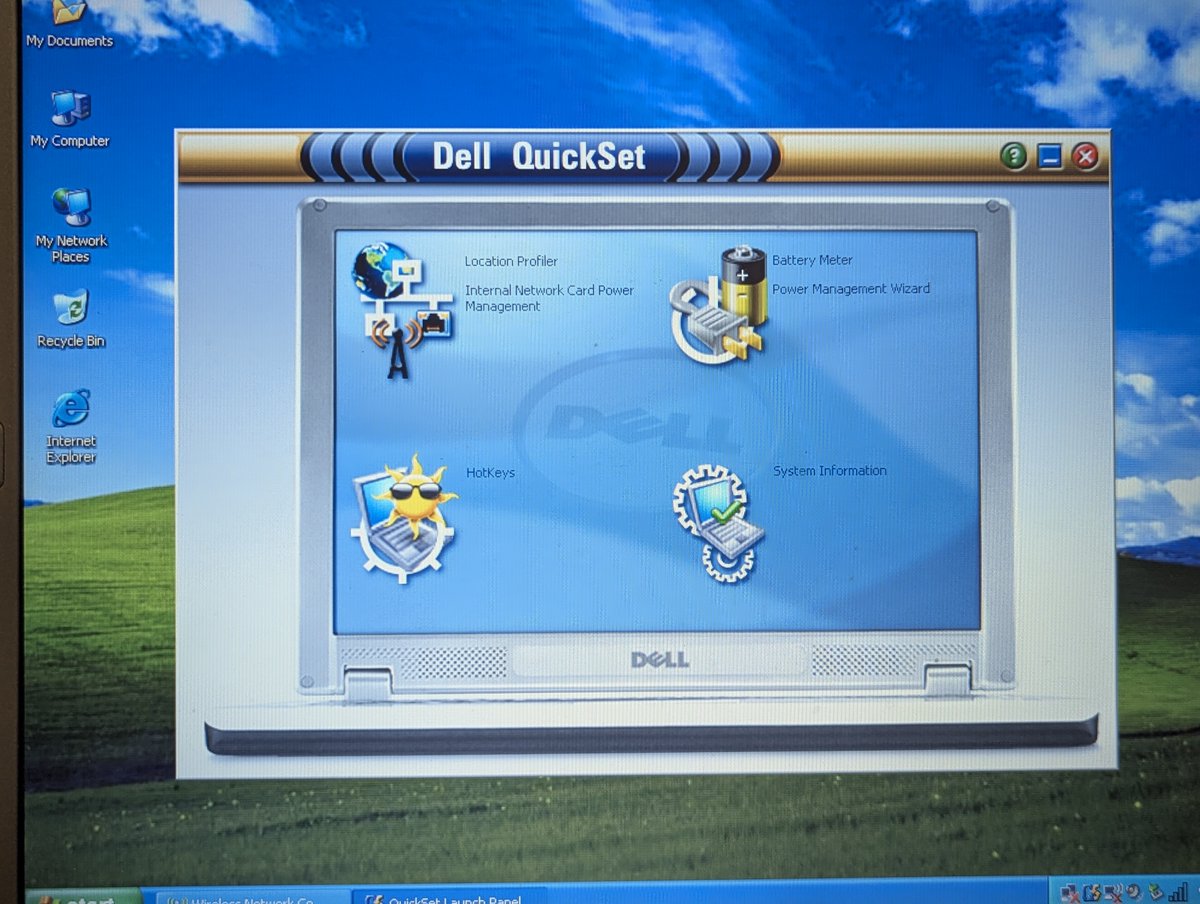
I am a fan of the utilities for the Dell QuickSet and the Alps GlidePoint touchpad. Always nice to have control of your hardware... and software!
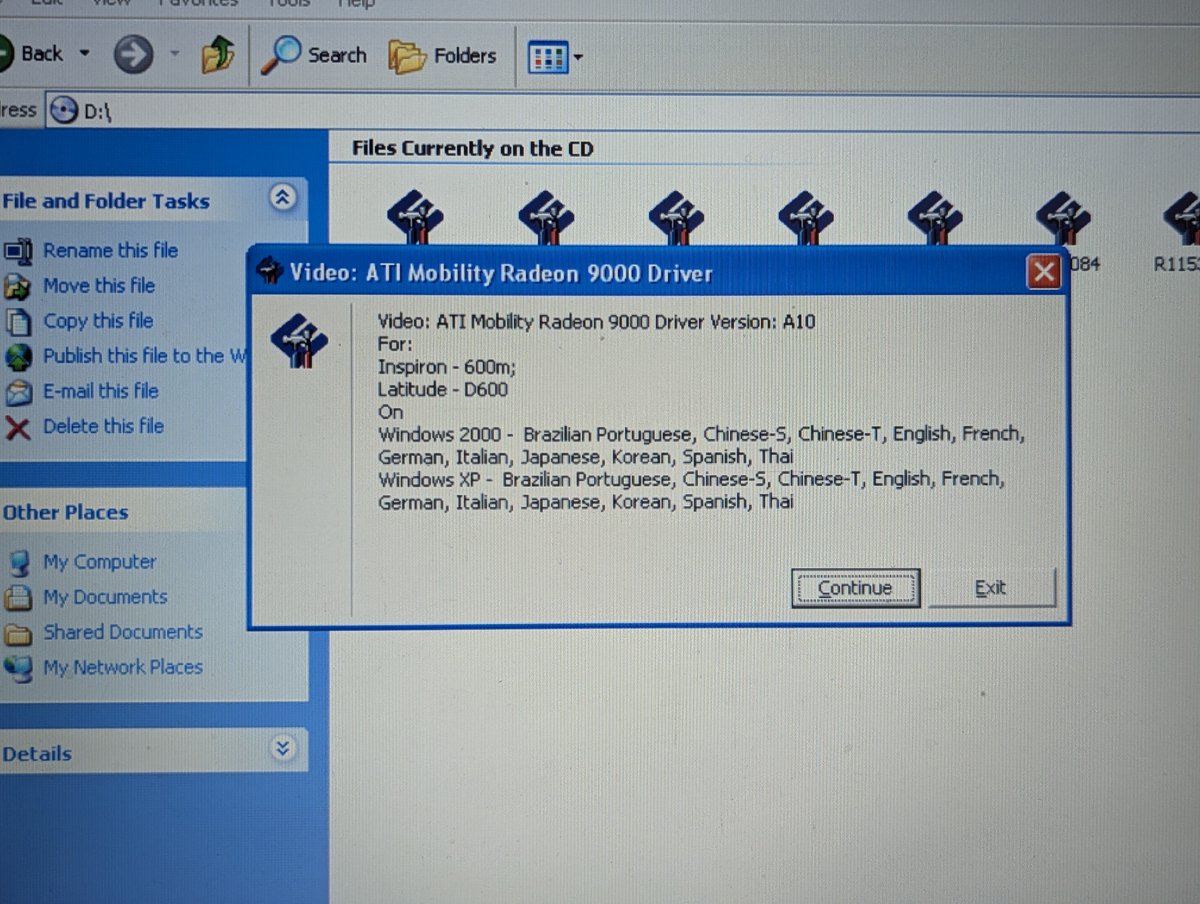
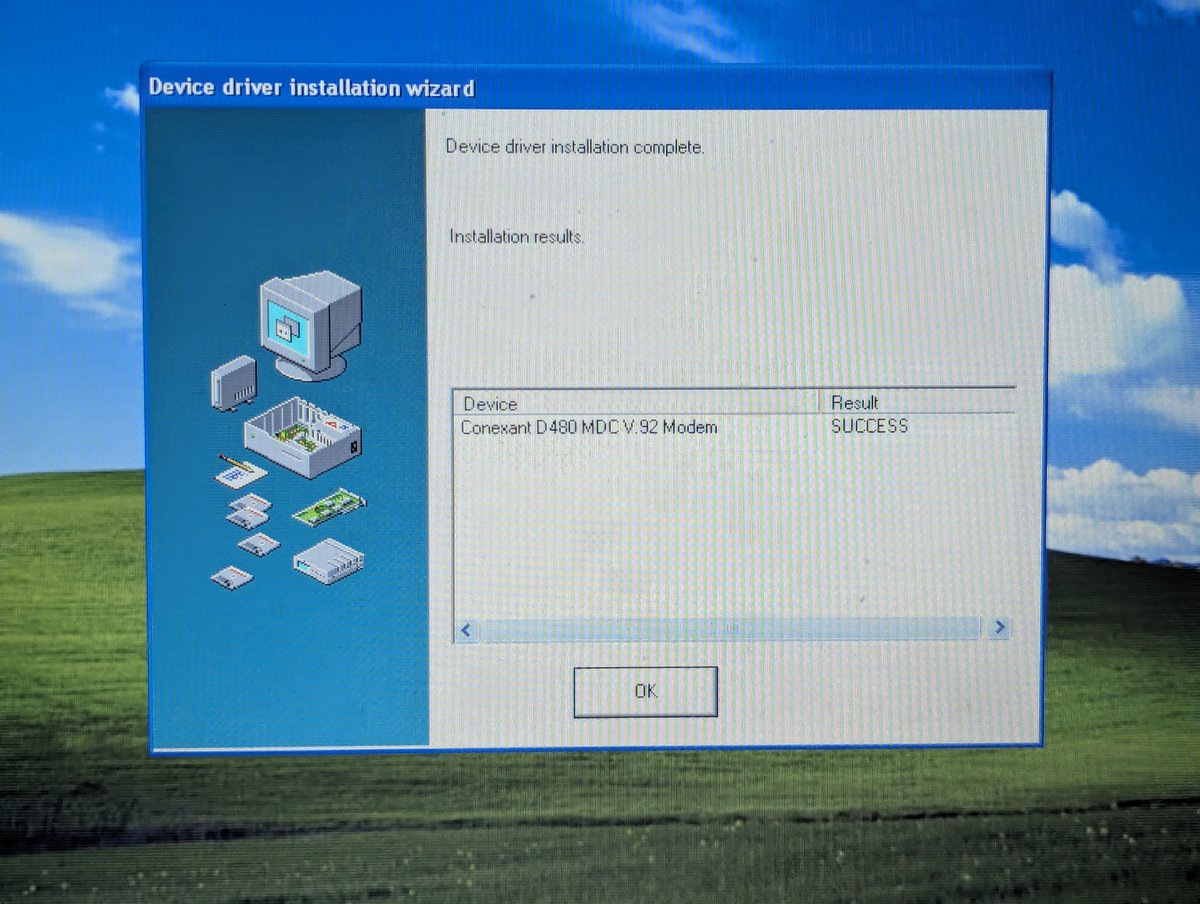
After running a few more installers, we were all wrapped up! Here we have video, chipset, and modem.
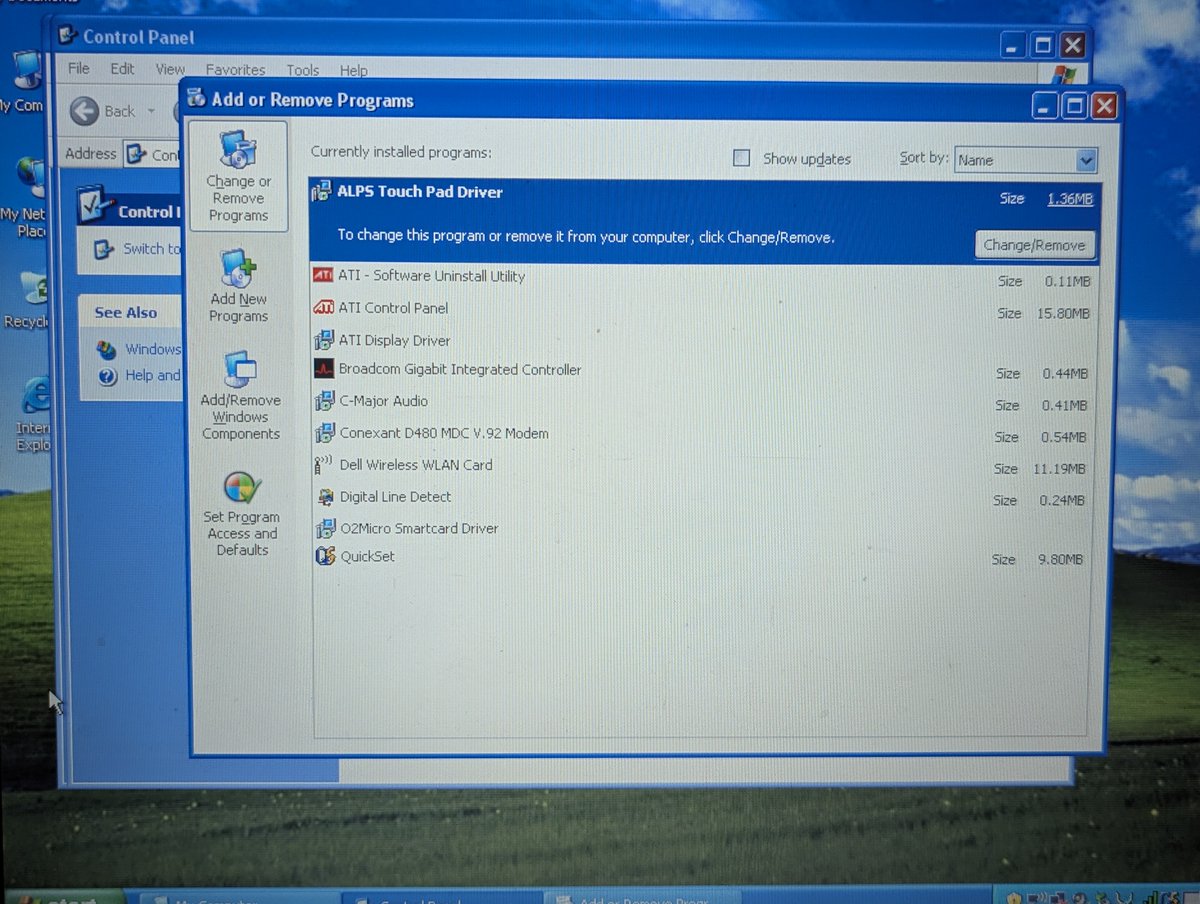
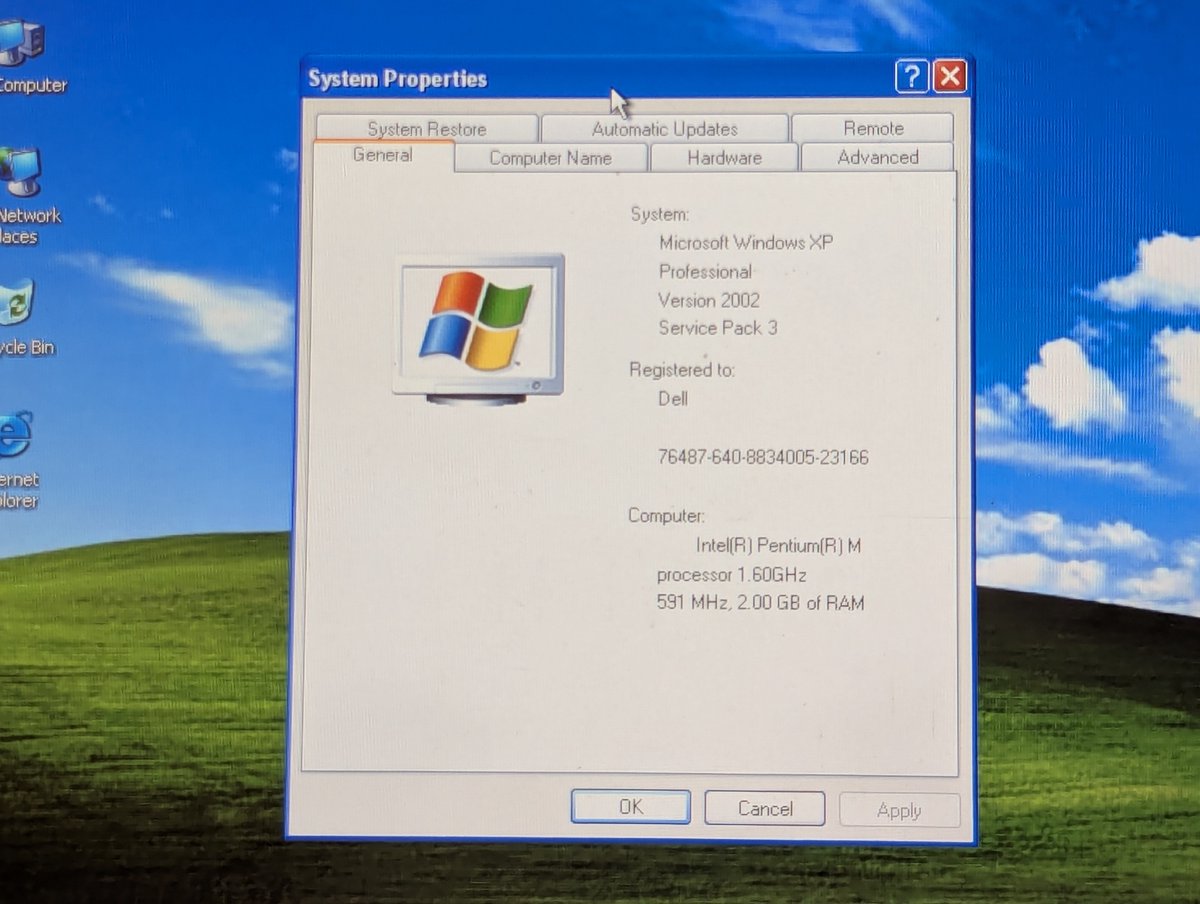
All set, no more yellow question marks! Here's my final list of installed programs. And here is the "General" system info page. Very nice! As always, thanks for following along! This is more modern than I usually do, but I really love this system!
@threadreaderapp unroll
⢠⢠ā¢
Missing some Tweet in this thread? You can try to
force a refresh
Alright, I have a confession, I caved and bought one of those NEW OLD STOCK ENLIGHT ATX CASES for sale on eBay!! It arrived today. What do you say, shall we build a PC? Let's do this! Time for a š§µ
First, an unboxing since I have the original box!! This case is an Enlight 7250AKD. It is a little different than my other Enlight case, but is pretty similar. And it is GOREGEOUS!
Here's a first look at the back of the case, and I also popped off the front of the case. Look at all of that shiny metal!
I have a bunch of things to test out! We won't get through all of them, but let's test what we can. We'll use the Pacman PC for our test rig. Let's go! Time for a š§µ
First, we'll test some PSUs. Yes, I know, this is risky, I am ok with that. The Antec ATX PSU that I tested had a "whine" to it, so I pulled it. The Enlight ATX PSU tested fine. I let the system boot into Hannah Montana Linux and set for a few minutes! Pass.
Let's test this Creative optical. The last time I did some testing, it tested bad, but I believe in second changes. Sadly, not even a lens cleaning could save it. Fail.
Alright, let's check out the $10 photo booth PC that I picked up on Thursday. Allegedly this PC was used in a mall photo booth kiosk, and it definitely is weird... and, well, I did get it to power on a few times, but that was it š . Time for a š§µ
First, in addition to being a desktop ATX case, it does have an interesting black oval on the front! Probably for infrared, I didn't take it apart, I was lazy. If so, that's a cool feature. And this ATX case has an AT mobo in it, with an AT I/O shield!
As noted in the first post, this PC has some weird stuff. Looks like this DE9 connector supplied... power. Yikes! Yea, I took that out, we don't want to have any surprises later. Guessing this powered some other kiosk device.
I bought this Packard Bell Multimedia 601 at last week's Northern Virginia swap meet. It had a bit of a transformation, and it is now all set up too! Let's talk about it in a š§µ here!
First of all, when I picked up this thing, it was DIRTY, like REALLY DIRTY. But that is something we can fix.
I got started with some glass cleaner and also use a melamine pad to clean it up a bit. With a little bit of elbow grease, I think it turned out nice!
I bought some memory to upgrade the Pacman PC. SURELY this will go off without a hitch.. surely it will. Okay, let's talk about it, in a š§µ here!
So, as you saw from the intro picture, we're now showing 1.5 GB of memory in this lovely system. The system booted up into Hannah Montana Linux š. That's fine.. we can ask it how much memory it sees. Looking good!
Oh, here's the memory installed. Let's kick off MemTest86+
I had some "larger" hard drives laying around, and wanted to put one in the new Kehtron computer. But to do that, I had to work around the 528MB limit of this computer's BIOS. Let's use XTIDE to do that...surely this adventure will go off without a hitch... right? Time for a š§µ
So, first of all, what is this 528MB limit all about? Well, older BIOSes were limited to 1024 cylinders. Around the 486 era, as drives got bigger, BIOSes started to support Logical Block Addressing mode. However, this particular BIOS does not.
There are some workarounds! You could use a program like Ontrack Disk Manager which solves the problem in software. You could also upgrade your BIOS to a later version, or even acquire an aftermarket BIOS like MR BIOS (someone put together a nice archive of past versions!)