
I got asked about my sculpting workflow in Blender, so I'd thought I'd share some quick notes
When I start with a character I am usually exploring the size relation between the different body parts. I REALLY recommend that you use separate objects for each body part volume. 

The different parts becomes so much more easy to manage and you don't accidentally move things around that you don't want to touch. Being able to use geometrical intersection between objects is a HUGE advantage when using 3d as a art medium.
At this point I have zero interest in topology. I remesh all the time using SHIFT +R for setting voxel size and CTRL + R to remesh.
Another advantage with having fingers and toes as separate objects is that you can instance them with ALT + D and then position and scale them. That means that you won't need to resculpt finger by finger so much.
Some length relations can be adjusted later on, since the long finger and pinky will need some fixing compared to each other. Don't under estimate instances when sculpting. It can be horns, teeth or whatever. Few sculpting applications takes advantage of this.
nce I'm happy with the general shape of the character I do a retopology. Don't be afraid to use automatic retopology and fix issues in the topology by hand. Whatever makes you faster is great.
An amazing addon for retopolgy is Retopoflow 3 on the website Blendermarket blendermarket.com/products/retop…. Made by @gfxcoder and the other talanted developers at @cgcookie
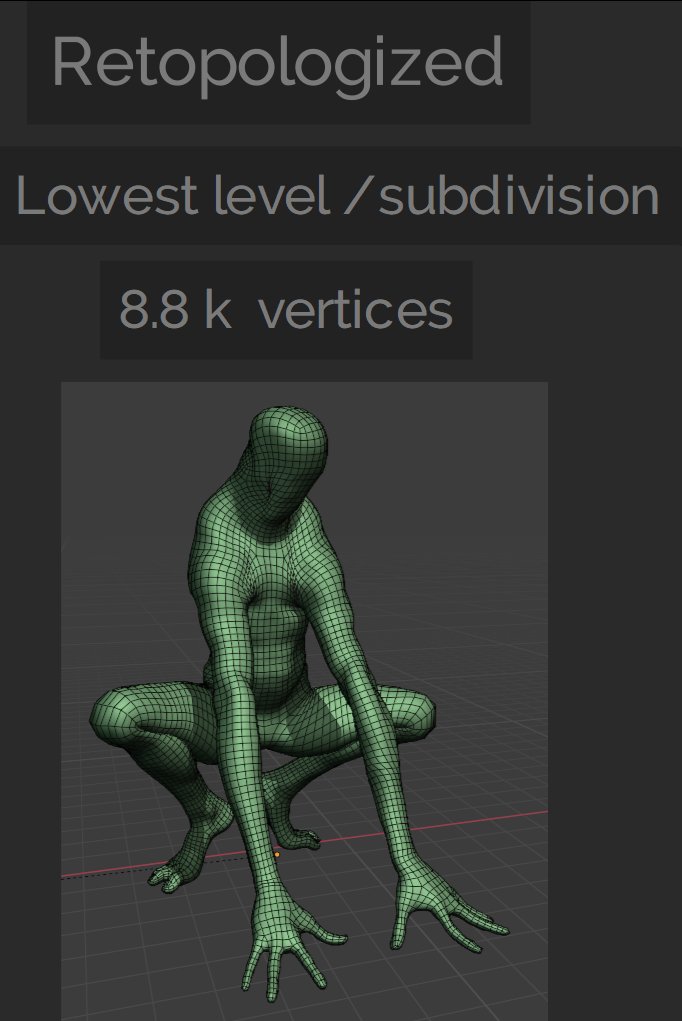
The base model (sculpt level 0 ) is around 8.8 k vertices. Pay more attention to the DENSITY of polygons in the image than the vertex count.
If you model something that requires close to camera shots or facial animation with wrinkle bulges you will likely want to get those details into the base mesh (sculpt level 0)
Here is an image of the final model of the body. I'm using the multires modifier in blender for reaching a higher polygon density. I'm going up and down in subdivisions as I sculpt depending on what I want to sculpt.

It can be convenient to go down in subdivisions, use the move brush and smooth slightly to adjust proportions. By doing that on a lower subdivision you will not smooth out your detail sculpting on the higher sculpting leveles/subdivisions.
Here is an image of the hands. This level of detail is somewhere where I like to be when I sculpt at max subdivision. For pores and really small wrinkle sized details I REALLY prefer to do in the texture.
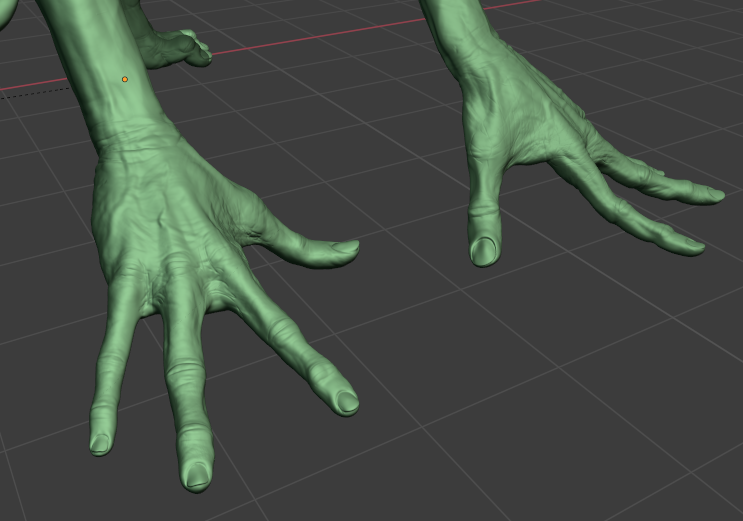
It can become really destructive (and time consuming) to sculpt in really small details on the body. By texturing this in Blender or another software, it becomes much more manageable to handle these types of details
By having those details as a separate texture, you will also be able to adjust the amount when you render.
Oh... forgot one thing. The absolute start. I really like to start by blocking out shapes with the Lasso trim tool in Blenders sculpting mode

Change from box trim to lasso trim

Then you change to
trim mode = Join
use cursor for depth = True
For shape orientation I mostly use "View", but "Surface" is extremely handy too.
trim mode = Join
use cursor for depth = True
For shape orientation I mostly use "View", but "Surface" is extremely handy too.

Ah! I forgot the beautiful Blender hashtags. #b3d #3dmodeling
• • •
Missing some Tweet in this thread? You can try to
force a refresh


