
I saw @iquilezles sdFbm article (iquilezles.org/www/articles/f…) and tried it in blender.
5 octaves of noise, 16 raymarching steps. That's all opengl can handle before hitting uniform limits with nodes.
5 octaves of noise, 16 raymarching steps. That's all opengl can handle before hitting uniform limits with nodes.
As you can imagine, lots of nodes :D
The node editor lags to death, but viewport is nice and fast still (since unrolled loops run about the same in the end on the GPU side)
Note there's no drivers in the shader, as that *wouldn't* run anywhere near as fast!
The node editor lags to death, but viewport is nice and fast still (since unrolled loops run about the same in the end on the GPU side)
Note there's no drivers in the shader, as that *wouldn't* run anywhere near as fast!
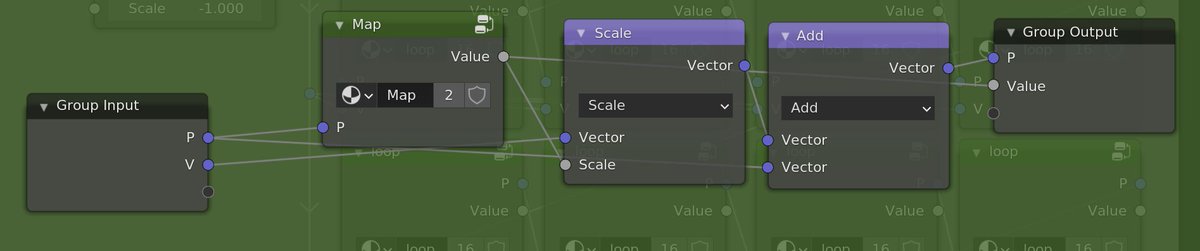
Here's an overview of the nodes, with a little bit of annotation to show what each chunk of nodes is doing 

And let's dive in.
loop - the main raymarch loop, just sample "map" and move along
map - main SDF function
sdFbm - algorithm described in the article, implemented with nodes
sdFbmLoop - Iterations of the algorithm
sdBase - "sphere grid" as described in the article
loop - the main raymarch loop, just sample "map" and move along
map - main SDF function
sdFbm - algorithm described in the article, implemented with nodes
sdFbmLoop - Iterations of the algorithm
sdBase - "sphere grid" as described in the article


sph - single random-radius sphere SDF
no integers in blender shaders, so the integer hash is replaced with a float one ("White Noise" Texture)
That's it, pretty straightforward actually, just looks like a lot of nodes at first with all the iterations.
no integers in blender shaders, so the integer hash is replaced with a float one ("White Noise" Texture)
That's it, pretty straightforward actually, just looks like a lot of nodes at first with all the iterations.


fuck i'm moving in a day i'm meant to be packing my things why am i getting fixated on balls of goo🥲
• • •
Missing some Tweet in this thread? You can try to
force a refresh


