Starter Housing hints: Float objects!
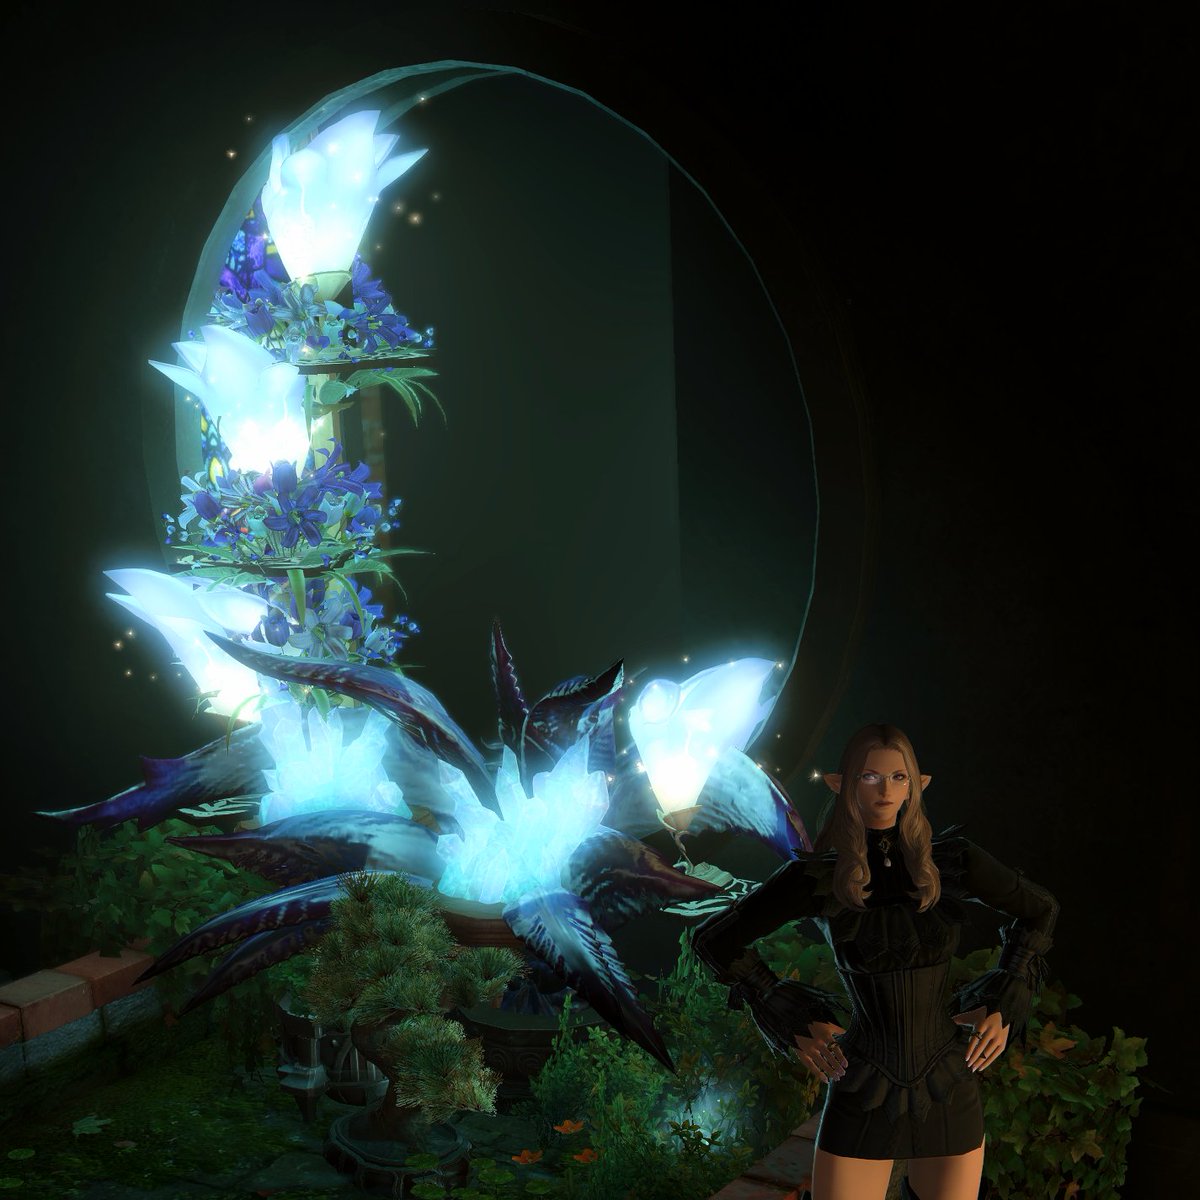
I've received some questions about the moon studio replica and how it was built; most of its magic comes from cleverly floated tabletop and wall objects. Here's a quick tutorial on that!
#FFXIVScreenshots #ffxiv #housing #housingguide

I've received some questions about the moon studio replica and how it was built; most of its magic comes from cleverly floated tabletop and wall objects. Here's a quick tutorial on that!
#FFXIVScreenshots #ffxiv #housing #housingguide


You'll need:
- 1 x Stage Panel
- 1 x Wooden Loft
- 1 x Tabletop Object (Carbuncle Lantern for this example)
- 1 x Stage Panel
- 1 x Wooden Loft
- 1 x Tabletop Object (Carbuncle Lantern for this example)

When Surface placement is on, housing items attach to each other following a hierarchy. Here we see the Stage Panel attached to the floor, the Wooden Loft attached to the panel and the Lantern attached to the loft; if you move the panel everything moves together. 

The trick is to disconnect an object and keep it in the same place. With this structure in place, let's disable Surface Placement.
Now switch to Move mode. Targeting the object we want to float, move it away - it'll try to attach to the floor, since Surface attachment is off - and the press ESC. This will revert the object to its original place, but it is now detached.
You can check that by hovering over the parent object. Notice that the detached object lacks the yellow marker overlay. 

Now move the parent object away. You'll notice that the detached object stays in place. Press ESC again to leave placement mode, and now the object's position is preserved.
The same technique can be used with wall objects; place it on an Stage Panel, disable Surface Placement, move it away, ESC, then move the stage panel away.
You can see were I'm going with this - look again at this picture; that's right, those are Carbuncle Lamps, floated using this technique! 

The moon studio structure itself is pretty simple, and this is a credit to its original creator. It uses floated Carbuncle Lanterns, Sumptuous Dimension Castle Vases, a Sapphire Weapon Bust and a hidden Bar Stool to allow for players to sit atop of it.
I forgot to mention Cerulean Crystal Boules. (And patience. Lots of it. To adjust all those objects in the correct place, simulating a crescent moon.) 

• • •
Missing some Tweet in this thread? You can try to
force a refresh


