New tutorial thread!
Learn how to make the #AppleEvent iPhone SE wallpaper with @figma in just a few easy steps. (File included!)
Let's dive in 👇
Learn how to make the #AppleEvent iPhone SE wallpaper with @figma in just a few easy steps. (File included!)
Let's dive in 👇

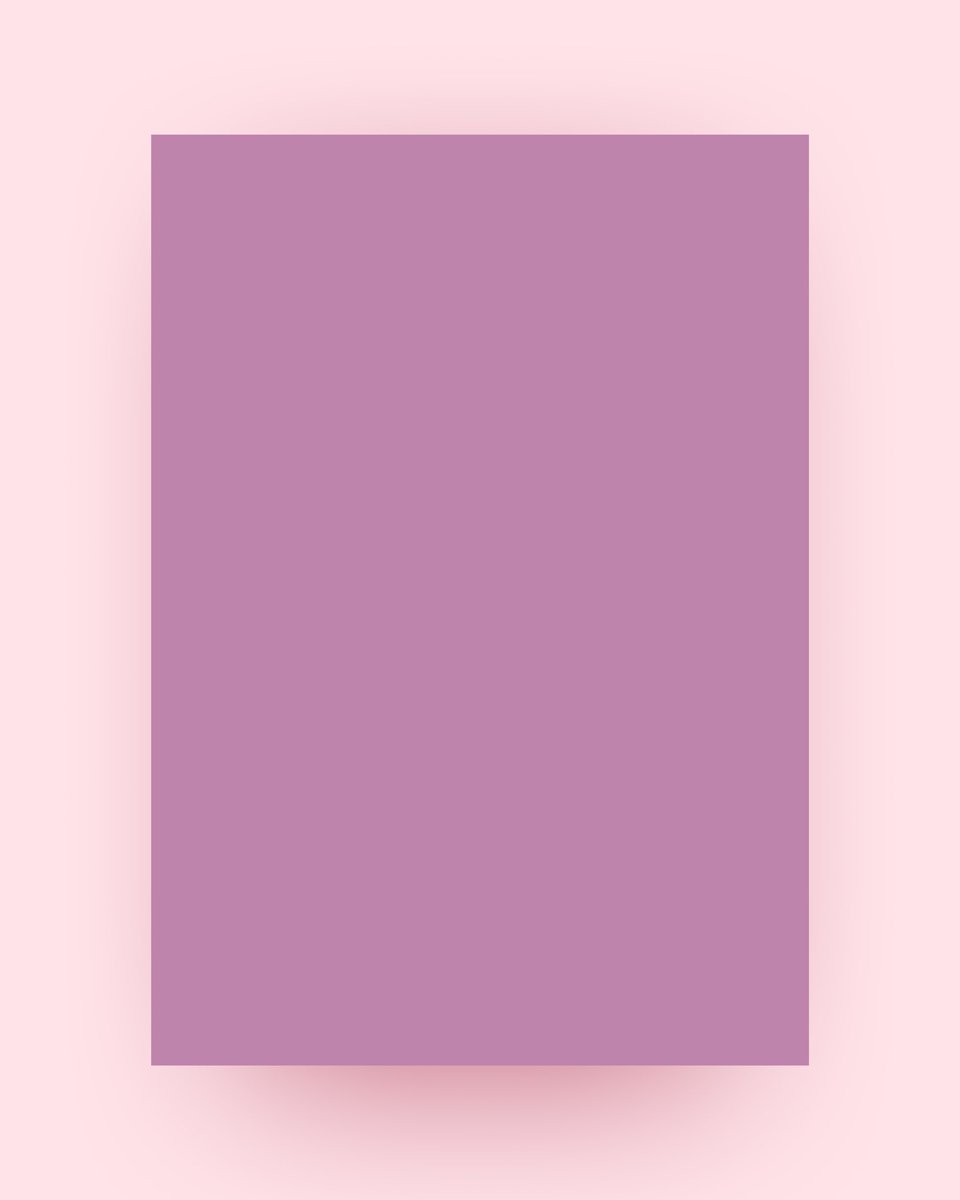
Add a new art board in your preferred phone size and add a rectangle that fills the entire art board.
Next, apply a gradient fill and make sure to give it 7 steps (distribute them evenly)
Next, apply a gradient fill and make sure to give it 7 steps (distribute them evenly)

Now, replace each step with colours of your choice. For this example, I used the original wallpapers' colours

When you're done, divide the width of the rectangle by 11 and copy it 5 times - placing each rectangle besides each other like this:
(I left 1 pixel in between for the example - you don't have to do this)
(I left 1 pixel in between for the example - you don't have to do this)

Now take the 2nd rectangle of the right and stretch it a little bit vertically. Do the same for the next rectangle but a little bit more to get the zoomed effect. Rinse and repeat for the next rectangles.
You should end up with something like this:
You should end up with something like this:

Now copy your rectangles and paste them on the other side of the art board. Mirror them so you get this effect:

Now we're getting somewhere!
To add more depth, select all rectangles and apply a drop shadow with 0 offset on the X & Ym, but quite some blur.
Next, make sure to order your rectangles so the shadows have this overlapping look:
To add more depth, select all rectangles and apply a drop shadow with 0 offset on the X & Ym, but quite some blur.
Next, make sure to order your rectangles so the shadows have this overlapping look:

And finally, just because I'm such a fan of it - add some subtle noise to a new layer (this can just be a noise png set on 10% overlay)

Find the @figma file here, so you can experiment some more, I highly recommend playing around with different colour palettes! figma.com/community/file…
Thank you! Make sure to follow & RT for more ✨

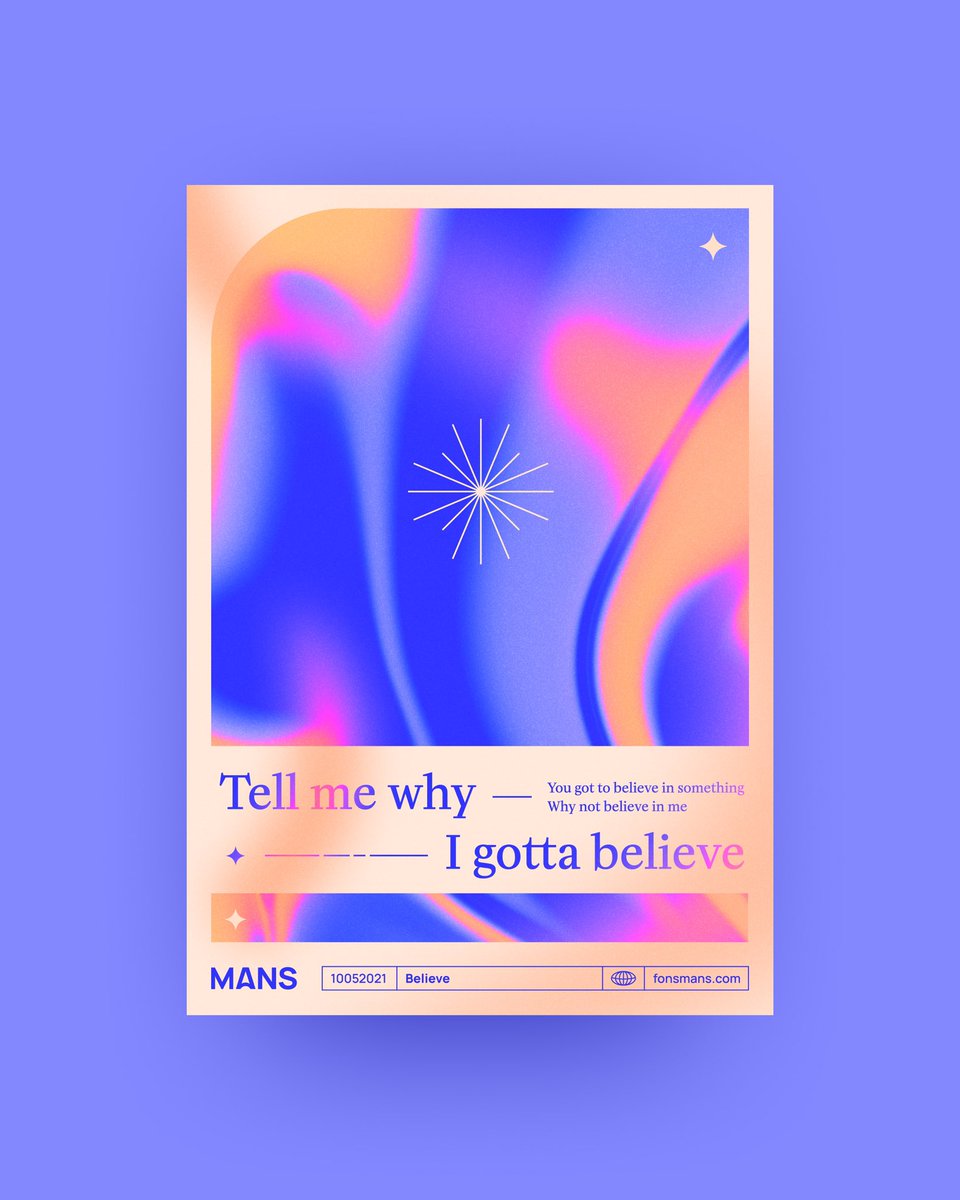
Original artwork by @jerbosmans, Check him out!
• • •
Missing some Tweet in this thread? You can try to
force a refresh