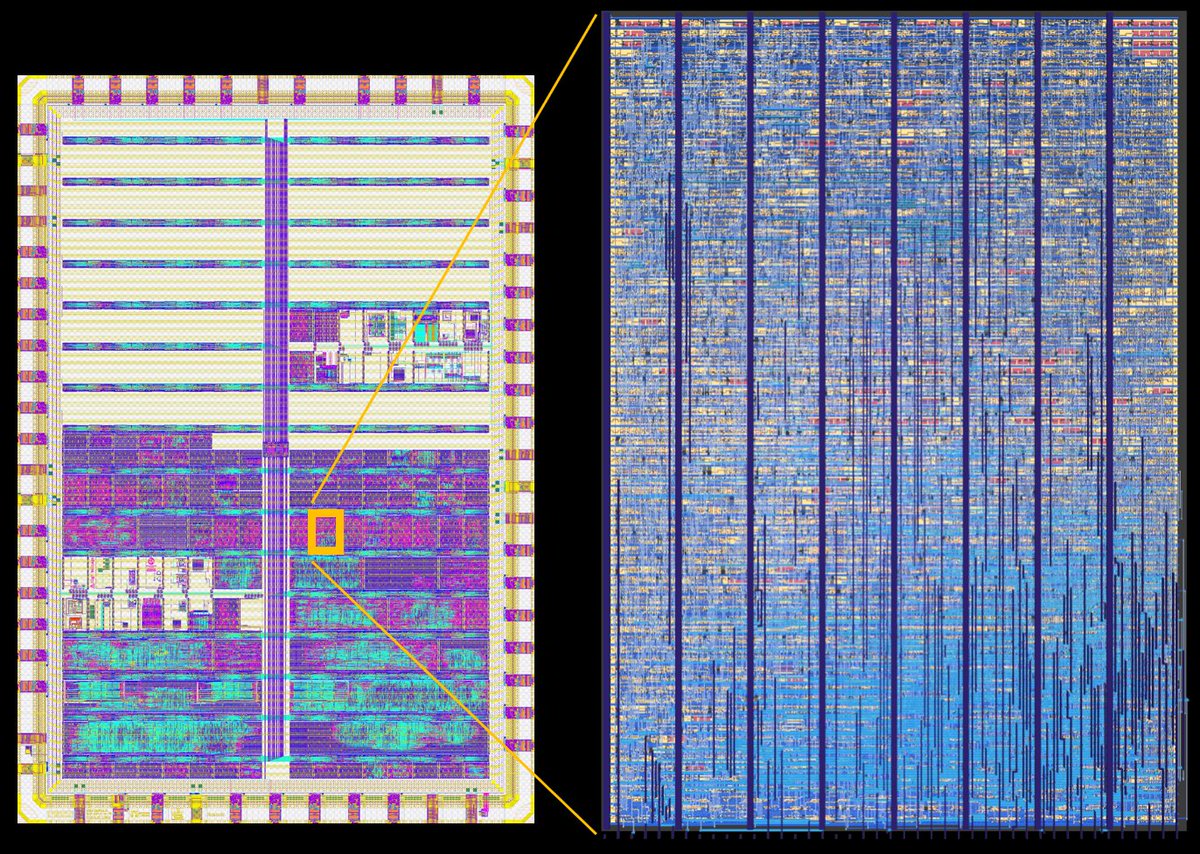
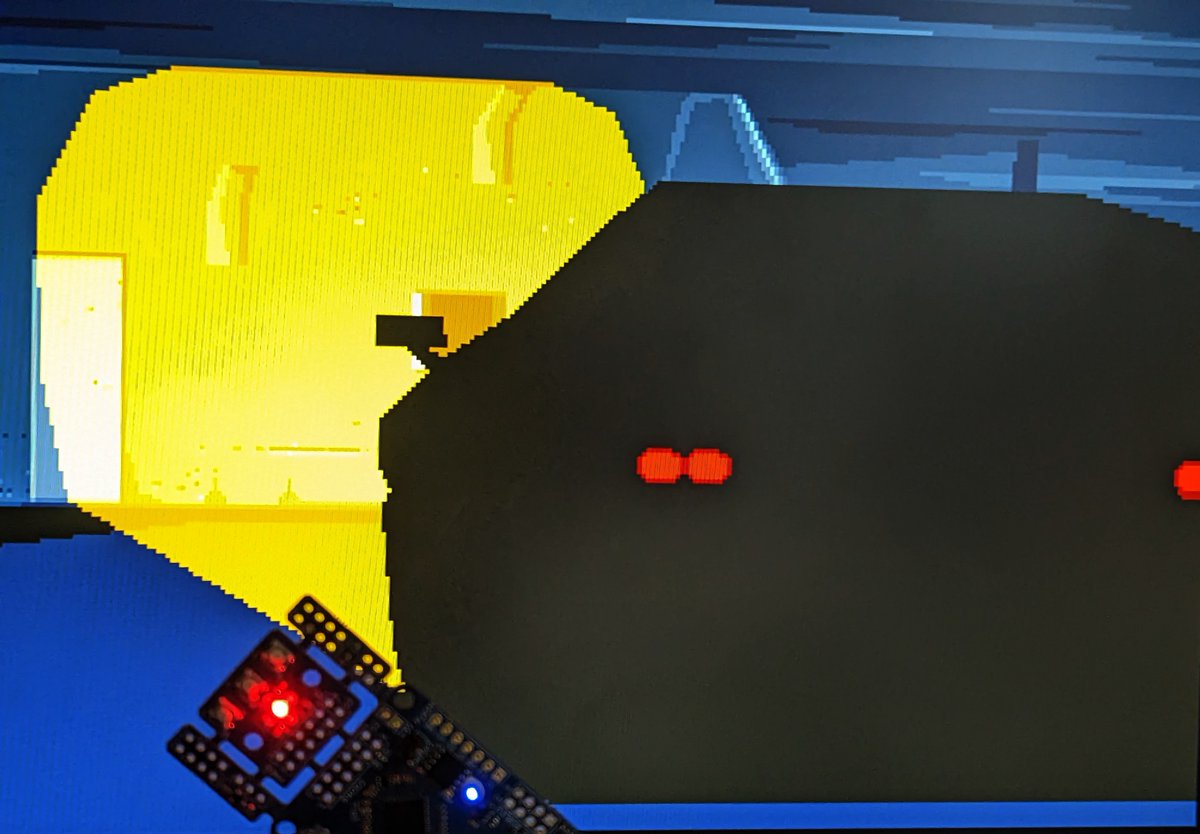
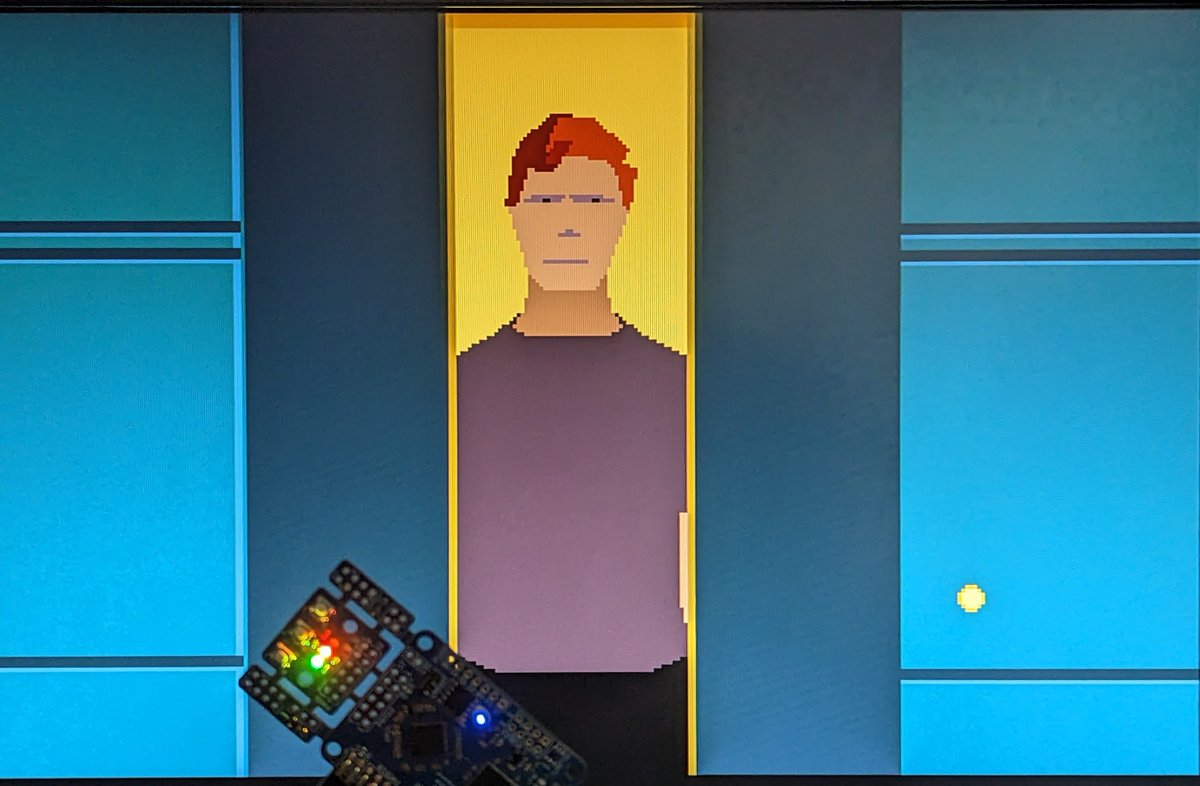
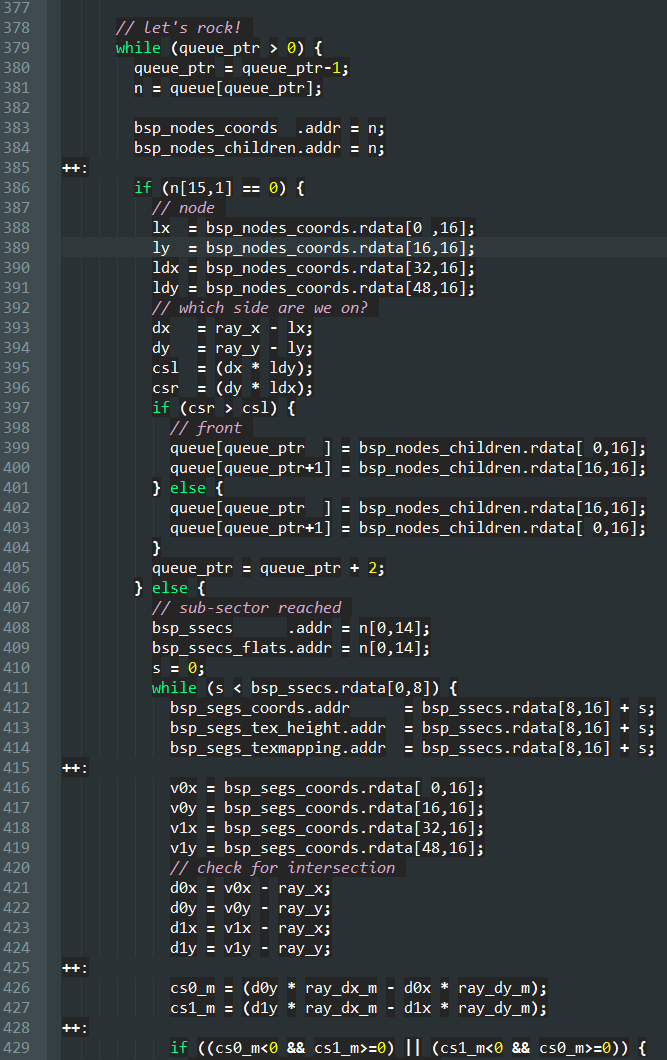
Q5K: Quake level viewer in 5K LUTs on a low cost, low power ice40 up5k #fpga! Custom #GPU, @risc_v CPU and SOC, capable of rendering #Quake's level with lightmaps.
How? Thread 👇
(Written in #Silice, here running on the #mch2022 badge fpga)
How? Thread 👇
(Written in #Silice, here running on the #mch2022 badge fpga)
The (tiny) GPU is my DMC-1 (Doom-Meets-Comanche) GPU, which also powers the Doomchip-onice demos (remember? Doom with a terrain!!).
It targets the ice40 UP5K, an entry-level fpga with great support from the Open Source toolchain #yosys/#nextpnr.
2/n
It targets the ice40 UP5K, an entry-level fpga with great support from the Open Source toolchain #yosys/#nextpnr.
2/n
There were four main hardware changes to enable Quake level rendering:
1) 32-bits per-column depth,
2) streaming of level data from QPI memory (SPIflash on icebreaker, PSRAM on mch2022 badge),
3) multi-texturing for lightmaps (!!)
3/n
1) 32-bits per-column depth,
2) streaming of level data from QPI memory (SPIflash on icebreaker, PSRAM on mch2022 badge),
3) multi-texturing for lightmaps (!!)
3/n

For 1) (32-bits depth), I realized that I had still some BRAM left after other optimizations. This was more than welcome to improve depth bit width, which was otherwise too limited. 4/n 

Side note: Quake level rendering could use the BSP ordering and no depth buffer. But the depth buffer allows to work from the visibility list directly, and paves the way to having entities in there. 5/n
The second change (streaming) was essential to enable walkthrough entire levels. The UP5K has 128KB of SPRAM - already great - but far from enough for entire levels. The data easily fits in QPI memory however. 6/n 

There were two difficulties for streaming. First, the QPI memory is already used for textures by the GPU, and thus CPU accesses can only happen when the GPU is done with the previous frame. 7/n
Second, my CPU QPI access was a slow byte by byte access in a for loop, used only for booting (loading code once from QPI memory to fpga SPRAM). I replaced that with a fast hardware burst load, directly from QPI memory to SPRAM, bypassing the CPU. 8/n 

The CPU is paused during these transfers: the SPRAM is being written to every cycle, so the CPU cannot fetch instructions. I modified my ice-v dual with a stall signal, pausing both cores. Transfers are now fast! (1 byte per cycle at 25MHz). 9/n
github.com/sylefeb/Silice…
github.com/sylefeb/Silice…
Lightmaps were an interesting challenge. First, I had to extract them properly from the game. For this I referred directly to the source code of the Quake lighting tool (in @fabynou's branch 👍:
github.com/fabiensanglard… )
10/n
github.com/fabiensanglard… )
10/n
I then packed the lightmaps in textures (with tons of padding, but this overhead is not a concern in the 'large' QPI memory). 11/n 

I made sure I could render lightmaps with correct texture coordinates, so that the light patterns are properly localized. 12/n 

But then there was the big question. How to blend the lightmaps with the textures? This is a form of multitexturing. At first this seemed a roadblock. But an early design decision saved me here! 13/n 


Indeed my per-column buffers store 12 bits per pixel: a palette index byte, and a 4-bits light level. That is because I do not use the Doom/Quake palette trick for lighting, but instead dim the actual RGB values after palette lookup, when sending RGB data to the screen. 14/n
So to blend the lightmaps in, all I needed to do was to write to these 4-bits in a second pass (I now use 8 bits for smoother light levels). This took only minor changes to the GPU, then sending each rasterized column span twice: first for textures, second for lightmaps. 15/n 


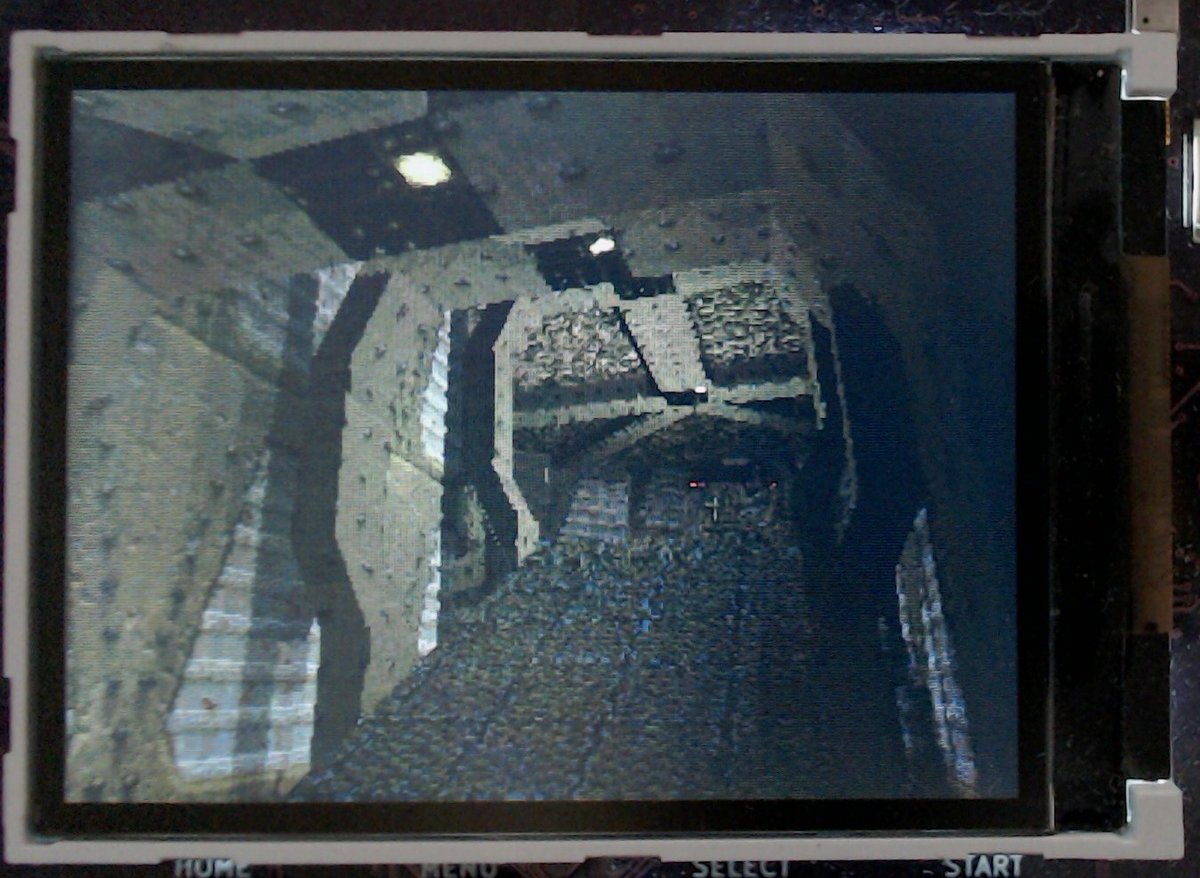


And voila! I made a (tiny) GPU+SOC that renders Quake levels in 5K LUTs, on a low cost, quite slow #fpga. Rendering is laggy and has issues, and there is plenty of room for CPU-side optimizations. Nevertheless it is already fun to explore the levels of this great classic! 16/n 

Here's the #fpga resource usage. Design uses two clocks, and validates a bit below 25/50 MHz. I overclock without trouble at 33/66 MHz. CPU has two cores, but each take 4 cycles per instruction, so they only effectively run at 8.25 MHz ... sharing 128KB RAM. Not a lot! 17/n 

Btw, Q5K runs happily on the icebreaker by @1bitsquared! On SPIflash the texture accesses are faster, but the screen uses a SPI interface instead of parallel, and that slows down the overall rendering. 18/n 

The SOC uses my tiny @risc_v dual core processor, the ice-v-dual. A compact, simple to hack CPU I detailed in this video:
19/n
19/n
I also made a video on the DMC-1 GPU and the doomchip-onice. The global architecture is still the same, but I'll have to do an update for the latest features! 20/n
Many thanks to @tnt and the #mch2022 badge team for hardware + discussions, as well as @fabynou for great resources on Doom and Quake (e.g. Quake engine code review fabiensanglard.net/quakeSource/in… )
My main reference to decode Quake's bsp files was the Quake unofficial specs 3.4.
21/n
My main reference to decode Quake's bsp files was the Quake unofficial specs 3.4.
21/n
Also wanted to point out another GPU-on-fpga project rendering Quake levels: jbush001.github.io/2015/06/11/qua…
This explores a much more advanced GPGPU architecture and targets larger, more powerful FPGAs. Very interesting, check it out!
22/n
This explores a much more advanced GPGPU architecture and targets larger, more powerful FPGAs. Very interesting, check it out!
22/n
Thanks for reading this far! Source code is coming soon in #Silice's projects, as well as more details (so much more to discuss).
If you are interested, RT, stars, and likes are all welcome encouragements!
github.com/sylefeb/Silice
If you are interested, RT, stars, and likes are all welcome encouragements!
github.com/sylefeb/Silice
• • •
Missing some Tweet in this thread? You can try to
force a refresh


